Kevin James
Full Fledged Farker
I did the second cook on the Big Phil’s 24x48 Blue Smoke Smoker last night.
Nothing major, just a spatchcocked chicken.
This was an important cook/test though, as some may remember that cooking skin on whole chicken was what alerted me to the fact that something was not quite right with the way my “other” pit was running. I was getting ugly discolored chicken skin that looked a very unappetizing gray color. I finally got to a point where I could get a decent looking bird on that pit, but it’s still not 100% right, and that is ultimately what made me finally decide I wanted something new, a traditional flow pit, leading to me ending up with this one.
This cook taught me several things:
1. It is definitely NOT user error of any kind causing the problem on the other pit, it’s a legitimate design/air flow issue. Period. End of story.
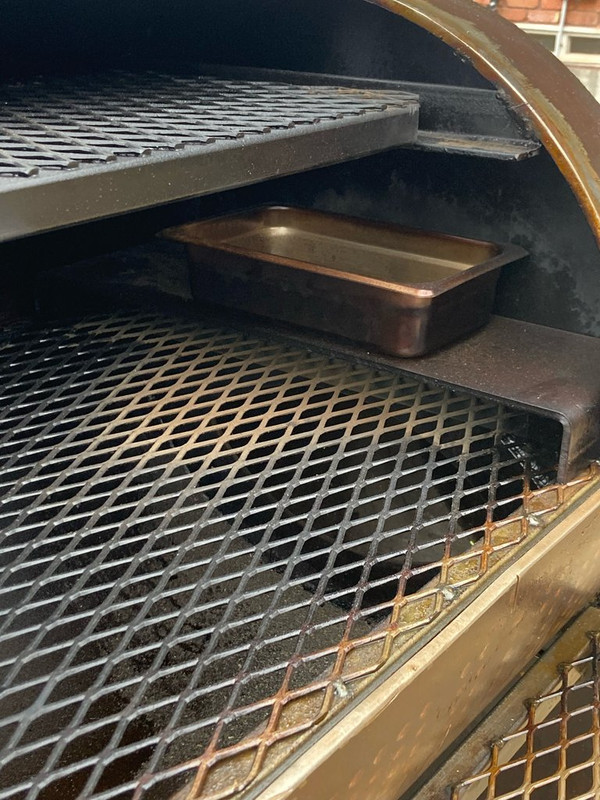
2. This traditional flow Blue Smoke Smoker runs like a freakin champ. It’s very easy to run clean with little fuss at all.
3. This was only the second cook and it was a short one, but this time I figured out how to dial in my temps and it’s ridiculously easy. It’s all in the door, which is EXTREMELY sensitive. Start with a raging fire to get a nice big coal bed, then let the temp come down to where you want it and add one 16” split about 3” diameter every 30 minutes and keep the door cracked no more than ¼” - ½”. Do that and it will purr along between 265-285 with ease.
4. How far the door is cracked open also has a major impact on how even temps run across the grate. Running as mentioned above, temps were holding within 10 degrees from the far end on the smoke stack side, to right before the hot spot on the firebox side. That’s more even than my reverse flow! But if I want to run hotter, I can crack the door open farther and the temps will go up, but the end to end difference will also increase. I bumped temps to 325-350 at the end of the cook this way, and the side to side difference was still only 20 degrees.
5. That Mill Scale/Franklin style baffle really works to shift the hot spot back towards the firebox and gives you more usable cooking space.
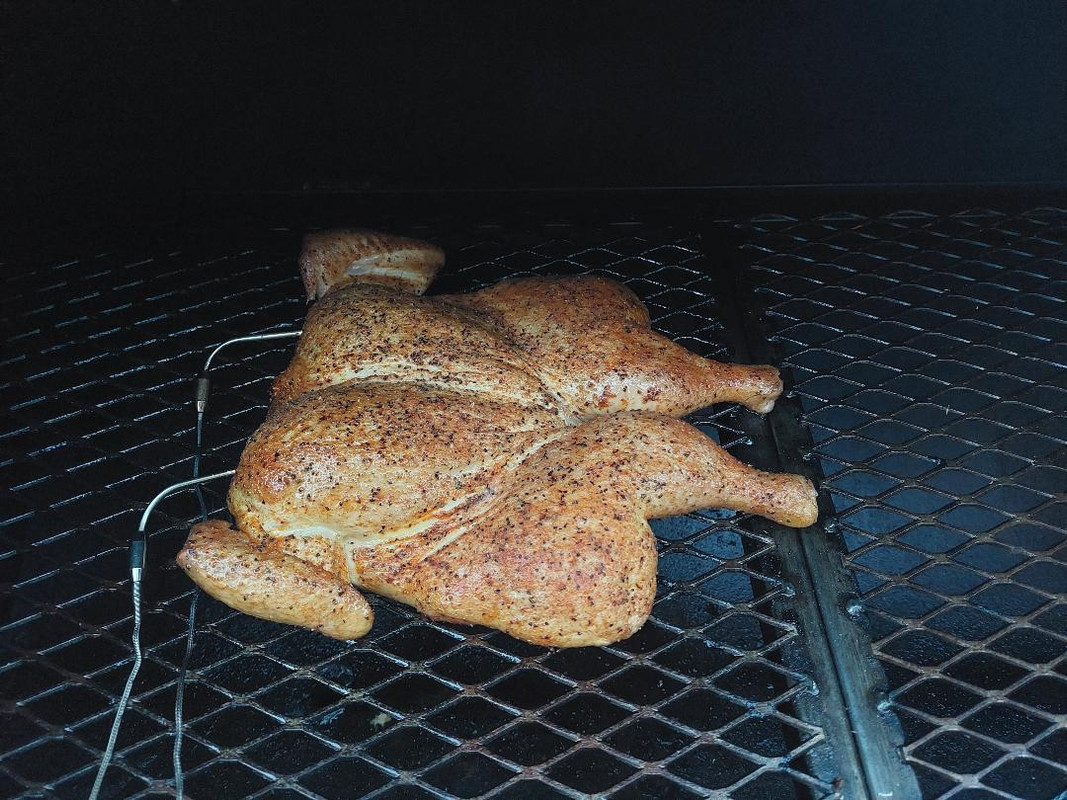
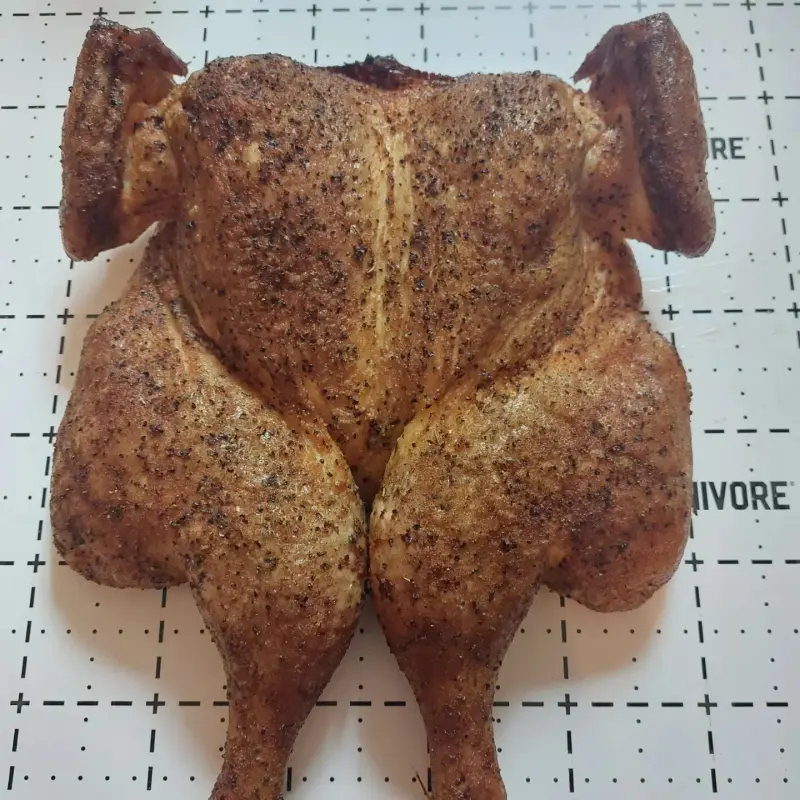
All that said, this bird came out really good. As for prep, I spatchcocked it, then put a light coating of oil on the skin as a binder, and applied course black pepper, kosher salt, and a light dusting of my chicken rub. Got the pit to 275 and threw it on. At 140 IT I bumped the pit temp up to between 325 and 350 and sprayed the bird with some butter flavored PAM, then sprayed it again at 155, and pulled it at 165.
It was super juicy, the skin had the perfect golden-brown color, and was nice and crispy. Overall I was extremely happy with how it turned out, but more so, I was extremely happy to have this pit pretty much figured out and dialed in by the start of only the second cook.
And now for the pics!


Nothing major, just a spatchcocked chicken.
This was an important cook/test though, as some may remember that cooking skin on whole chicken was what alerted me to the fact that something was not quite right with the way my “other” pit was running. I was getting ugly discolored chicken skin that looked a very unappetizing gray color. I finally got to a point where I could get a decent looking bird on that pit, but it’s still not 100% right, and that is ultimately what made me finally decide I wanted something new, a traditional flow pit, leading to me ending up with this one.
This cook taught me several things:
1. It is definitely NOT user error of any kind causing the problem on the other pit, it’s a legitimate design/air flow issue. Period. End of story.
2. This traditional flow Blue Smoke Smoker runs like a freakin champ. It’s very easy to run clean with little fuss at all.
3. This was only the second cook and it was a short one, but this time I figured out how to dial in my temps and it’s ridiculously easy. It’s all in the door, which is EXTREMELY sensitive. Start with a raging fire to get a nice big coal bed, then let the temp come down to where you want it and add one 16” split about 3” diameter every 30 minutes and keep the door cracked no more than ¼” - ½”. Do that and it will purr along between 265-285 with ease.
4. How far the door is cracked open also has a major impact on how even temps run across the grate. Running as mentioned above, temps were holding within 10 degrees from the far end on the smoke stack side, to right before the hot spot on the firebox side. That’s more even than my reverse flow! But if I want to run hotter, I can crack the door open farther and the temps will go up, but the end to end difference will also increase. I bumped temps to 325-350 at the end of the cook this way, and the side to side difference was still only 20 degrees.
5. That Mill Scale/Franklin style baffle really works to shift the hot spot back towards the firebox and gives you more usable cooking space.
All that said, this bird came out really good. As for prep, I spatchcocked it, then put a light coating of oil on the skin as a binder, and applied course black pepper, kosher salt, and a light dusting of my chicken rub. Got the pit to 275 and threw it on. At 140 IT I bumped the pit temp up to between 325 and 350 and sprayed the bird with some butter flavored PAM, then sprayed it again at 155, and pulled it at 165.
It was super juicy, the skin had the perfect golden-brown color, and was nice and crispy. Overall I was extremely happy with how it turned out, but more so, I was extremely happy to have this pit pretty much figured out and dialed in by the start of only the second cook.
And now for the pics!