Starting the 20 Series Offset Build(s)

Thanks Tom. Yep I'll be fabricating several fixtures, jigs and templates as I go. For the cook chamber I'm either going to buy or build pipefitters' adjustable jack stands and something similar for the firebox based on a hydraulic floor jack. One thing I'm trying to incorporate in these tools is the flexibility to handle pipe from 20 inches up to 30 inches (or more).
I'd suggest building a smaller frame( with locking casters) that would hold both the fire box and cook chamber with removable upright legs ( simple pins/bolts to locate/hold, uprights using sq U channel) that would be adjustable for both size. But placing the cook chamber and fire box at trailer height. The frame would be smaller than the trailer to make all the welding and set up much easier and welding to the trailer, then just remove the frame after tack welding. Takes ALOT of measuring/remeasuring right out of the picture. If that make sense. If you want/need some details just give me a call.
 
I don't know if this was already addressed but what is the cost for either the 20 standard or stretch in 20" diameter? I didn't know if you were publishing he cost or if you would handle it on a case by case basis.

I was telling my buddy about the cookers you are making since he was looking into getting a complementary smoker to his 250 gallon rig.

I don't want to firm up a price until I get the first few built, I'll shoot you a PM with my best estimate.
 
Finally got the circle cutting tool together

Cut end caps for 3 smokers today, 4 caps each so 12 total. Ordered this pretty neat circle cutting tool for my plasma, but they originally sent the wrong adapter for my torch, finally got that sorted out and got everything together today. The tool comes with 3 center pivot adapters, a magnetic, a bolt through (shown) and one to ride in a center punch divot. Tried the magnetic first but did't really hold position on the thicker metal larger diameter cuts; it will probably work fine with smaller diameters or thinner metals.

26EE904A-C4E9-4D78-A26A-8297F9B25146_zpsaorwdvj4.jpg


Great control and perfect circles; this is 1/4" plate.

671DB710-56FB-4E0B-B6B7-19CCC6297AE1_zpsla3qqqal.jpg


The extra white lines you see are for the firebox door. I've decided to weld on the end caps with full-open corner joints (as opposed to closed corner butt joints). IMO a much stronger joint especially for home shop MIG gear.

51E7B6D9-4D25-4126-A663-2F54B0AAAB41_zpscw0nhg7v.jpg


So making the end plates where to firebox door goes requires two different radius cuts; most of the plate at about 19.625 to overlap the 19.5 ID of the pipe slightly, but then the lower section to match the 20" OD of the pipe so the firebox door seals properly. They look like this before they are cleaned up. Take a look at the difference between the tank cut (a little jagged) and the end cap cut (smooth as butter); that's just me getting back into the groove with the plasma. Everything will weld up tight with that open corner joint weld.

3F651115-EAD7-4889-A546-23A34969D0C3_zpsk6ohnud1.jpg


9BD6A3E6-4128-4888-A0D1-6E0009BCC9BA_zpsub8ie9bl.jpg


And just an example sitting on one of the fireboxes.

92D80F17-A6B5-4F20-A477-7FDD859087FC_zpskv1lnvhu.jpg


Thanks for lookin in, much more to come:thumb:
 
Last edited:
Doing a prototype is always slow, but having your MIG bite the dust doesn't help any. Literally had to rebuild the wire drive system and MIG gun over the last several days, but everything back in working order and been taking advantage of our cooler mornings to make some progress.

Laid out the firebox door to cut with the plasma. I use the magnets to hold a strait edge, in this case a short length of 1 inch flat bar and run the plasma torch along the to get a nice straight cut.

2016-09-08%2006.57.48_zps2busdjae.jpg


2016-09-08%2007.42.48_zps3rrujlsx.jpg


The firebox door will be framed with 1 inch flat bar to help get a good seal and I'll add some 1/2 inch X 1/2 inch square stock structure to the inside to keep it from warping.

Also got the cutout for the firebox to cook chamber connection done.

2016-09-08%2008.03.54_zpsk4i7kclr.jpg


Welded up the cook chamber end cap this morning and will be connecting the firebox to the cook chamber over the next few days.

More later.
 
Hey, that cutting rig is dead cool! Nicely thought out.

Also dig the open joint work, that is how my dad taught me, although I was a terrible student at the actual welding. I can clean, file and wash a steel edge with the best of them though
 
Having tool failure sucks! Looking forward to the rest of the build!

Yea, but with pretty much a total rebuild of all the "mechanicals" (the inverter & circuit boards are fine) it is running like new again. But I'm still thinking a new Miller 252 is in my not to distant future:clap:
 
Great thread so far Dave. I have no desire, or skill for that matter, to build a pit. Nice to see what goes into it...
 
Yea, but with pretty much a total rebuild of all the "mechanicals" (the inverter & circuit boards are fine) it is running like new again. But I'm still thinking a new Miller 252 is in my not to distant future:clap:


Thats a great machine! When I got my Lincoln 210 MP I was really close to getting the Lincoln 256 :)

I am a huge lincoln fan, they are the only ones left that still have an all metal drive system.
 
Updates, delivery in a couple weeks

Have been distracted with life stuff, but the build(s) go on. Got the firebox mounted to the cook chamber and both installed on the patio base. Note the circumference cuts on the top edge of the base legs, this really worked nice!

43688E26-2EB4-43F1-9335-8B81AED9F4AD_zpsauyjxlfo.jpg


7219D940-E002-477A-9D95-270CF865F2D1_zps3rx8punv.jpg


7AB7340E-3438-4EBE-A2F5-04CB7C137CFD_zpsgwmx3qg2.jpg


3B73F187-C690-4F41-A0B4-3CA96D1535B6_zpsgjgdadxq.jpg


80B02898-8ADC-433E-B43B-D2E1E315F8CB_zpsgkipspuz.jpg


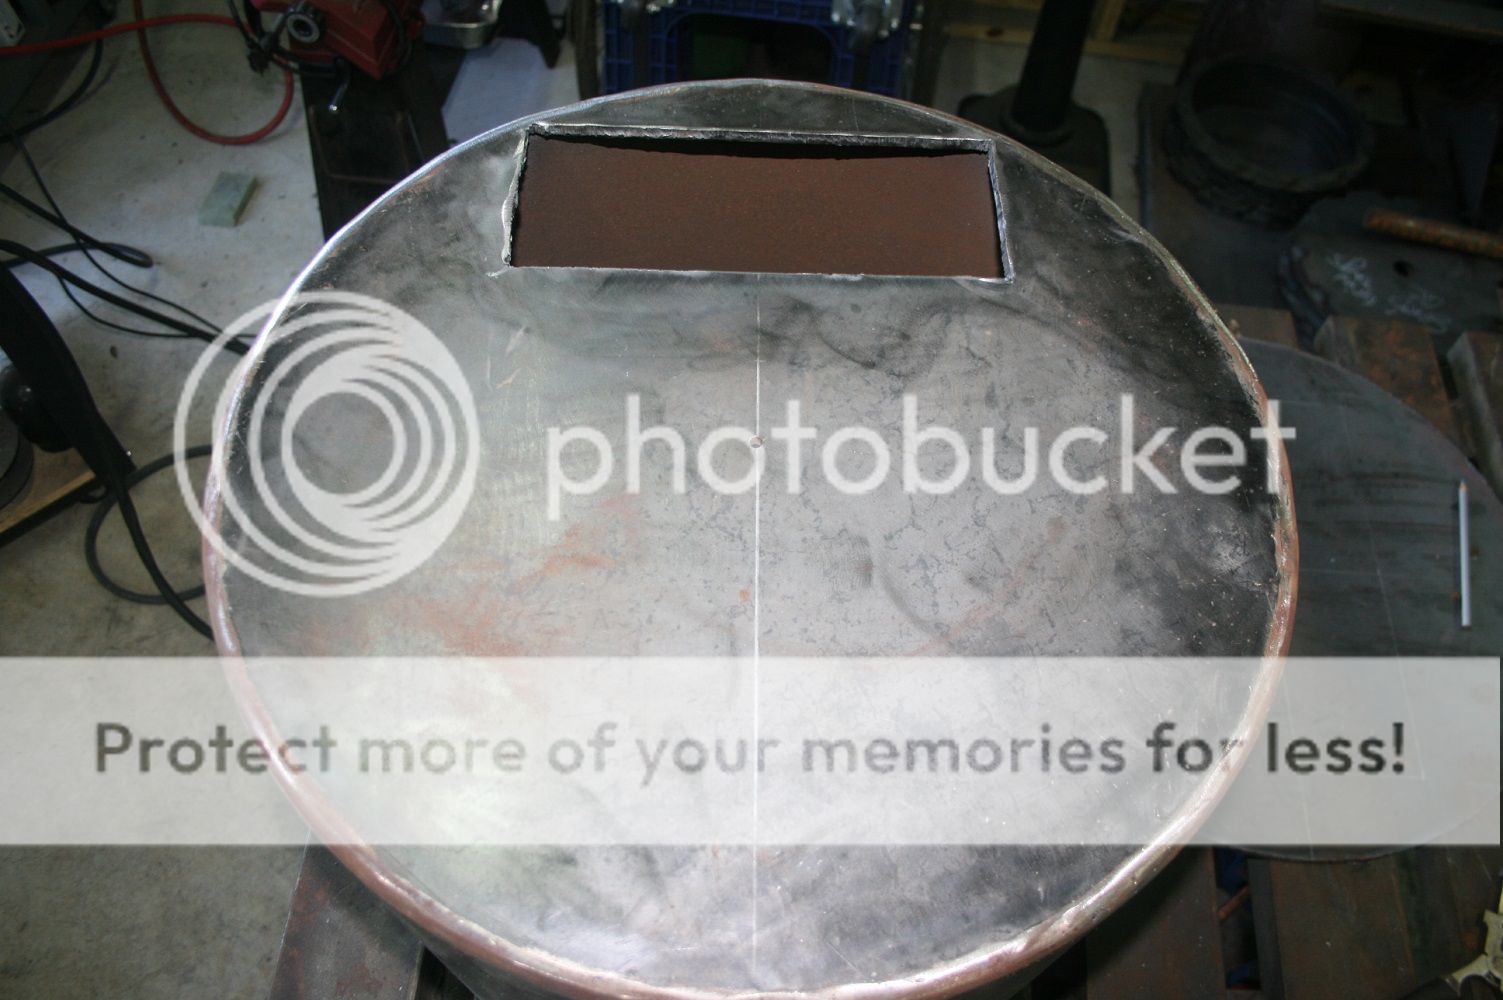
And did the layout for the cook chamber door. This is a handy little pipe fitters tool, a magnetic frame with a level and hardened center punch. With the cooker plumb and level, just set the degree wheel at 90*/top dead center and rotate on the pipe until the level is perfect and you have TDC of the pipe, do the same on the other end and strike a like for the door top cut.

BE89D6BA-B2EC-4C1E-9B14-71EB3522F7AC_zps3d0jeek0.jpg


I like to center punch the ends of the cut lines (I like to drill a small hole so the plasma gets a clean start) and scribe between them with a metal scribe so I get a permanent line, then I trace over it with a metallic welders pencil, the resulting line kinda fluoresces when you hit it with the plasma making it very easy to follow.

This is another handy tool, a pipe wrap with rules (English & metric) and a real handy table of pipe circumferences ( 1/4, 1/2, 3/4 full circumference). Just put the zero mark at the TDC line, I like to hold the wrap in place with a couple magnets and, in this case, scribe/mark the 1/4 circumference for the bottom cut edge, the vertical edge and then repeat on the other end. Perfect door cut lines every time.

B879F145-059D-4278-AECF-C15EC9D3AB67_zpsqq9fgmm7.jpg


Used a level to double check the bottom cut line and scribe/mark the bottom cut edge.

A79675AC-4813-4FD1-AABA-50F3B31B0ED8_zpswjmadlow.jpg


Should be 50* and clear in the morning so out comes the plasma! Thanks for looking in.
 
Last edited:
Back
Top