Those with flat-lids that have threaded bungs...

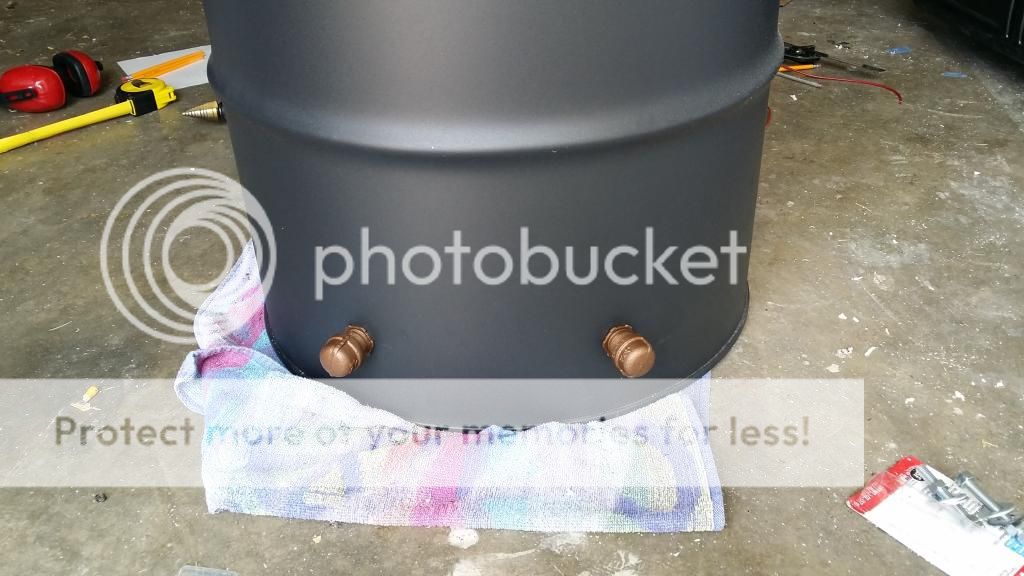
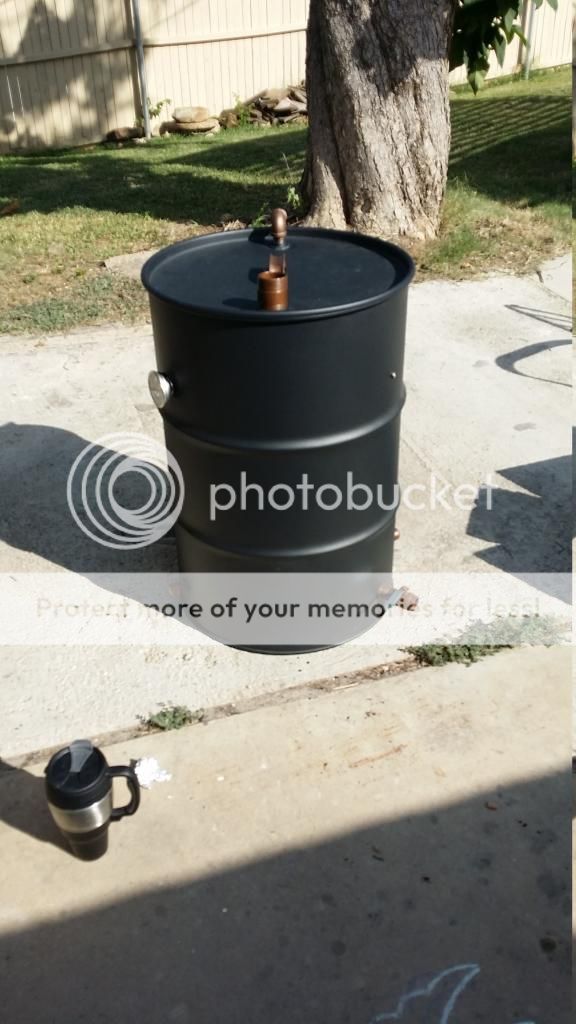
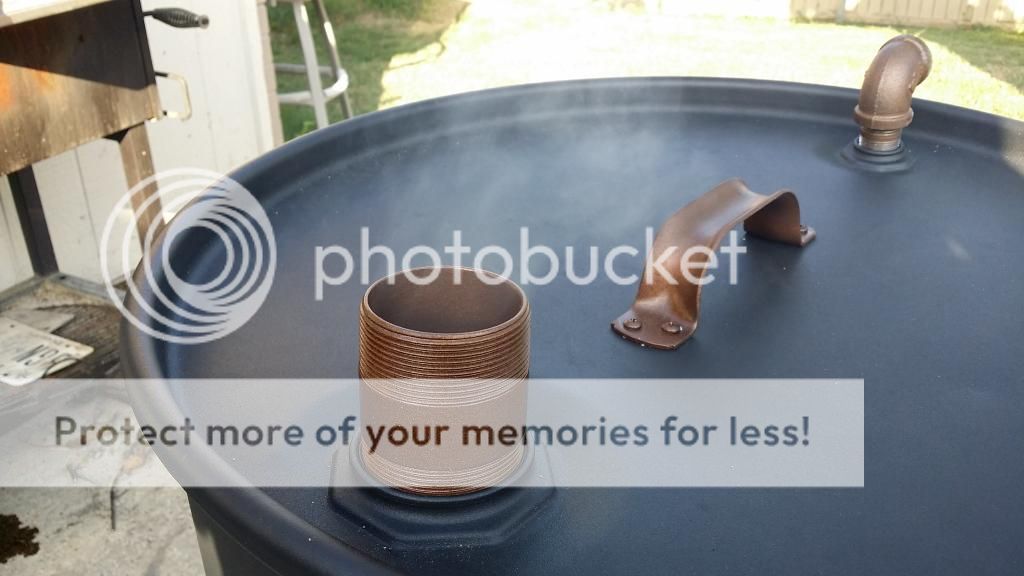
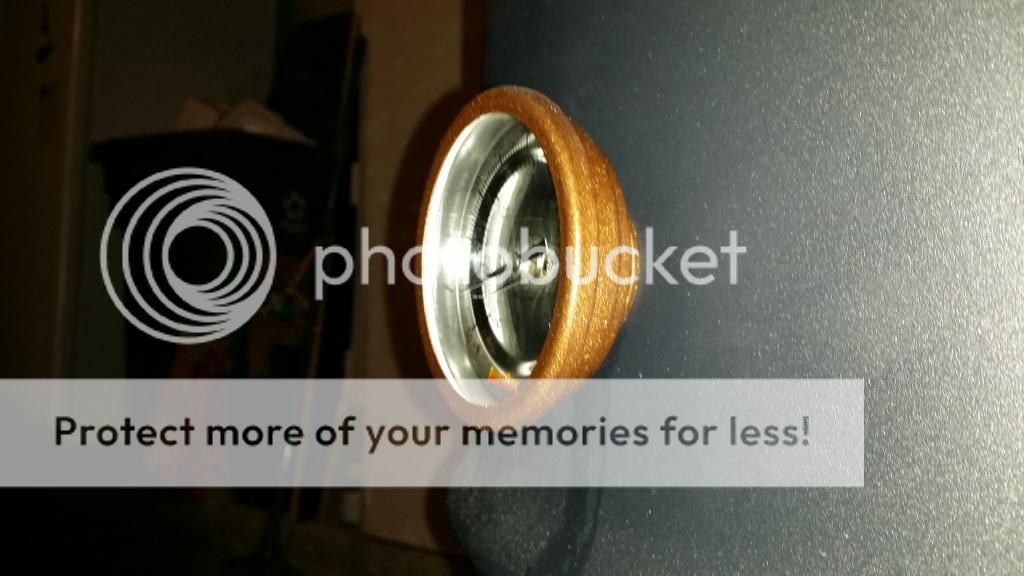
I am having trouble finding threaded pipe to go in the larger of the two bungs. I didn't measure it, yet, but I think it is 2 1/4". I took the threaded stopper up to Lowe's and couldn't find anything close to that size. Ideally, I'd get a 2 1/4" pipe nipple, add a 90-degree elbow to it, then get a plug.

Where do I go for this?


*Not interested in drilling additional holes in the lid and I'm not interested in a domed lid, either.
Go to a plumbing supply store. They should carry what you want.
 
chips instead of chunks. Anyone used wood chips instead of wood chunks in their UDS basket? Think I may try it Saturday. Seems like they would fit in the basket better and more evenly through the basket.
 
Intake Vent location

Hi everyone, rookie here. I'm almost done building my very first 30 gallon UDS I noticed that the vast majority of people here use 3/4 pipe nipples evenly spaced around the circumference of the barrel for the intakes. Does it really matter where the intake vents are located? Would it make a difference in the performance if four(4) one inch holes were drilled in the front of the barrel? Thanks.
 
Hi everyone, rookie here. I'm almost done building my very first 30 gallon UDS I noticed that the vast majority of people here use 3/4 pipe nipples evenly spaced around the circumference of the barrel for the intakes. Does it really matter where the intake vents are located? Would it make a difference in the performance if four(4) one inch holes were drilled in the front of the barrel? Thanks.

Doesn't make a huge difference. the Big Poppa Smokers use a one sided intake with a few holes that are controlled with a slide and it works very well
 
Most people say no to chips.

chips instead of chunks. Anyone used wood chips instead of wood chunks in their UDS basket? Think I may try it Saturday. Seems like they would fit in the basket better and more evenly through the basket.

The reason is that chips are thin, and will likely burn up too fast against the heat, and create too much smoke (white smoke) and then be gone after that -- no smoke...
 
which is the best wood for smoking meat is sold in home depot different type

Everyone has their favorites. Experiment with different woods to find the one(s) that you like the best.

Personally, my favorite is pecan wood on everything except beef. With beef I like cherry wood.

chips instead of chunks. Anyone used wood chips instead of wood chunks in their UDS basket? Think I may try it Saturday. Seems like they would fit in the basket better and more evenly through the basket.

I see no reason it wouldn't work, but I think it is a solution to a problem that doesn't exist. A few wood chunks mixed in the basket easily provides enough smoke. Remember, you aren't taking on the smoke flavor past about 140*, so don't be too concerned with getting wood in the fire-basket top to bottom. My only beef with wood chips in my vertical offset is that a lot of them fall through the cracks and end up never burning. I only use them in my Webers, now.
 
New UDS

Here's my finished UDS, donor weber kettle 22.5" lid, 3 1" ball valves, 2 rack levels and an expanded metal 16" diam. charcoal bin with ash catcher. Did the initial smoke/burn in with a half a bag of kingsford @ 250-275* lasted over 14 hrs at that temp. Very consistent.

20140805_160150_zpsuwamqojc.jpg
 
I finished (well, 95%) my UDS this weekend. The drum is powder coated and all of the extra bits are painted. The exposed nuts/bolts and temp aren't pictured as being finished in some of the pictures as they were painted a couple of days later.

It has 3 3/4" intakes with pipe caps and 1 1" intake with a ball valve. The exhaust utilizes the existing bungs, so a 3/4" and a 2" exhaust. So far, getting to, and holding, 250*, 300*, and 350* has been crazy simple. Longest burn was 3 hours, but I will be doing a long cook this weekend.

I will be adding an elbow/plug to the larger exhaust and plan on doing the big belly mod for the ball-valve. The front of it will eventually get our BBQ team logo, once we decide on a design. (www.facebook.com/pitfaced if you are interested :))

20140809_143917_zpszvkezrhx.jpg


20140809_182437_zpshjttcpbm.jpg


20140809_171855_zpsuikytklk.jpg


20140809_182538_zpsh2xkpiq6.jpg


20140813_002619_zpse56lkxqv.jpg


20140813_002710_zpsskisoeq7.jpg


I then finished the matching cooler/radio last night. 4 6x9s, Bluetooth, and it holds beer.

20140812_225237_zpsbb4o0izl.jpg


20140812_235209_zpsmf0pxuz7.jpg


Charging terminals:
20140812_235243_zpsyqzfc2p7.jpg


This is the only pic I have of the inside, before everything was cleaned, painted, and installed:

20140803_213151_zpsunjpclfd.jpg
 
Last edited:
Doesn't make a huge difference. the Big Poppa Smokers use a one sided intake with a few holes that are controlled with a slide and it works very well

Actually the BPS kit comes with (2) vents, and they instruct to put four 3/4" holes in each. Basically one vent per side. I used the kit on my sons' UDS and it works great. Also gives you the option for grilling with a second charcoal level.
 
Thinking of building a UDS, do you think this would work? I does not seem to have the dreaded red lining.
 

Attachments

  • IMG_20140813_133502_837.jpg
    IMG_20140813_133502_837.jpg
    31.8 KB · Views: 782
which is the need to put something under the basket coal

I mounted a cheap pizza pan to the bottom of my coal basket. When I pull my basket out all the ash comes with it. I give the basket a few twist and it slings all the ash out leaving me leftover coals for the next cook.
 
i'd love to see more about the cooler
well done!

I don't have too many more (any more, even?) pictures of the construction of it, but the radio portion is a Kenwood deck with 4 6x9 speakers (2 front, 2 rear). The rear speakers are on a switch so that they can be turned off independently of the fronts. The batteries are a couple of small sealed lead acid batteries with a 7aH capacity, connected in parallel. They are also connected to the two terminal posts you see on the outside so that you can charge them without getting to the batteries.

Putting the radio in is easy, though. Cut holes and connect it like any other stereo. The new walls/floor is the labor intensive part. A lot of bonding of different materials, trimming to size, adhering to existing walls, filling gaps, etc. I basically just added a false bottom, though, a couple of walls, and some caps over the electronics, then sealed them all in. It took two days of trouble shooting to identify and fix a small leak, but it is all sealed, now.

If you are any more interested, PM me and I'd be glad to help.
 
I've been searching for a drum for MONTHS and I think I found one. Here's a pic....

00l0l_3ZacdTaeQm0_600x450.jpg


Here's the reply I got when I asked him what was in it...

I do not know that answer. I obtained the drum about 20 years ago, it was clean through and through, no residue, no original top, no markings of any kind. I painted over the original black as shown in the ad. I filled it with water and used it to run my outboard engine.

I live in town (not really a city) and I'm not sure what sort of burn in I'd be able to do. Anybody have any opinions on whether or not I should jump on this?

00e0e_2eVktfySq2w_600x450.jpg
 
Get the drum, then give me the little dolly that it sits on :-D.

I live in a town, too, and burned out a drum without any real drama. You get a good fire going, no doubt, but it isn't like some crazy bonfire type thing. I just did it in my driveway.
 
Back
Top