This has been a couple of months in the making due to it just being a side project, but I finally finished my keg smoker. After seeing all of the mini-WSMs, I knew I wanted a small smoker myself. After seeing some of the keg smokers, I decided to go that route rather than the WSJ + tamale pot. There is another member on here that recently finished one like this and I'd like to give him credit, too, but I can't remember who it is. Hopefully you're reading this, Mr. Gave-Me-The-Idea, and post up so I can give you some props!
Anyways, here are the pictures:
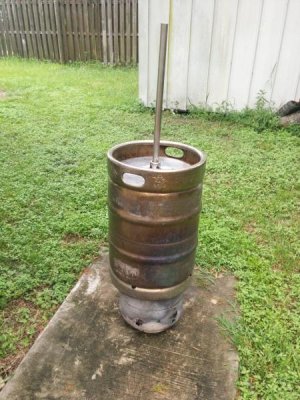
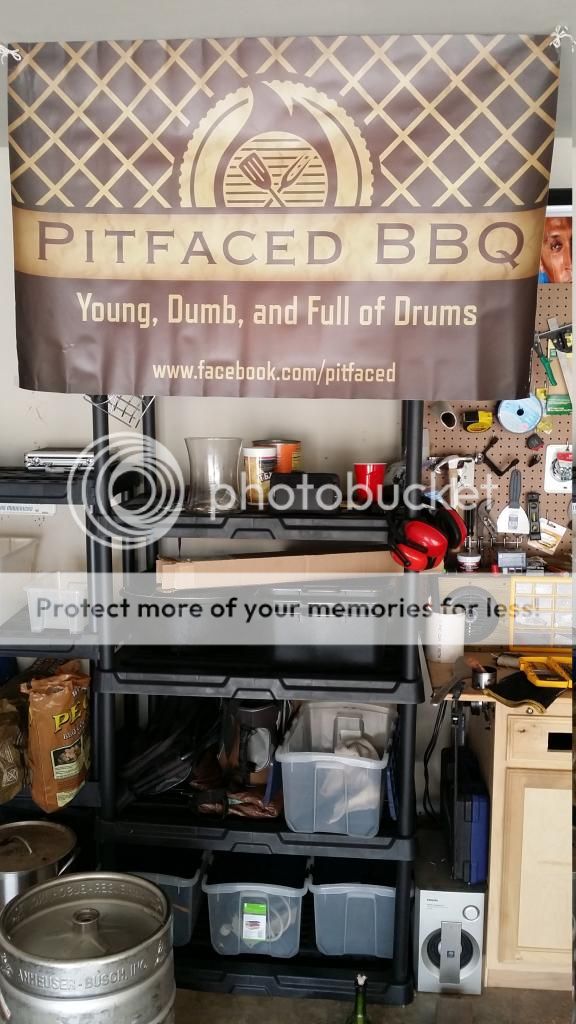
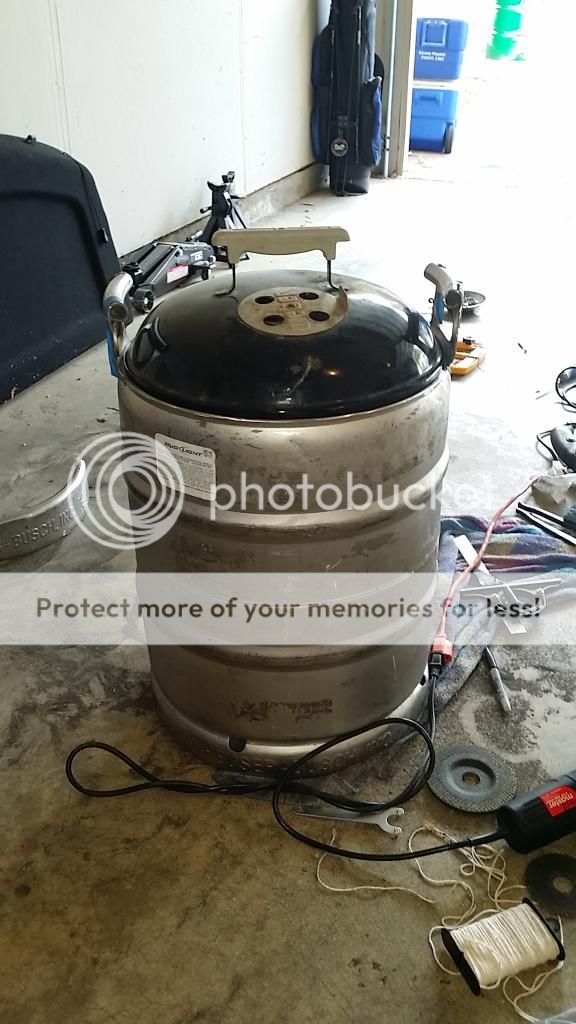
Among other junk (and a shameless plug of my BBQ team), you'll see an empty keg:
I cut the upper ring off, leaving just the handles. It also happens to be just the right size for a Weber Smokey Joe lid:
Cut a large hole in the top as well and mounted bolts to hold the grates. This is setup to have two 14.5" cooking grates:

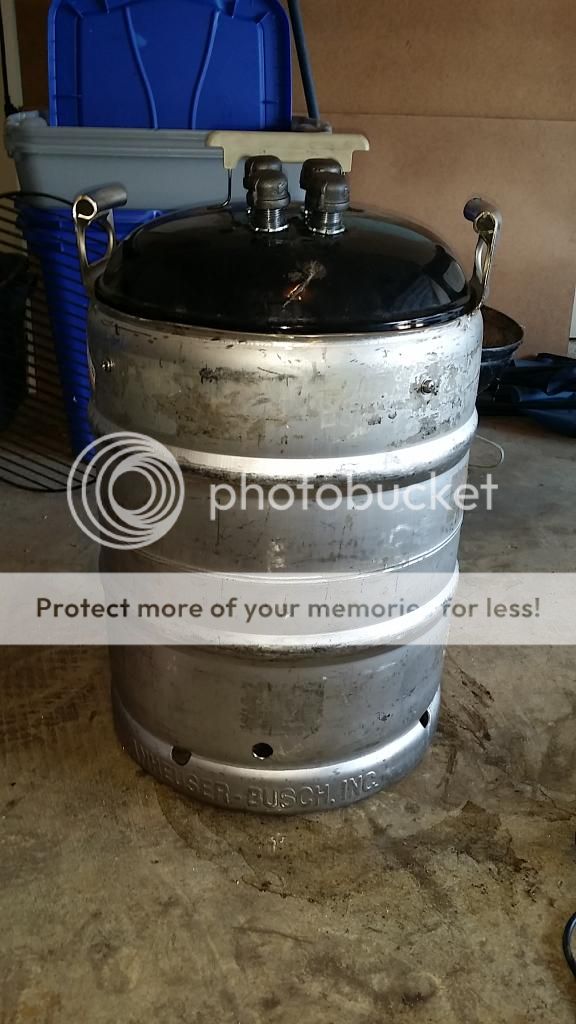
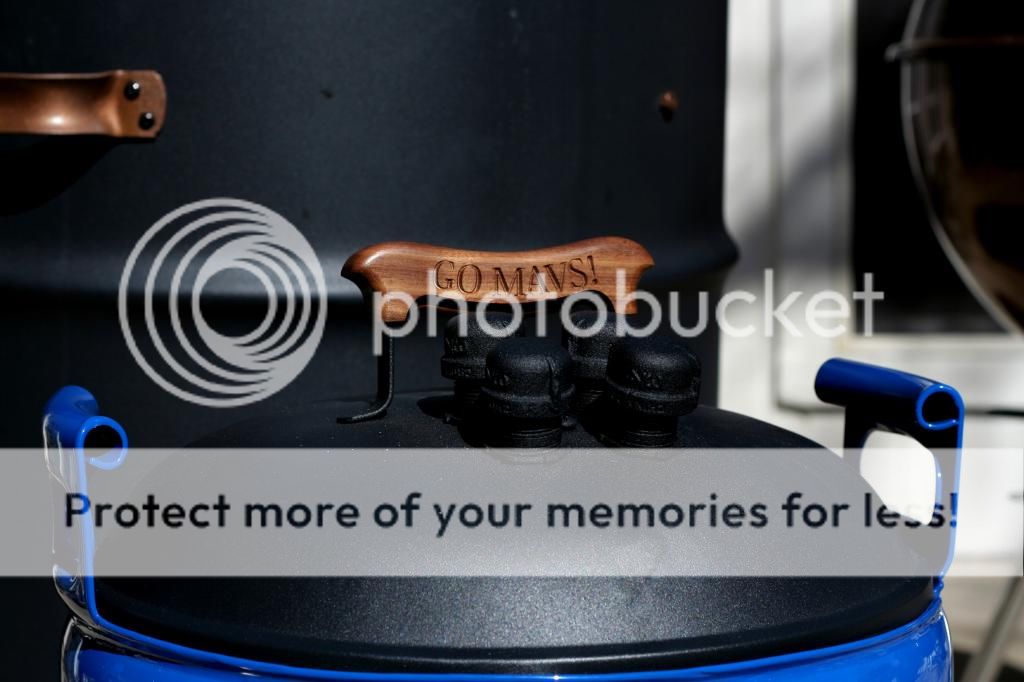
Drilled out the existing exhaust holes and fit pipe nipples with caps:
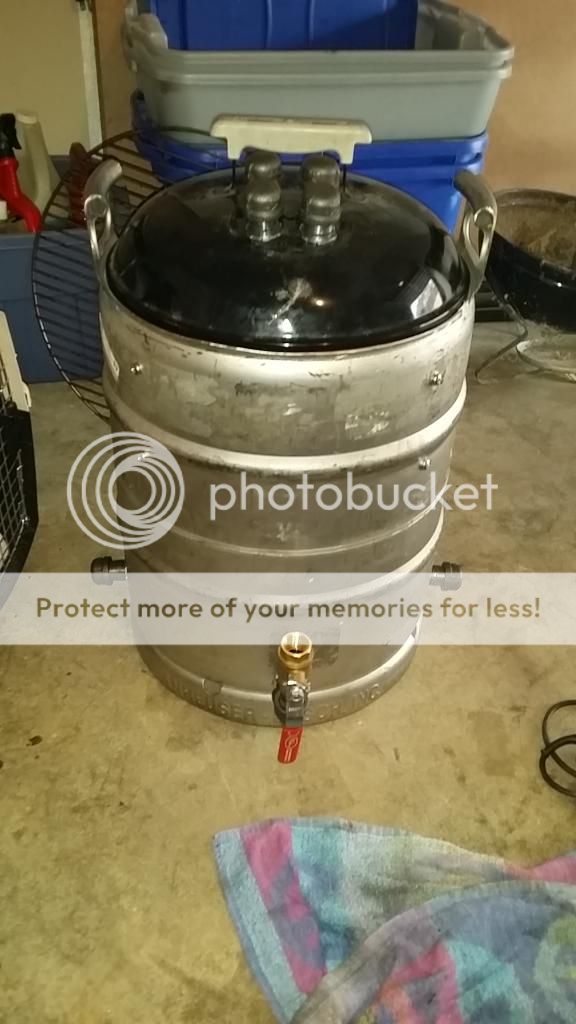
Three 3/4" pipe nipples for intake. Two with caps and one with a ball valve:
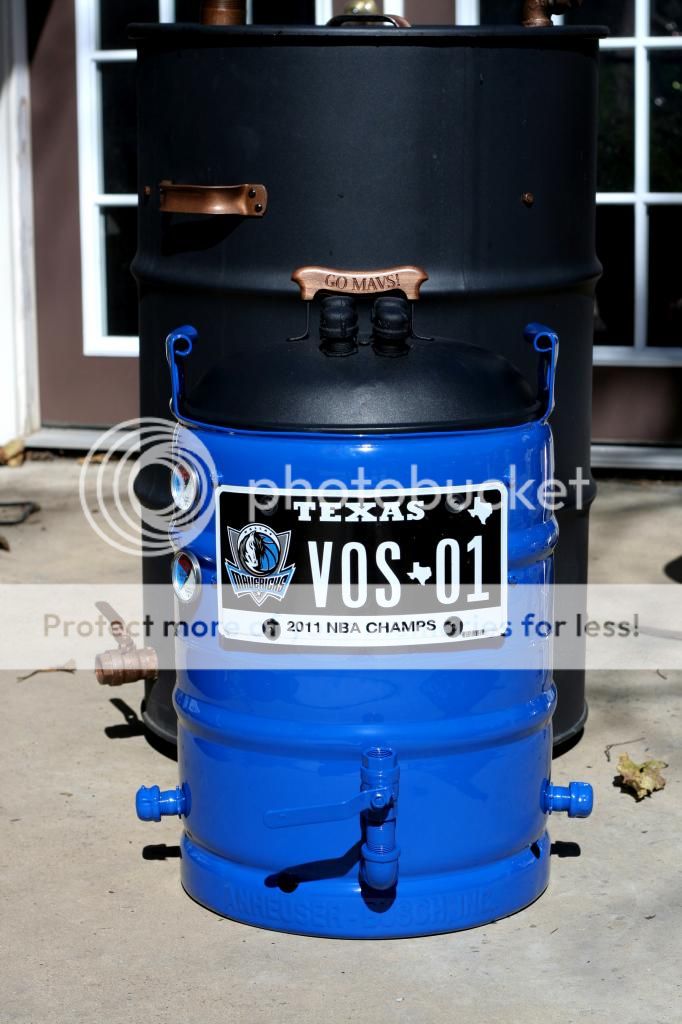
Then I had it powdercoated to go with the theme of my favorite team:
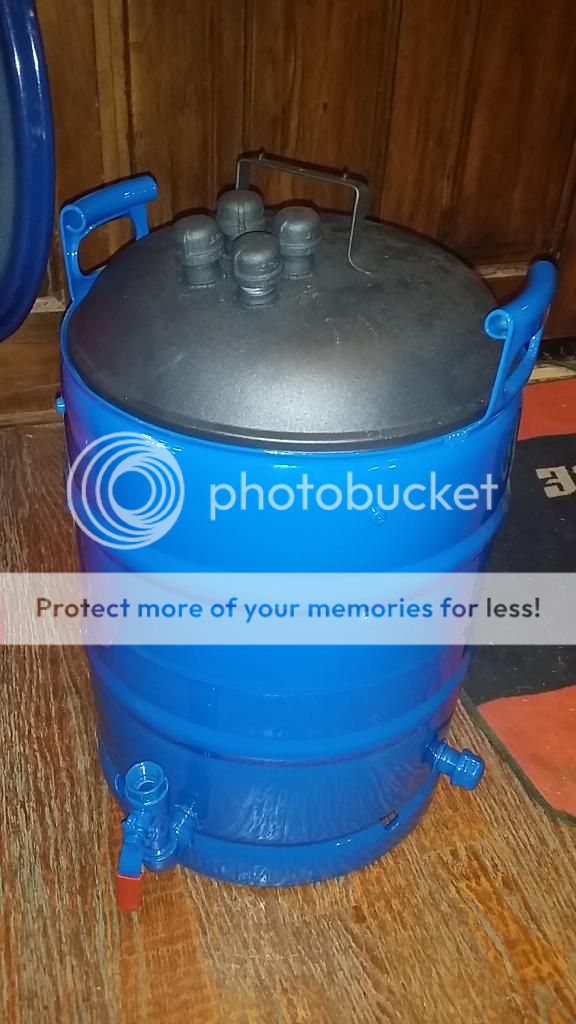
And completed. It is adorned with license plates I used to have on the Mazda, so it should be 1 of 1 (my Ugly Drum Smoker is behind it for reference):
Firebasket is made from a coal grate and some expanded metal. We'll see how long it runs:
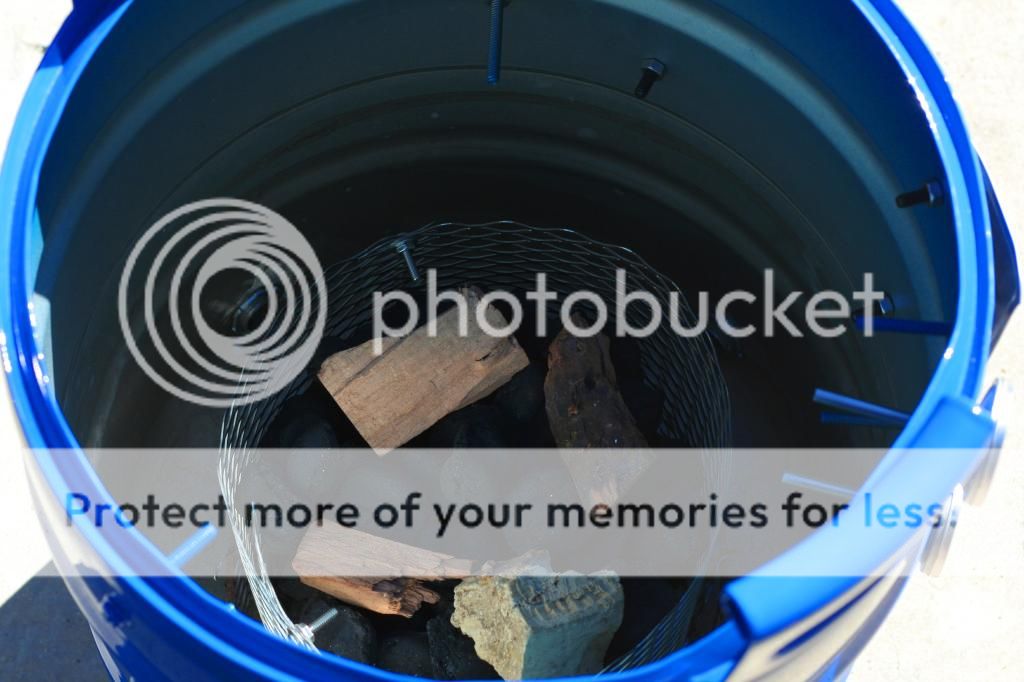
A terracotta pot base serves as the diffuser:

Here is the ball-valve, one of the other intakes, and a little hint as to the past life of this shell:

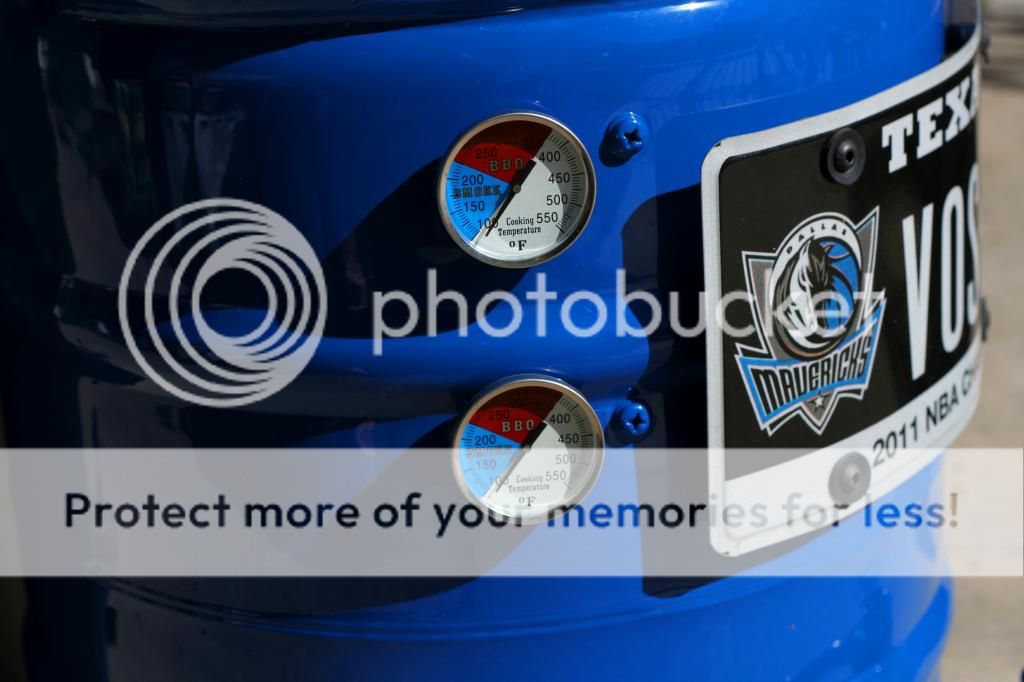
Thermos read temps right at the grate level for each cooking surface:
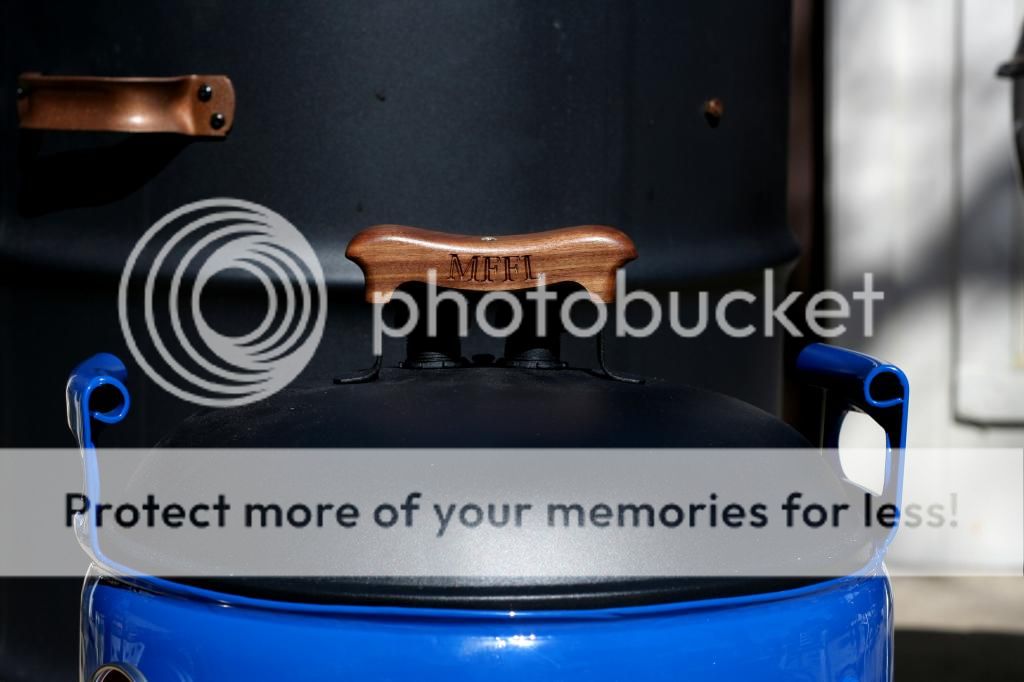
Custom handles (BIG shoutout to Marty Leach and his site, amlwoodart.com for the really, REALLY nice handles):
Pippa photobombed me:

Thermos have looked like this for the past hour:

I have verified those temps with an oven thermometer, so everything seems to be running smooth. It is about 15 degrees difference between the upper and lower grates which, if that is how it is, I won't even both trying to adjust. That is pretty awesome.
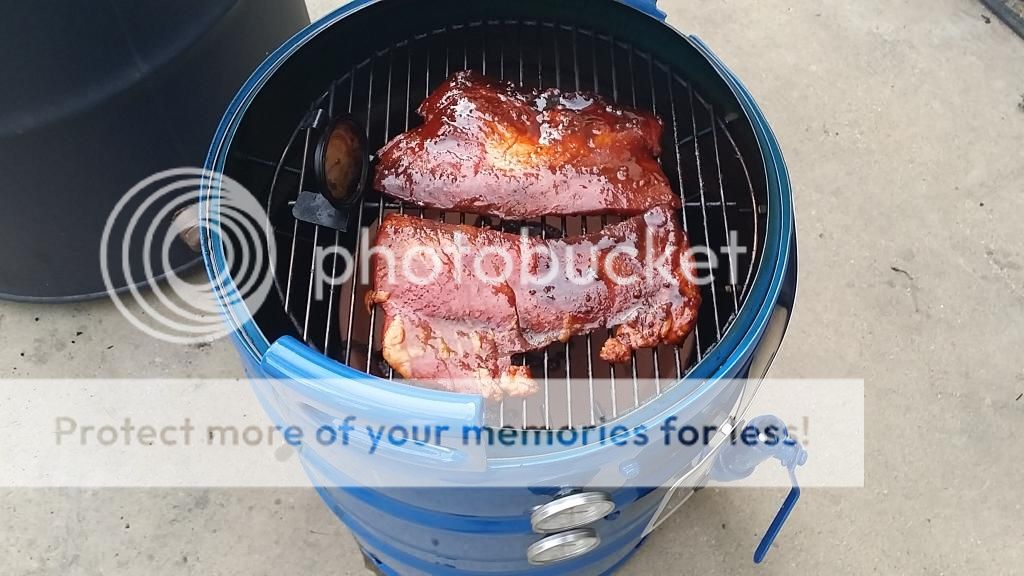
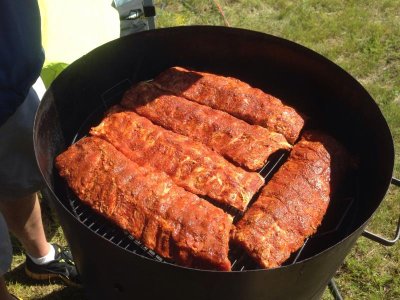
Finishing up the seasoning coat, then I'll try to ramp up the temps and throw on a little flank steak or something. Cooking surface looks like it will handle a couple small shoulders (one per shelf), or a few fatties, short ribs, chuck roasts, or other smallish cuts. I could do a rack of ribs per grate, I think, if I cut them in half first. It'll be a great moink-baller, too!
Thanks for looking and Go Mavs!

Anyways, here are the pictures:
Among other junk (and a shameless plug of my BBQ team), you'll see an empty keg:
I cut the upper ring off, leaving just the handles. It also happens to be just the right size for a Weber Smokey Joe lid:
Cut a large hole in the top as well and mounted bolts to hold the grates. This is setup to have two 14.5" cooking grates:
Drilled out the existing exhaust holes and fit pipe nipples with caps:
Three 3/4" pipe nipples for intake. Two with caps and one with a ball valve:
Then I had it powdercoated to go with the theme of my favorite team:
And completed. It is adorned with license plates I used to have on the Mazda, so it should be 1 of 1 (my Ugly Drum Smoker is behind it for reference):
Firebasket is made from a coal grate and some expanded metal. We'll see how long it runs:
A terracotta pot base serves as the diffuser:
Here is the ball-valve, one of the other intakes, and a little hint as to the past life of this shell:
Thermos read temps right at the grate level for each cooking surface:
Custom handles (BIG shoutout to Marty Leach and his site, amlwoodart.com for the really, REALLY nice handles):
Pippa photobombed me:
Thermos have looked like this for the past hour:
I have verified those temps with an oven thermometer, so everything seems to be running smooth. It is about 15 degrees difference between the upper and lower grates which, if that is how it is, I won't even both trying to adjust. That is pretty awesome.
Finishing up the seasoning coat, then I'll try to ramp up the temps and throw on a little flank steak or something. Cooking surface looks like it will handle a couple small shoulders (one per shelf), or a few fatties, short ribs, chuck roasts, or other smallish cuts. I could do a rack of ribs per grate, I think, if I cut them in half first. It'll be a great moink-baller, too!
Thanks for looking and Go Mavs!