G'Pa
Found some matches.
I bought a used Backwoods G2 Chubby to cook on, while I wait for my custom Cascade Smokers cooker to get here.
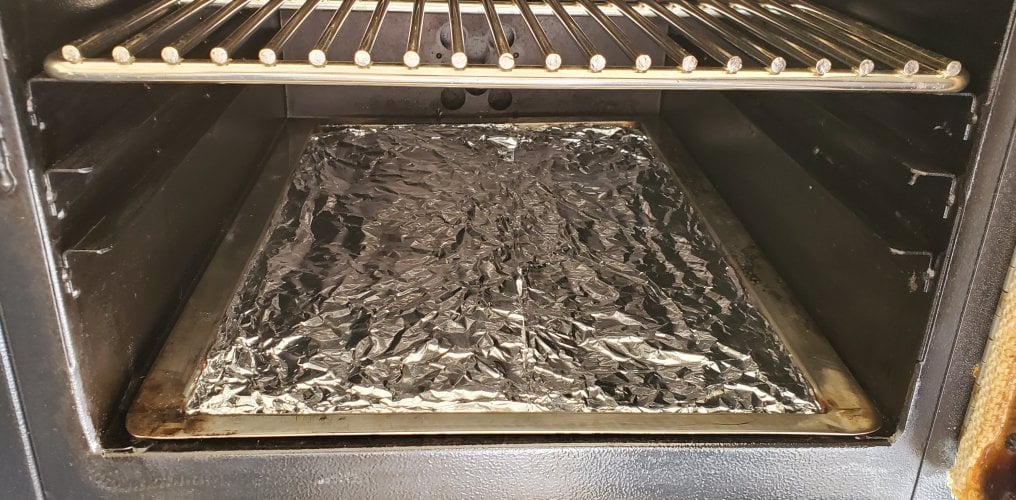
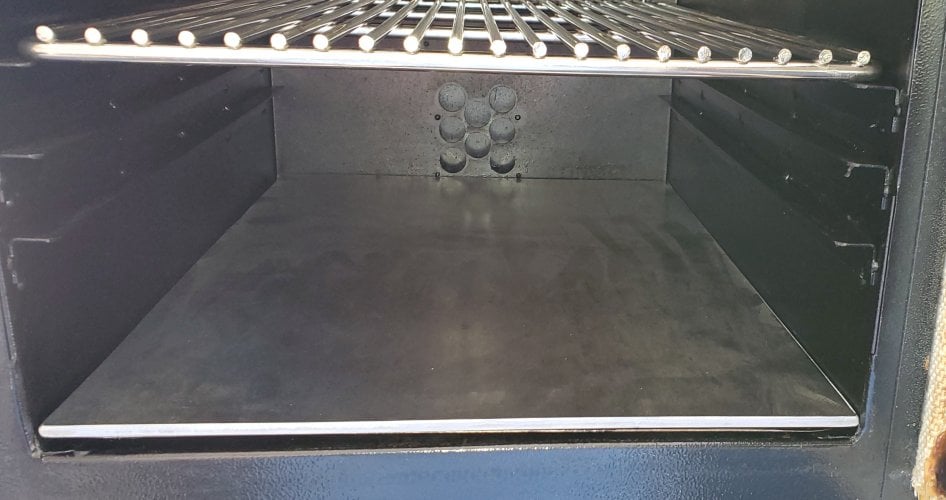
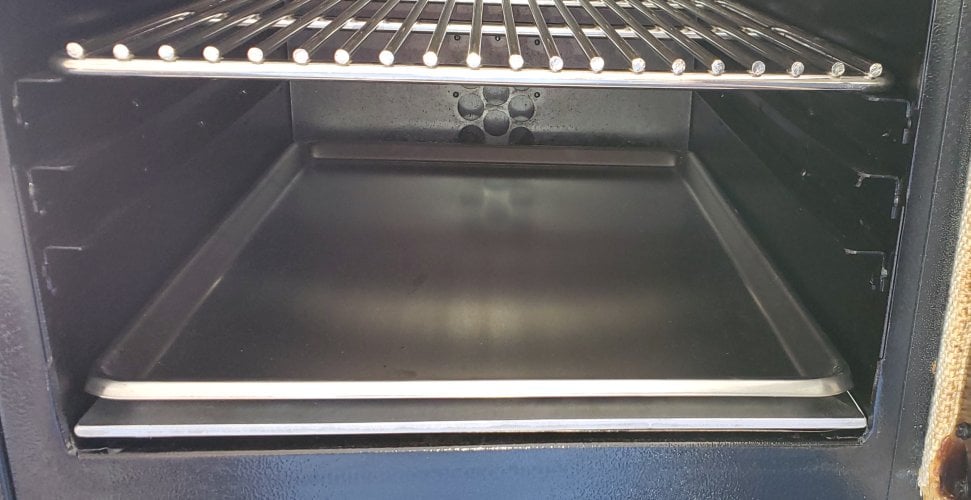
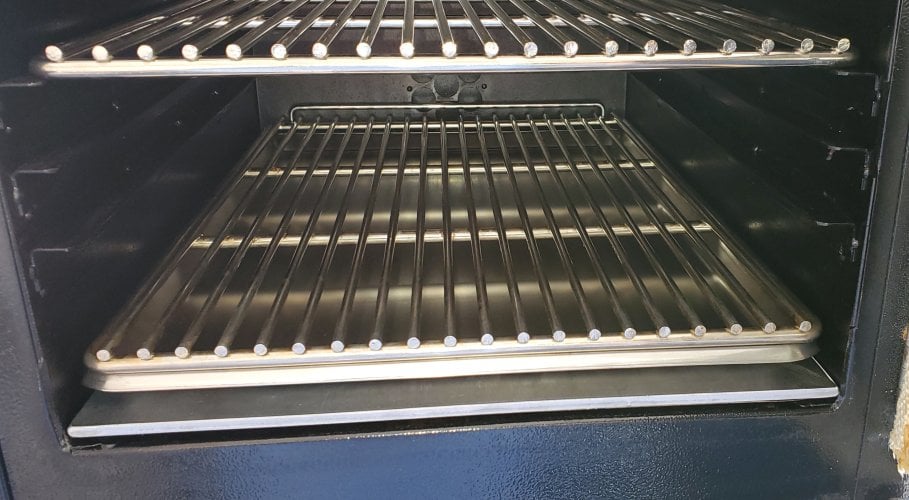
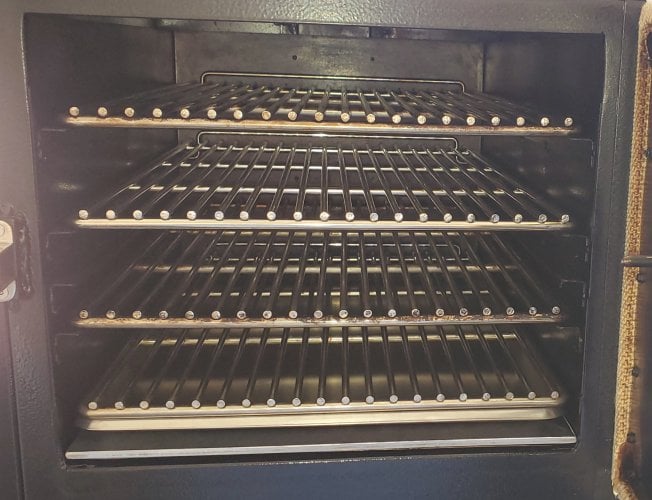
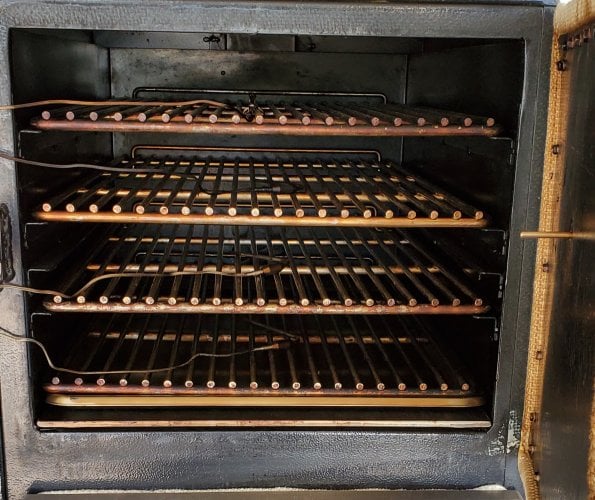
I did some modifications to the G2 to not have to cook with water, and deal with the subsequent mess. I left the deflector plate above the charcoal basket in place, left the water pan in place but filled it with 3" of 2100 degree ceramic insulation that I wrapped in 2 layers of aluminum foil. Then I put in a 3/16th steel plate, sized to the bottom of the cooking chamber, on top of the water pan, and then installed a stainless steel sheet pan, sized to the bottom of the cooking chamber, on top of the plate, to catch drippings/grease from above. The bottom grate still sits on top of the drip pan without issue. I had to bend the long edges of the sheet pan over a tad to get it to fit in there, but it covers pretty much the entire bottom of the cooker.
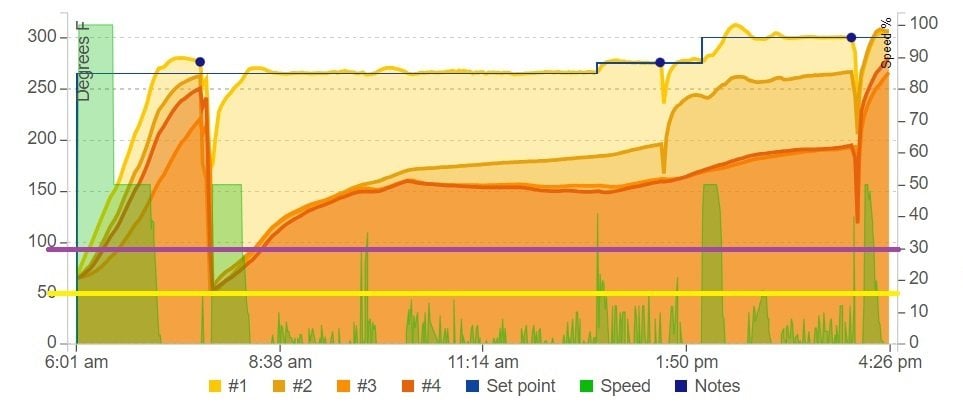
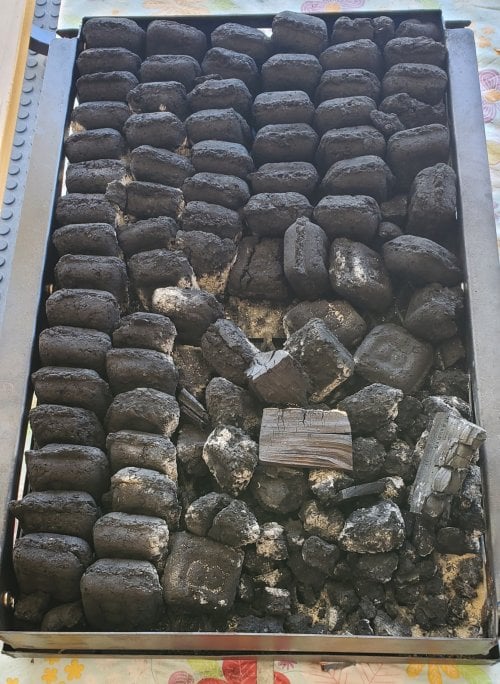
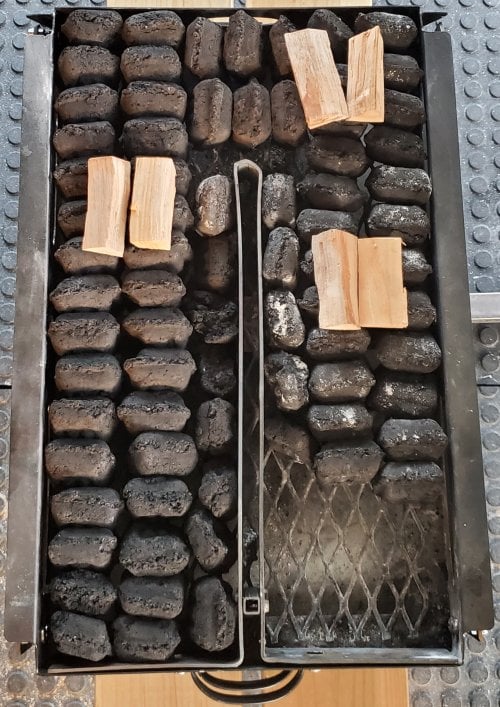
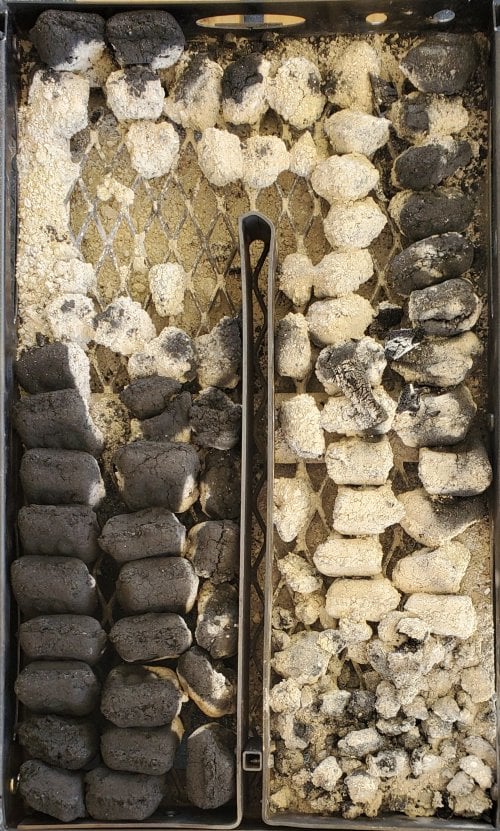
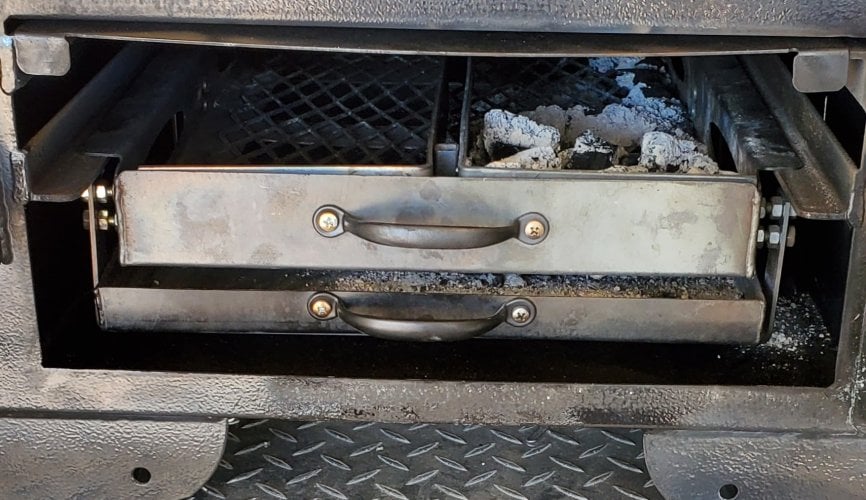
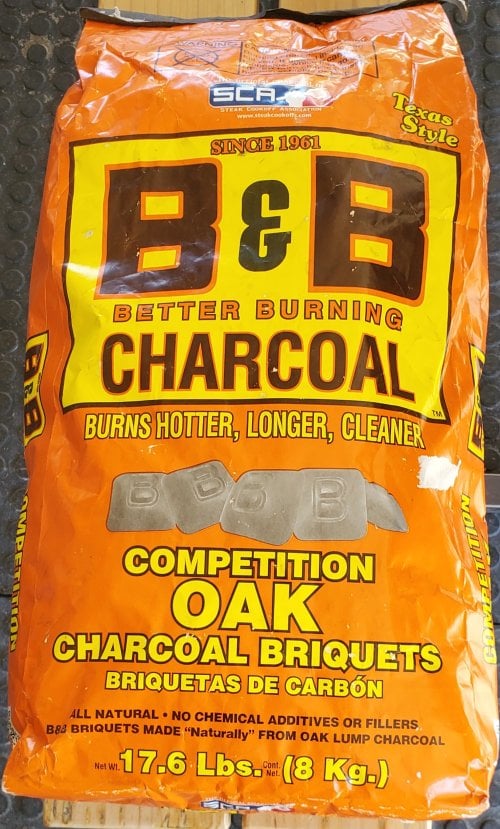
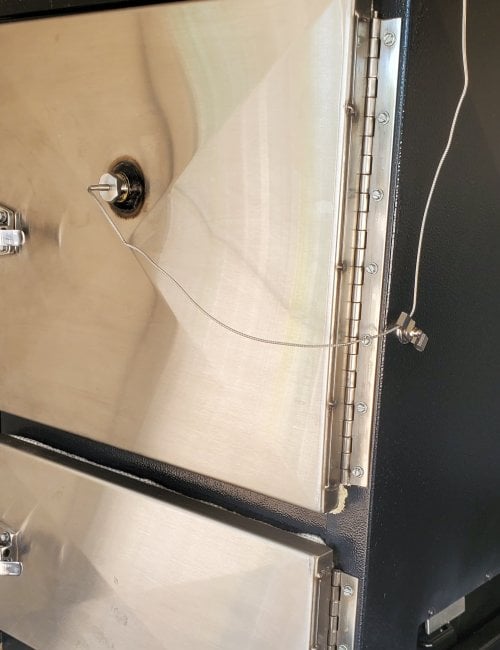
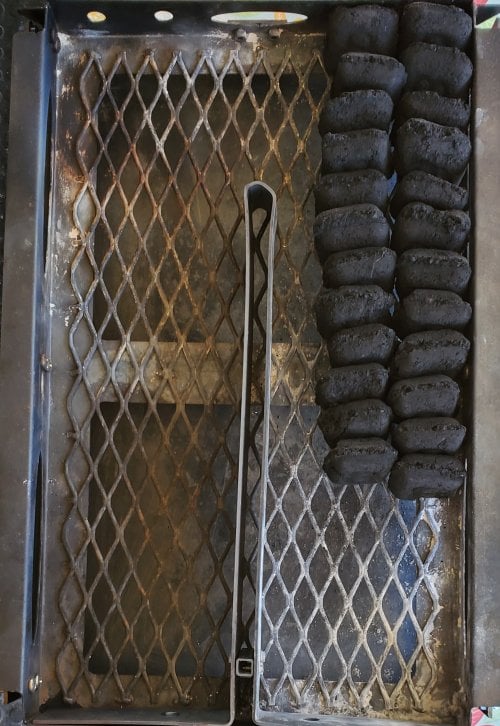
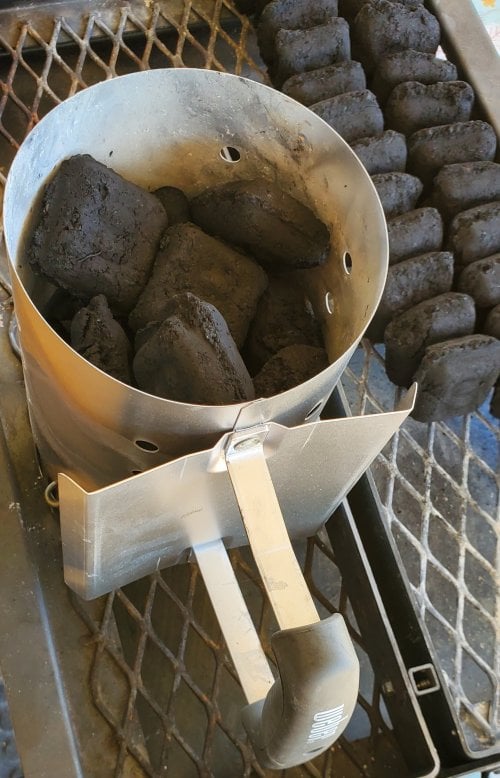
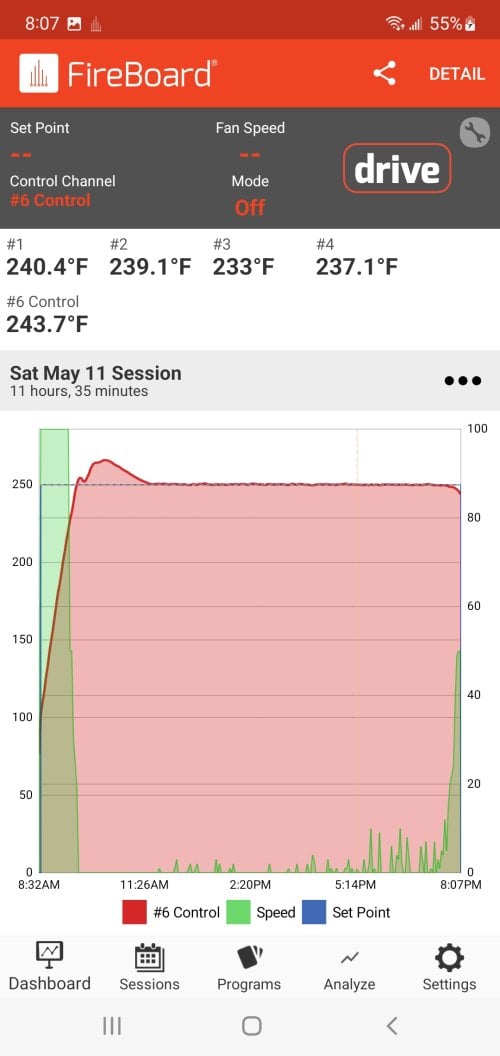
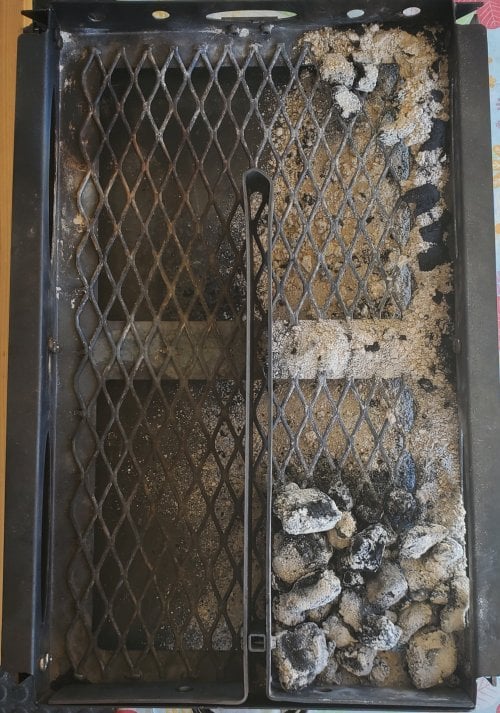
I had read many comments and posts from owners on the length of burn time, most saying they only get between 4 to 5 hours before having to reload charcoal. So I did some testing after my modifications, and found that I was getting 14+ hours of burn time at 250, using B&B Competition briquettes strategically arranged (empty cooker) in the charcoal basket. I did not follow what anyone has shown in videos or what Backwoods suggests in how to start and maintain a fire. I got an air inlet that interfaced to a slip in guru type fan, and installed it over the left back side sliding air inlet of the Backwoods. I then sealed the right front sliding air inlet, so the only air going into the fire chamber was via the fan. I hand arranged the B&B in the basket and left an empty space for about 10 briquettes, which I lit with a chimney, and dumped into the empty spot in the front right corner of the charcoal basket, the furthest spot away from the left rear air inlet. The burn was good and long, but I didn't like the way the charcoal burned across the entire basket, so I made a divider for the charcoal box that sits in the center (long ways) and makes a U pattern. The burn time (empty cooker) using this divider, and the strategically placed charcoal, went to 20+ hours at 250, so much for the 4 to 5 hour burn time rumors.
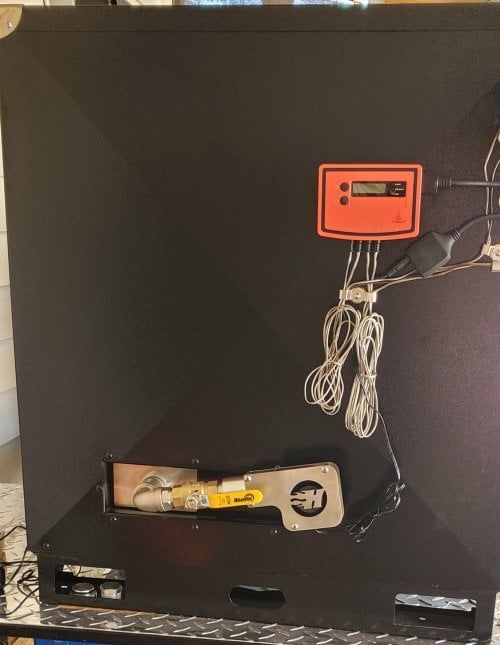
My current controller is an original Fireboard with Drive cable, and with that, I needed a fan. I had a fireboard fan, but there isn't a guru slip in adapter for it, so like everyone else I bought a BBQ Guru fan, the PitBull. Since the fan is a high CFM fan, I set the max fan output to 50% in the Fireboard Drive settings. With this setup I had issues with temp spikes, irregularities in temp and high temps that just didn't seem to come back in line. So I asked BBQ Guru if their fans were variable speed and compatible with the Fireboard fan that I have and used many times in the past. I was told that the BBQ Guru fans are NOT variable speed, just on and off, but may vary some with the voltage output from the Fireboard. So I decided to test the fan operation, and found that yes, the Guru fan work with the Fireboard, kind of. I changed the Fireboard Drive max fan output to 100%, used manual mode to test the fan, and found that the Guru fan didn't even run at <30% fan speed, pulsed and stuttered between 30% to about 40% fan speed, and seemed to run OK above 40% fan speed. Then I changed the max fan output in the Fireboard Drive settings and found that this just seemed to compound the issue. OK, time for a different fan, so I cobbled together a way to attach the Fireboard fan, with ball valve adapter I had, and did the tests again, and found that the Fireboard worked perfectly from 1% to 100% fan speed, no matter what value I set the max fan speed to in the Fireboard Drive settings. This is the setup I used in getting 14+ and 20+ hours burn time, with negligible temp spikes and almost a perfect flat line chart(s). Hint: cut off all air intake BEFORE opening the cooking chamber door, and open it back up, AFTER closing the door, because not doing this causes large temp spikes, as opening the door makes it the exhaust chimney, causing a rush of unmitigated air into the firebox.
OK, since Fireboard doesn't have a Guru adapter for their fan, I looked for a different variable speed fan like the Fireboard fan. I found that Humphreys BBQ has a fan that they call the Fireboard fan, and it has a Guru interface that will slide into the Guru adapter. I contacted them to ask if their fan was variable speed and worked like the Fireboard, and was told yes, so I ordered fans. Received the fan(s), and went through the same tests I had done previously. This fan is absolutely better than the Guru as far as working more like the Fireboard fan, but, the test showed that the fan did not run at all <15% fan speed from the Fireboard. So until I looked at the session graph(s) from the previous test with the Fireboard fan, I was almost convinced this fan was the way to go. But the session graphs showed that after getting up to temp, and into a maintenance mode, the Fireboard was running the fan speed mostly <10% to maintain my set temp, so no go on this fan either since it doesn't even run <15% fan speed. I contacted Fireboard to suggest they make a Fireboard Guru adapter, but that doesn't help me immediate need. I remembered seeing something called a HFB adapter on the Humphreys website, which is used to convert a Fireboard fan to work with the Guru slide in air inlet. So in looking at the Humphreys fan, and comparing it to the Fireboard fan. I removed the existing fan from the Humphreys fan, removed the existing fan from the Fireboard fan, and compared them. The Fireboard fan is a dimensional match, so I installed the Fireboard fan into the Humphreys fan assembly, and tossed the Humphreys fan. Now I have a fan that is 100% Fireboard compatible, with a Guru interface that works perfectly from 1% to 100% fan speed, no matter what the max fan output is set to in the Drive settings. Hint: this new fan setup requires a ball valve between the fan and the firebox, as the Humphreys fan, and the HFB kit, do not have a damper built in like the Guru and Fireboard fans do.
If you have read this far, thank you. I hope this helps someone else save their time, money and temperature management hair pulling/frustrations. My bet is that if you are having temperature management issues with using a Fireboard Drive, and not using a Fireboard fan, the issue is probably the fan you are using. Now if I could only recoup the money I spent on all the fans, etc.....
