Building a stick burner

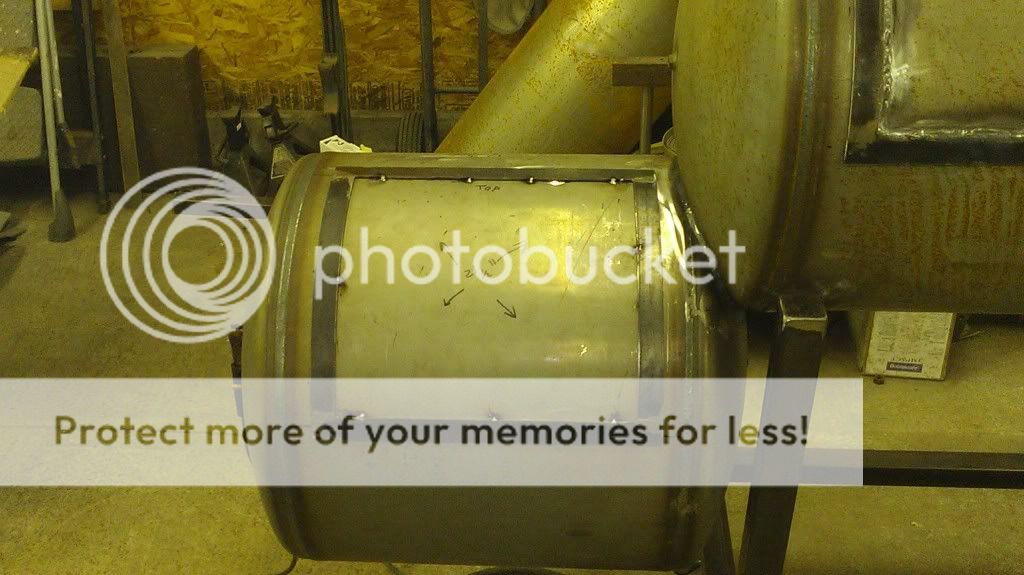
Got the fire box door put together last night. Plan way to do a test burn by sunday but that's not looking good
IMAG0303.jpg
 
Hello Everyone
Its been awhile since I've been on here, had to put the cooker on hold cause of my living situation while i finalized on my house. Well i got the house and time for the smoker again.:grin: cant wait to see it on my patio, i can tast it already heres a pic of my house and patio aka SMOKE ALLY, haha just thought of that. ill take some pictures of the things ive done to it in the last couple weeks and upload them in the next couple day stay tuned
 
The pictuers are the realitor pictures due to the snow they wouldnt have looked as good, i got alot of work in the back yard this spring


Congrats on the house. The build looks great, can't wait to see it finished.
 
Hello Everyone
Its been awhile since I've been on here, had to put the cooker on hold cause of my living situation while i finalized on my house. Well i got the house and time for the smoker again.:grin: cant wait to see it on my patio, i can tast it already heres a pic of my house and patio aka SMOKE ALLY, haha just thought of that. ill take some pictures of the things ive done to it in the last couple weeks and upload them in the next couple day stay tuned

Where in southern Wisco are ya? Am originally from Kenosha County.
 
hears the latest pictures


This is the inside of the cook chamber, the upper angle iron is for my racks and the lower angle is for the heat plates to rest on


heres the plate that is welded above where the fire box enters the cook chamber. also you can see my greese trap


the hinges i got off ebay, they work great


the handles were branches cut and drying out now before i laqure them


And there she is you can see the frame for the table, also the latches i put on all the handles are on, doors done. air intake and dampener in the stack(not pictured) the list is geting smaller cant wait, I can tast it already
 
Use long carriage bolts on the handle to keep a smooth edge.
 
Looks great. Bet it weighs a ton! Just a thought- you could zap some washers behind the handles instead of having nuts there for a stop, then use your acorn nuts to hold the handles tight to the washers. Not nit picking your work just thought it might look cleaner.
 
Looks great. Bet it weighs a ton! Just a thought- you could zap some washers behind the handles instead of having nuts there for a stop, then use your acorn nuts to hold the handles tight to the washers. Not nit picking your work just thought it might look cleaner.
oooooya shes not light but the up side of that is it wont tip over in the wind. and thats not a bad idea
 
Alrighty everyone its been a busy month but got the expanded Cut out for my racks and the brace welded in the middle as a precaution for warping


And then there's me and the mistress.


Just have to weld up the frames for the racks, temp gauges/drain bung, table and paint
 
Back
Top