Paint type for stick burner repair

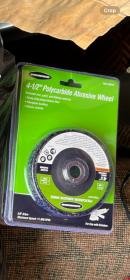
Yes, high temp BUT, not the spray. Use the quart and use a foam roller and you'll get a better looking result. I've used Rustoleum High Temp paint that comes in a quart with great results (ACE hardware...).


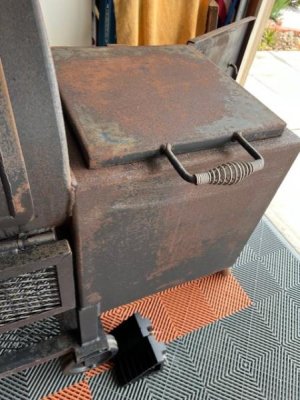
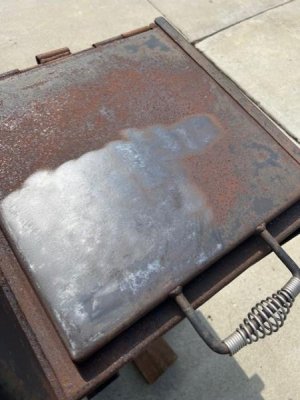
Prep is key. Sand the rust down and use a rust converter (gets deep in the pores) before painting or it'll just bubble up again in a few months.

PGarSD, I am so glad you shared the part about using a brush or foam roller, not a spray can. I have been doing searches about painting smokers and finding nightmare stories of how hard it is to get a good-looking job with spray paint. Thank you again!
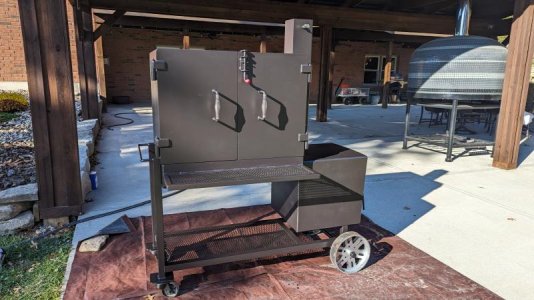
 
PGarSD, thank you again. I am in the process of prepping and painting. We have a little weather window so I am taking advantage of it. Yesterday I washed and scrubbed it with Dawn and a Scotchbrite pad, rinsed well, dried it, went over it with 50/50 vinegar and water to remove soap residue, dried it again, used a wire brush on light-rusted areas, and applied Ospho.

Today I will brush off any dusting from the Ospho, wipe the whole unit down with acetone, and paint with Rustolium BBQ high-heat paint using a brush and foam roller.
Did I miss anything, lol?

Thank you all for the help. I will post pictures!


Sounds like you've got it covered! One other item; I propped the doors open (bungee cords to the garage rafters) so the paint on the pit where the doors overlapped could dry. Looking forward to your pics! (I cant figure out how to post pics...)
 
Patrick, you may have already tried this but the way I post pictures is to scroll down below where you post a reply and choose the attachment option. That should allow open your file explorer. There you should be able to open either your picture library or downloads depending on where you saved them, choose the ones you like, and then click open. That is what worked for me. If that fails then I go get my wife, lol
 
Thanks for the hint :) Had to dig a bit but figured the attachment thing out...
 

Attachments

  • Smoker.jpg
    Smoker.jpg
    106.2 KB · Views: 59
Here's what the firebox rust looked like, the rust removal job started (after about 5-10min work), and the polycarbide wheel used (with a cheap $10 HF angle grinder).
 

Attachments

  • Rust 2.jpg
    Rust 2.jpg
    51.4 KB · Views: 59
  • part rust.jpg
    part rust.jpg
    41.6 KB · Views: 58
  • wheel.jpg
    wheel.jpg
    9.7 KB · Views: 58
Last edited:
Holy Cow Patrick, look what you did! That is a wonderful-looking job!!! That had to be a lot of work. Mine took about 8 hours total over two days, but it was not nearly that bad. I have been reluctant to post pics of my results. It was a little streaky but seems to have blended in since doing a few cooks it was painted. I'll post a picture now. Good on you though!
 
This is what my smoker looked like after cleaning and painting using a paintbrush and foam roller. If you look closely, you can see on the doors and on the side of the firebox, that it looks like the paint did not cover well in some places. But as I said above, it seems to have gotten better after doing a burn-off and a few cooks.

I did have a failure of sorts on top of the firebox though. I assume that the guy who owned it prior must have heated damp wood on the top of the firebox because there were a lot of little rust bubble areas beginning to come through. I use Ospho on some welds around the firebox. I used a wire brush on the little rust blisters, and the paint was almost powdery when I scrubbed it. Most of the paint came of down to the primer. Because there were so many little rust areas, I just spread the Ospho over the whole top of the firebox. Not Good! After I heated it up (without food) to kind of cure it, the paint bubbled up. After it cooled, I used a scrub brush and cleaned it up. I guess I should have taken it down to bare steel and used primer instead. But it actually does not look bad the way it is. There still seems to be some paint there after all.

The rest of the smoker eventually looked very good and it seems that the paint adhered to the surface perfectly.
 

Attachments

  • Painted  Fat Daddy Smoker.jpg
    Painted Fat Daddy Smoker.jpg
    70 KB · Views: 42
Looks great Headgear! Nice work. And, yes, stripping mine (I stripped everything to bare metal, immediately used Ospho and then painted the next day, no primer) was a heck of an all-day job. The polycarbide wheel/angle grinder combo was a real time-saver but I was still sore for several days. Did you do two paint coats? The second coat was needed on mine to get rid of any streaking. And, I let it air dry for ~5 days before firing it up (low temp) for a few hours to complete the cure. I wanted to go 7 days but I just couldn't wait that long :)

The next time you cook, try the "wipe it down with a damp rag with a few drops of mineral oil" when the smoker is cooling off, you'll be amazed as it makes the smoker look like new. Plus, I think it adds a bit of moisture/rust protection with the oil seeping into any paint "pores" sealing them. The rain beads up and rolls off the smoker just like rain on a waxed car. If it's sticky the next day, you used too much oil (it'll burn off at the next cook).


Enjoy your awesome looking smoker!
 
Last edited:
Looks great Headgear! Nice work. And, yes, stripping mine (I stripped everything to bare metal, immediately used Ospho and then painted the next day, no primer) was a heck of an all-day job. The polycarbide wheel/angle grinder combo was a real time-saver but I was still sore for several days. Did you do two paint coats? The second coat was needed on mine to get rid of any streaking. And, I let it air dry for ~5 days before firing it up (low temp) for a few hours to complete the cure. I wanted to go 7 days but I just couldn't wait that long :)

The next time you cook, try the "wipe it down with a damp rag with a few drops of mineral oil" when the smoker is cooling off, you'll be amazed as it makes the smoker look like new. Plus, I think it adds a bit of moisture/rust protection with the oil seeping into any paint "pores" sealing them. The rain beads up and rolls off the smoker just like rain on a waxed car. If it's sticky the next day, you used too much oil (it'll burn off at the next cook).


Enjoy your awesome looking smoker!


I did not put a second coat on it. The instructions say a second coat is not recommended. Maybe I will do that and see how it looks. I love this smoker but I am in the process of getting a Shirley with the wagon wheel package and golf cart wheels. The one I have is great but it is hard to roll around. I have a 40' square patio and the first ten feet is under the deck with a roof above. That is where I store the smokers and grill. Then I have a 22'x36' shelter or pavilion-type structure over the rest of the patio. That is where I do my cooking in case it is raining or snowing. I also insulated it before installing the metal roof so you can survive being under it when it is 90+ degrees. So I want something that I can more easily roll out and back. So as soon as I get the Shirley, down the road this one goes. I do love this smoker but it needs to go to a home where it will sit in place and not need to be moved so often. Thaks for the tips!
 
Back
Top