JayBirde
Knows what a fatty is.
- Joined
- Feb 1, 2010
- Location
- Post Falls, ID
Hello everyone! JayBirde here from Limp Brizkit BBQ. I have been lurking around the site for a couple of months now and thought it was about time I posted some pictures of our build! We are a brand new competition bbq team from North Idaho (no, I will NOT ship you any potatoes). Our first competition is May 15th (Rib King cookoff - not sanctioned) and the first big event we are entering is the Smokin' The Coeur d'Alene's Inland Northwest Barbeque Competition on June 19th & 20th. This is a sanctioned event (by the PNWBA) and winner goes to The Royals.
Please keep in mind that this is a work in progress and we have many aspirations in regards to this trailer. I also want to thank everyone who has helped us out so far (you know who you are!). Enough BS....time for the pics:
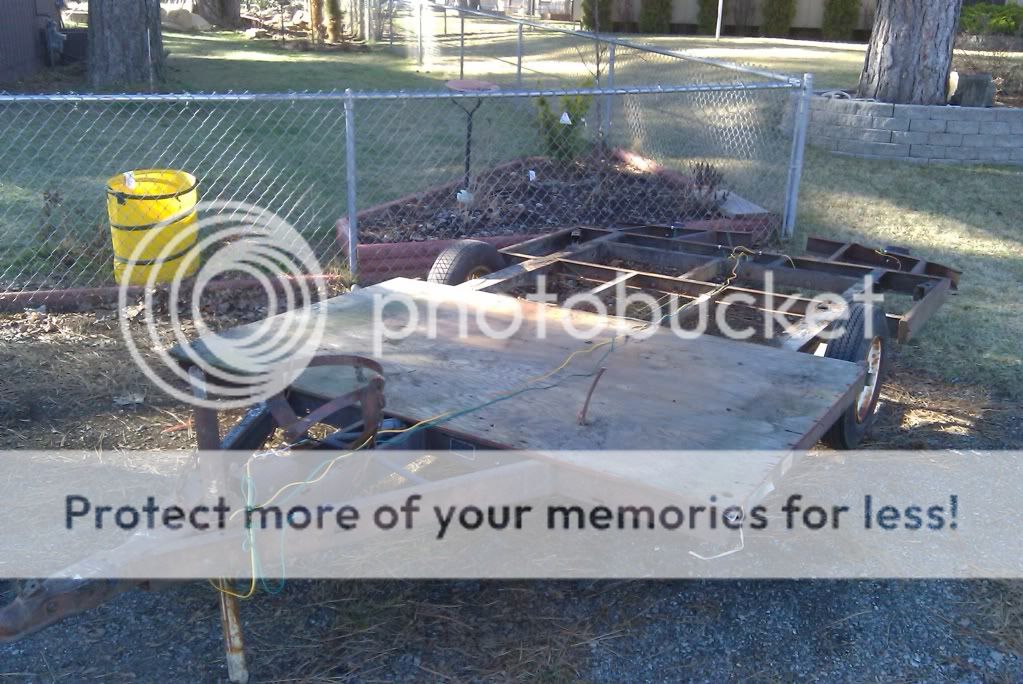
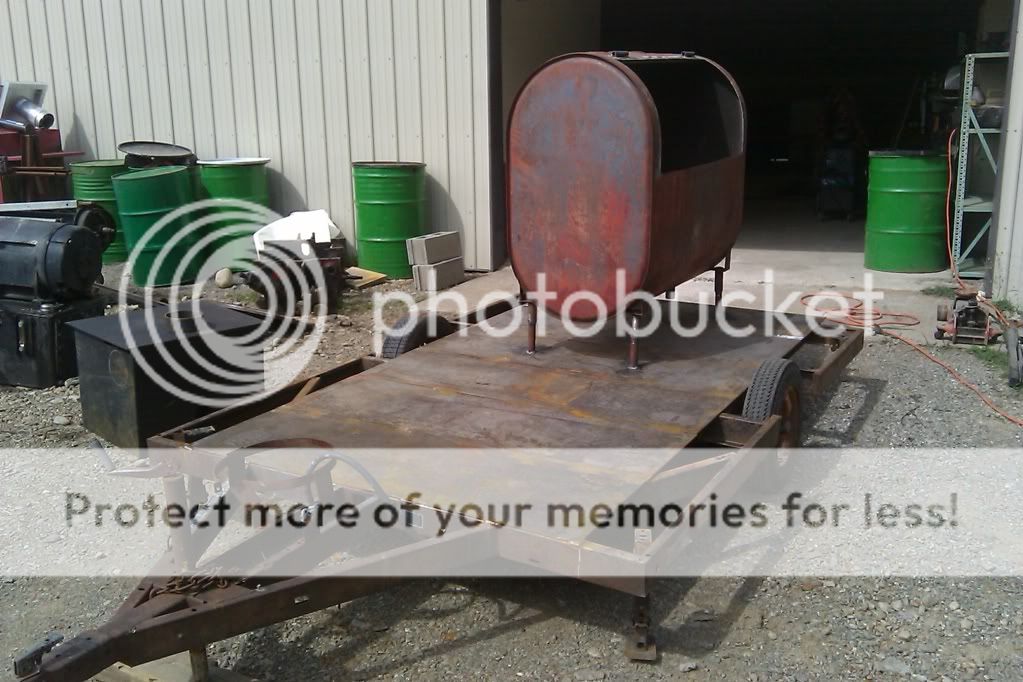
Humble beginnings. This was a tent trailer that was donated to us by R'N'R RV.
We stripped down the trailer first, then we started laying out our 1/4" plate steel for the decking of the trailer.
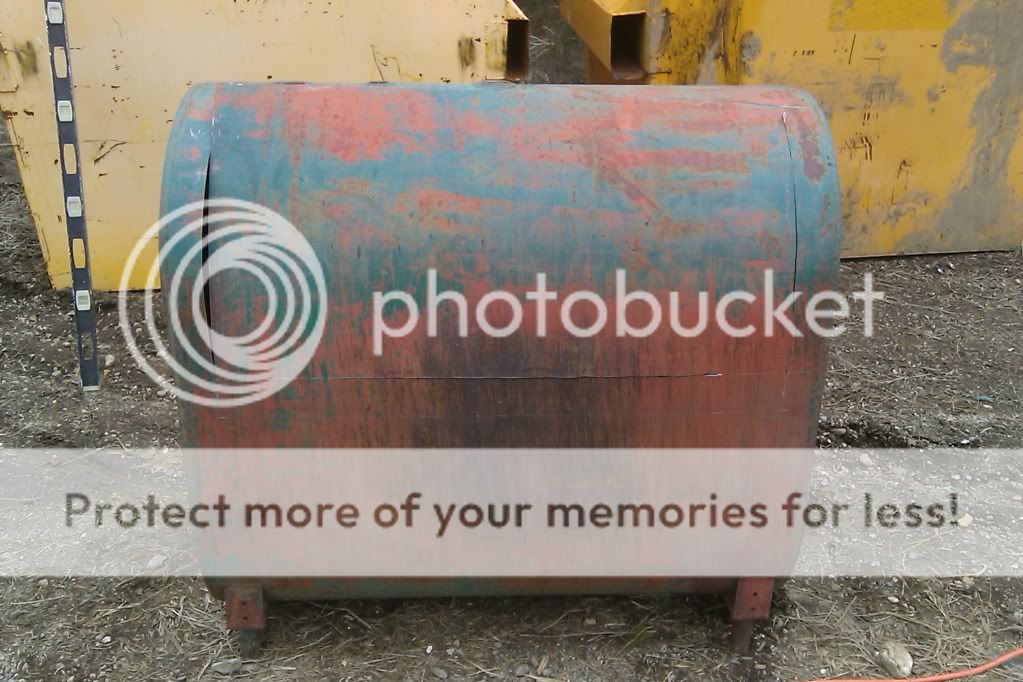
This is an oil tank my buddy bought on a pallet with a bunch of other stuff at an auction. I gingerly removed the fuel gauge expecting the usual array of sludge at the bottom, but to my relief....only some black sawdust looking stuff in the bottom and not alot either! Also didn't smell like fuel oil but just regular old oil. Nice! Starting to cut out door here.
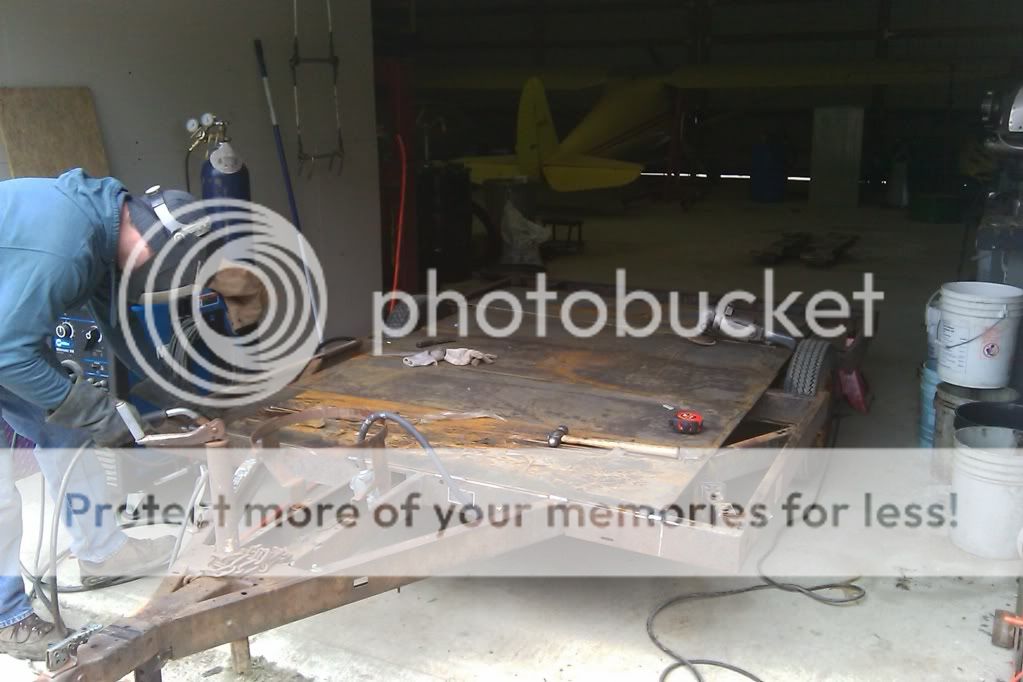
Welding plate steel to trailer deck again.
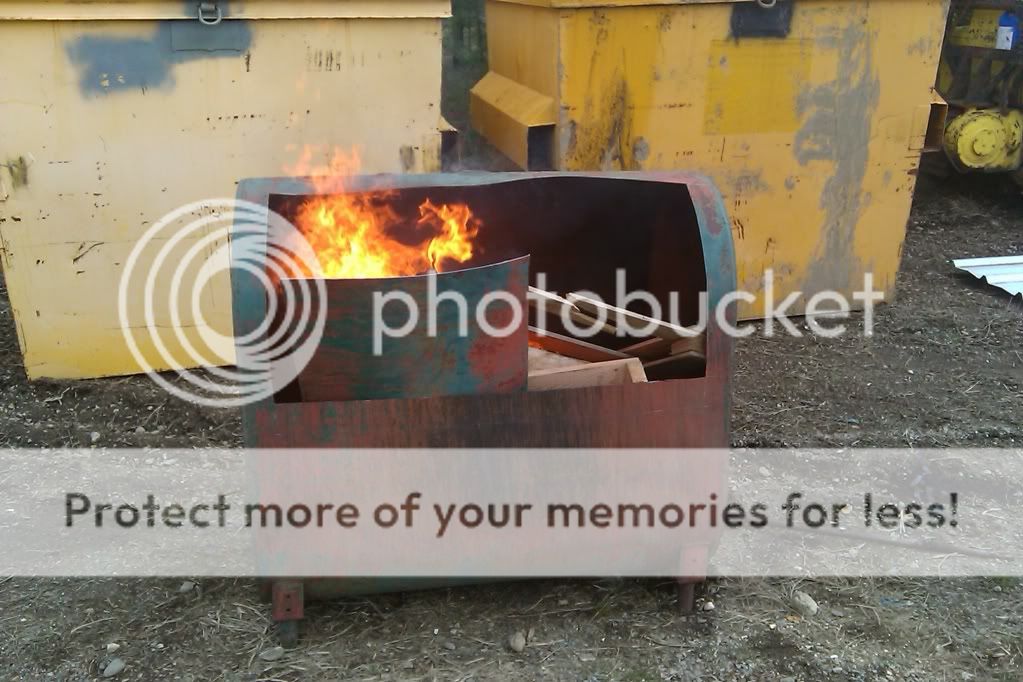
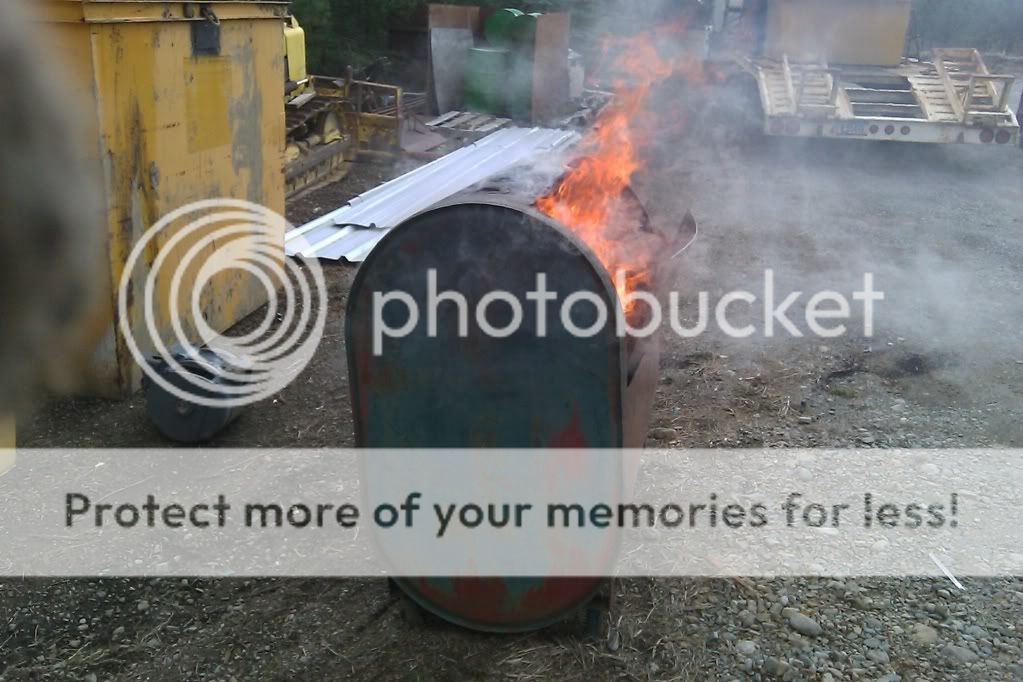
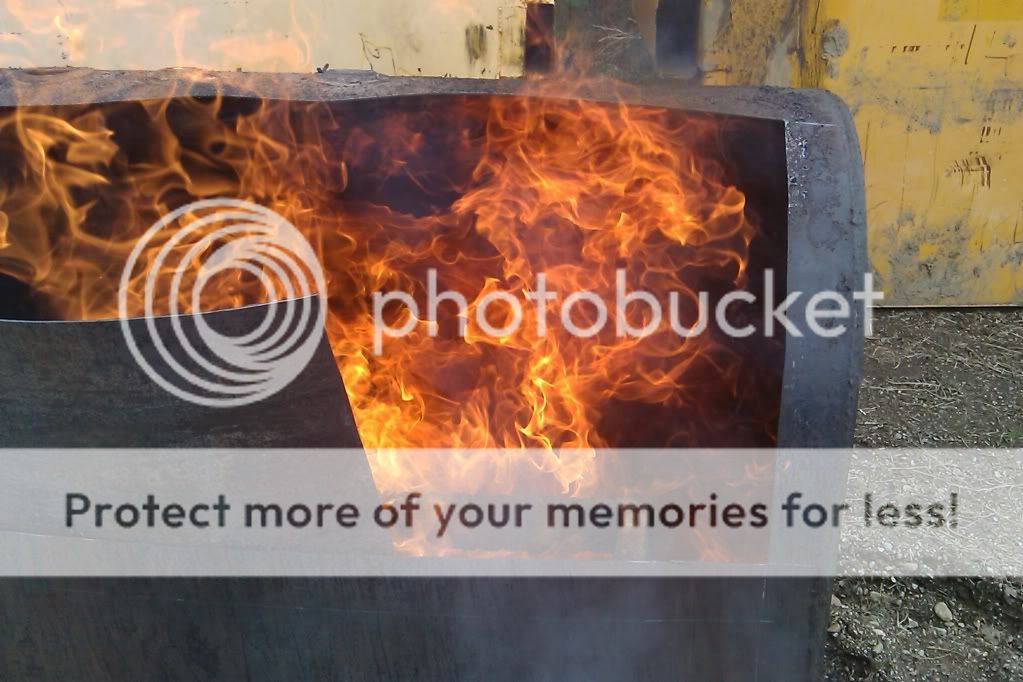
Had saved a bunch of oak pallets I got at work that some equipment came on. Pretty handy to have for this situation. We also threw about 2 bags of Red Oak Wood Pellets in there for good measure. Next 2 photos are more fire! Burn that crud! Ended up burning for 10-12 hours total.

Trailer deck all tacked in place on the top. At this point we planned on filling the empty spaces with diamond plate steel (1/4") until I found out just how expensive steel diamond plate is ($215/4'x8' sheet here!) Looks like it will now be expanded metal.
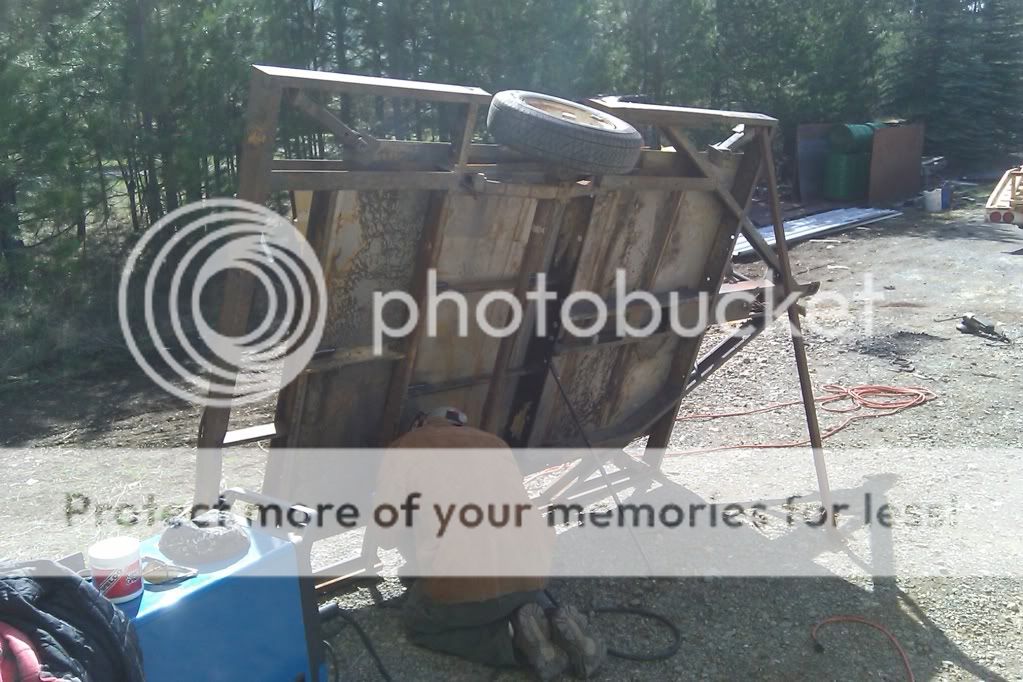
Trailer on end in this phot so that we can finish welding the plate steel from underneath. This baby ain't going anywhere!
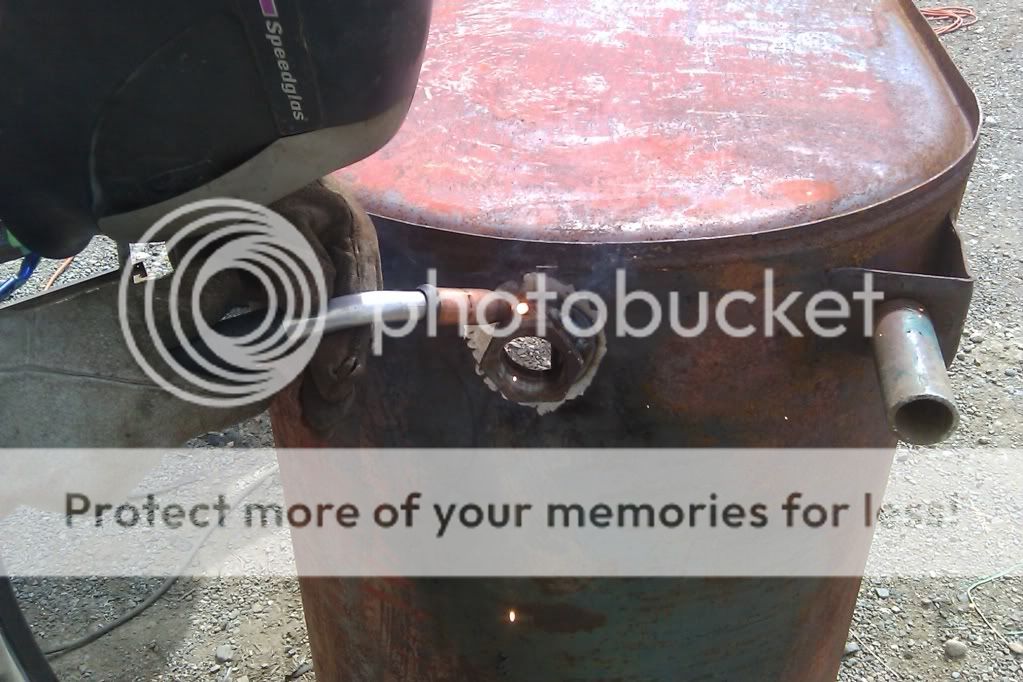
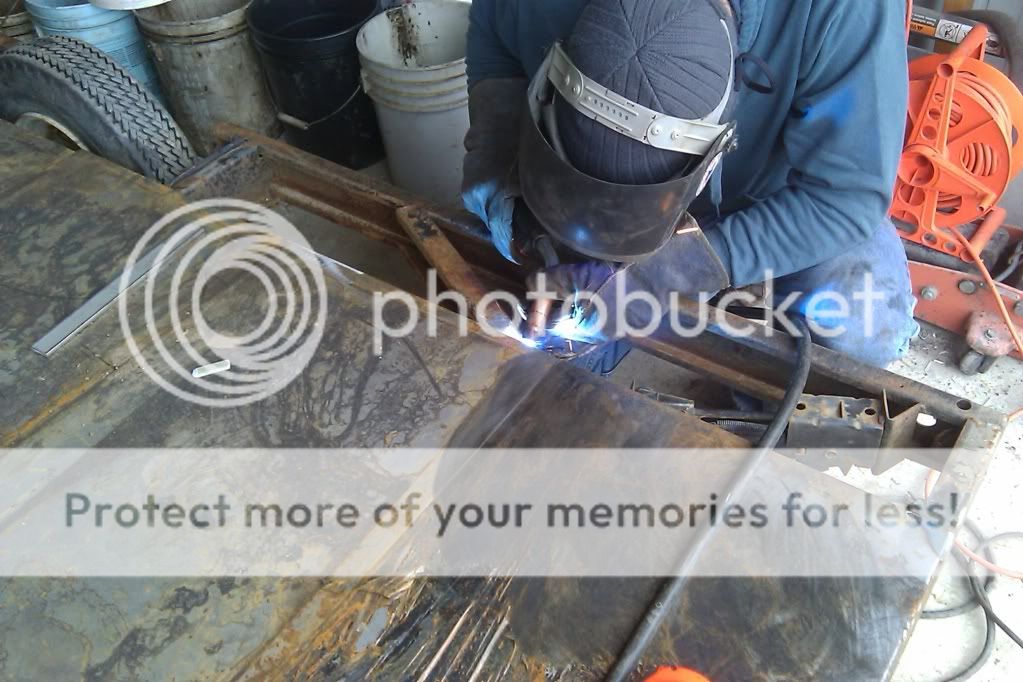
Welding our drain bushing in place. This is a 1-1/2" x 1-1/4" bushing. We just screw a 1-1/4" pipe nipple with a pipe cap on it normally. Then we will remove it when we need to wash out the smoker.
In this lovely photo, we have the smoker body welded in place on the deck of the trailer. We decided to add 1 more sheet of plate steel to the back end so that we could push the smoker back as far as possible.
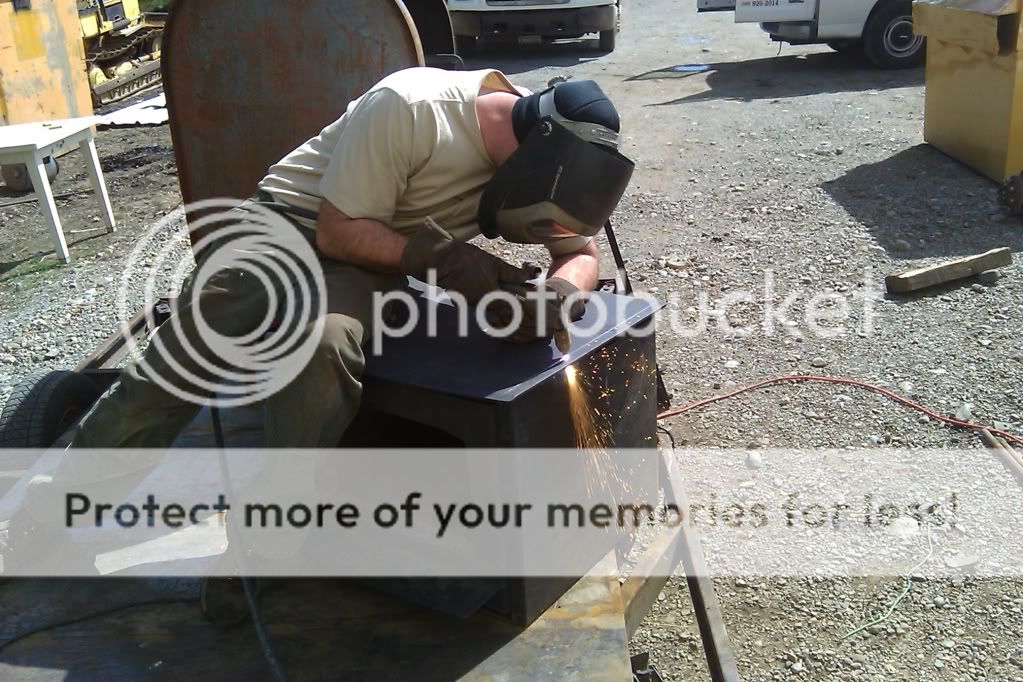
Cutting off the 1" overhang on the side of our firebox so that we can snug it up to the smoker nice and tight. This is a Kuma woodstove that was donated to us. We also had to cutout some reburn tubes that were at the top rear of the inside of the firebox. These are designed to burn up all the smoke from the fire to produce a relatively low amount of smoke from the chimney...not what we're aiming for here! Took about 2-1/2 hours to cut those out (5/16" steel). If you're ever in the market for a well-built woodstove, I can honestly recommend the build quality of a Kuma Woodstove!
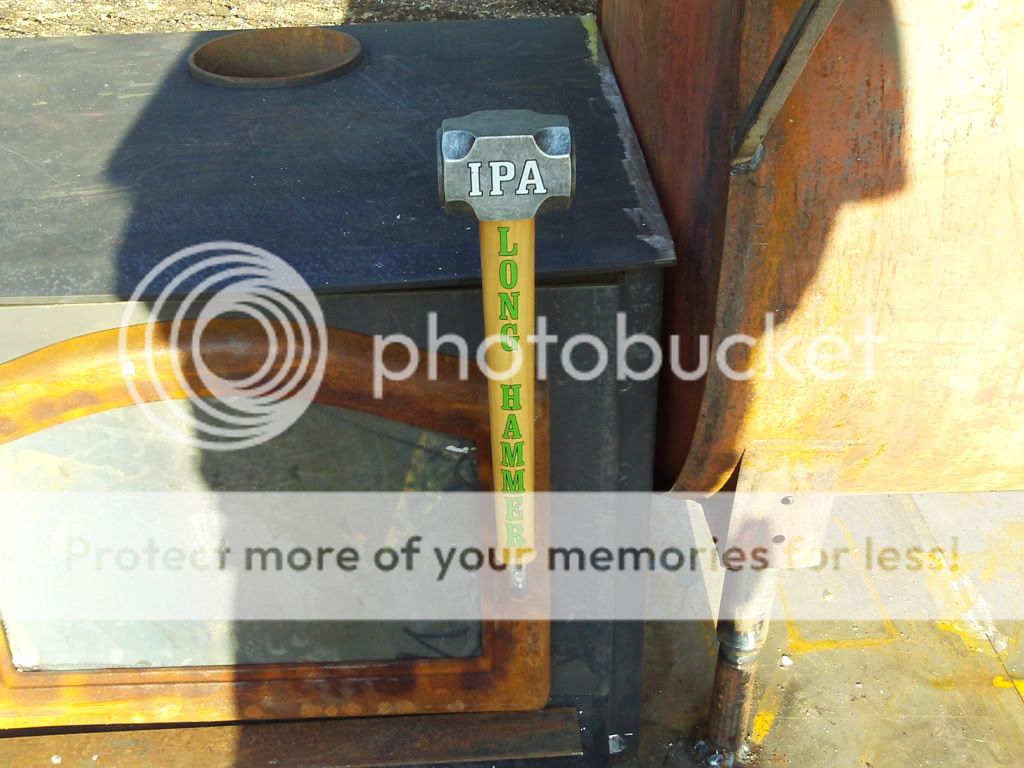
And here we are at our firebox door. That is our custom taphandle firebox door handle (props to the IPA!). At this point, we have our hole cut through the right hand side of the firebox. Also, note the piece of plate steel we welded to the backside of the cast iron door. I was puckering during the whole weld! We stitch welded the door turning it several inches after each weld so as not to heat up one area more than another. We went around about 4 time to put a solid, airtight weld all the way around the perimeter of the door. We will also be adding some rope gasket to seal her off. We will be using the damper that was already built into the firebox to control our temperatures.

This is a shot of the trailer currently. We just set the firebox next to the smoker for this picture. Here is what is currently on the list:
Please keep in mind that this is a work in progress and we have many aspirations in regards to this trailer. I also want to thank everyone who has helped us out so far (you know who you are!). Enough BS....time for the pics:
Humble beginnings. This was a tent trailer that was donated to us by R'N'R RV.
We stripped down the trailer first, then we started laying out our 1/4" plate steel for the decking of the trailer.
This is an oil tank my buddy bought on a pallet with a bunch of other stuff at an auction. I gingerly removed the fuel gauge expecting the usual array of sludge at the bottom, but to my relief....only some black sawdust looking stuff in the bottom and not alot either! Also didn't smell like fuel oil but just regular old oil. Nice! Starting to cut out door here.
Welding plate steel to trailer deck again.
Had saved a bunch of oak pallets I got at work that some equipment came on. Pretty handy to have for this situation. We also threw about 2 bags of Red Oak Wood Pellets in there for good measure. Next 2 photos are more fire! Burn that crud! Ended up burning for 10-12 hours total.
Trailer deck all tacked in place on the top. At this point we planned on filling the empty spaces with diamond plate steel (1/4") until I found out just how expensive steel diamond plate is ($215/4'x8' sheet here!) Looks like it will now be expanded metal.
Trailer on end in this phot so that we can finish welding the plate steel from underneath. This baby ain't going anywhere!
Welding our drain bushing in place. This is a 1-1/2" x 1-1/4" bushing. We just screw a 1-1/4" pipe nipple with a pipe cap on it normally. Then we will remove it when we need to wash out the smoker.
In this lovely photo, we have the smoker body welded in place on the deck of the trailer. We decided to add 1 more sheet of plate steel to the back end so that we could push the smoker back as far as possible.
Cutting off the 1" overhang on the side of our firebox so that we can snug it up to the smoker nice and tight. This is a Kuma woodstove that was donated to us. We also had to cutout some reburn tubes that were at the top rear of the inside of the firebox. These are designed to burn up all the smoke from the fire to produce a relatively low amount of smoke from the chimney...not what we're aiming for here! Took about 2-1/2 hours to cut those out (5/16" steel). If you're ever in the market for a well-built woodstove, I can honestly recommend the build quality of a Kuma Woodstove!
And here we are at our firebox door. That is our custom taphandle firebox door handle (props to the IPA!). At this point, we have our hole cut through the right hand side of the firebox. Also, note the piece of plate steel we welded to the backside of the cast iron door. I was puckering during the whole weld! We stitch welded the door turning it several inches after each weld so as not to heat up one area more than another. We went around about 4 time to put a solid, airtight weld all the way around the perimeter of the door. We will also be adding some rope gasket to seal her off. We will be using the damper that was already built into the firebox to control our temperatures.
This is a shot of the trailer currently. We just set the firebox next to the smoker for this picture. Here is what is currently on the list:
- Cut hole in smoker body and marry firebox to smoker body.
- Weld in smoke baffle.
- Weld in angle iron on back side for grates to sit on.
- Fabricate and weld grates.
- Roll door (just got done on Thursday...WooHoo!:clap2
")
- Install hot water coil in smoker body (that's right...we are gonna have a sink with hot water on our smoker!)
- Cut out hole for exhaust stack and weld exhaust stack in place.
- Pressure wash entire trailer down and prep for paint.
- Paint trailer with Black Acrylic Enamel.
- Paint firebox and smoker body with high-temp paint.
- Start a fire and smoke some meat!