THE BBQ BRETHREN FORUMS

Welcome to The BBQ Brethren Community. Register a free account today to become a member and see all our content. Once signed in, you'll be able to participate on this site by adding your own topics and posts, as well as connect with other members through your own private inbox!

ralphyboy

Got Wood.
Joined
Feb 8, 2008
Location
Zamora, CA
Well here goes. I've read the posts. Looked at the picks. Scored a barrel for a local nut and oil company (free nontheless). So Here I go....

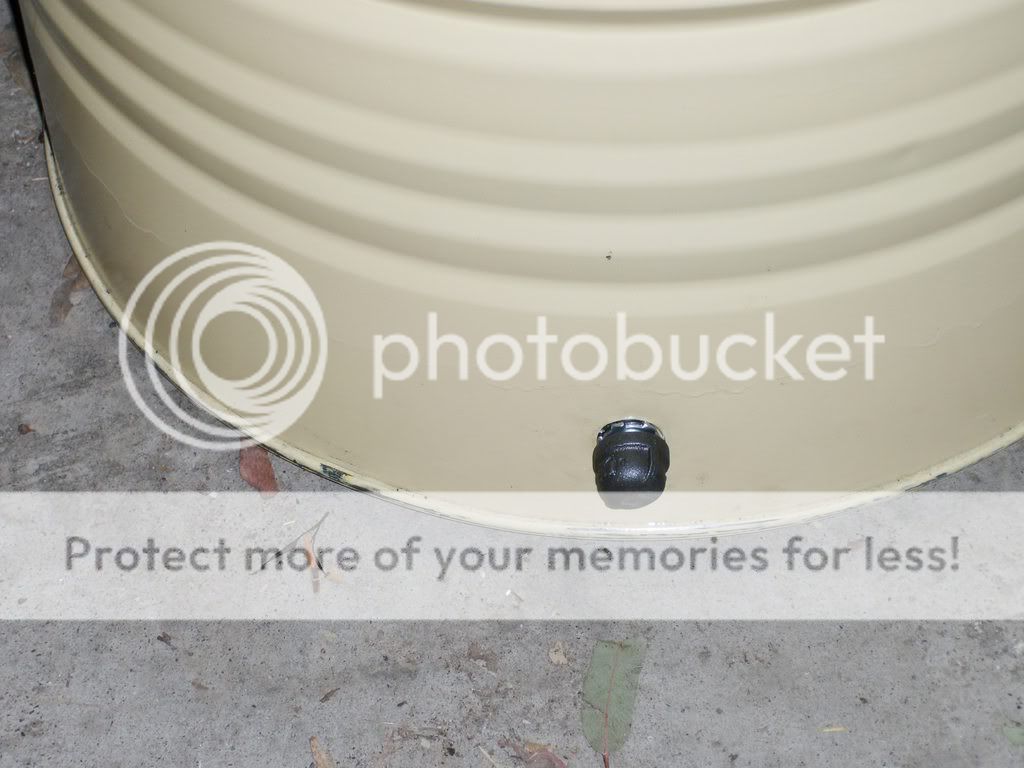
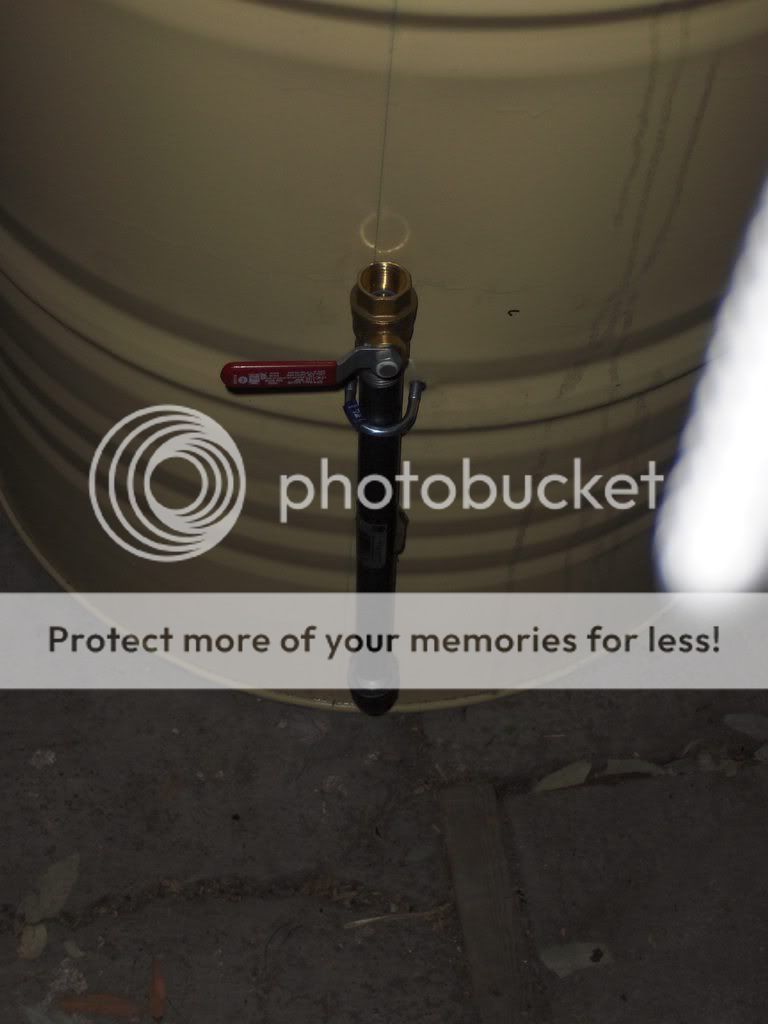
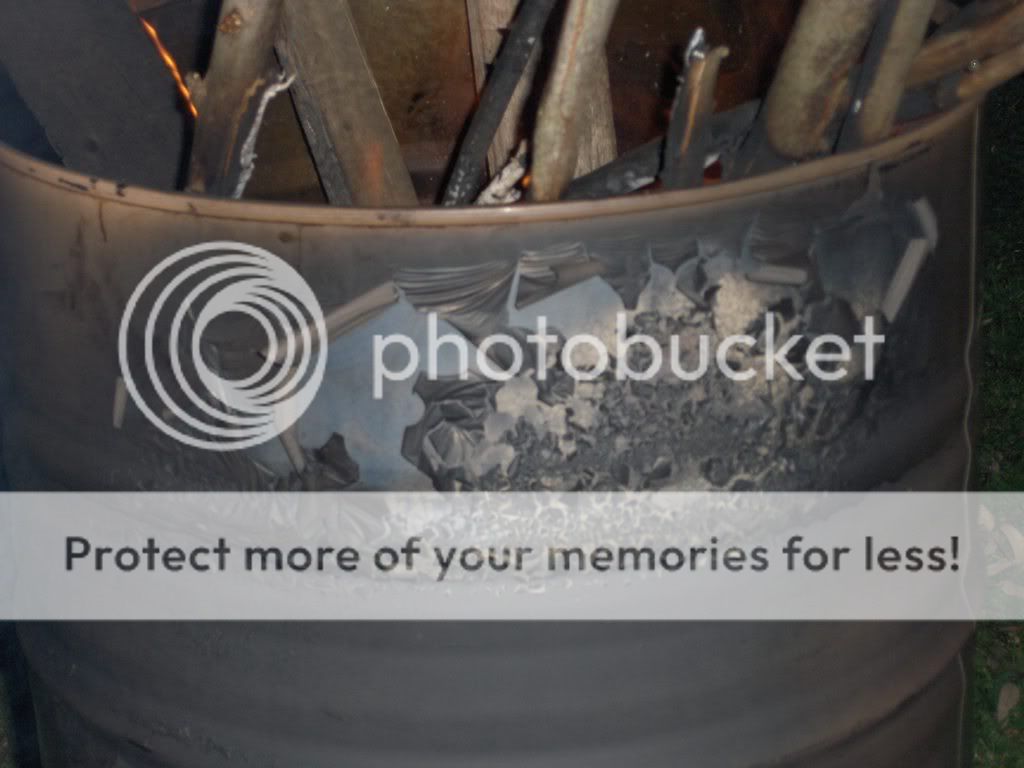
The barrel I got was sealed. So before doing anything I went and got my weber lid and checked to see if it fit. It did, so I cut just on the inside of the lip.


HPIM1088.jpg
 
I also drilled 4 holes at the bottom. I used 1/2"nps pipe, capped 2
HPIM1091.jpg


and brought two up and put ball valves on them.

HPIM1090.jpg


Here's where I go a little carried away. I should of burned out before this..
 
A real good start ralphyboy, I would just take the ball valves and caps off and let it burn. The holes in the bottom will help with air flow. I don't think those handles will stand up to the heat. Just checking, is that a stainless u bolt on the nipple?
 
Good start, strip hardware and give it a good burning out. Brush,sand and paint,remount hardware and you are on you way to some good "Q". Welcome to the drum core! :smile:
 
Man this Drum thing must be a virus or something :mrgreen: Everyone is building a drum but me :!: I must be missing the boat.

Looks like a good start Ralphy!!
 
great looking drum job there. welcome and good luck with your UDS. keep us posted about the burn out. smoke on Bro.:-D:cool:
 
Looks gooe may I sugest you place a some washers on ( if you haven't already)those u-bolts so you don't get to much air leakage
 
A real good start ralphyboy, I would just take the ball valves and caps off and let it burn. The holes in the bottom will help with air flow. I don't think those handles will stand up to the heat. Just checking, is that a stainless u bolt on the nipple?

Sounds like a good plan to me.8)
 
Never too late to burn it, but its been my experience-(and don't try this at home) that the bottom third of the drum is taking the most heat and if it gets over 500* that paint will burn off. It only happened once but after that I never burnt the outside paint off.

Looks good! Now lets see some meat!
 
Ok, lost power earlier and couldn't finsih the story. I got so excited with my progress and felt I was ready for the BURN.... All that was going through my mind was burn, baby burn!!!!!

HPIM1092.jpg


and burn it did!!

HPIM1093.jpg


Then I started looking at the ball valves, though oh crap I should of taken those off...

HPIM1094.jpg


also remembered those ball valves had teflon seats....oh crap....

HPIM1096.jpg


damn that's a good looking fire...

HPIM1098.jpg


paint's doing what it's suposed too..

HPIM1095.jpg


screw the the ball valves, if they get a little screwed up, oh well it's a UDS!!

after everything cooled off a little rubber on the handles was melted but the seemed to function normaly. More pics to follow... Now on to the cattle call....
-RB
 
Back
Top