Humphrey’s Battle Box.
The following is my review on the Humphrey’s Battle Box. My goal in this review is to give information to help anyone who may be looking to purchase this smoker.
On my order, there were 2 Battle Boxes that we will be using for competitions. Both came on the same pallet. The cookers were packed well and arrived undamaged from Humphreys. This picture (along with some others) was provided from Humphrey’s before they shipped.
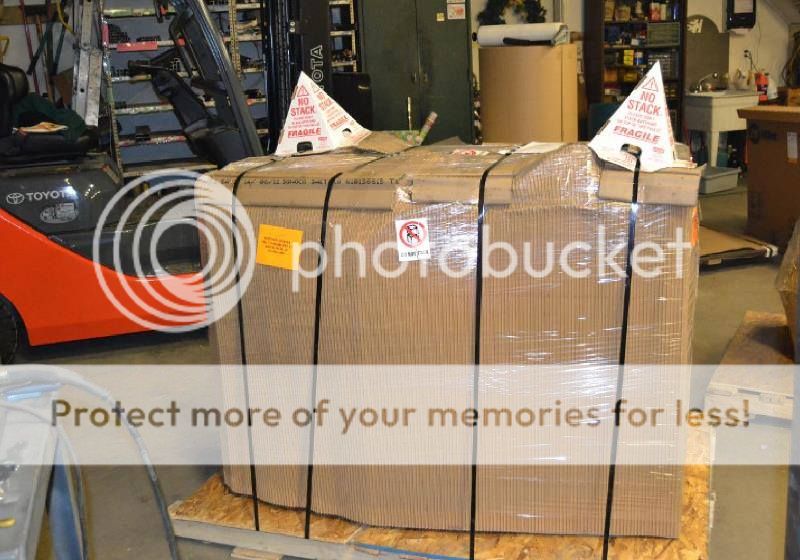
The only problems we ran into was the delay on the smokers arriving. Much of the delay was due to holidays, and bad weather which was our out their control. Humphrey’s did include a few freebie gifts for the hold up. Nevertheless, they arrived and they looked awesome! Keep in mind these were ordered sign unseen and our decision was made on what feedback we could find from others using the same cooker.
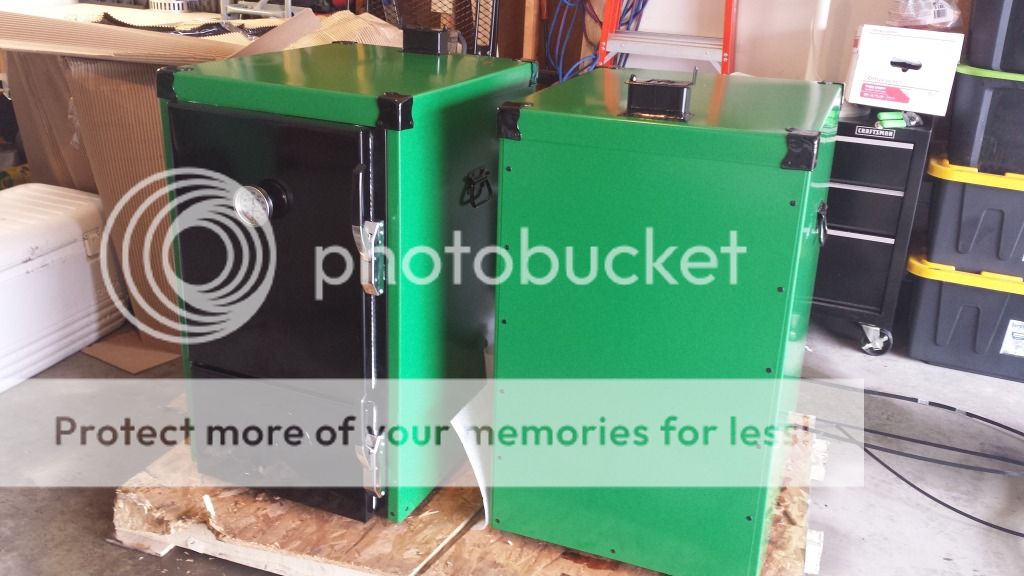
My first objective was to remove my smoker from the pallet (my cooking teammate owns the other) and put the casters on that I had ordered. The instant that I went to move the smoker, I knew these things were built like tanks. If you want a smoker that feels like a flimsy file cabinet, this may not be for you. I could tell right away that these were well built.
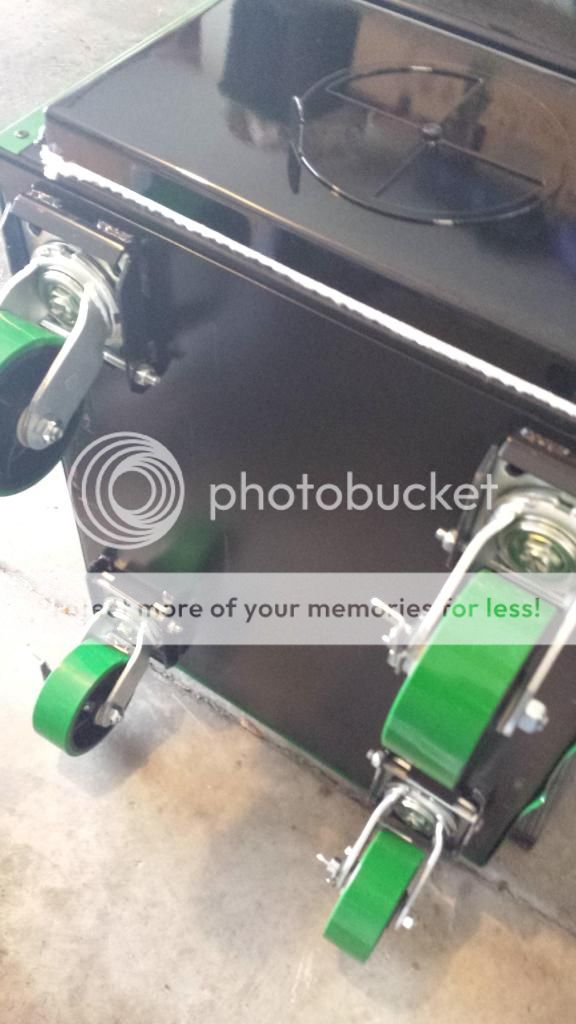
As I mentioned above, my first order of business what putting on the casters. I absolutely love the way the casters mount. 1 bolt and you are done. Here is a close up of the brackets for the casters.
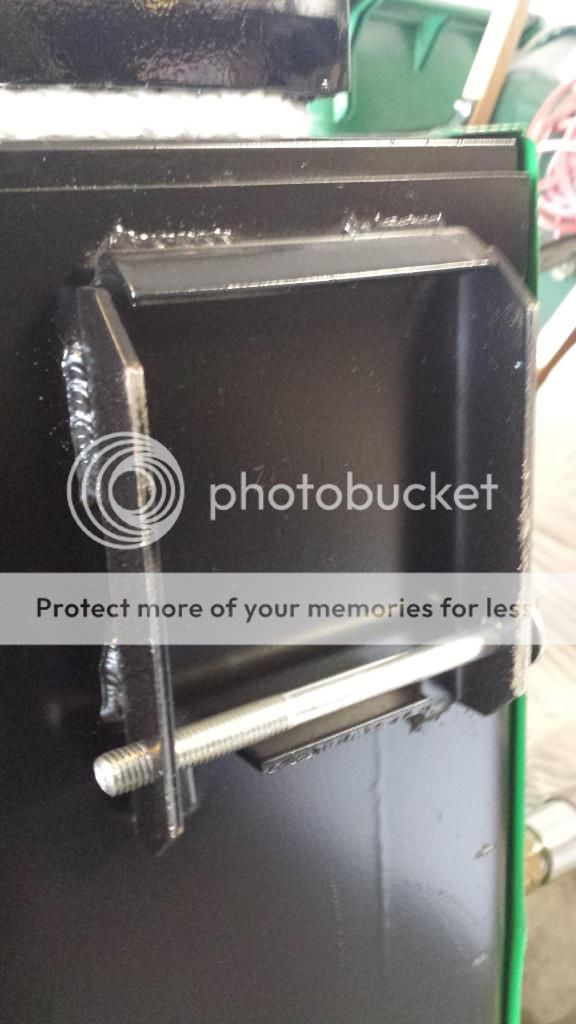
To me, the only downside to having a setup like this is you have to have casters with a specific plate size so they fit. Not really a big deal. I found plenty online to choose from.
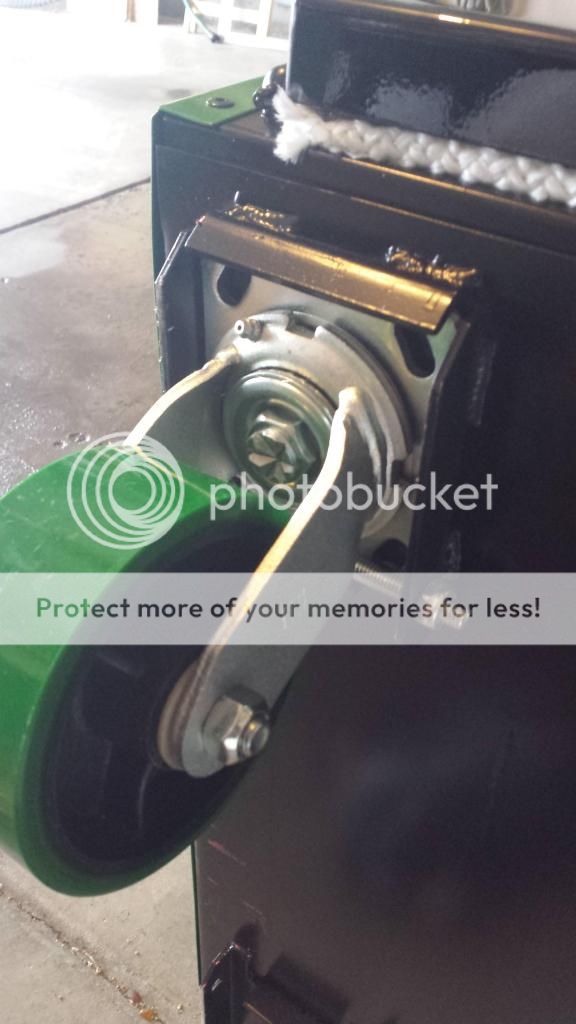
In a matter of minutes I had all 4 casters on. How nice it was to only have to deal with 4 bolts and nuts compared to 16 (on previous 4-hole mounting systems.) Here is a close up of the mounted caster(s).
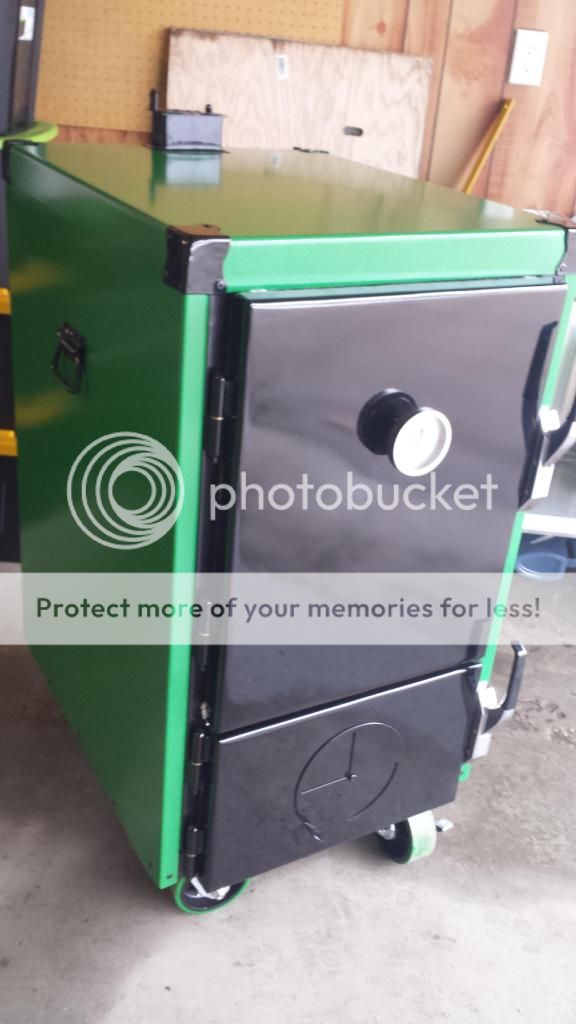
The finish on these smokers is beautiful. Powder coated inside and out. We actually paid to have extra clear coat put on ours. I can’t comment on how they compare to one without the extra clear coat, but they sure do look nice and shiny! Pictures are taken in my garage, lighting wasn’t the best.
Working from the top of the smoker down, the smoke stack/exhaust vent is nicely fitted with a Humphrey’s branded cap. The fit is tight and slides back and forth well.

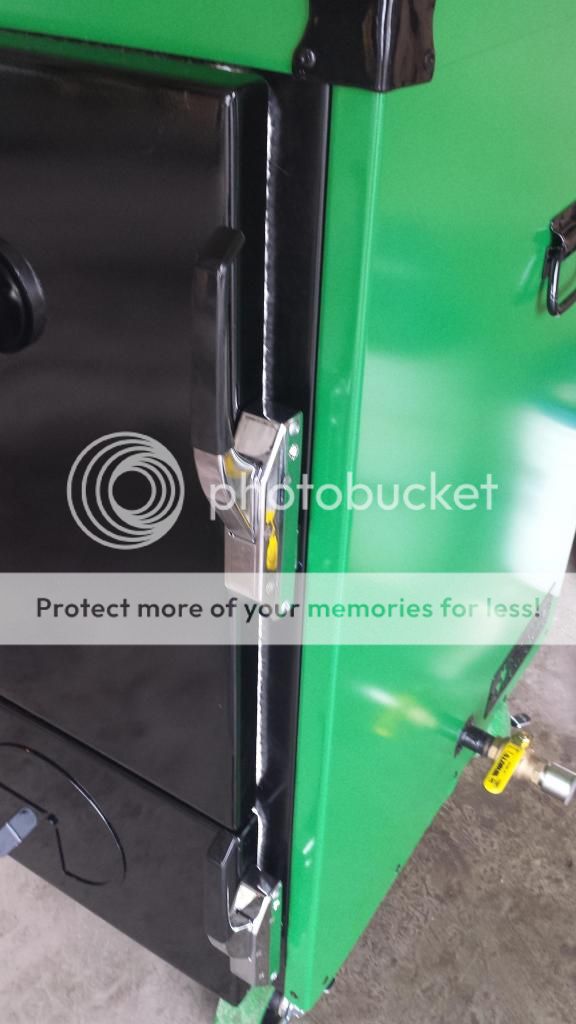
The latches on these smokers are outstanding. With just a slight flip of your finger it shuts. It’s almost like shutting a refrigerator door (and is sealed.) They may be called “slam latches”… but they don’t need to be slammed to shut!
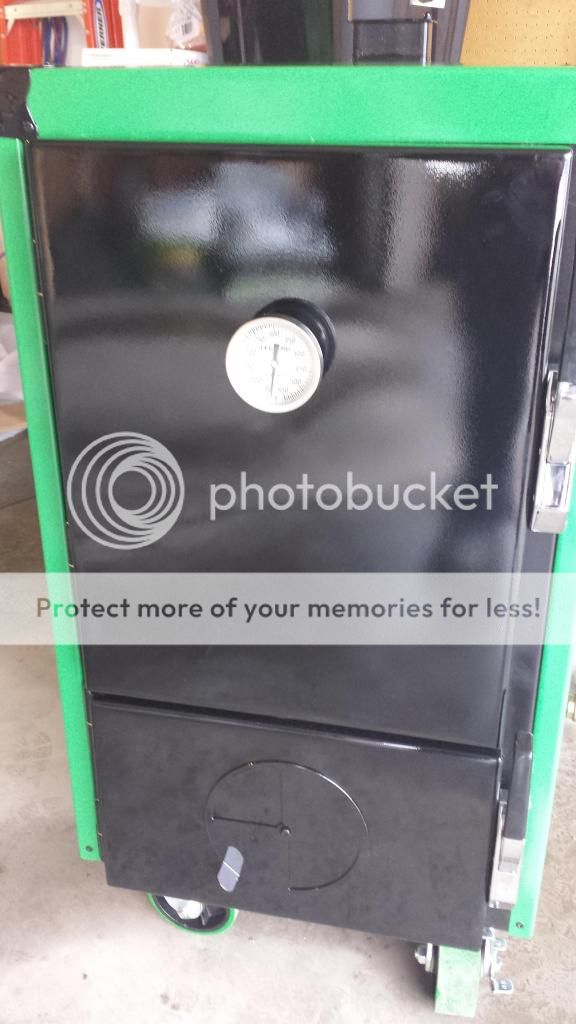
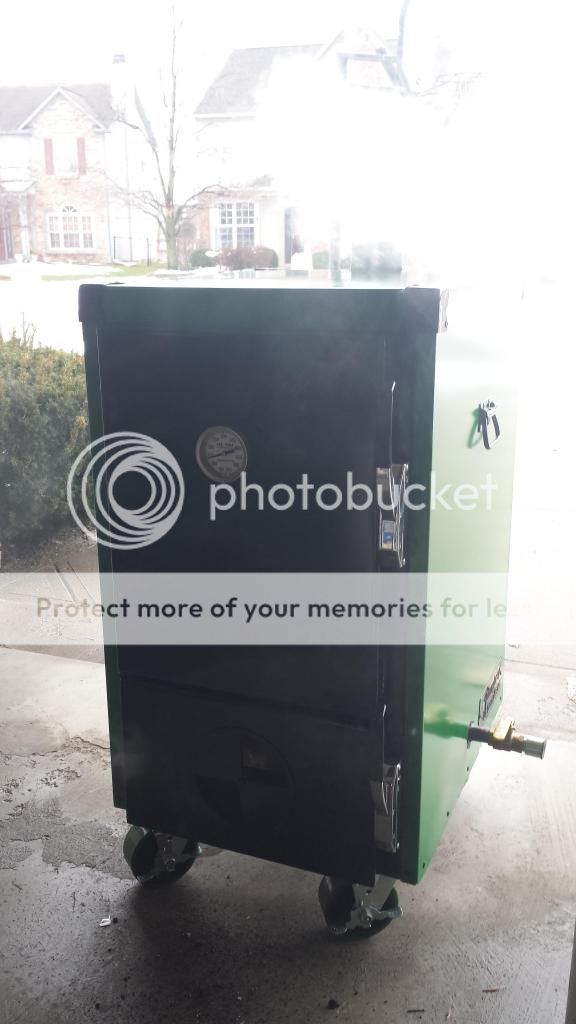
Hers is a nice blurry shot of the front of the smoker. Nice Tel True thermometer and large pin wheel at the bottom for the air intake.
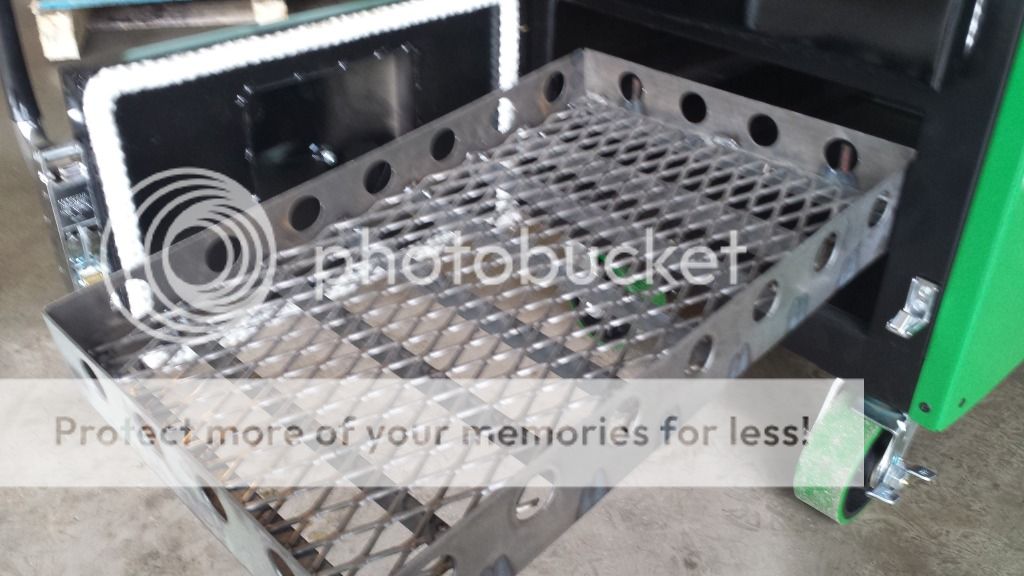
Here is a photo on of the inside of the smoker. As you can see, I went with the model that had the slide out water pan. Yes, I lose some cooking space, but I feel the cleanup at competitions will be easier. Won’t have to dig out the water pan to empty it. Simply slide it out.
Also note the door. It opens BEYOND 90 degrees. Not by a ton, but you don’t realize how nice it is to have this extra space until you in fact have it!
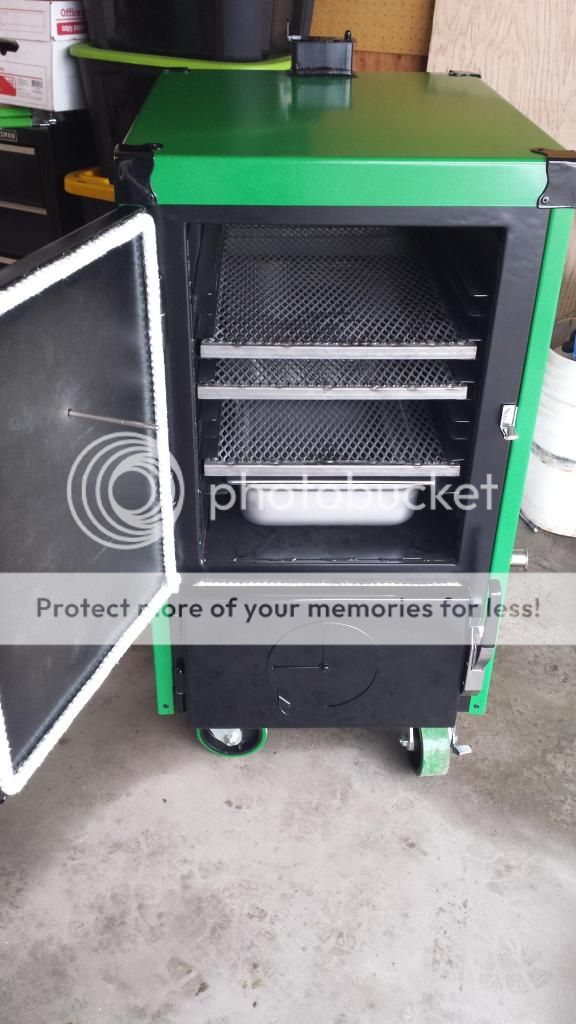
The smoker came standard with 3 shelves. I could have upgraded to stainless shelves for only $100 but decided not to. If these don’t hold up, I will order some. The shelves are well built and the smoker offers plenty of different rack sliders.

The smoker does hold full size pans.

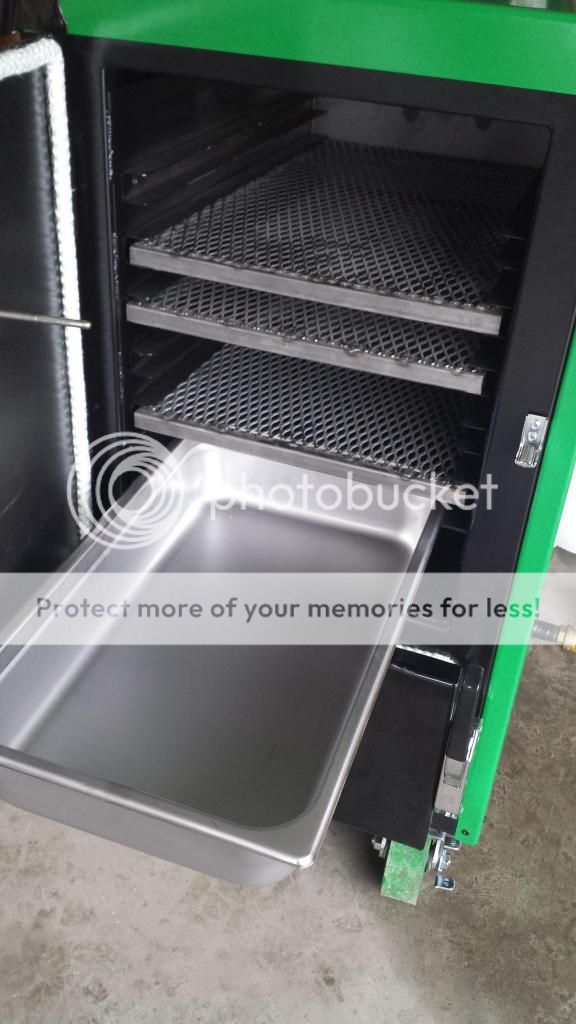
Here is the slide out water pan. It can be removed completely if you would like to.
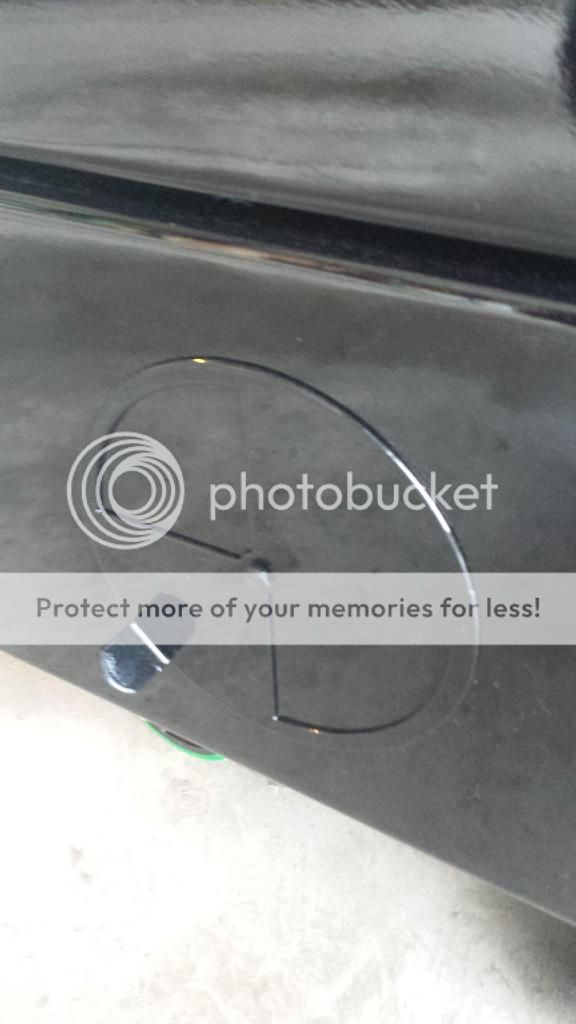
The main air intake consist of a single pinwheel on the front of the firebox. This is a nice tight fitting wheel. I’ve seen other smokers where the vent is all loose and rattles. Not the case here.
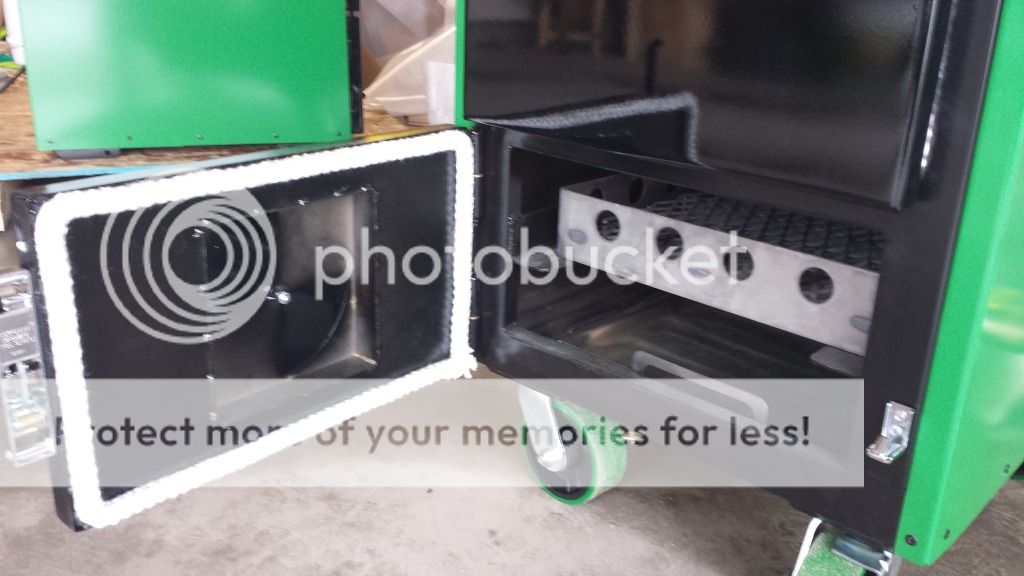
Behind the firebox door. Large, heavy duty pull out firebox. On the floor sits an ash try that helps with cleanup. My only complaint here is I tend to use larger chunks of wood. I wish there was more clearance between the firebox and the top of the door opening. Looking at the picture, it appears there is room to move it down some. Maybe its in this location for airflow reasons? I don’t know. I like to pile my charcoal high and use large chunks of wood. I will have to change that with this as I don’t have the clearance that I am use to.
Here is a nice shot of the pull out firebox. Well built! Although I wouldn’t expect anything thing less based on how the rest of the smoker is built.
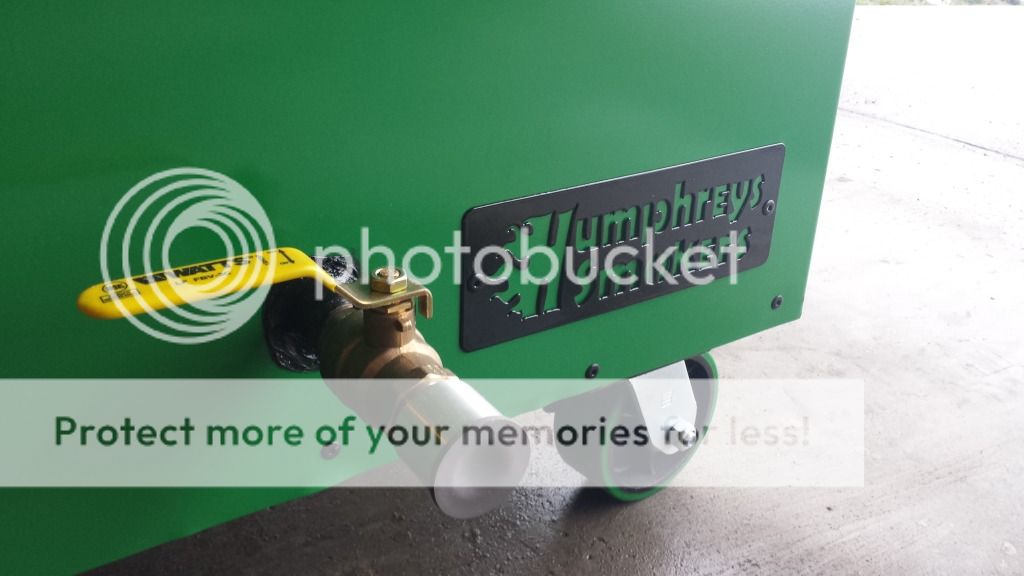
Finally, the smoker comes with a ball valve with a guru fan adapter INCLUDED. I like the ball valve setup over the “guru adapter” plate that you have to purchase separately for other cookers. Much tighter, air controlled fit. Did I mention it comes with it?
Kill plug also comes with it. Not really needed though if you just shut the ball valve.
I fired it up for the seasoning. Once it got up to temp, I just the front air vent and opened the ball valve where the fan would go. The smoker held rock solid at 275 like this. Sorry for the terrible cell phone picture. It was bright outside.
Ok…. On to the good stuff. How does it cook? I have cooked on 4 different models of Backwoods (Competitor, Party, G2 Party, and G2 Chubby) and Big Green Eggs. That is what I am comparing to.
Pork.
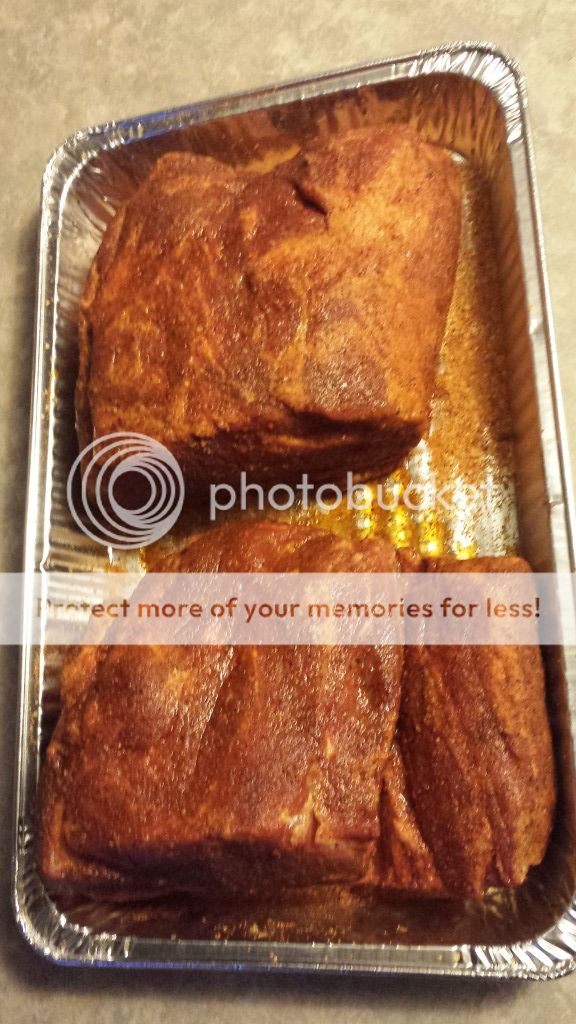
Fired the smoker up and got it up to temp to cook 2 pork butts. Each were around 9 lbs. The night before I trimmed one up for a competition practice using a new rub combo. The other I didn’t trim as much. Both got injection and went in the fridge overnight.
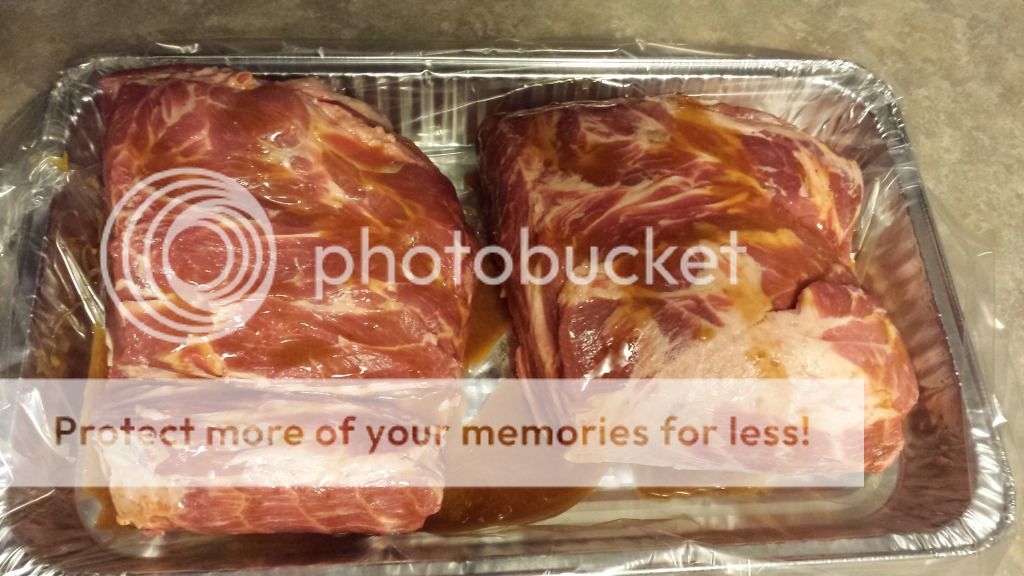
In the morning I took them out, wiped off excess injection, and applied my rub. After letting them sweat for a while, they were ready for the smoker.
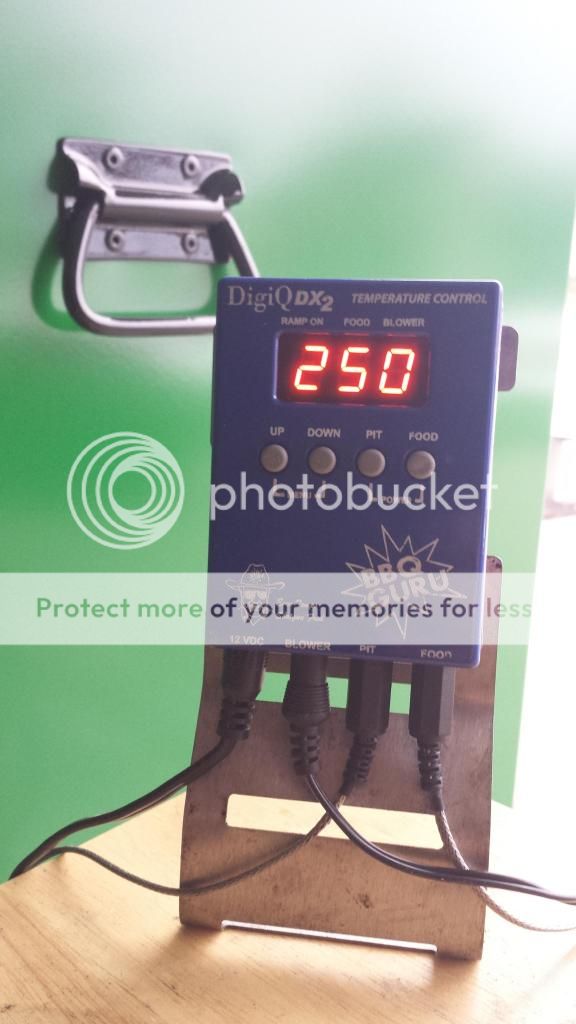
In the past I have had issues with my smokers keeping steady temps. Even with the guru. This thing rocked out all day long at 250. It didn’t move once. Needless to say I am happy to see this.
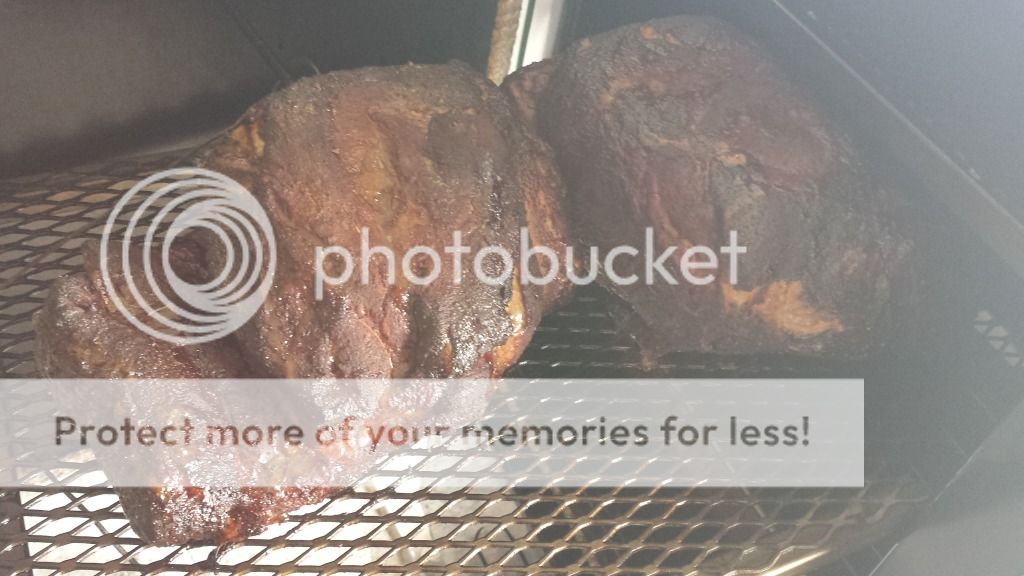
I took the butts to the temp I was looking for before I foiled. They looked great in person. The brightness from the outside and smoke kinda dulled the picture a little bit. But you get the idea.
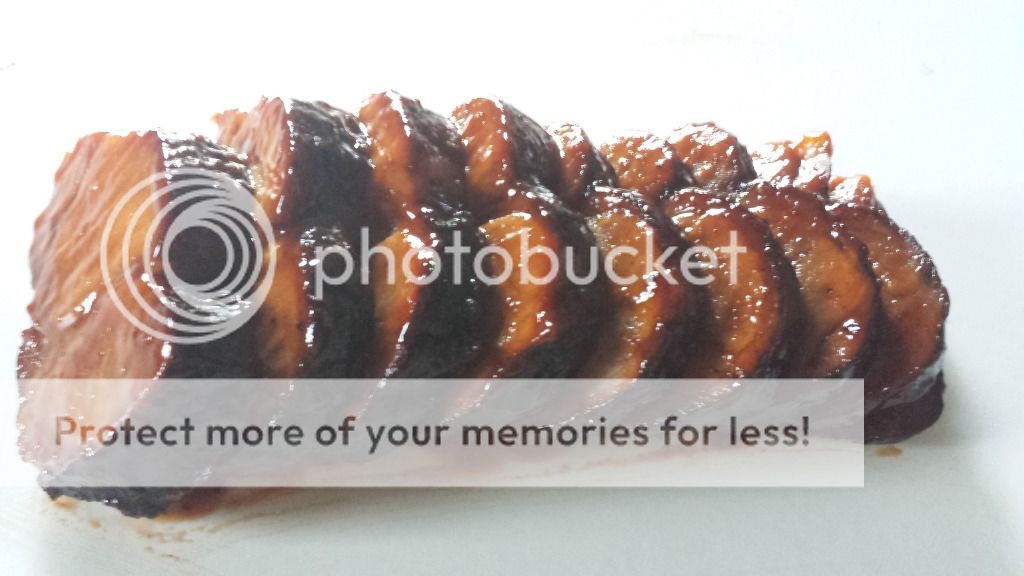
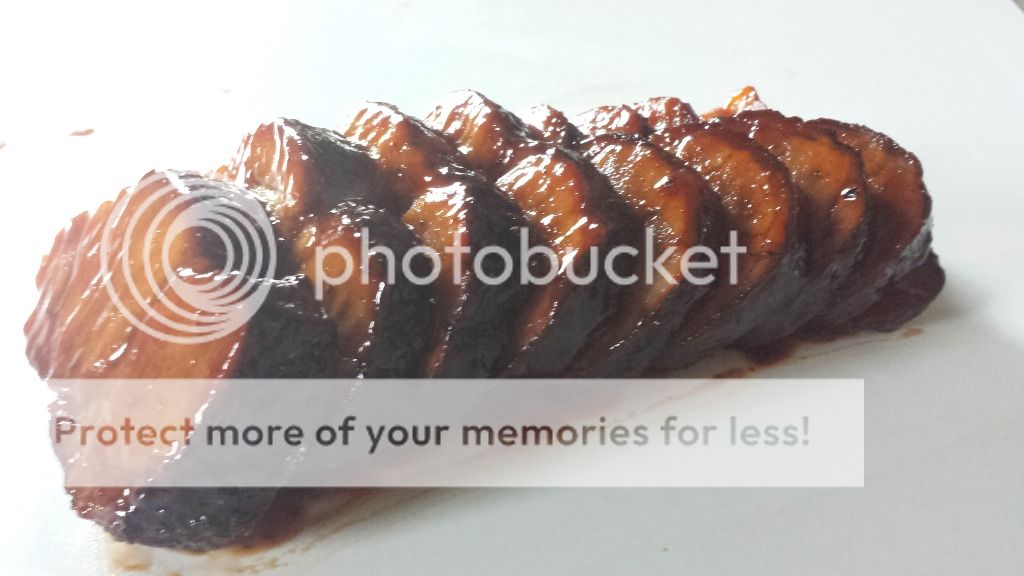
Pork turned out great. I am more than happy with the results. I sliced up the money muscle. Here are a couple pictures of the end product.
I figured since I already had it fired up, I would go ahead and do some ribs. I wanted to try out a new rub combo for them as well. I did the usually prep for ribs. Trimmed them up, applied the rubs, and let it sweat.

I put them on until they got to the right color and then I foiled them. I forgot to take a picture of the ribs at this point…. But they looked like ribs at the right color")
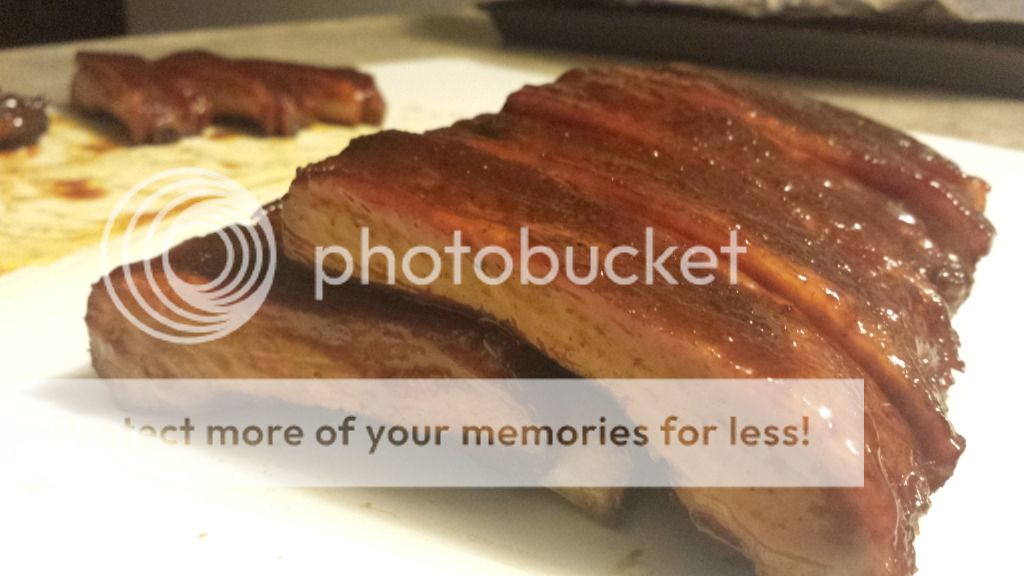
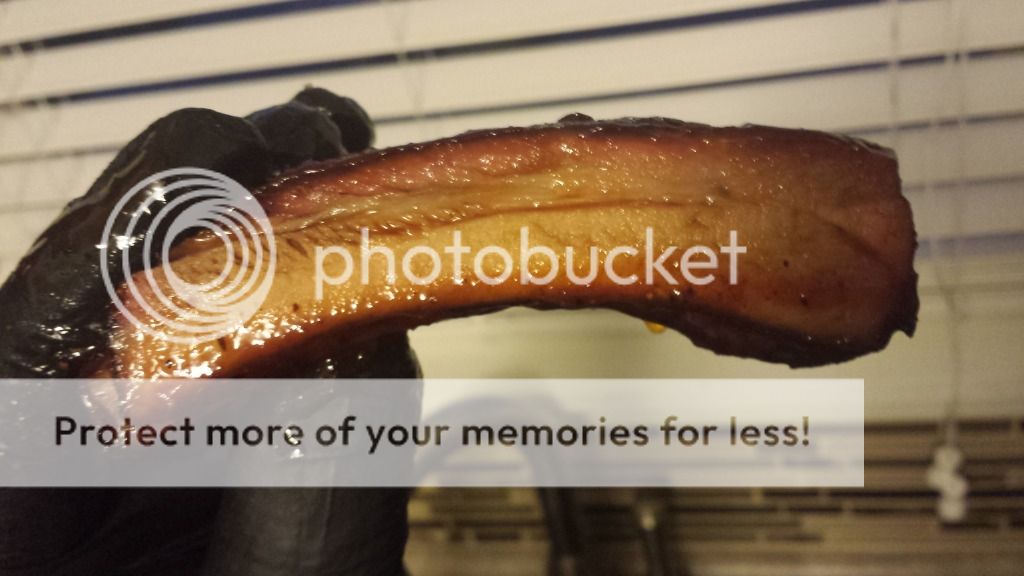
So here is the finished product. Pictures aren’t the best due to it being dark out and my terrible kitchen lighting. However, the taste totally made up for them!
Conclusion: I am happy with the smoker and the end product. For the money, they are great. If you are considering one, go ahead and pull the trigger. I am fairly confident you will be happy with your decision :clap2:.
The following is my review on the Humphrey’s Battle Box. My goal in this review is to give information to help anyone who may be looking to purchase this smoker.
On my order, there were 2 Battle Boxes that we will be using for competitions. Both came on the same pallet. The cookers were packed well and arrived undamaged from Humphreys. This picture (along with some others) was provided from Humphrey’s before they shipped.
The only problems we ran into was the delay on the smokers arriving. Much of the delay was due to holidays, and bad weather which was our out their control. Humphrey’s did include a few freebie gifts for the hold up. Nevertheless, they arrived and they looked awesome! Keep in mind these were ordered sign unseen and our decision was made on what feedback we could find from others using the same cooker.
My first objective was to remove my smoker from the pallet (my cooking teammate owns the other) and put the casters on that I had ordered. The instant that I went to move the smoker, I knew these things were built like tanks. If you want a smoker that feels like a flimsy file cabinet, this may not be for you. I could tell right away that these were well built.
As I mentioned above, my first order of business what putting on the casters. I absolutely love the way the casters mount. 1 bolt and you are done. Here is a close up of the brackets for the casters.
To me, the only downside to having a setup like this is you have to have casters with a specific plate size so they fit. Not really a big deal. I found plenty online to choose from.
In a matter of minutes I had all 4 casters on. How nice it was to only have to deal with 4 bolts and nuts compared to 16 (on previous 4-hole mounting systems.) Here is a close up of the mounted caster(s).
The finish on these smokers is beautiful. Powder coated inside and out. We actually paid to have extra clear coat put on ours. I can’t comment on how they compare to one without the extra clear coat, but they sure do look nice and shiny! Pictures are taken in my garage, lighting wasn’t the best.
Working from the top of the smoker down, the smoke stack/exhaust vent is nicely fitted with a Humphrey’s branded cap. The fit is tight and slides back and forth well.
The latches on these smokers are outstanding. With just a slight flip of your finger it shuts. It’s almost like shutting a refrigerator door (and is sealed.) They may be called “slam latches”… but they don’t need to be slammed to shut!
Hers is a nice blurry shot of the front of the smoker. Nice Tel True thermometer and large pin wheel at the bottom for the air intake.
Here is a photo on of the inside of the smoker. As you can see, I went with the model that had the slide out water pan. Yes, I lose some cooking space, but I feel the cleanup at competitions will be easier. Won’t have to dig out the water pan to empty it. Simply slide it out.
Also note the door. It opens BEYOND 90 degrees. Not by a ton, but you don’t realize how nice it is to have this extra space until you in fact have it!
The smoker came standard with 3 shelves. I could have upgraded to stainless shelves for only $100 but decided not to. If these don’t hold up, I will order some. The shelves are well built and the smoker offers plenty of different rack sliders.
The smoker does hold full size pans.
Here is the slide out water pan. It can be removed completely if you would like to.
The main air intake consist of a single pinwheel on the front of the firebox. This is a nice tight fitting wheel. I’ve seen other smokers where the vent is all loose and rattles. Not the case here.
Behind the firebox door. Large, heavy duty pull out firebox. On the floor sits an ash try that helps with cleanup. My only complaint here is I tend to use larger chunks of wood. I wish there was more clearance between the firebox and the top of the door opening. Looking at the picture, it appears there is room to move it down some. Maybe its in this location for airflow reasons? I don’t know. I like to pile my charcoal high and use large chunks of wood. I will have to change that with this as I don’t have the clearance that I am use to.
Here is a nice shot of the pull out firebox. Well built! Although I wouldn’t expect anything thing less based on how the rest of the smoker is built.
Finally, the smoker comes with a ball valve with a guru fan adapter INCLUDED. I like the ball valve setup over the “guru adapter” plate that you have to purchase separately for other cookers. Much tighter, air controlled fit. Did I mention it comes with it?
Kill plug also comes with it. Not really needed though if you just shut the ball valve.
I fired it up for the seasoning. Once it got up to temp, I just the front air vent and opened the ball valve where the fan would go. The smoker held rock solid at 275 like this. Sorry for the terrible cell phone picture. It was bright outside.
Ok…. On to the good stuff. How does it cook? I have cooked on 4 different models of Backwoods (Competitor, Party, G2 Party, and G2 Chubby) and Big Green Eggs. That is what I am comparing to.
Pork.
Fired the smoker up and got it up to temp to cook 2 pork butts. Each were around 9 lbs. The night before I trimmed one up for a competition practice using a new rub combo. The other I didn’t trim as much. Both got injection and went in the fridge overnight.
In the morning I took them out, wiped off excess injection, and applied my rub. After letting them sweat for a while, they were ready for the smoker.
In the past I have had issues with my smokers keeping steady temps. Even with the guru. This thing rocked out all day long at 250. It didn’t move once. Needless to say I am happy to see this.
I took the butts to the temp I was looking for before I foiled. They looked great in person. The brightness from the outside and smoke kinda dulled the picture a little bit. But you get the idea.
Pork turned out great. I am more than happy with the results. I sliced up the money muscle. Here are a couple pictures of the end product.
I figured since I already had it fired up, I would go ahead and do some ribs. I wanted to try out a new rub combo for them as well. I did the usually prep for ribs. Trimmed them up, applied the rubs, and let it sweat.
I put them on until they got to the right color and then I foiled them. I forgot to take a picture of the ribs at this point…. But they looked like ribs at the right color
So here is the finished product. Pictures aren’t the best due to it being dark out and my terrible kitchen lighting. However, the taste totally made up for them!
Conclusion: I am happy with the smoker and the end product. For the money, they are great. If you are considering one, go ahead and pull the trigger. I am fairly confident you will be happy with your decision :clap2:.