KnucklHed BBQ
Babbling Farker
When Bob Keenan, the owner of the Historic Bigfork Inn directed my attention an unrepairable Hatco S2 prime rib oven and asked "What would you do with that thing?"
The answer was quite obvious - SMOKER!!! :clap2:
"I was thinking the same thing" he says. "I want to start serving BBQ in the bar, how can we make this easy to do, but still serve up great BBQ using this thing?”
“Well, easy could be as simple as an electric heating element and a place for wood to smolder… but you also mentioned “great BBQ” so that kinda kills the electric option” I say.
“So charcoal?” he asks with a doubtful look on his face.
“No sir, wood. All wood. 100% wood... think really tiny miniature sticks” I say, leading him along.
The look on his face says “This guy’s a whack-a-doodle” and it looks like he might be re-thinking his decision to ask my opinion…
“BBQ pellets” I say before he gets too far down the “whack-a-doodle” rabbit hole. We don't need him discovering the truth about that... :crazy:
“Ahh… and I’ll be able to control the heat & smoke with that type of set up?”
“You betcha! A comparable FEC unit would cost you around $4k, we should be able to wrap this one up right around $1,000”
“SOLD!” He says.
Se here was the plan – Obtain pellet pooper guts and finesse them into place.
I really like the improvements that Green Mountain Grills has made to the pellet cooker over the Treager design (or lack there of), haven’t cooked on one, but I could tell from the moment I first saw them that they had put some thought into their design.
First step was to contact GMG and see if they would even let me buy the hopper/auger/control board/firepot assembly without buying the whole grill. I was able to get Neil in tech support on the phone and he was more than happy to gather up a list of parts that I’d need for the job!
Turns out Neil has a great boss that sent him & his wife up this way last summer for vacation – they even stayed in Bigfork and knew right where the Bigfork Inn was at!
Neil was a huge help, not only in getting the right parts to me, but also helping make sure that I got it all wired correctly and answered the plethora of other technical questions I had for him, it really was great working with him! Thanks Neil! :thumb:
Alright, on to the good stuff!
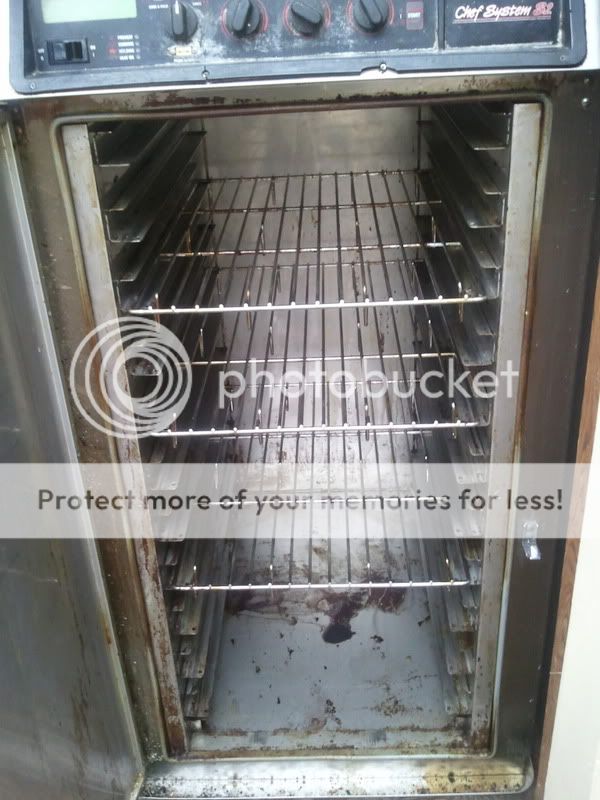
Here’s the box before surgery. Inside dimensions – 40h X 18w X 28d and 3” thick insulated walls.

The GMG parts showed up crazy fast!! Seriously, they were ordered Tuesday afternoon and they were delivered on that same Friday… I can’t get a pizza that fast around here most of the time!
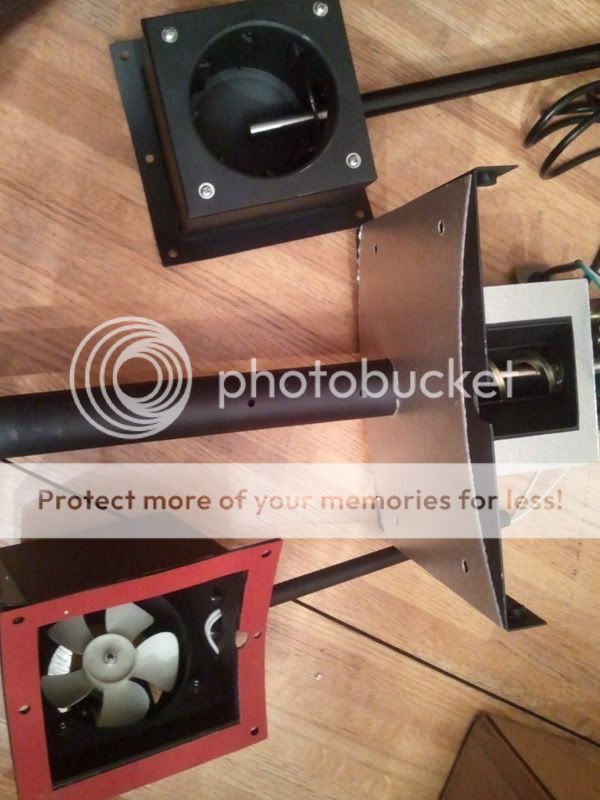
Auger motor, fire pot & combustion fan
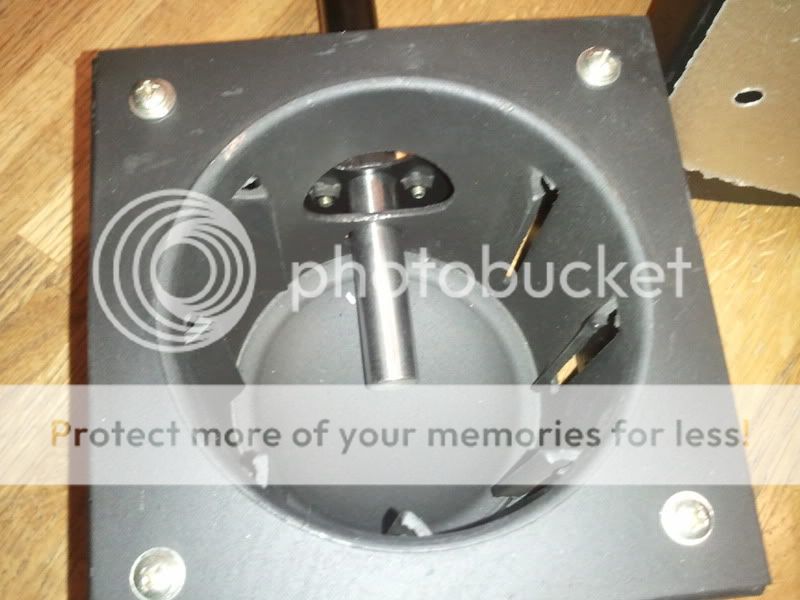
The unique vertical grooves in the firepot that create a cyclone effect for more efficient combustion.
Check out that FAT hot rod igniter! This thing is about the size of my index finger! I’m used to seeing the one in my treager, it’s only about the diameter of a pencil.
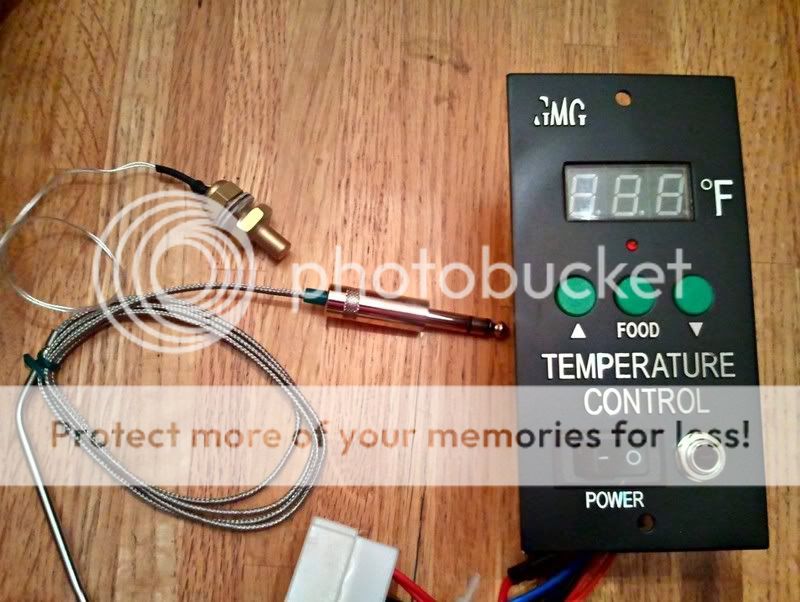
Control panel, food temp probe & cooking chamber temp probe
Removed the door, top & side panel.
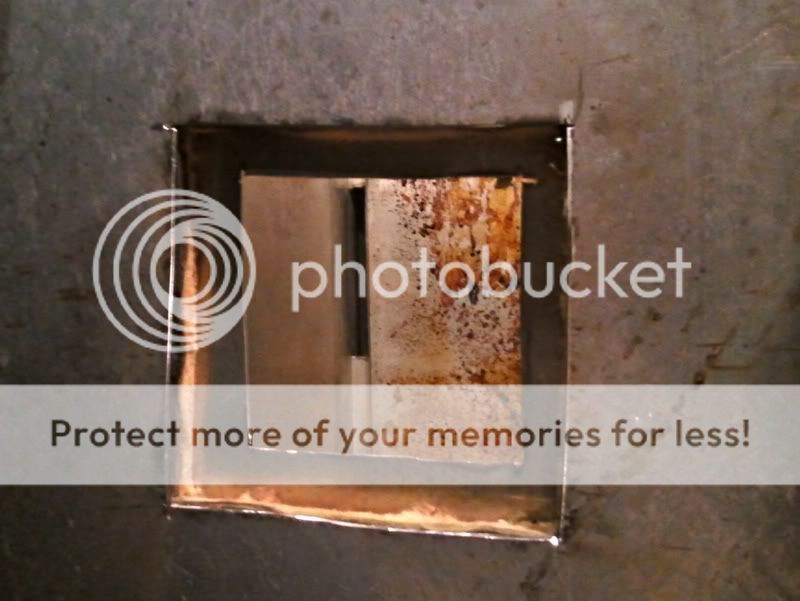
This keyway is where the auger & igniter tubes will pass thru, the same cut was made on the outside wall

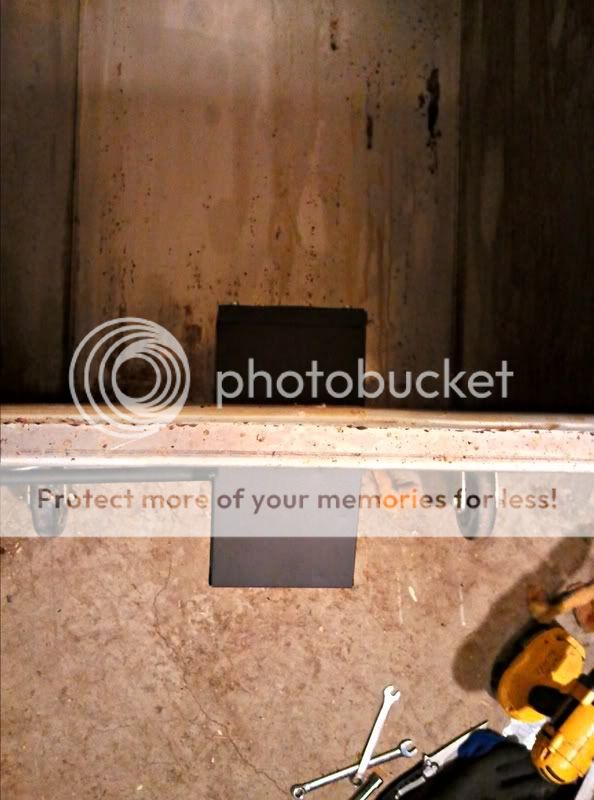
Cut the hole in the floor for the fire pot and combustion fan. The fan needs to be outside for fresh air, it also needs to be mounted directly to the fire pot so that there is enough air pressure to create the cyclone in the fire pot.
This was an unexpected twist, I was thinking that their design would be more like the treager that pushes air through a duct from outside below the hopper, not directly below the fire pot. This actually worked out pretty well though, I was able to secure the assembly to the floor of the oven with SS bolts, making it stronger than it would have been.
Firebox inside and combustion fan box outside
I couldn’t wait to get a fire going in it! I rigged all the wiring together and gave it a quick test to see if she worked… Behold! FIYAH!
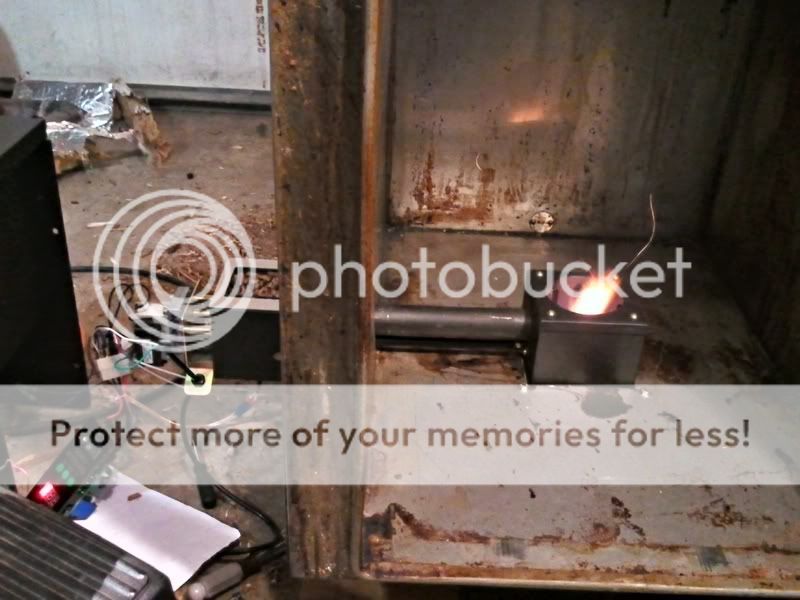
You can’t see the actual cyclone in the pics, but you can see that the flame comes straight up & out when its going full tilt!

I’ve only got a few things left to do, have the new stand built for it to sit on, get the drip tray/heat baffle setup made and have the exhaust vent duct made… plan on delivering it Friday… maybe even get to cook something in it too!
Thanks for looking!!
The answer was quite obvious - SMOKER!!! :clap2:
"I was thinking the same thing" he says. "I want to start serving BBQ in the bar, how can we make this easy to do, but still serve up great BBQ using this thing?”
“Well, easy could be as simple as an electric heating element and a place for wood to smolder… but you also mentioned “great BBQ” so that kinda kills the electric option” I say.
“So charcoal?” he asks with a doubtful look on his face.
“No sir, wood. All wood. 100% wood... think really tiny miniature sticks” I say, leading him along.
The look on his face says “This guy’s a whack-a-doodle” and it looks like he might be re-thinking his decision to ask my opinion…
“BBQ pellets” I say before he gets too far down the “whack-a-doodle” rabbit hole. We don't need him discovering the truth about that... :crazy:
“Ahh… and I’ll be able to control the heat & smoke with that type of set up?”
“You betcha! A comparable FEC unit would cost you around $4k, we should be able to wrap this one up right around $1,000”
“SOLD!” He says.
Se here was the plan – Obtain pellet pooper guts and finesse them into place.
I really like the improvements that Green Mountain Grills has made to the pellet cooker over the Treager design (or lack there of), haven’t cooked on one, but I could tell from the moment I first saw them that they had put some thought into their design.
First step was to contact GMG and see if they would even let me buy the hopper/auger/control board/firepot assembly without buying the whole grill. I was able to get Neil in tech support on the phone and he was more than happy to gather up a list of parts that I’d need for the job!
Turns out Neil has a great boss that sent him & his wife up this way last summer for vacation – they even stayed in Bigfork and knew right where the Bigfork Inn was at!
Neil was a huge help, not only in getting the right parts to me, but also helping make sure that I got it all wired correctly and answered the plethora of other technical questions I had for him, it really was great working with him! Thanks Neil! :thumb:
Alright, on to the good stuff!
Here’s the box before surgery. Inside dimensions – 40h X 18w X 28d and 3” thick insulated walls.
The GMG parts showed up crazy fast!! Seriously, they were ordered Tuesday afternoon and they were delivered on that same Friday… I can’t get a pizza that fast around here most of the time!
Auger motor, fire pot & combustion fan
The unique vertical grooves in the firepot that create a cyclone effect for more efficient combustion.
Check out that FAT hot rod igniter! This thing is about the size of my index finger! I’m used to seeing the one in my treager, it’s only about the diameter of a pencil.
Control panel, food temp probe & cooking chamber temp probe
Removed the door, top & side panel.
This keyway is where the auger & igniter tubes will pass thru, the same cut was made on the outside wall
Cut the hole in the floor for the fire pot and combustion fan. The fan needs to be outside for fresh air, it also needs to be mounted directly to the fire pot so that there is enough air pressure to create the cyclone in the fire pot.
This was an unexpected twist, I was thinking that their design would be more like the treager that pushes air through a duct from outside below the hopper, not directly below the fire pot. This actually worked out pretty well though, I was able to secure the assembly to the floor of the oven with SS bolts, making it stronger than it would have been.
Firebox inside and combustion fan box outside
I couldn’t wait to get a fire going in it! I rigged all the wiring together and gave it a quick test to see if she worked… Behold! FIYAH!
You can’t see the actual cyclone in the pics, but you can see that the flame comes straight up & out when its going full tilt!
I’ve only got a few things left to do, have the new stand built for it to sit on, get the drip tray/heat baffle setup made and have the exhaust vent duct made… plan on delivering it Friday… maybe even get to cook something in it too!
Thanks for looking!!


 .
.


