Welder88
Well-known member
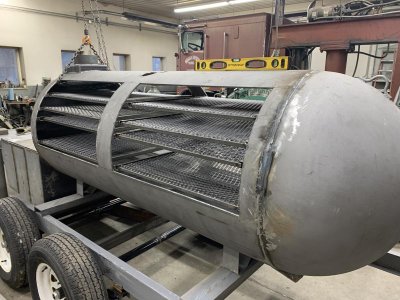
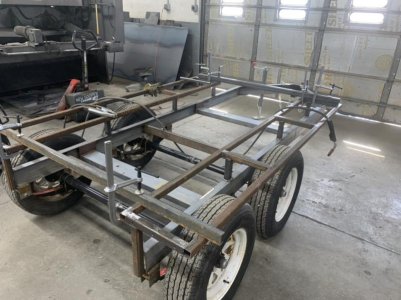
How you going to finish the outside - paint, clear coat, linseed oil?
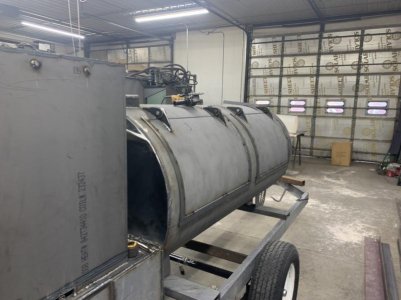
The plan after final grinding/sanding is a linseed oil finish on the tank, and black painted trailer frame
How you going to finish the outside - paint, clear coat, linseed oil?
Should I place my order now?
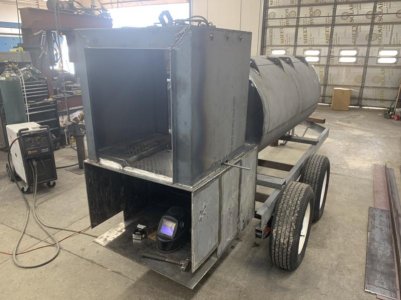
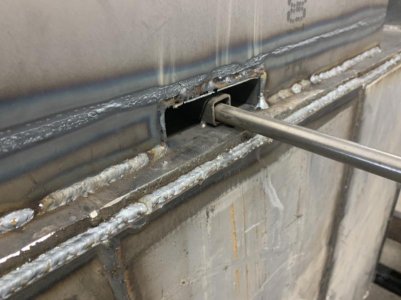
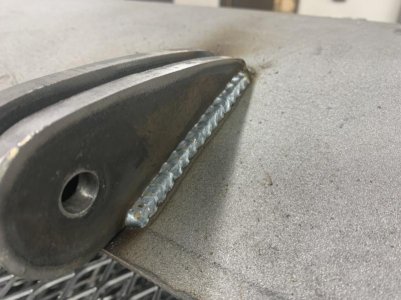
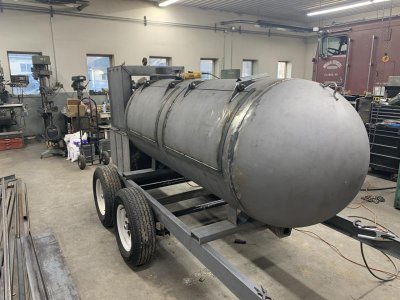
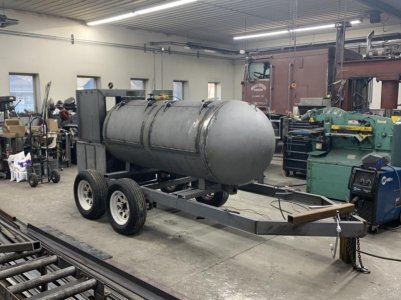
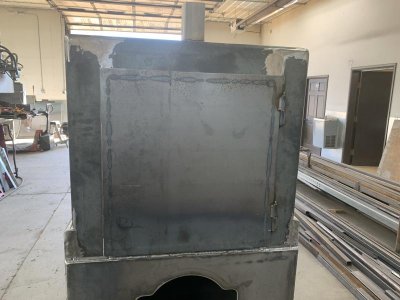
TheHojo, the plan is sand all the weld seams smooth on the outside so the entire thing appears seamless, then hit the seams with a sandblasted again, then the final finish will be linseed oil for a rustic look. Then trailer frame is going to get painted black, and then polished stainless steel fender/side shelf units


This is nothing short of spectacular .... but .... what are you going to do with it once it's finished ? :-D Is there more fun in building .... or .... cooking ?
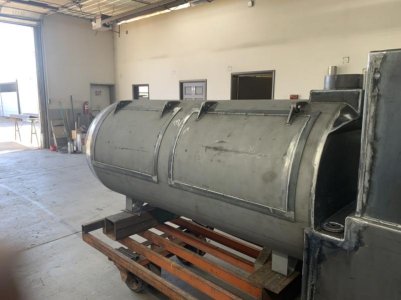
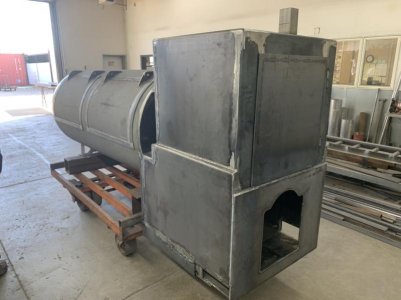
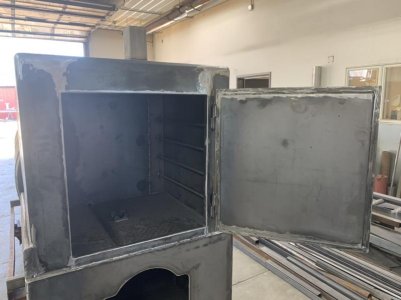
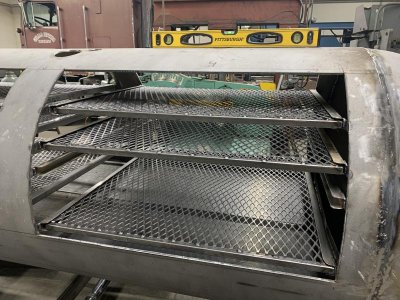
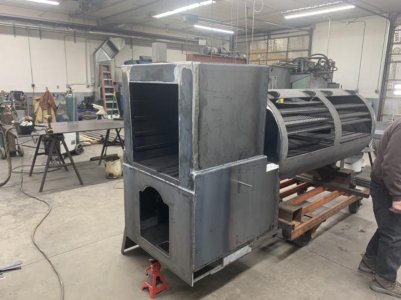
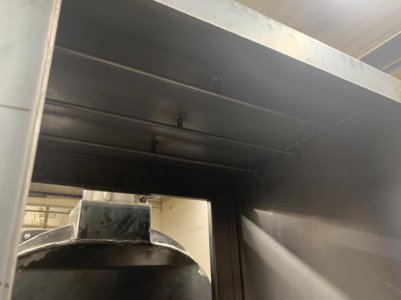
Looks great. Is the warmer attached to the cook chamber at all or will it be heated only by the firebox through some sort of baffle? What are you painting it with?