kevine
Full Fledged Farker
- Joined
- Dec 28, 2010
- Location
- Valencia, CA
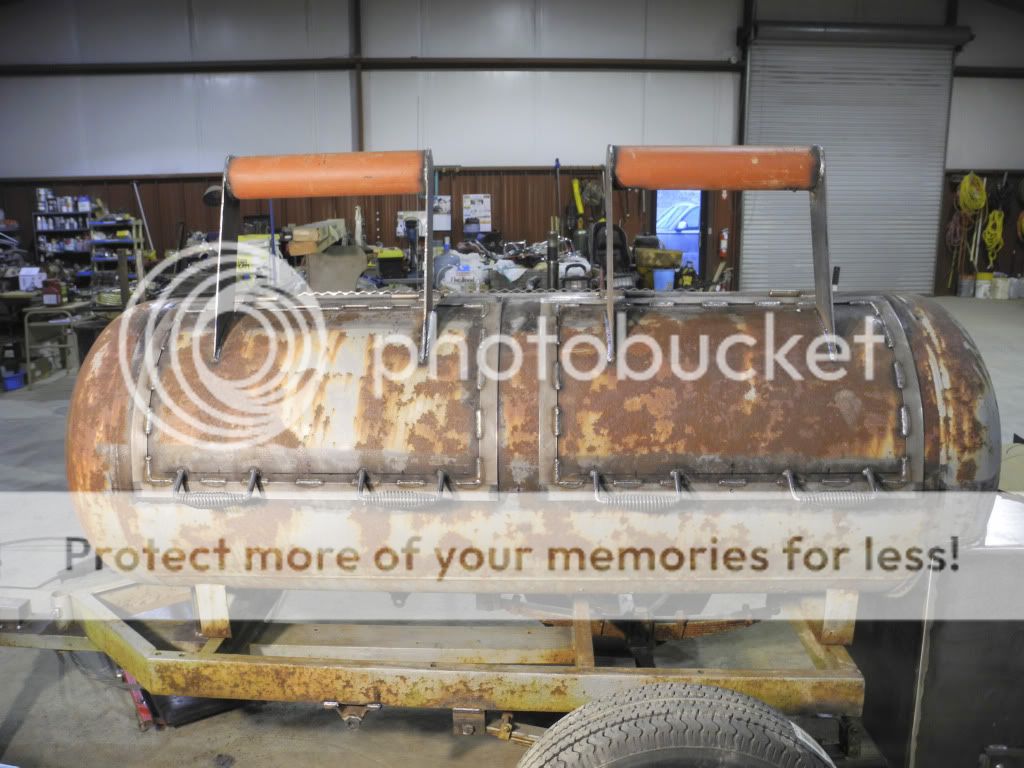
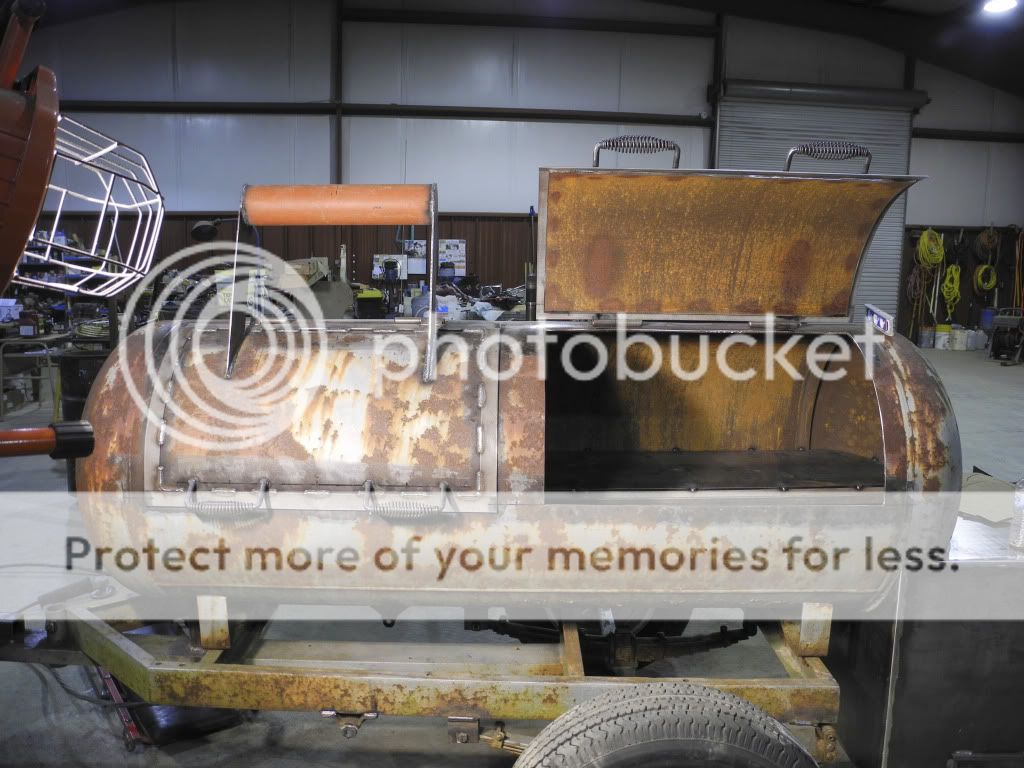
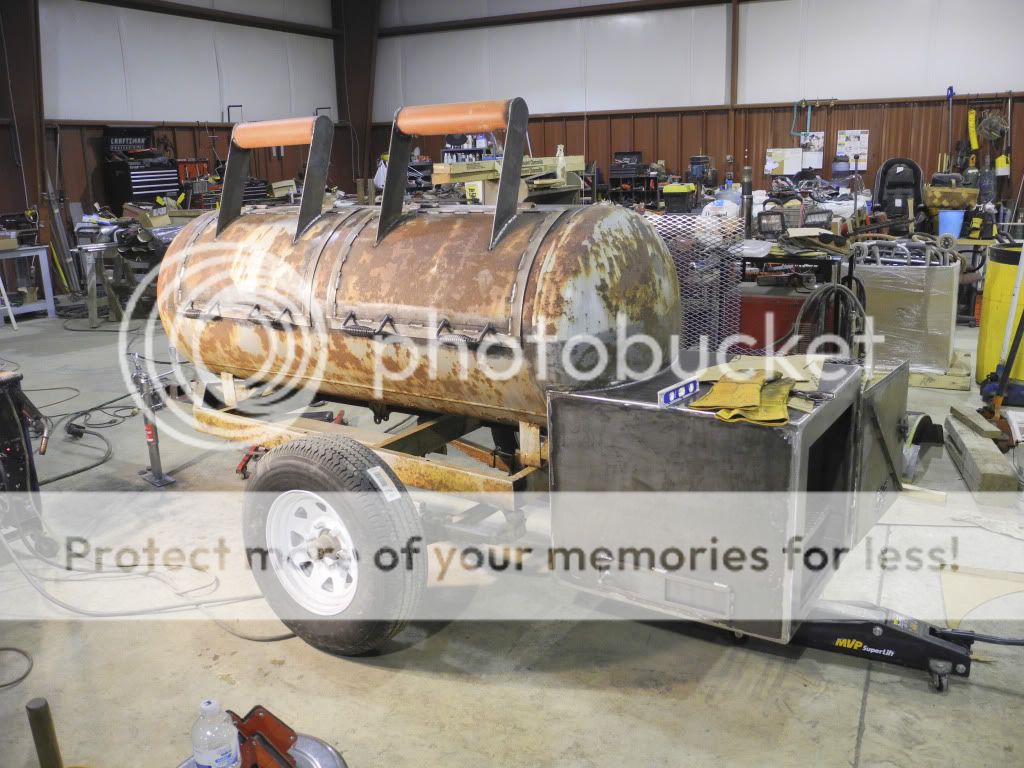
That looks sweet! I'm dieing for more pics!
")
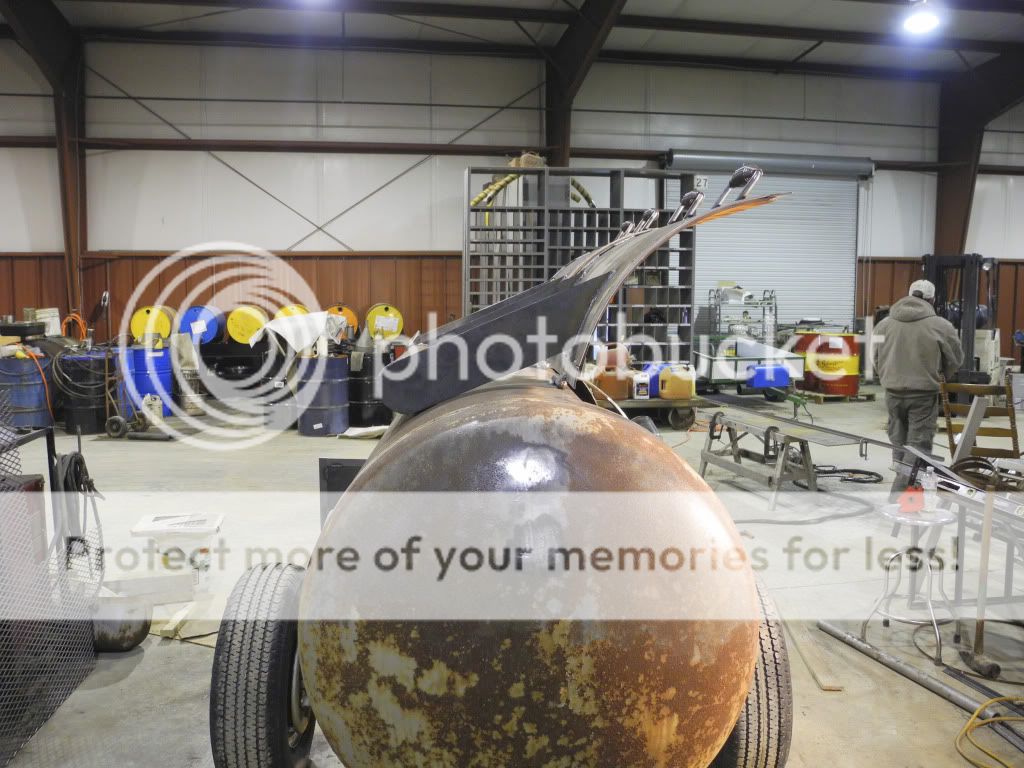
Did you neutralize the whatever propane that may still be left inside? Even vapors remaining could ruin your whole day when you put the torch to it. Good luck!