Mini WSM

MStoney72

Full Fledged Farker
Joined
Jan 8, 2012
Messages
371
Reaction score
101
Points
0
Location
Osceola...
Just wanted to do a shout out for JMSetzler for posting his Mini WSM picture tutorial on how to build these. Thanks to him I am breaking mine in tonight
4c174bfd-90a6-5e49.jpg

4c174bfd-90bd-0edc.jpg

4c174bfd-90d7-e612.jpg

http://img.tapatalk.com/4c174bfd-9109-2a47.jpg[/IMG
]
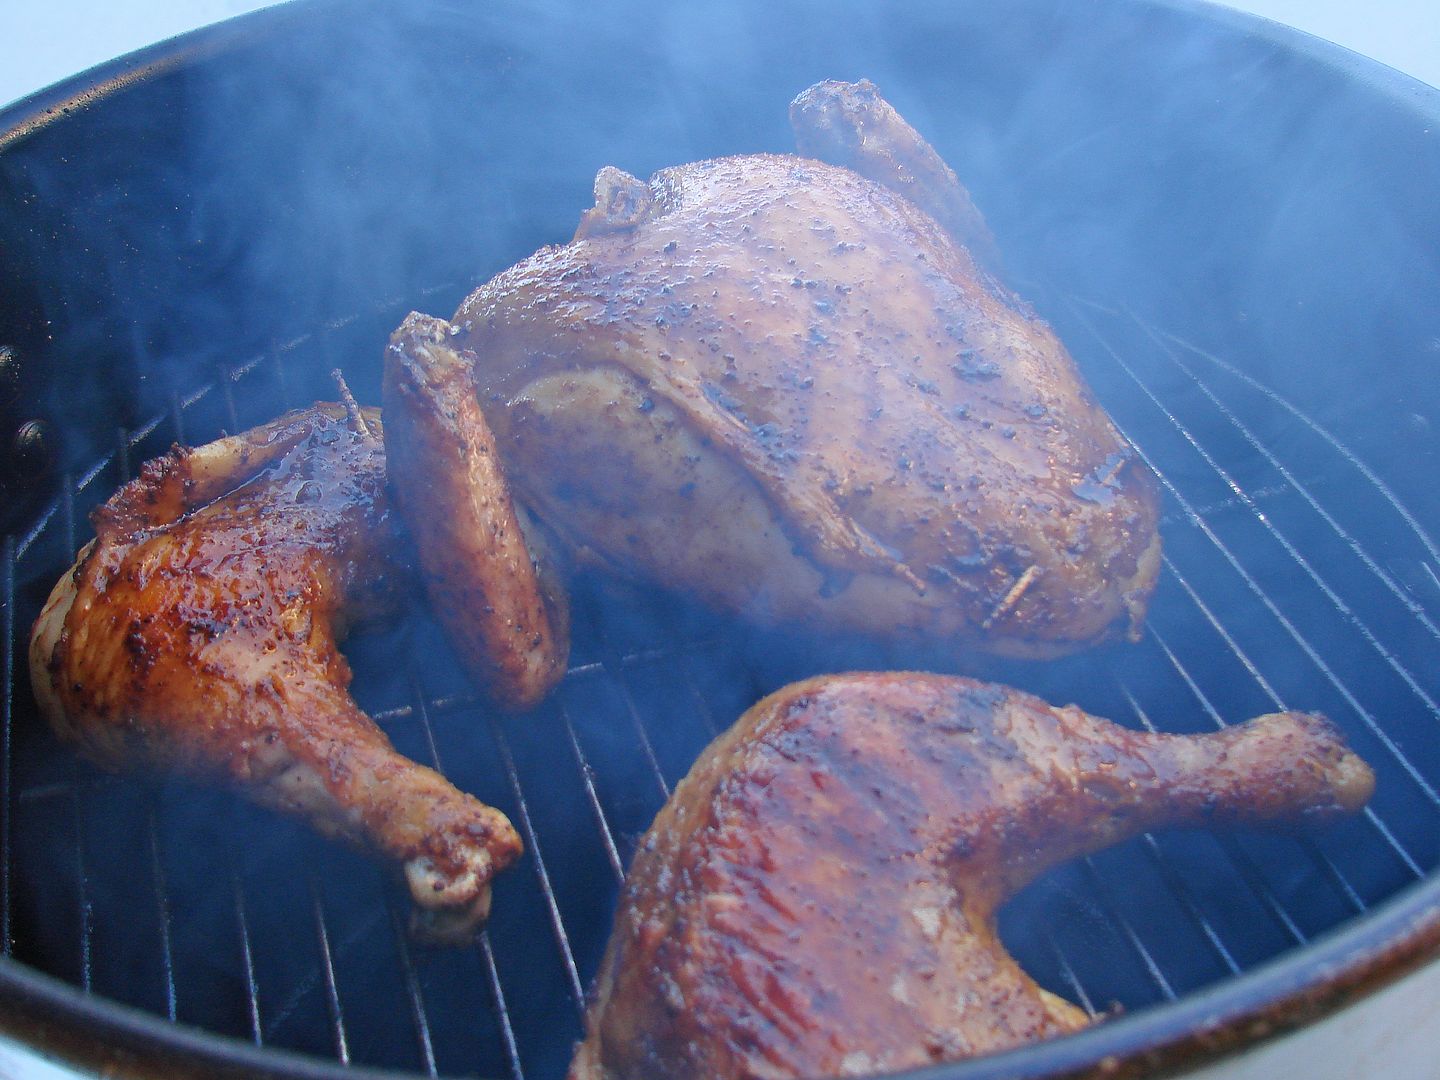
Cruising at about 240' kinda want it to get to about 350 for the chicken leg quarters sake, but thats a good temp for normal cooks. Seems to be really steady on temp so far, I'm pretty sure I'm gonna use this a lot.
[IMG]http://img.tapatalk.com/4c174bfd-9f4b-d347.jpg
This is the first time I've lifted the lid
Sent from my PC36100 using Tapatalk 2
 
I've been wanting to do one of these too. Looks good!
 
looks great ! what i did on mine is get a trivet/small wire rack and put it on the diffuser plate. then on that i put a foil coverd thin pan that is about 12" on the rack. thus the heat can get through but the pan catches the grease.
 
Lookin' good! Looks like you started out with something that really works GREAT on the mini... chicken! it's an awesome chicken cooker, especially for smaller amounts...
 
Lookin' good! Looks like you started out with something that really works GREAT on the mini... chicken! it's an awesome chicken cooker, especially for smaller amounts...

That's an understatement. Weber kettles are fine chicken cookers, and the Smokey Joe Tall is right in the pack.... I used mine so often after my build that Mrs ~t~ asked if I was going to be selling the Eggs. Heheheee.


DSC02473bbb.jpg
 
looks great ! what i did on mine is get a trivet/small wire rack and put it on the diffuser plate. then on that i put a foil coverd thin pan that is about 12" on the rack. thus the heat can get through but the pan catches the grease.

Three things I think I need to do yet to make it better
1. Drill holes a little bit bigger so I can get a little bit more heat up top ( it briefly maxxed out at 300 then settle back down to 250 with bottom vents wide open and my charcoal was really hot)
2. Add a drip pan
3. Add another grate in below the top one
I would also like to get an adapter to try my temp controller on it and maybe add another thermometer near grate level

Sent from my PC36100 using Tapatalk 2
 
That is cool, mine is still in it's box.
 
Three things I think I need to do yet to make it better
1. Drill holes a little bit bigger so I can get a little bit more heat up top ( it briefly maxxed out at 300 then settle back down to 250 with bottom vents wide open and my charcoal was really hot)
2. Add a drip pan
3. Add another grate in below the top one
I would also like to get an adapter to try my temp controller on it and maybe add another thermometer near grate level

Sent from my PC36100 using Tapatalk 2

I'd second the drip pan an second grate. I'm about to add both to mine.
 
That's an understatement. Weber kettles are fine chicken cookers, and the Smokey Joe Tall is right in the pack.... I used mine so often after my build that Mrs ~t~ asked if I was going to be selling the Eggs. Heheheee.


DSC02473bbb.jpg

Oh man that looks wonderful!
 
using the gold tends to run the temps a bit lower than using the silver. i've tried both and the silver will run hotter. i'm still not sure which one i prefer.
 
That little cooker is so danged cute! Great looking chicken, too!! :grin:
 
John,

If you had the CGK, would you build the mini? I was considering building one for small cooks (so as not to have to fire up the UDS and use more charcoal) but since I have the CGK now, I wonder if it is worth it? The CGK is a real charcoal miser. I may build one anyway. You can't have too many grills :becky:

Lookin' good! Looks like you started out with something that really works GREAT on the mini... chicken! it's an awesome chicken cooker, especially for smaller amounts...
 
I made mine with the Gold as well. For higher temps, just fire up a whole chimney of briqs. Chicken will be done in under 2 hours, so you'll have plenty of burn time. I had mine rolling along between 360˚ and 370˚ with little trouble. Just dumped the coals, put it together with all vents wide open and started shutting them down around 350˚. It settled in right about 365˚ with both vents about 1/4 open. No real need for the minion method on shorter, hotter cooks. Also, I leave the clay saucer out for the chicken cooks.

Did you cut the whole bottom out of the pot or drill holes? I've read that cutting the whole bottom out (leaving 1" or so around the rim for rigidity) allows more heat transfer to the top.
 
After bulding mine, I thought of a couple of changes to modify or change with the next build.

I used a terra cotta plate suported by three screws as the deflector. It cracked after about five minutes and needs some center support. A pie plate or something might be better.

Drilled holes in the bottom of pot using a step bit. Metal it too thin to do a neat job. Would cut the bottom out, leaving about a one inch lip for support.

Welded expanded metal to the charcoal grate but you are limited to about three inch height with the pot bottom in. By cutting the bottom of the pot, you could raise the height of the grate into the pot. Not sure why since it cooks for about six hours as is.
 
I made mine with the Gold as well. For higher temps, just fire up a whole chimney of briqs. Chicken will be done in under 2 hours, so you'll have plenty of burn time. I had mine rolling along between 360˚ and 370˚ with little trouble. Just dumped the coals, put it together with all vents wide open and started shutting them down around 350˚. It settled in right about 365˚ with both vents about 1/4 open. No real need for the minion method on shorter, hotter cooks. Also, I leave the clay saucer out for the chicken cooks.

Did you cut the whole bottom out of the pot or drill holes? I've read that cutting the whole bottom out (leaving 1" or so around the rim for rigidity) allows more heat transfer to the top.

I drilled holes and they are not enough, I am going to cut the hole bottom out as you were saying and as others have already done. Last night was my first time using it and when I drilled the bottom I wanted to leave it material safe therefore I could get it dialed in perfect. Now I know for sure I need to remove material from the bottom. It was really obvious when I pulled the pot off of the grill and I could of seared a steak on it that I needed a bigger hole;). Other than that the chicken turned out very good.

Sent from my PC36100 using Tapatalk 2
 
The bottom will cut out very easily with some tin snips. Make sure you leave an inch on the perimeter for stability.

Nice job! I used mine a lot over the winter.
 
She's just a tad bit under 300' with the pedal to the metal. Dang, this thing is really cool:)
4c174bfd-ee4a-9d37.jpg


Sent from my PC36100 using Tapatalk 2
 
Back
Top