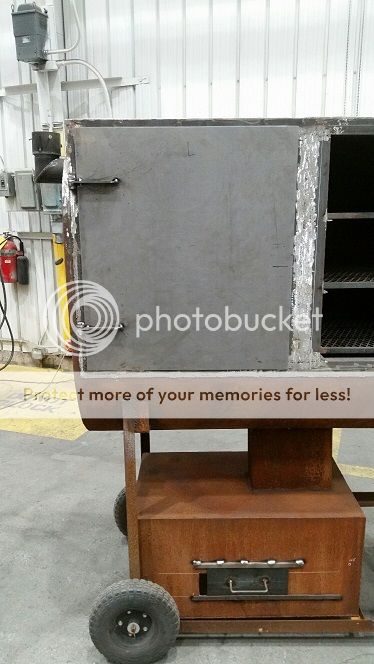
THE BBQ BRETHREN FORUMS

Welcome to The BBQ Brethren Community. Register a free account today to become a member and see all our content. Once signed in, you'll be able to participate on this site by adding your own topics and posts, as well as connect with other members through your own private inbox!

Finally got some work-time in yesterday. My buddy couldn't stay so it was just me.

I decided to not bother trying to make the covers for the holes in the top perfectly round and just went ahead and welded them on.

770707_zpsvflbbpl8.jpg


770701_zpsgycxtfx9.jpg


Cleaned up.

770703_zpsa1cziqqn.jpg


770705_zpsi9ktz0n7.jpg


Then I welded the covers on to the exhaust caps.

770702_zpsa5u6glrm.jpg


770704_zps99zs3wtr.jpg


Since I was going over that way, I figured I'd cut some flat stock for the hinges.

770709_zpstsucwnny.jpg


Then I started to clean up the welds on the exhaust caps on the belt sander.

770708_zpsqrz9qucv.jpg


By the time I was done with that it was getting late so I had to quit for the day.

Stay tuned for another fun filled episode next week (hopefully)!

Thanks for watching!
 
Most people don't realise (realize in the U S?) how long the little jobs take. It can get demoralising if you don't feel you getting on quickly enough. Keep at her, I promise you will look back at the work and think "worth it". Looking forward to the next installment.
 
Most people don't realise (realize in the U S?) how long the little jobs take. It can get demoralising if you don't feel you getting on quickly enough. Keep at her, I promise you will look back at the work and think "worth it". Looking forward to the next installment.

Agree 100%

My wife & my boss both jokingly comment about how long it's taking to get done. My boss loves spreadsheets so I put this together to show him that I am making progress.
 

Attachments

Welcome to this episode of This Olde Pit.

I was able to stay and get a few things done yesterday.

First, I laid the smoker down so I could layout the doors, hinges and handles.


5-22-2019%201_zpsyycri2hw.jpg


I realized a while ago that the handles I bought weren't going to work without some modification because the striker is too tall, even set at the lowest position. I'm going to make new strikers out of a piece of 3/4" or 1" bar stock and weld them on instead.


5-22-2019%205_zpsnybz28lu.jpg


Once I had everything laidout, I finished fabricating one set of hinges by drilling the holes for the pins/bolts and rounding off the corners. I also finished grinding down the welds on the other exhaust cap while I was over there.


I set them back up on the smoker using a length of SS tubing to keep them lined up.


5-22-2019%206_zpsq5bsnuyz.jpg


5-22-2019%207_zps9icamcyu.jpg


Then I tacked them on. You can't see it in the pictures but I unspooled some of the gasket I bought and laid it underneath the door to make sure I got the proper gap.


5-22-2019%208_zpshtqjrxtk.jpg


5-22-2019%209_zpsdbpo4oaj.jpg


It was getting late, so I replaced the tubing with a couple of bolts and flipped the smoker upright to check the function- everything works just fine.


5-22-2019%2010_zpsmtbzmnmi.jpg


The door didn't move much at all and as still lined up pretty good to the lines I made.


5-22-2019%2011_zpsoe4b8aoj.jpg


For the other door I'm going to try to get the small parts of the hinges closer in size/roundness. No one else will probably ever notice, but I do.


Thanks for joining us on this weeks' This Olde Pit. We'll see you next time.


Thanks for looking!
 
Last edited:
Some good progress! If you don't want to mess with redoing the striker, I bet you could find a cool way to space the handles out from the cooker door to the height needed with the striker. It might help keep the handles a little cooler too. Either way, i'm sure it will look great when it's done
 
Work was closed today for the holiday so I snuck in for a few hours of fun.


I cut and drilled the hinges for the other door. I found an easier way to make the little pieces- first I drilled the holes, then I bolted them together and rounded off the corners and cut them to length. They came out much more consistent in size and the curve matched almost perfectly.


5-27-2019%201_zpsf4whladn.jpg


Then I tacked on the door parts.


5-27-2019%204_zpsgjwayyoc.jpg


And then the frame parts.


5-27-2019%205_zps01kwjnvs.jpg


Then I took the door back off and finished welding on the frame parts.


5-27-2019%209_zpsokwugfm2.jpg


While those were cooling down, I drilled the holes for the handles in both doors and finished welding the hinges on.


5-27-2019%208_zps9owxpnc6.jpg


5-27-2019%207_zpserri0vou.jpg


Then it was time to reassemble everything- looks pretty good.


5-27-2019%2010_zpsqmhz0jtg.jpg


I decided the easiest way to fix the striker problem was to just make a new one, so I took some measurements and cut it out of a piece of 3/4" bar stock. Took quite a while on the band saw, but it came out good.


5-27-2019%2012_zpst0mvpefn.jpg


5-27-2019%2013_zpsh64dsdvt.jpg


It seemed to work well, so I welded it on. While I was looking at it tho, I noticed something- I had always planned to use 3/8" clevis pins for the hinges, but once I got them in I realized I like the cleaner look of the nut and bolt.


Which do ya'll think looks better?


5-27-2019%2011_zpsxtzu7lpp.jpg


After that, I flipper her right-side-up again.


5-27-2019%2015_zpsii8eicq3.jpg


What a sight!


In the last 20 minutes I decided to throw together one of the exhaust caps. It's a simple but effective design I've seen on a bunch of different smokers on this forum.


5-27-2019%2016_zpsr7f7m569.jpg


5-27-2019%2017_zpsyio7a2bb.jpg


By that point it was time to clean up, so that's it for this episode of This Olde Pit.


Thanks for looking!
 
I took a look at the front of the basket again- it is super warped and will take a ton of grinding and and bending to get it straight again and chances are it will still look like crap.

Then I started to think about it last night- I'm not very confident in the overall concept of the basket. I thought it would make loading wood into the pit easier but now I think it's going to make a mess and cause massive heat loss to pull the fire out of the smoker every now and then.

I guess I'll wait to see how the test fire goes. :decision:

If the basket design works, I'll keep it and just replace the warped front with a new piece of steel. If it doesn't work well, I'll make a regular hinged door and weld up a grate to put inside the fire box like a regular stick burner has.


Also, probably going to have to replace those back wheels with solid rubber ones like I did with the casters. The "no-flat" ones I have on there now are only rated for ~300lbs each and I can hear them groaning every time I have to move the smoker around.
 
Last edited:
6/14 Progress

Dang! Never have I had to work so hard to get so little done.

In a little over 3 hours I got the holes for the thermos drilled and tapped, the gaskets put on around the doors openings and straightened out the front of the wood drawer.

It has been quite a few years since I used a tap and I forgot the most important lesson: don't force it. Tap shattered inside the second hole and took me a while to chisel it out.

20190614_162249_1560552618296_resized_zpsrffddr5s.jpg


20190614_162313_1560552617002_resized_zps5wcbwrks.jpg


20190614_171329_1560552615706_resized_zpss9mu1eg2.jpg


The holes aren't the straightest, but the hose barbs thread into them ok.

Then, I'm putting the gasket on and the adhesive that I bought starts spurting out of the caulk gun- looks like it had separated a little since I bought it 5 years ago.

20190614_174132_1560552614346_resized_zpsisz7jvcn.jpg


Not sure if it's going to work or not, but it doesn't even matter because the gasket I bought is falling apart and throwing fiberglass fibers all into the air and now I'm afraid to use the cooker with it on there.

Well at least I was able to get the front of the drawer straightened pretty good. It should seal ok, once I get some silicone sponge gasket on there instead.

After waiting for weeks to finally have time to work on this thing and this is what happens? What a **** show.

Anyway, going to try to fire it up tomorrow morning and see how it runs.

I'll post some pics, if I can.

Thanks for lookin!
 
Last edited:
Test Fire

Went in to work around 7:30 this morning and did a test run.
Loaded up the basket with some shredded cardboard and a bunch of small logs from a tree my Bro-in-law cut down from his back yard and lit it up.

20190615_075139_1560604489735_resized_zpskuj9rc9c.jpg


20190615_075222_1560604488228_resized_zpsbwdbqak9.jpg


20190615_075232_1560604467023_resized_zpswevxghyp.jpg


While it warmed up, I went to finish the other smoke stack.

20190615_113019_resized_zpsfedtjflt.jpg


After about 45 mins the thermos were reading 500*+, so it looks like everything works as designed.

About an hour later, I was very happy to see that the top and bottom thermos were only off by a few degrees from each other. And as time went on, they got even closer. At one point, they were exactly the same.

20190615_091024_1560604463666_resized_zpsrzd8htaj.jpg


Shortly after that temps dipped down, so I threw a few more logs on. My suspicions about the wood basket were correct- it makes a terrible mess of ash and lit coals when I pull it out, so I'll be removing it and making a regular door and a grate to keep the coals off the floor of the firebox.

I didn't do a biscuit test, but at several points I used my work's IR laser thermo and got readings from the various racks at both the middle and outer edges and they were all within 5* of each other, so I call that a success.

I only had a few hours to do this, so by that time I had to start closing it down. The exhaust caps work ok, but don't create a good enough seal and quite a bit of smoke still escapes under them when fully closed. Smoke also gets through the coupling where the upper smoke stack attaches to the cooking chamber.

I think when I redo the door gaskets I will also put some pieces in these areas to make them seal better.

That's all for this episode of "This Olde Pit". See you next time & thanks for lookin!
 
Last edited:
First Cook

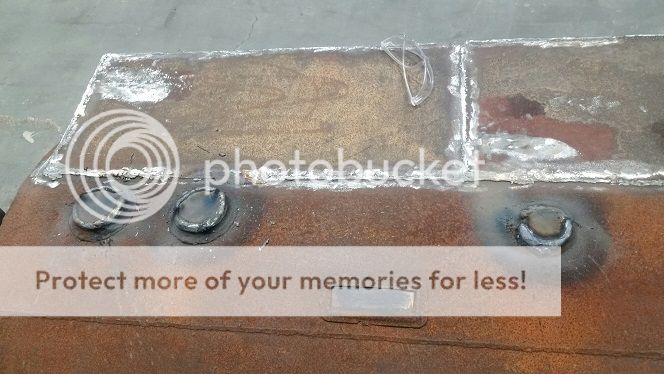
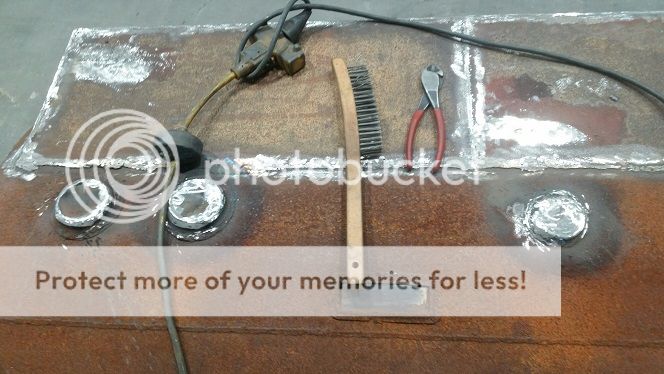
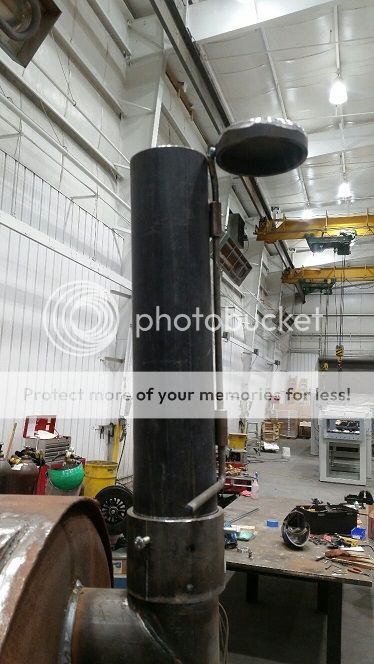
So 2 Saturdays ago I did a test cook on the smoker.

Link to the thread

The results were... not great.

It seemed like the temps were relatively steady between 300* and 350* for the majority of the cook, although higher than I normally cook at on my UDS.

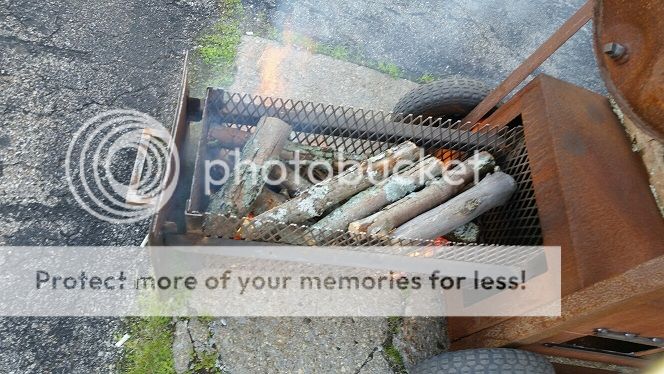
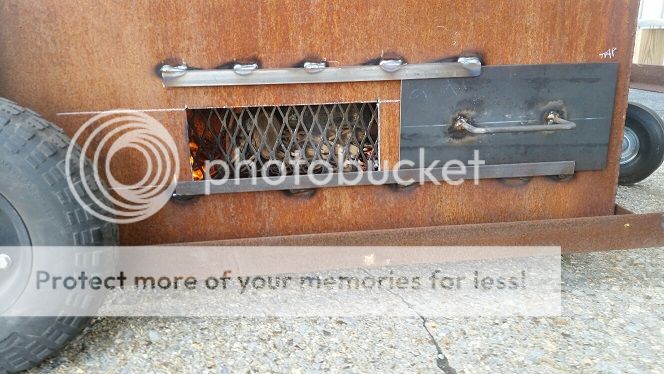
The meat looked good and had a good color. At no time did the smoker ever chug out thick white smoke- after lighting, it was thin blue coming out of the exhaust stacks the entire time.

So after 5 1/2 hours at those temps, why were my 2 racks of untrimmed spares still tough, undercooked and have a very bitter smoke flavor despite the meat not being dark on the outside and a practically nonexistent smoke ring?

I'm very confused by these results.

I could figure out where the bitter smoke came from if I had any other indicator to go on- such as the smoke being thick and heavy, the meat being super dark or overly smoked, but it wasn't.

I could figure out what the issue was with the meat not being tender or cooked if the temps were low the whole cook or I had issues keeping the fire going, or there was nothing coming out of the exhaust, but none of that happened.

The only 2 things I can think of that might have caused this is either the wood I used in my test fire, which was very old and had a bunch of bark on it, left a bunch of residue inside -OR- I had too small of a fire because I was letting it burn down practically to nothing before adding more wood (despite doing it this way, temps were relatively stable).

For this cook I used all well-seasoned cherry splits from the same lot I've been using for every cook the past 5 years or so. There was some bark on a few pieces, but they were stored in my dry garage and were not wet or rotten or feel underweight.

Anyone have any insights? Do I have too much draft or something?
 
Back
Top