B
Black Dog BBQ
Guest
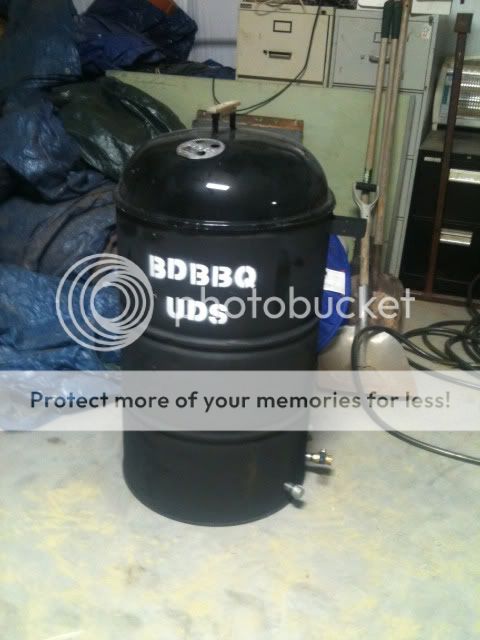
UDS #2 this one is for my dad's place at the lake. Thanks everyone for all the tips.
I apologize if this was answered; but is the 24" distance to the rack, from the bottom of the fire box or the top filled with charcoal.Hope this helps.
I apologize if this was answered; but is the 24" distance to the rack, from the bottom of the fire box or the top filled with charcoal.[/QUOTE
Charcoal rack to meat rack
DrumPit Basics.....Or.....How I use my UDS..I have really enjoyed your plans on the smoker you built. I am wondering is there a complete "how to " set with pictures for the completed project? For example where/how is the fuel placed? I know it is at the bottom but did you build a pan/box to hold it? I have only been smoking for a year or so and still have a lot to learn but I am learning that I need to build/buy something that has room for a larger quantity and maintains the temp better then the Brinkman Vertical that I have now.
Thank you very much for all of your work and being willing to share with us novices.
Jim

I can attest to what Sly says, he speaks the truth
But i thought being a redneck was a prerequisite to building a uds??:heh:
Divide drum into 3 sections


Layout grill holes.
I chose 1 3/4"" and 8" from top. You should assess the drum you are using.

Layout Intake holes.
I chose 2" from bottom.

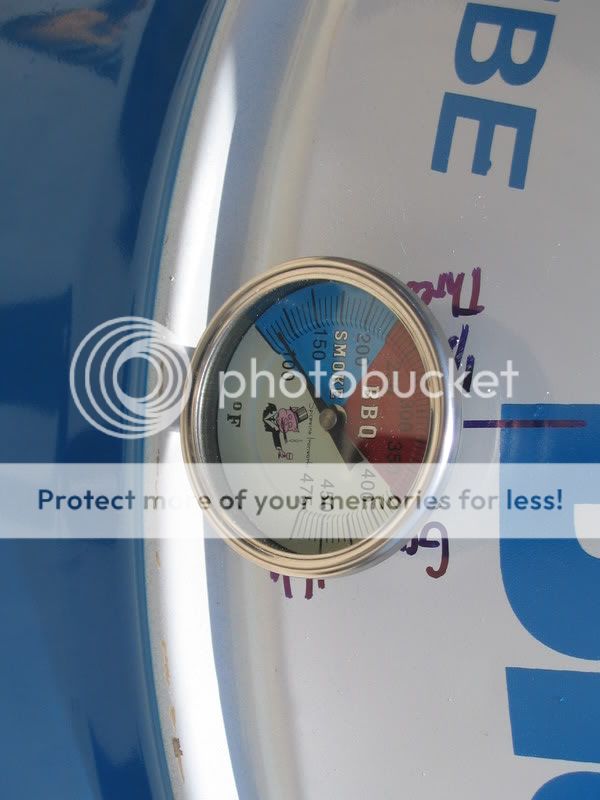
Layout Gauge hole.
I chose 9" (1" below lower rack)

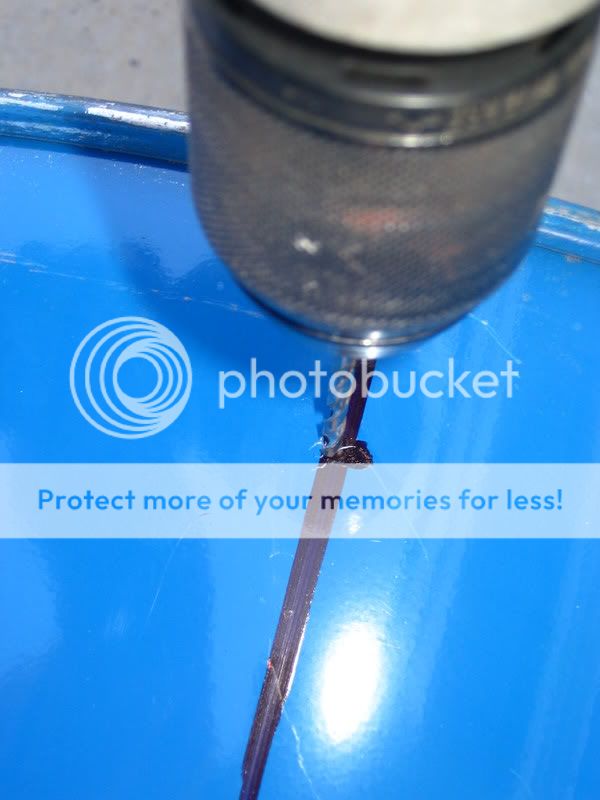
Centerpunch marks.

Drill pilot holes.

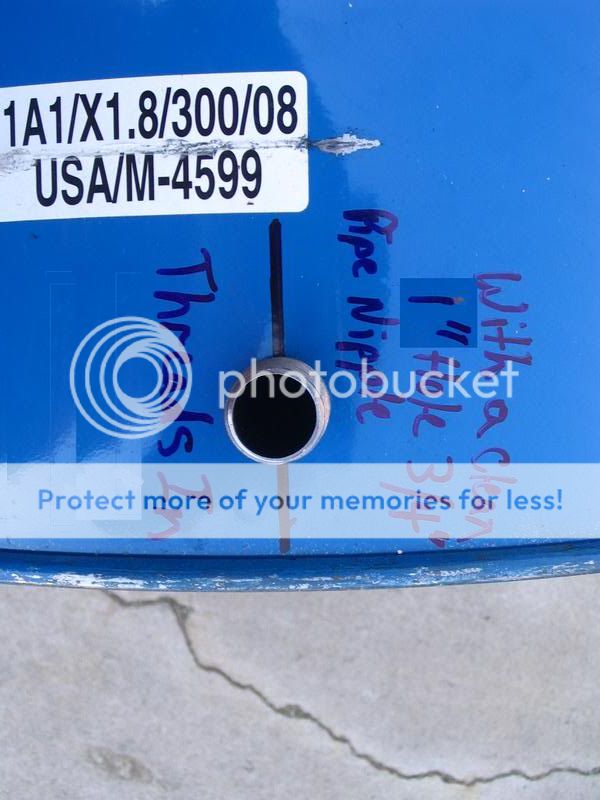
Drill holes for Intake nipples
I use 1" which lets you thread 3/4" nipple (clean round hole)


Drill out holes for Grate supports
I am going to use 1/4" bolts. I use Unibit to get clean holes in thin metal.


Open up hole for gauge.
I use 3/4" hole which is a tight fit for a 1/2" pipe thread.


Thread in 3/4" close nipples
I use cap to protect threads and screw in as far as possible.
This link will show alternative to welding nipples.
http://www.bbq-brethren.com/forum/sh...2&postcount=40

Weld in Nipples


Install 3/4" ball valve.

__________________
Install grate supports.
I use this set up. I go hex head in. It seems to keep grate from slipping off when setting in. Also nice when you spin grate.
I use 1 3/4" for top and 2" for bottom.


Install gauge.
Again use conduit nut that comes with gauge to lock in.

Add Handles (optional)
I got these at Home Depot in the Hardware isle by garage door section. Little tip pre-bend ears with pliers past radius of drum so they will bend and hug drum when tightened.

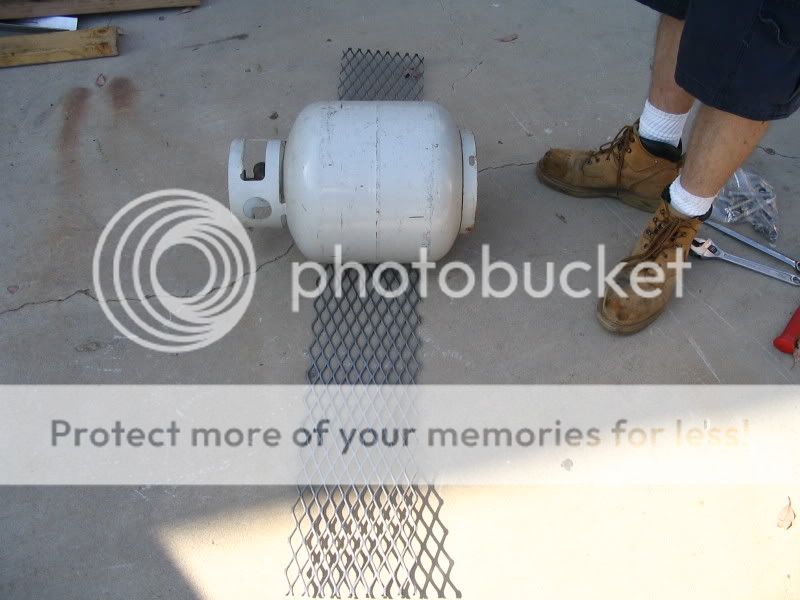
Making Charcoal basket
This is the toughest part. I start with a replacement charcoal grate from a 18.5" weber kettle. I purchased at Home Depot

This is a view of legs. I chose 1/2" bolts 3 1/2" long. I use 2 washers and 2 nuts to capture grate.

I use a piece of 3/4 #9 expanded metal 8" wide X 44" long.

I pre bend it.


Attach it to weber grate. I welded but you can use wire and twist and bolt where overlaps.

Here is it complete

Reworking Lid
The last part would be to drill 8ea. 1/2" holes equally spaced in flat lid. I am using Weber Kettle lids so I am providing pic. of first UDS I built. Some lids have a 2" threaded bung opening that people have threaded pipe intoto make a smoke stack. Here is a link to examples.

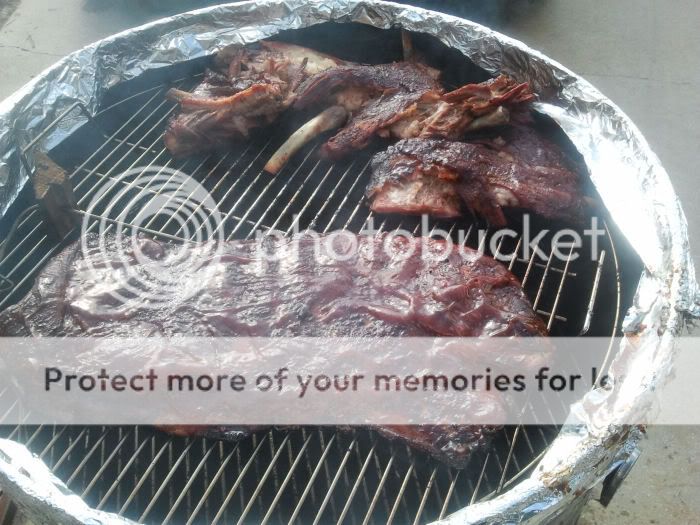
Now only thing missing is a couple of 22" Weber grills and you are ready to cook.

I see a lot of UDS posts and most of them have 4 holes drilled for ventilation but have 3 of them capped and one with a valve of some sort to control airflow. Why not just make one hole with a valve or do you take the caps off at first to help it get up to temps?

