

With the recent refurb I posted of the free Weber 18" Kettle, it was time to make a decision as to the fate of the Bubba Keg. Chris took the cracked Bayou Classic Cypress off my hands and Bubba's fate also hung in the balance.
Ditch it? Offer it for sale at a cheap price? Fix it?
I first offered it to Chris, but I think he has enough to do fixing the BC. So I took Bubba apart and it wasn't looking that bad until I saw the rust though in the bottom exterior. At first I was going to dump it, but I've had the Bubba Keg since 2010 and it's been my go to cooker until last year when the Golden's Cast Iron was purchased. So it's mostly sat idle for a year with only a few cooks on it during that time.
Some before pics -
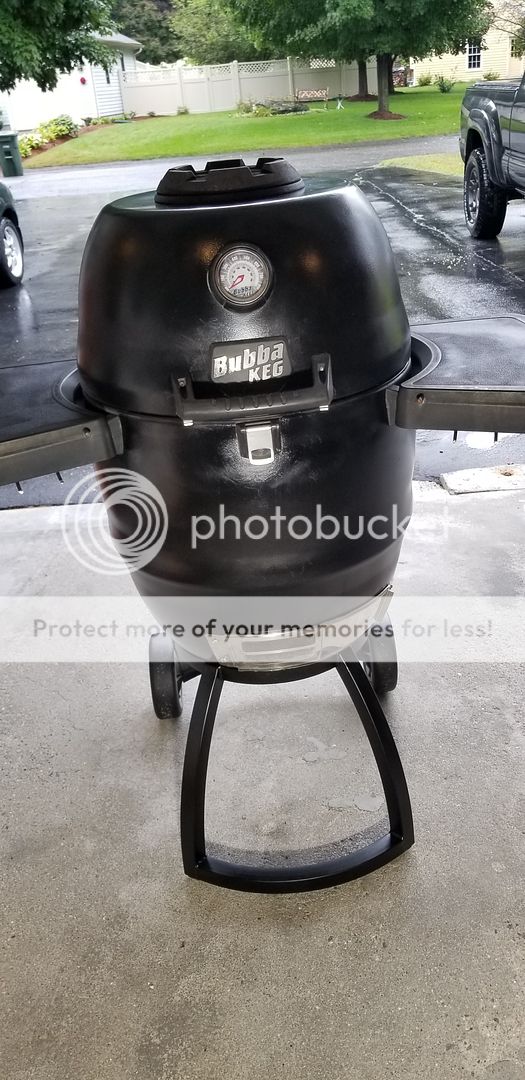
Bubba exterior, has lost a lot of its luster through the years -

Interior, not all that bad -

Fire ring, not bad either -

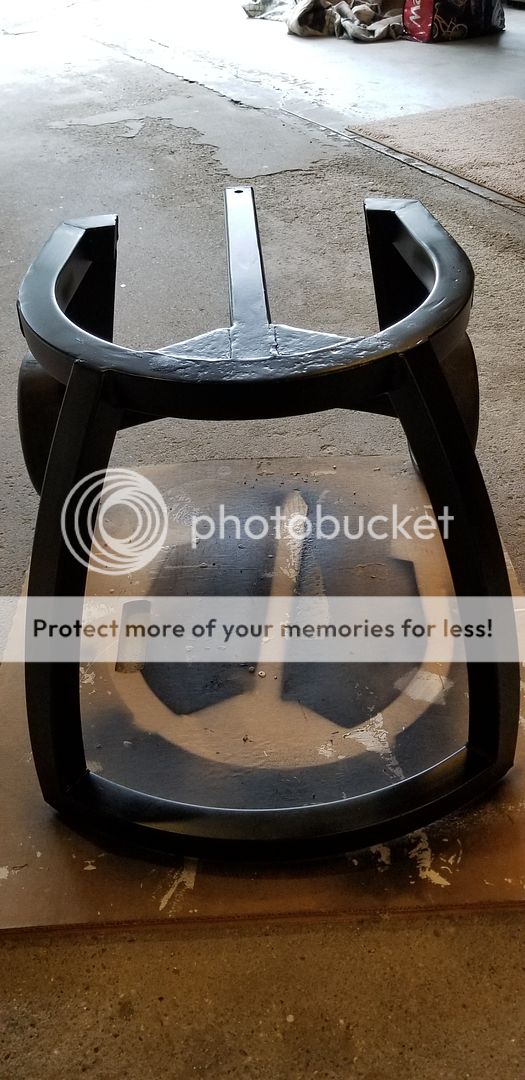
Stand -

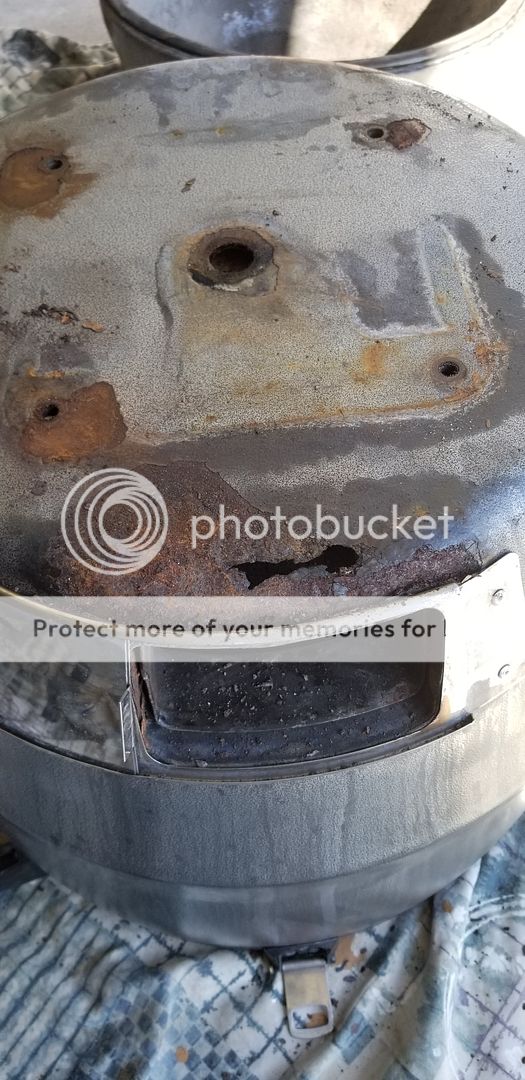
Bottom exterior perforation, under the vent -
What to do? I was about ready to dump it, but decided to try repairing it. I figured I owed it at least that much since I've had it for so many years and it's been an excellent Kamado.
Rebuild pics -
Stand, after some work with an angle grinder and painted -
I picked up some aluminum and fabricated a panel to fit under the vent. Sure, working in stainless steel might have been better but I don't have the means to bend it and work with it so aluminum was the choice. It doesn't get that hot under the Keg, we'll see how it holds up.
Some metal fabrication. Two pieces of aluminum, one which goes under the bottom interior and is formed to allow water to drain outside the Keg rather than into the Keg. The other just to cover the rusted holes which are also patched with JB Weld high heat material.

Both pieces riveted in place -
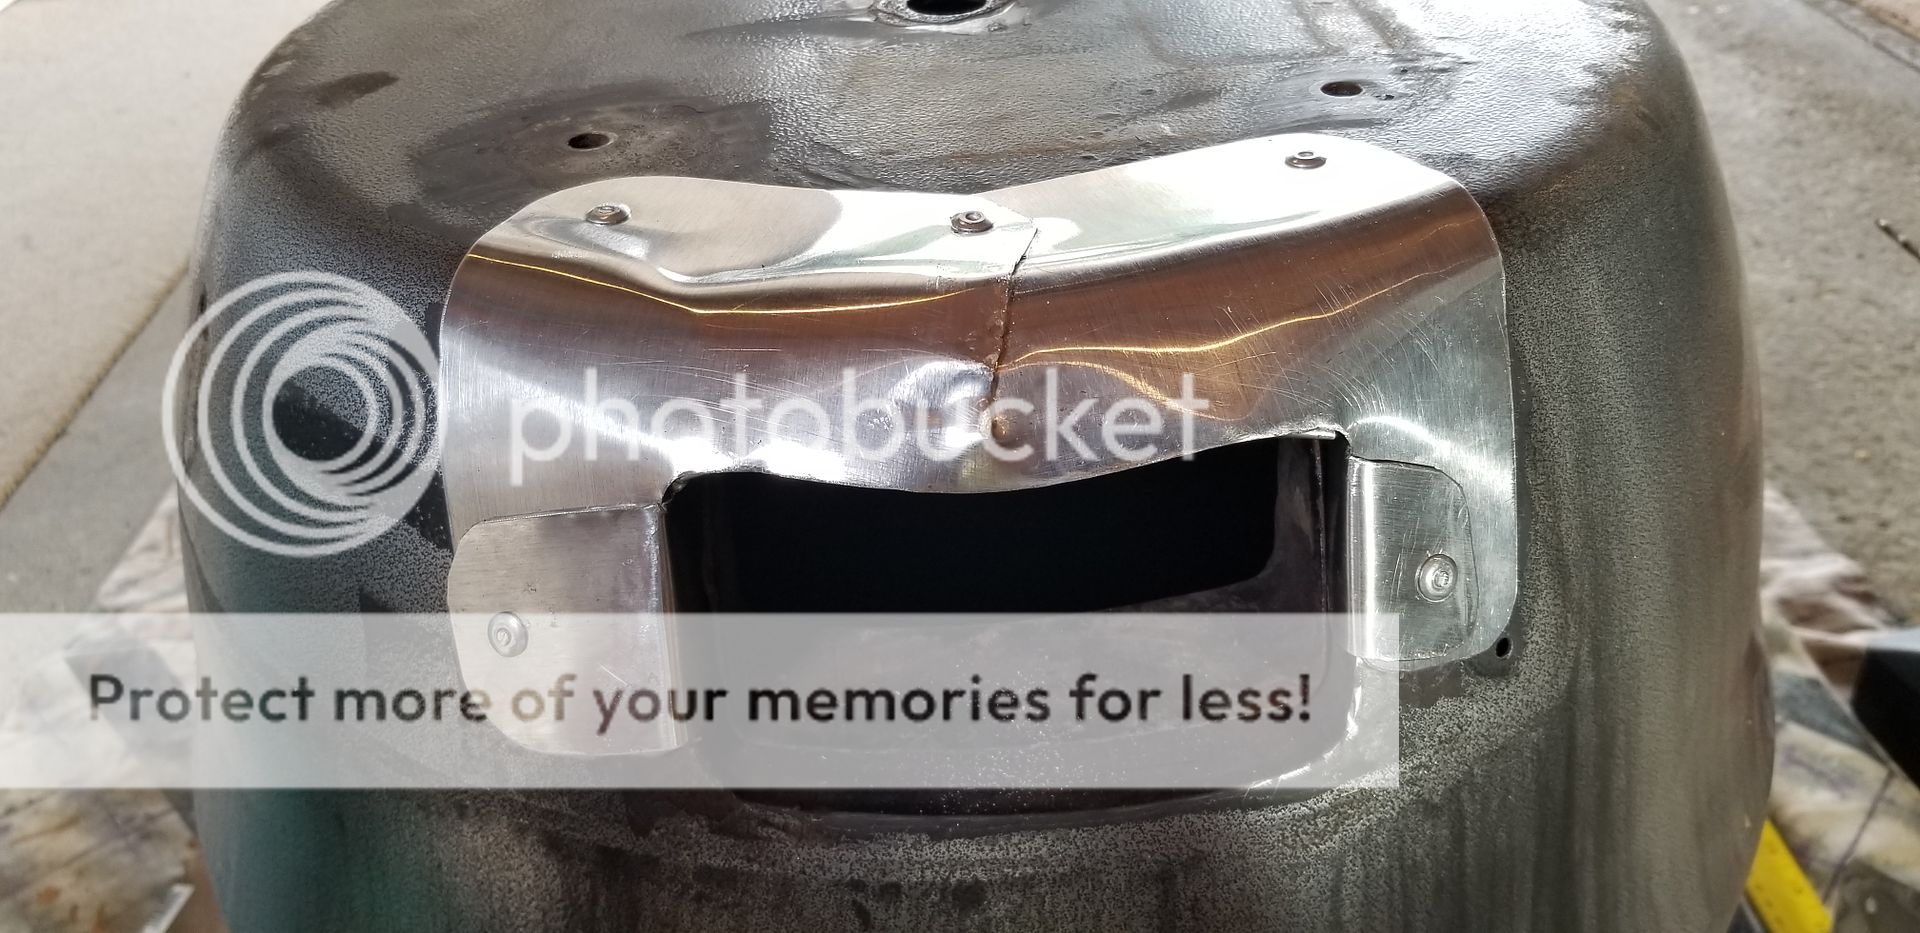
It ain't the prettiest patch, but most of it is either under the Keg where it can't be seen or behind the vent screen.
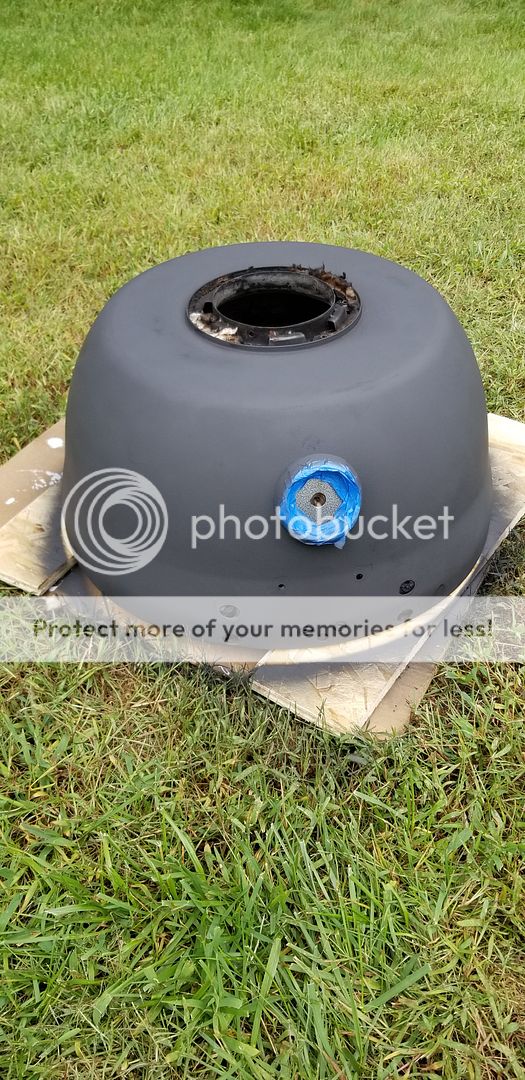
Lid, with base coat of high temp bbq paint. Bubba is being painted black to match the Weber and the Golden's -
Final coat of high temp auto enamel -

And it's back together and ready to grill -

I'm waiting for the arrival of Nomex gasket material tomorrow from amazon. I'll give the felt gasket a try on the lid and base instead of the original oven gasket which was only attached to the lid (and only available from Broil King).
Anyway, that's it. The Bubba Keg is still part of my grilling arsenal. Hopefully the patch will hold and I can get a few more years out of it.
Thanks for checking out this thread.
-Dom
Ditch it? Offer it for sale at a cheap price? Fix it?
I first offered it to Chris, but I think he has enough to do fixing the BC. So I took Bubba apart and it wasn't looking that bad until I saw the rust though in the bottom exterior. At first I was going to dump it, but I've had the Bubba Keg since 2010 and it's been my go to cooker until last year when the Golden's Cast Iron was purchased. So it's mostly sat idle for a year with only a few cooks on it during that time.
Some before pics -
Bubba exterior, has lost a lot of its luster through the years -

Interior, not all that bad -

Fire ring, not bad either -

Stand -

Bottom exterior perforation, under the vent -

What to do? I was about ready to dump it, but decided to try repairing it. I figured I owed it at least that much since I've had it for so many years and it's been an excellent Kamado.
Rebuild pics -
Stand, after some work with an angle grinder and painted -

I picked up some aluminum and fabricated a panel to fit under the vent. Sure, working in stainless steel might have been better but I don't have the means to bend it and work with it so aluminum was the choice. It doesn't get that hot under the Keg, we'll see how it holds up.
Some metal fabrication. Two pieces of aluminum, one which goes under the bottom interior and is formed to allow water to drain outside the Keg rather than into the Keg. The other just to cover the rusted holes which are also patched with JB Weld high heat material.

Both pieces riveted in place -

It ain't the prettiest patch, but most of it is either under the Keg where it can't be seen or behind the vent screen.
Lid, with base coat of high temp bbq paint. Bubba is being painted black to match the Weber and the Golden's -

Final coat of high temp auto enamel -

And it's back together and ready to grill -


I'm waiting for the arrival of Nomex gasket material tomorrow from amazon. I'll give the felt gasket a try on the lid and base instead of the original oven gasket which was only attached to the lid (and only available from Broil King).
Anyway, that's it. The Bubba Keg is still part of my grilling arsenal. Hopefully the patch will hold and I can get a few more years out of it.
Thanks for checking out this thread.
-Dom


