Diver
Full Fledged Farker
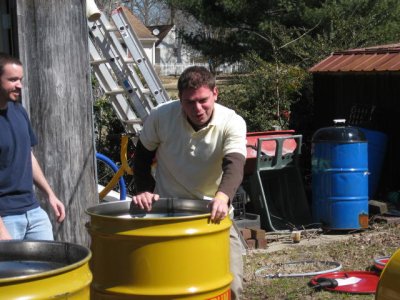
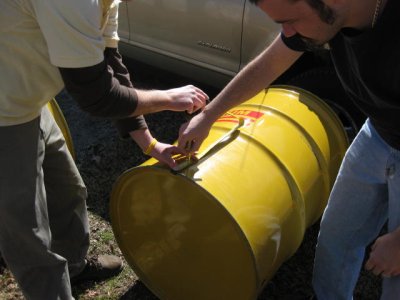
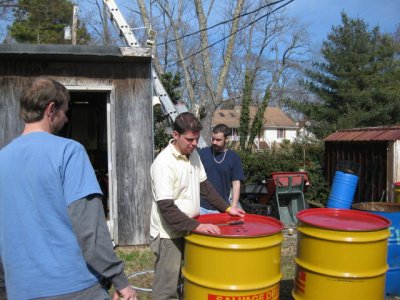
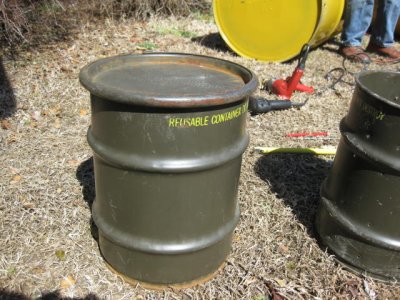
Got back from my trip and a buddy had scored some nice 85 gal drums for us. 30 bucks! Just the rust inhibitor to get rid of. Gonna burn this weekend. WHOOOO!

Got back from my trip and a buddy had scored some nice 85 gal drums for us. 30 bucks! Just the rust inhibitor to get rid of. Gonna burn this weekend. WHOOOO!
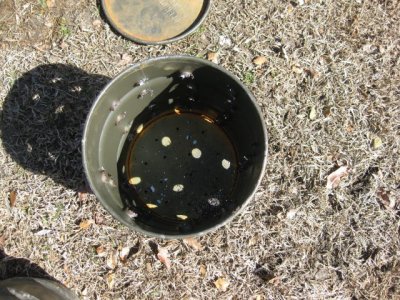
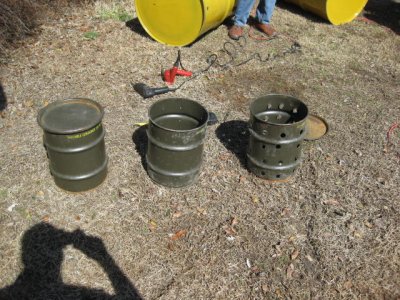
dosent look like it has a rust inhibitor. i had the same barrel only it was 30 gallon you can see it in one of my threads. on the inside it was a little greasy but brand new i did a burn out anyways.
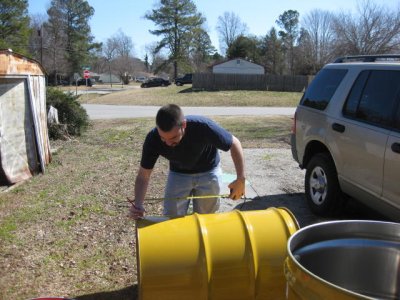
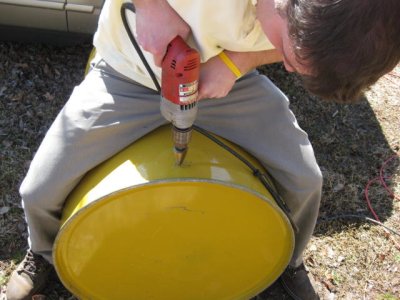
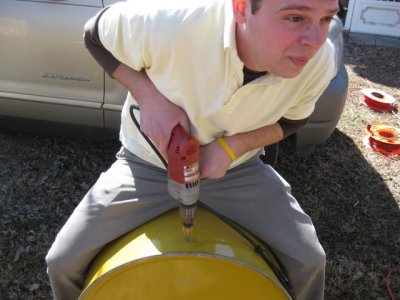
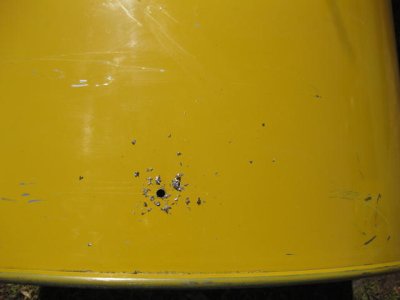
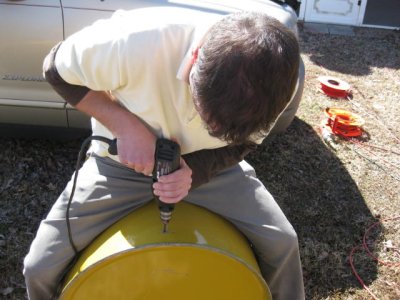
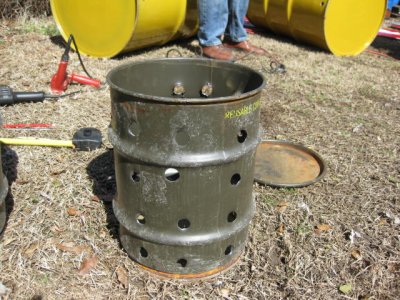
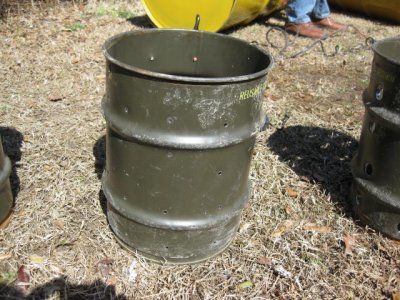
") so I may skip the burn and opt for a good scrubbing with a wire brush or something similar) and drilling holes for grates (which are on order from Sportsmans Guide).
so I may skip the burn and opt for a good scrubbing with a wire brush or something similar) and drilling holes for grates (which are on order from Sportsmans Guide).![DSCF2686[1].jpg](/data/attachments/29/29387-bc8328365614a99a16055cd35d664e55.jpg)