TGamel
Well-known member
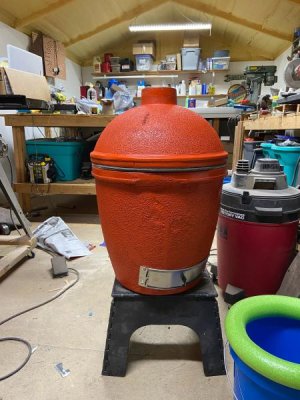
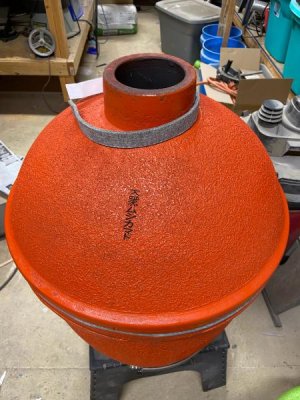
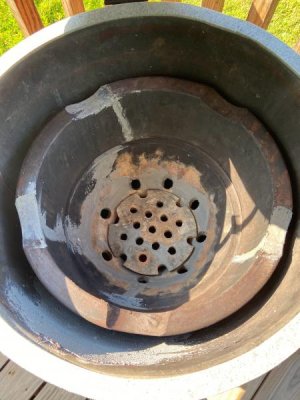
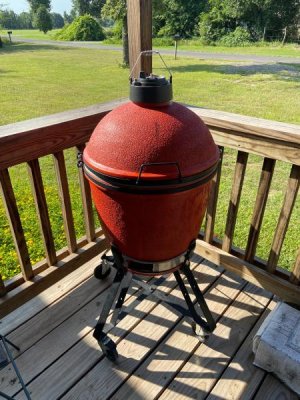
Gaskets On
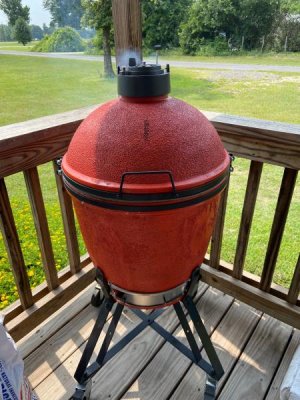
Well I was only off for one day, I have to work for the next three, but I got the top and bottom gaskets on and the lid is sitting there for the next three days to help it get a good seal. The kit came with enough gasket material to make a top ring for the dome vent. Guess I will get to it in a few days. Thanks for all the encouraging words.
Well I was only off for one day, I have to work for the next three, but I got the top and bottom gaskets on and the lid is sitting there for the next three days to help it get a good seal. The kit came with enough gasket material to make a top ring for the dome vent. Guess I will get to it in a few days. Thanks for all the encouraging words.