Mextra55
Found some matches.
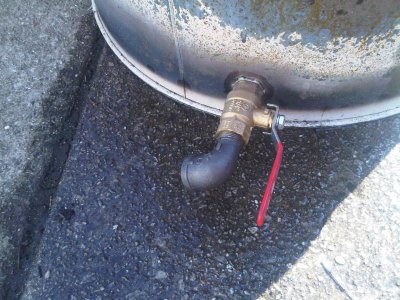
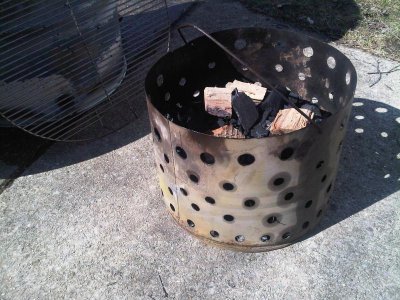
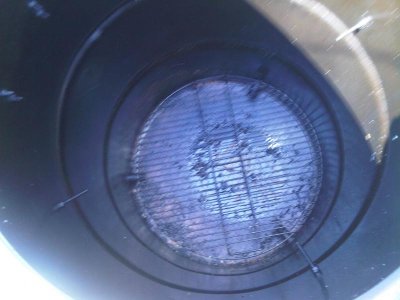
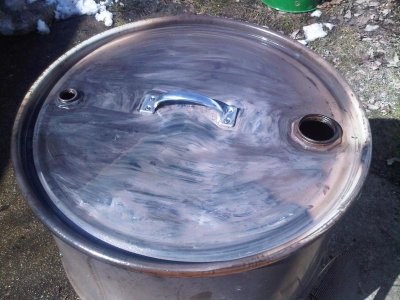
This thread has be great , i am pretty much done making the UDS but does anyone have a good tips on screwing the conduit rings down tighter ?they just get stuck on the nipple thread after a few turns . I thought about taking the Dremel to it to open it up a lil