Another Successful Yoder Restoration (Pic Heavy Thread)

beachda

Well-known member
Joined
Jan 27, 2020
Messages
15
Reaction score
53
Points
0
Location
NE, FL
So, this is my first real post but I wanted to wait til I finished this project before I put one up.

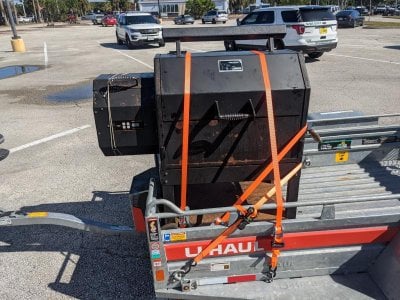
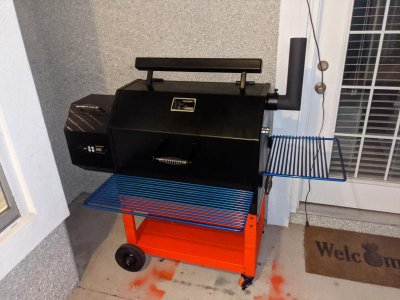
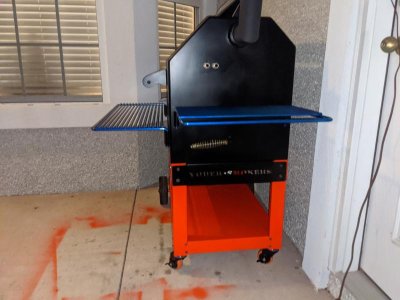
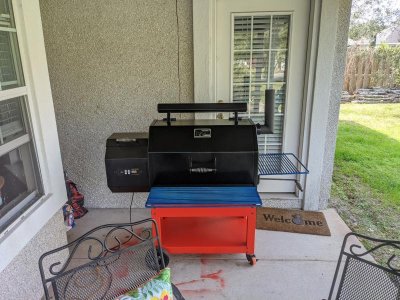
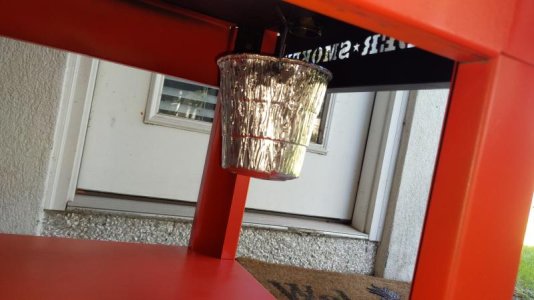
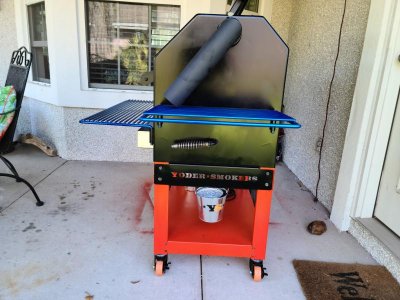
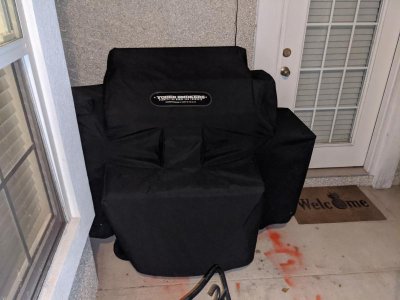
I started searching for a Yoder pellet cooker just kind of messing around here and there figuring if I found a great deal I'd buy one used. I had seen prior restorations before (See Dan Elders Classic Yoder Restoration) and was excited about being able to possibly do this myself. Then, much sooner than I expected I found a guy selling a used YS640 in Satellite Beach which is about 3 hours from me. I bought the cooker with a cover, AMAZN Tube, and a few other accessories for $600. It ran me about 100 bucks in gas and 20 bucks for the UHAUL.

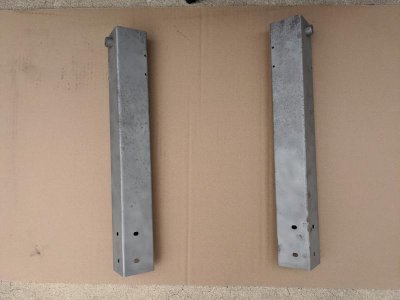
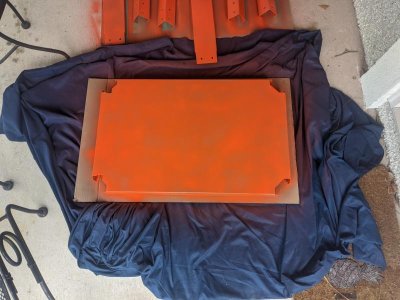
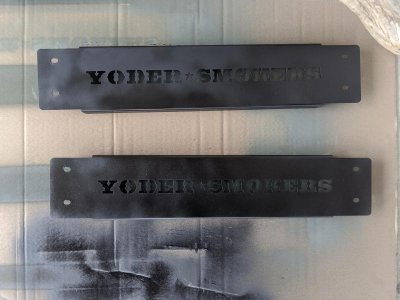
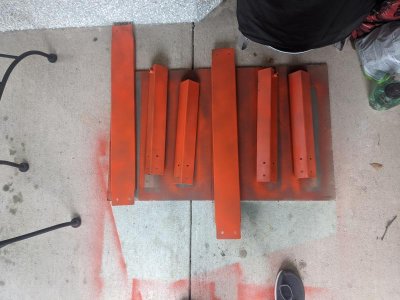
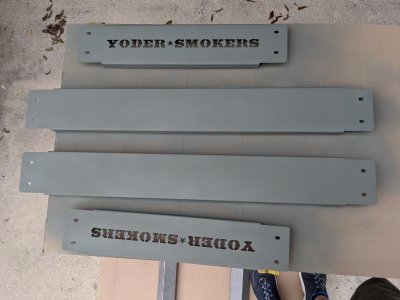
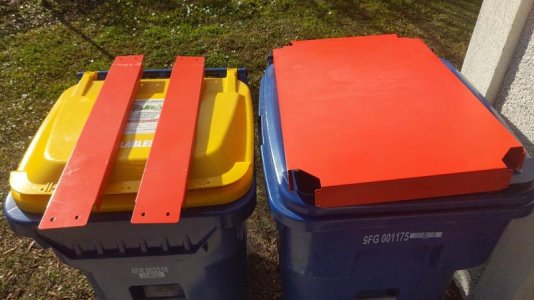
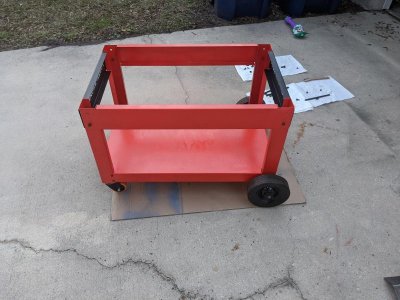
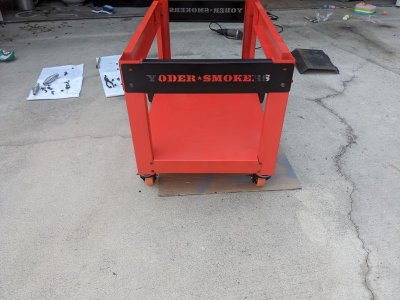
I'll post pics in the order that I fixed her up. I started this in the beginning of February and finished exactly one month later.

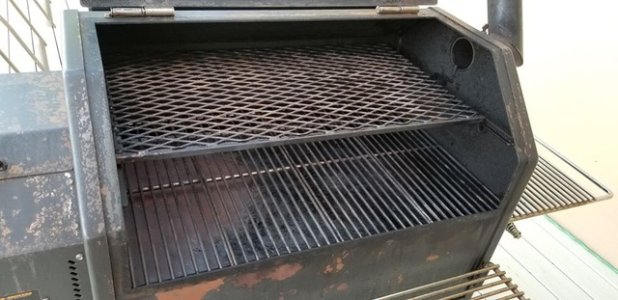
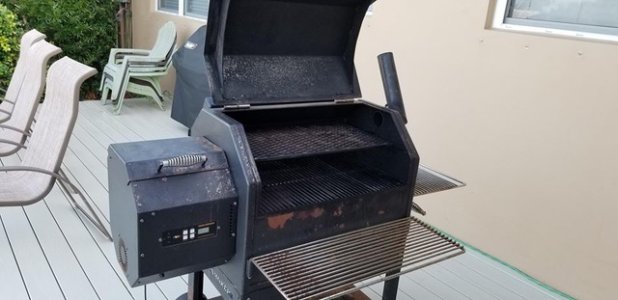
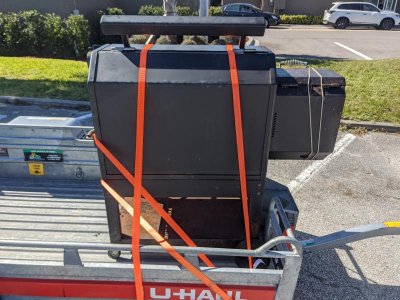
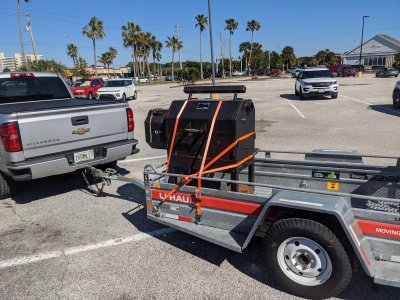
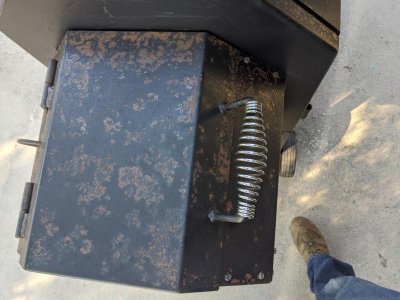
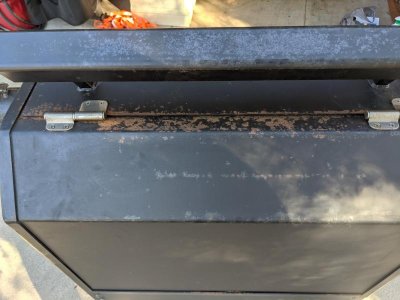
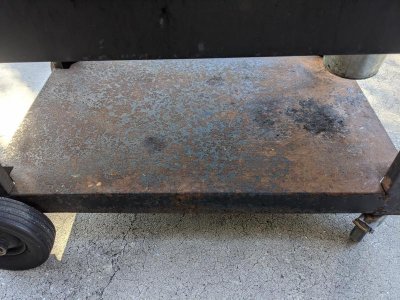
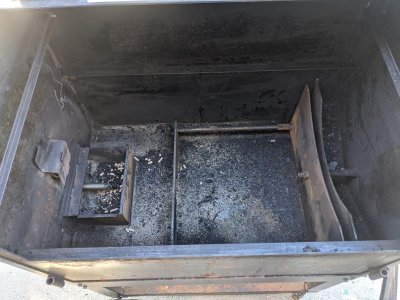
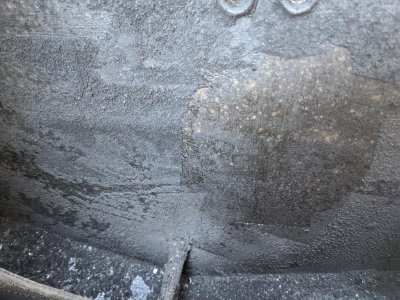
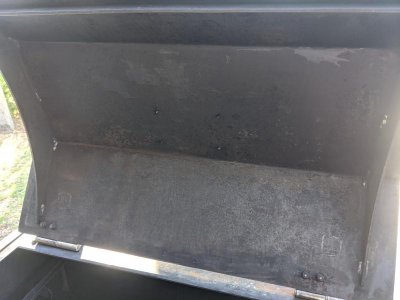
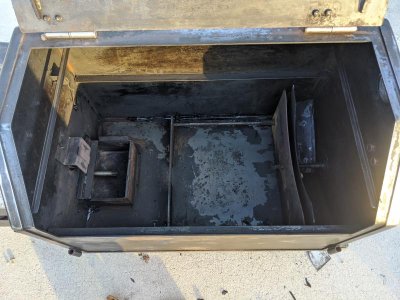
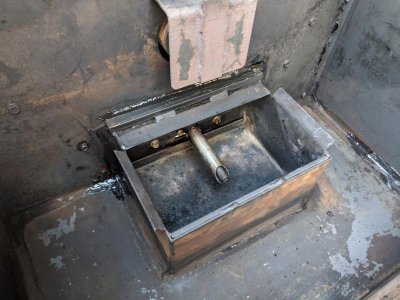
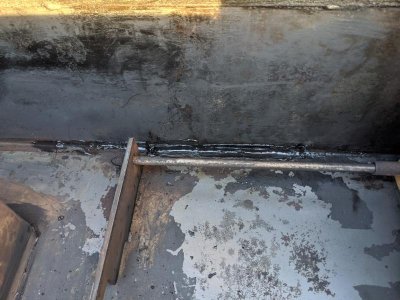
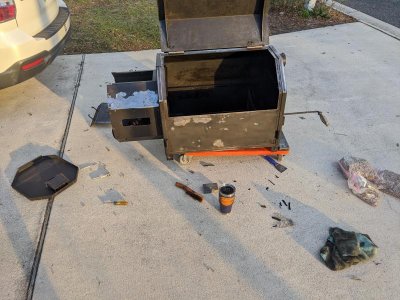
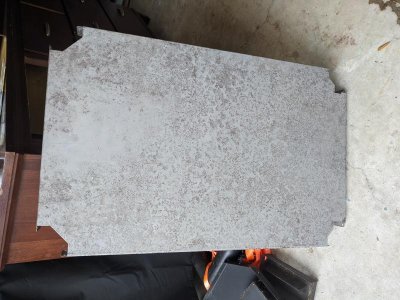
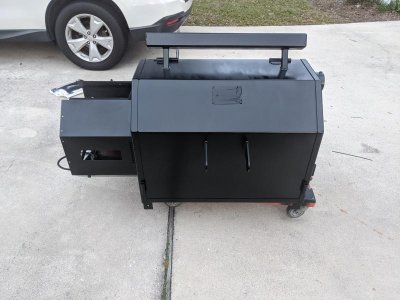
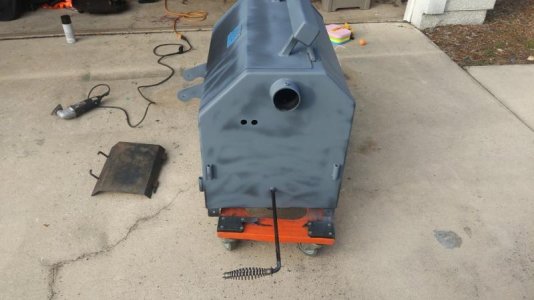
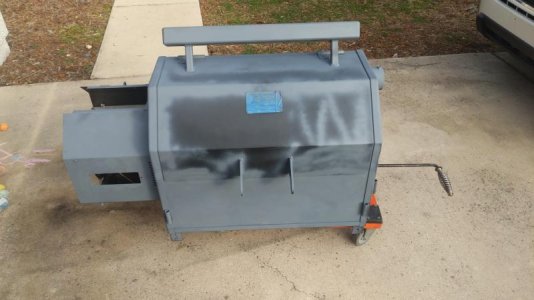
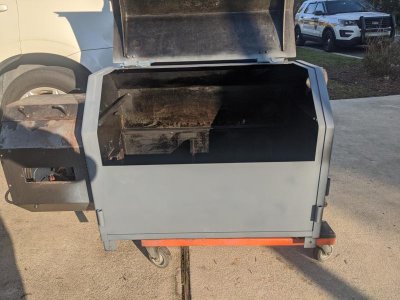
These are the pics sent to me by the seller and me picking it up:
 

Attachments

  • 82427972_10216008421230312_3237360379935850496_o.jpeg
    82427972_10216008421230312_3237360379935850496_o.jpeg
    74.4 KB · Views: 340
  • 1580168840478_82326377_10216008421510319_3015381665326301184_o.jpeg
    1580168840478_82326377_10216008421510319_3015381665326301184_o.jpeg
    59.2 KB · Views: 336
  • IMG_20200202_131939.jpg
    IMG_20200202_131939.jpg
    85.6 KB · Views: 340
  • IMG_20200202_131949.jpg
    IMG_20200202_131949.jpg
    107.1 KB · Views: 331
  • IMG_20200202_131955_MP.jpg
    IMG_20200202_131955_MP.jpg
    105.3 KB · Views: 337
very cool and wish I could find a deal like that , congrats .
 
Must have been a steal with all the sheriffs around Dan. Looking forward to the rehab.
 
Here are some pics of the outside condition of the cooker:
 

Attachments

  • IMG_20200203_100901.jpg
    IMG_20200203_100901.jpg
    65.1 KB · Views: 322
  • IMG_20200203_100908.jpg
    IMG_20200203_100908.jpg
    53.1 KB · Views: 326
  • IMG_20200203_100916.jpg
    IMG_20200203_100916.jpg
    49.1 KB · Views: 328
  • IMG_20200203_100927.jpg
    IMG_20200203_100927.jpg
    95.5 KB · Views: 329
Nice deal. Looks like a lot of cosmetic. Inside looks pretty good. Electronics ok ? Gonna be brand spanking new !!!
 
I started working on the inside scraping all the gunk and crud out that seemed to have been in there quite awhile. If you see Dan Elder's Classic Yoder Restoration you will see what he had to deal with (hammer and chisel required), but luckily mine was conquered with a scraper, shop vac, and lots of Simple Green. I wanted all the "seasoning" to be from me and not someone else's who knows what. I also resealed some of the seams. Pics are before and after:
 

Attachments

  • IMG_20200203_103441.jpg
    IMG_20200203_103441.jpg
    76.9 KB · Views: 319
  • IMG_20200203_103430.jpg
    IMG_20200203_103430.jpg
    104.7 KB · Views: 321
  • IMG_20200203_103502_MP.jpg
    IMG_20200203_103502_MP.jpg
    44.4 KB · Views: 317
  • IMG_20200212_173618.jpg
    IMG_20200212_173618.jpg
    77 KB · Views: 317
  • IMG_20200212_173622.jpg
    IMG_20200212_173622.jpg
    73 KB · Views: 316
  • IMG_20200212_173626.jpg
    IMG_20200212_173626.jpg
    76.5 KB · Views: 319
Thanks guys I appreciate it.

@Mike the electronics are good to go. Took em all out to complete the sanding/painting and they looked great. Outside is totally cosmetic. Some it was pretty heavy and took a lot of elbow grease but it was worth it in the end.

@Stingerhook HAHAHA yes I felt about the same way. They would've had and open & shut case for sure.
 
Last edited:
Prime, paint, and reassembly of the cart...I also bought the new casters you see on the YS640S as the old ones were shot. I removed all fasteners/hardware and chemically cleaned them then hit them with a stainless wire brush before reassembly. The wheel hubs I just hit with black spray paint.
 

Attachments

  • IMG_20200220_162529.jpg
    IMG_20200220_162529.jpg
    62.2 KB · Views: 310
  • IMG_20200220_161842.jpg
    IMG_20200220_161842.jpg
    53.6 KB · Views: 312
  • IMG_20200220_161819.jpg
    IMG_20200220_161819.jpg
    66.5 KB · Views: 311
  • IMG_20200220_121844.jpg
    IMG_20200220_121844.jpg
    45 KB · Views: 311
  • IMG_20200223_160633_03.jpg
    IMG_20200223_160633_03.jpg
    53.7 KB · Views: 304
  • IMG_20200223_182205.jpg
    IMG_20200223_182205.jpg
    72.2 KB · Views: 307
  • IMG_20200223_182219.jpg
    IMG_20200223_182219.jpg
    70 KB · Views: 309
The cooker body primed and painted. It should be noted after I sanded I prepped all surfaces for paint by degreasing with denatured alcohol and cleaning them. Then I applied high heat primer and high heat paint. I did the same with the cart.
 

Attachments

  • IMG_20200223_181815.jpg
    IMG_20200223_181815.jpg
    64.9 KB · Views: 308
  • IMG_20200223_165151_03.jpg
    IMG_20200223_165151_03.jpg
    41.6 KB · Views: 306
  • IMG_20200223_165151_02.jpg
    IMG_20200223_165151_02.jpg
    45.6 KB · Views: 309
  • IMG_20200223_165151_01.jpg
    IMG_20200223_165151_01.jpg
    46.9 KB · Views: 309
  • IMG_20200221_170049_MP.jpg
    IMG_20200221_170049_MP.jpg
    68.8 KB · Views: 308
Finished product! Some parts you don't see after this is I bought the grease shield for it. I also intend to get the two piece diffuser and eventually will upgrade the controller. I had to rig up a bucket liner since the old grease bucket was shot and I had to order another one. So, I threw a pic of that in as well. Overall I've had several cooks with it and man I love it. MAJOR upgrade from my old and trusty 18.5 WSM. Forgot to mention the seller included the cover as well.

For those that want the numbers:

Cooker: $600
Fuel: $100
Trailer: $20
Material: $50
Sandblasting/Powder Coating: $130
Silicone Bumpers for Counterweight: $8

So, including every single dime to get this beast to where I wanted it and it be functional I'm all in at $908. The grease shield was a want, not a need, as were the bumpers but they do make a difference. Once I pick up the new upgraded ACS conversion (400 bucks) and the two piece diffuser (189 bucks) along with the grease shield I already bought I'll be all in at $1577 for basically a YS640S with all the upgrades. Now, I'm gonna run with this controller and diffuser for a good while till I can save up, but man am I happy with how this turned out and the food it puts out.
 

Attachments

  • IMG_20200301_190037.jpg
    IMG_20200301_190037.jpg
    66.6 KB · Views: 306
  • IMG_20200301_190057.jpg
    IMG_20200301_190057.jpg
    52.5 KB · Views: 305
  • IMG_20200302_140016.jpg
    IMG_20200302_140016.jpg
    100.1 KB · Views: 306
  • IMG_20200302_115104_01.jpg
    IMG_20200302_115104_01.jpg
    47.3 KB · Views: 307
  • 20200312_160533.jpg
    20200312_160533.jpg
    74.5 KB · Views: 302
  • IMG_20200301_192631.jpg
    IMG_20200301_192631.jpg
    51.6 KB · Views: 305
Impressive! If you end up keeping it to cook on (??), get yourself the two door diffuser if you are wanting to do reverse sears and grilling etc. that’s a heck of a deal you got and a lot of effort to get it looking nice. Congrats!


Sent from my iPhone using Tapatalk Pro
 
:clap2::clap2::clap2::clap2::clap2::clap2::clap2::clap2::clap2::clap2::clap2::clap2::clap2::clap2::clap2::clap2::clap2::clap2::clap2::clap2::clap2::clap2::clap2::clap2:
 
Love it!
Favourite part are the shelves. Very cool looking.
Thanks to Jay for sending me the link.
Dan E. :-D
 
Might be a dumb question from a rookie. What makes this pit special. Used 600 an they say you got a deal ?
 
Might be a dumb question from a rookie. What makes this pit special. Used 600 an they say you got a deal ?
These pits run $1799 new before any add ons is why its such a good deal. This one was made in January 2016. To all reading this thread I meant to add that I'm gonna install the ceramic ignitor as well so add $50 to the total I mentioned earlier.
 
Really nice work. Beautiful cooker. Really like the orange paint on the concrete. I bet that was a fun conversation with the wife.
Yeeeeaaaaah I didn't care about overspray on the concrete. She, however, did and provided me with the blue sheet you see in some of the pics. It was strong suggestion on her part that I use it lol
 
Love it!
Favourite part are the shelves. Very cool looking.
Thanks to Jay for sending me the link.
Dan E. :-D
Loved the way yours turned out too man! You set the standard for it I'd say. I love the shelves too. They couldn't have turned out any better. Several cooks in and everything is holding up great.
 
Back
Top