• working on DNS.. links may break temporarily.

Bandera Restoration

Midnight Smoke

somebody shut me the fark up.
Joined
Jan 24, 2008
Messages
7,392
Reaction score
2,146
Points
0
Location
Southern Arizona Desert
Started the project, hope you all enjoy the progress.

Picture005.jpg


Picture008.jpg


Picture001.jpg


Liquid Wrench is your friend.

Picture018.jpg


Picture015.jpg


Will post more as I go along. :wink:
 
So far so good. I can take anything apart, but putting it back together w/o any parts leftover is sometimes challenging. I still have a 6" bolt leftover from changing the water pump on my old '88 Grand Wagoneer :doh: last year. But it does not leak so i figured it was not really necessary.
 
I've worked on a couple of those. Yours looks like it's going to restore OK. During reassembly, I propped the firebox up on a 5 gallon bucket shimmed with a 2x4. Kind of redneck, but hey, that's BBQ.

Did you get the racks? I like the ones I made better. I used 3/16x1" flat stock and layed out a rectangle. Welded up then sheared out pieces of 3/4-9 expanded steel and welded it on top. They fit good, clean up well, plenty strong. A guy on this forum named swamprb has that cooker now. I've borrowed it back twice, cooks real good!

I remember welding the open seams in the firebox (on top, where the cover seals) and sanding them flat. Really helped cut down on leakage and flames burning the side of the paint on the cooking chamber.

My buddy glued gasket around the inside of the door, flat, so it sealed. Didn't make that much difference on temps, but now you don't see smoke leaking out.

I kept the grill grate holders in the firebox and made a full sized grate to hold logs. I put the grate on the lowest position. Raising it up like that really helped get better airflow underneath the fire. I also used thin firebrick and borrowed a buddy's tile saw to cut it cleanly to fit the bottom of the firebox with firebrick. That helped with the temps a lot.

If you want to cook hot and fast (350) on a Bandera, don't use the water bowl - just take it out. Else I kept water in mine. Worked great. Those are real good cookers.

Hope you got an OK deal on it. I sold my last one recently for $250. Seemed high to me but I got lots of calls (Seattle area).

seattlepitboss
 
Looking forward to reading and seeing how a restoration is done. I'm looking to purchase an old kettle and try the restoration.
 
My neighbor just put one at the curb and it was gone in 30 minutes
 
Update, since I am on the cheap the sanding is going to be minimal at best. The Makita disks are $5.00 for 3 and I have used 2 packs. Mostly worked on the rusted areas and tried to blend it all together.

I am not happy with the paint. Rust-Oleum hi temp satin. It is showing every imperfection and the coverage is not to good. It says primer not suggested which makes sense unless it was high temp too. Even with 2 coats it just does not look right.

I did use a primer on the cooking chamber door and it still looks blotchy. Not trying to win a beauty pageant, really just want to finish up and cook something.

I am thinking about doing a second (3rd) coat using normal BBQ flat, Do you think a flat will hide the blemishes better?

I know it is going to look like a used smoker before very long but would like to start with a solid baseline.

Also had a buddy that owns a tin shop do up a baffle for me, Free too. :thumb:

Picture038.jpg


Picture034.jpg


Picture033.jpg


Picture030.jpg


Picture027.jpg


Picture026.jpg


Picture040.jpg
 
Looking great from here! Cool as heck that you are restoring such a venerated peice of BBQ history. Never owned one, got into this too late, but obviously a huge following here. Cool pit. Nice post.
 
Looks like it's coming along nicely! Try some high heat gloss auto engine paint. I'd stay away from the regular stuff.
 
Thanks!

Guess I should post a pic of the issue. Doh....

You can see on the cooking chamber door the mottle effect, the side is the same and there was no primer on it. This is with 2 coats.

You cannot tell so much from this Pic but the FB is the same way.

Picture048.jpg
 
It is as good as it is going to get. This is my 1st restoration of a metal cooker and I learned a couple things. Most important is the prep, where there is rust and peeling paint it is best to take it all the way down to metal. I sanded to a point and it felt smooth by hand but as soon as painted the blemishes show.

Oh well, it is just going to get dirty. :doh:

Before

Picture008.jpg


After, Still need to do the shelf and have some old wood laying around that I think will make a nice one.

Picture005-1.jpg


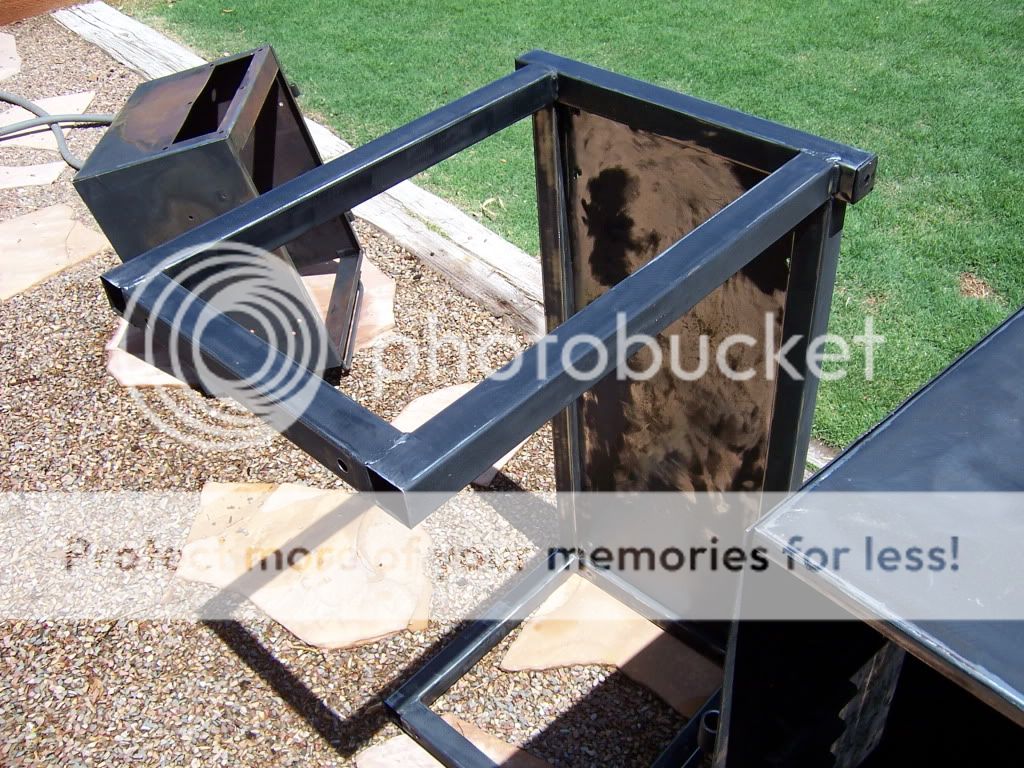
A few random shots, I think for now I am going to bypass the wheels and use it as a stationary smoker.

Picture001-1.jpg


Picture003.jpg


Sprayed with oil for seasoning

Picture010.jpg


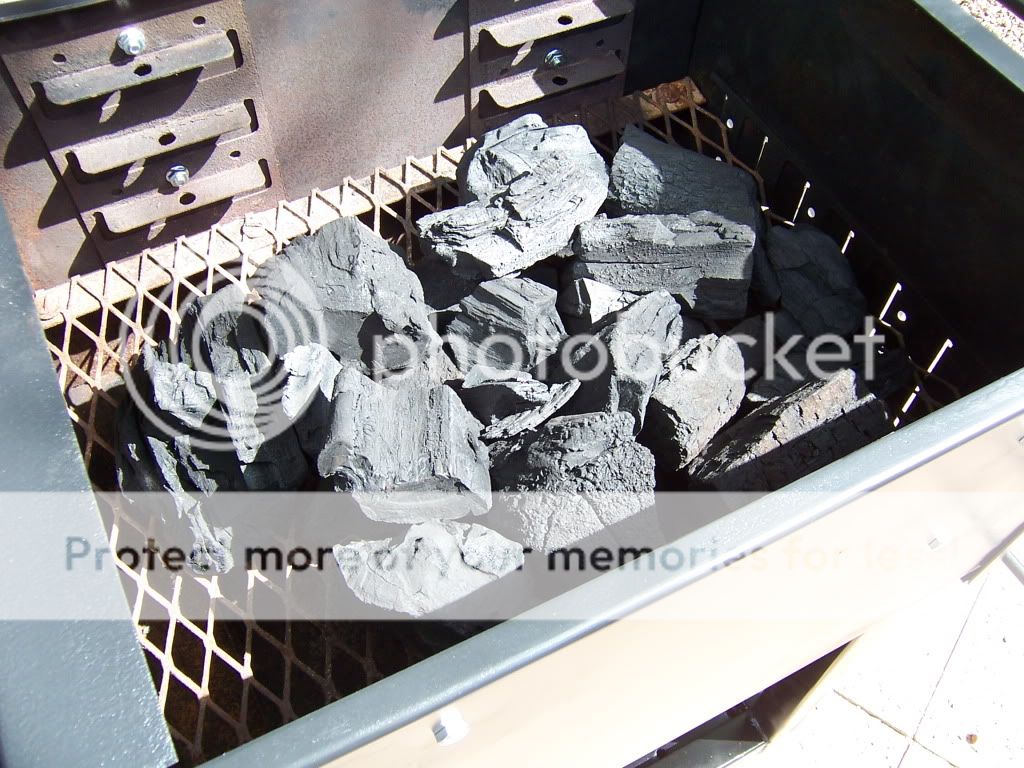
Some Mesquite lump for the burn

Picture007.jpg


Cranking right along

Picture012.jpg


Threw on a couple lg chunks of Pecan, makes a nice smell for the neighborhood

Picture014.jpg


Plan on cooking something this weekend, maybe some Ribs or Chicken...

Thanks for looking, hope it inspires others to save an old cooker.
 
  • Thanks
Reactions: G$
Back
Top