franken egg, beginning of the build

Zippylip

Full Fledged Farker
Joined
Sep 18, 2010
Location
West...
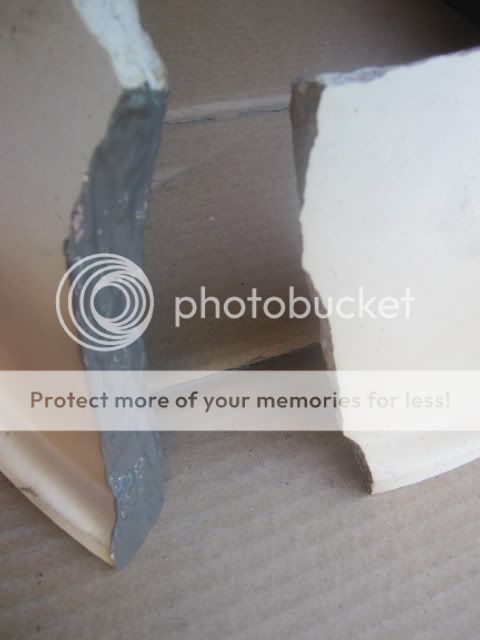
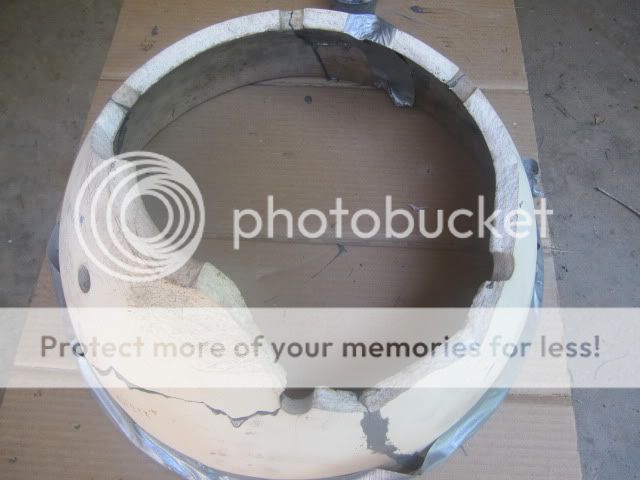
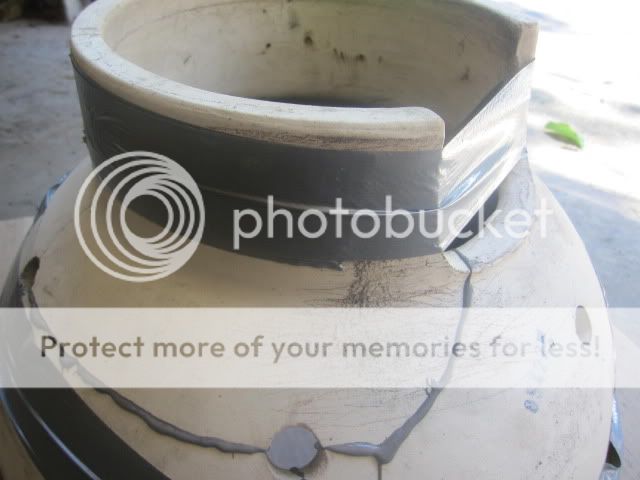
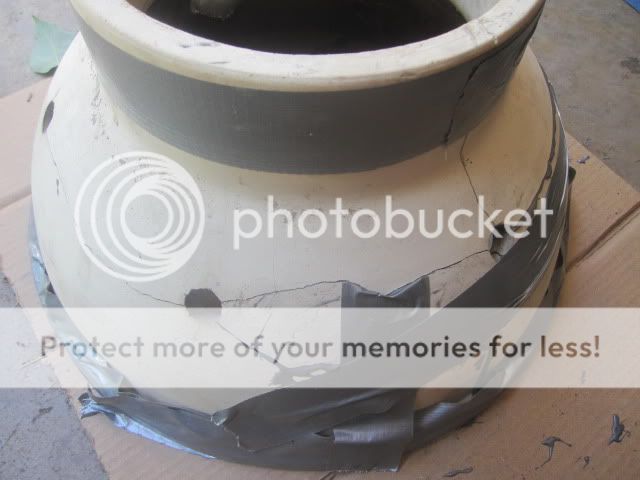
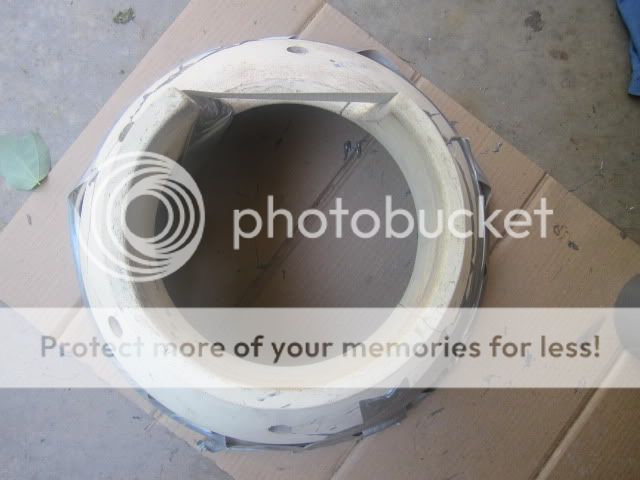
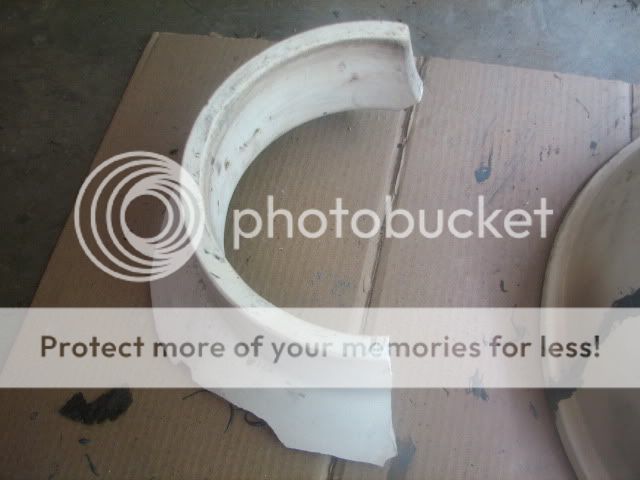
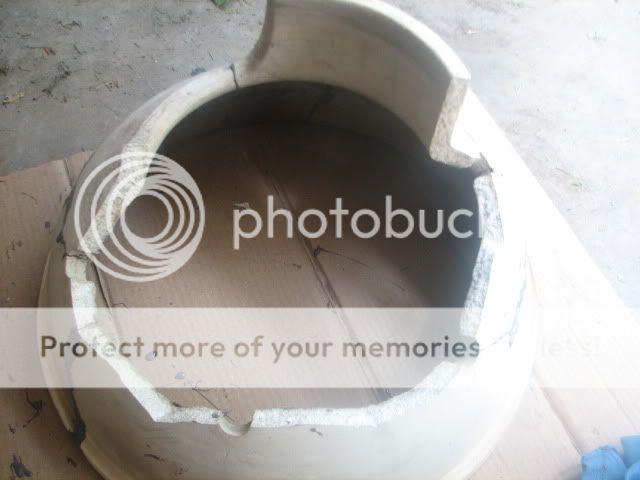
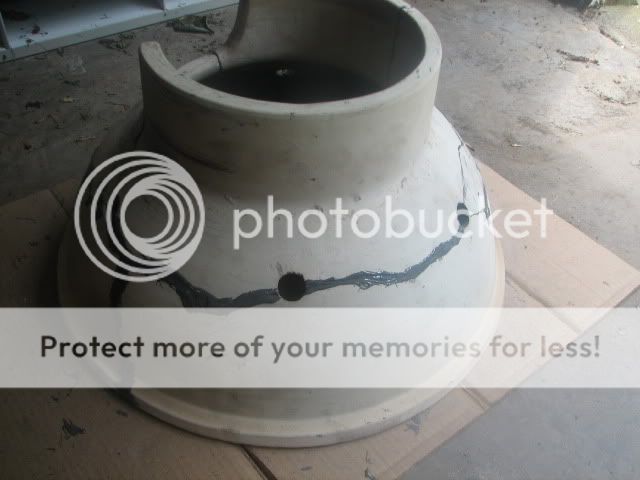
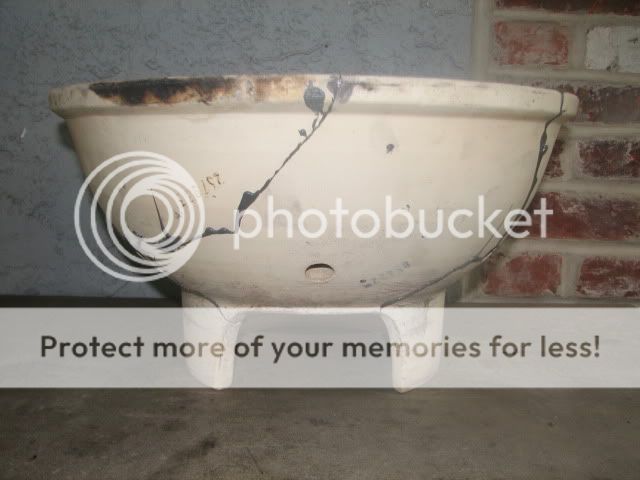
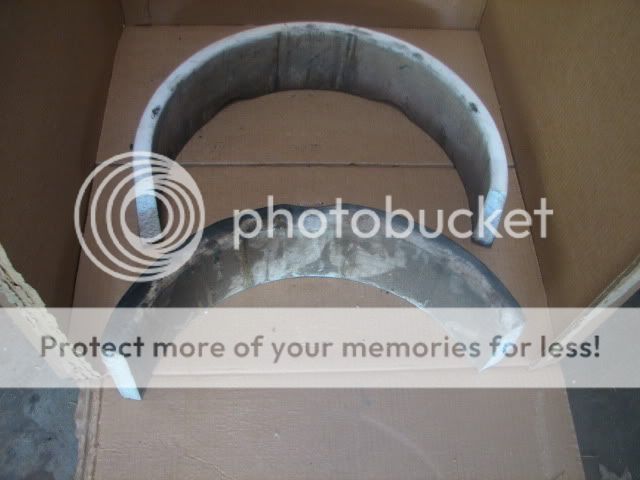
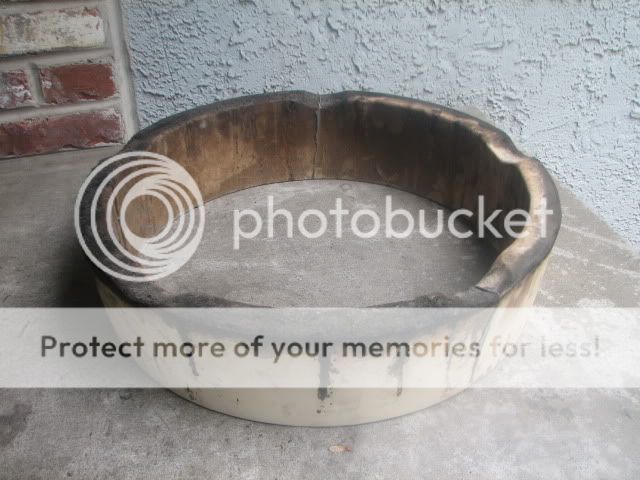
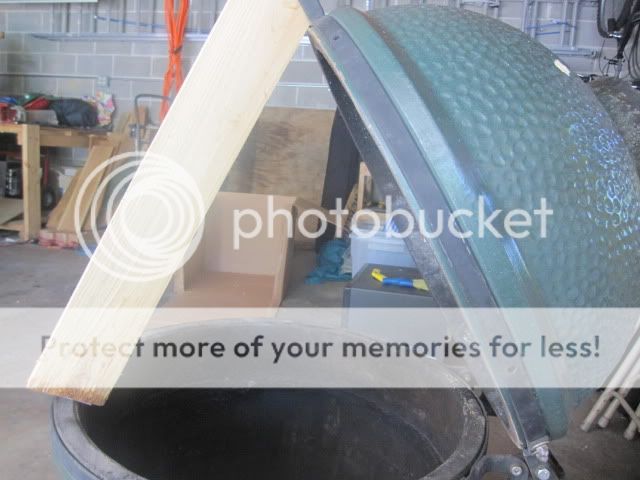
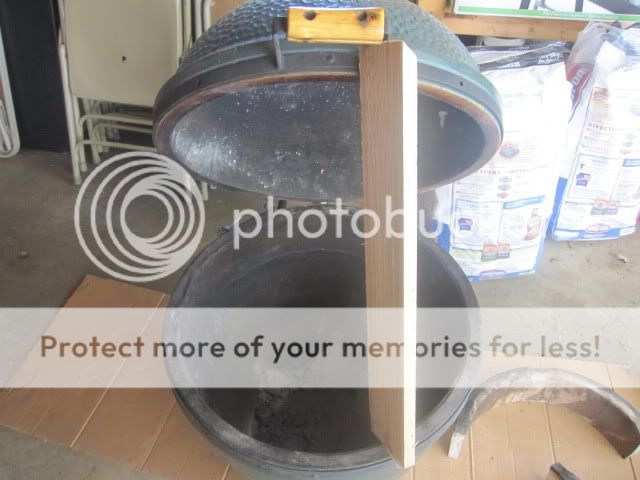
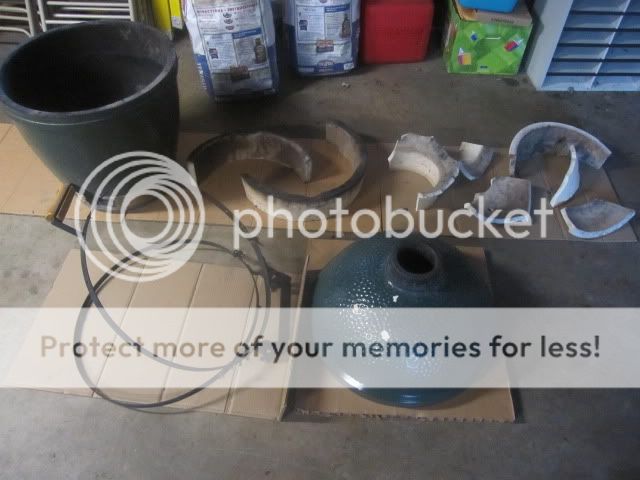
I've been assembling bits & pieces of broken, defective and/or unsightly (but all still functional) large BGE parts for quite some time now, & I now have all the major components. The base has a hairline crack in the back, about 7 inches long, that goes all the way through. The dome has several chips about the size of quarters that flaked off the exterior glazing. The band/hinge has been drilled (in an attempt to make it fit its old egg better). The fire box is just obliterated & the ring is in two pieces.

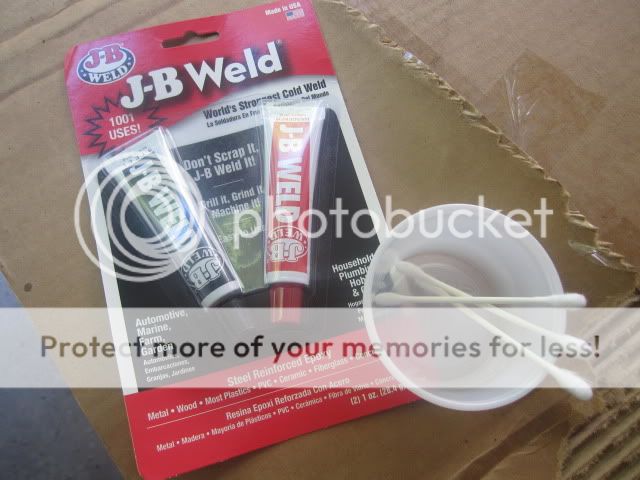
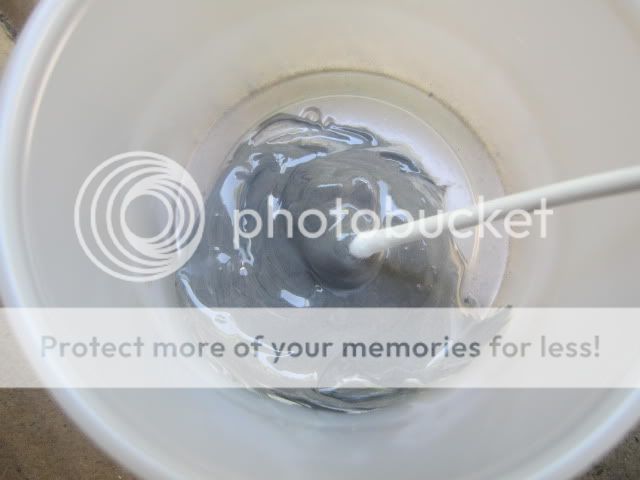
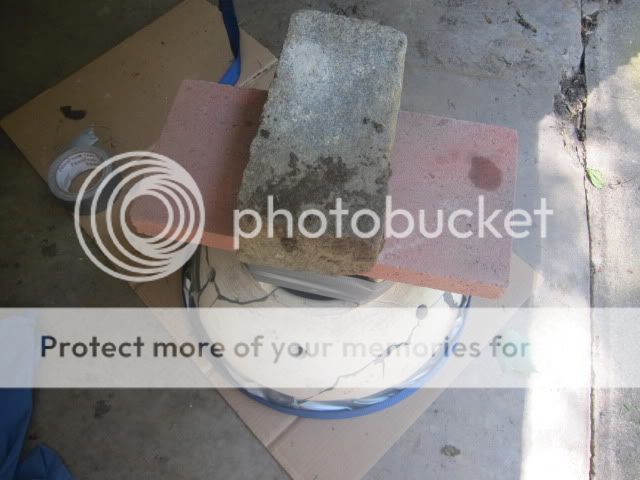
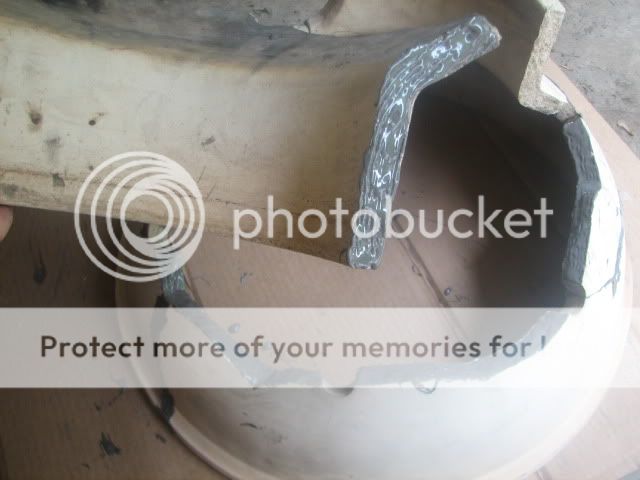
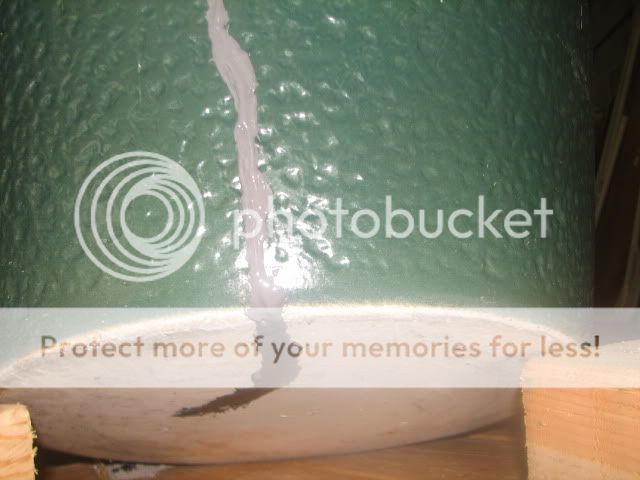
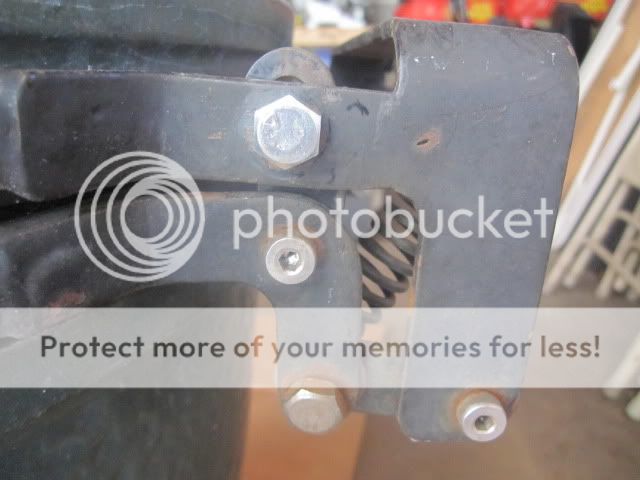
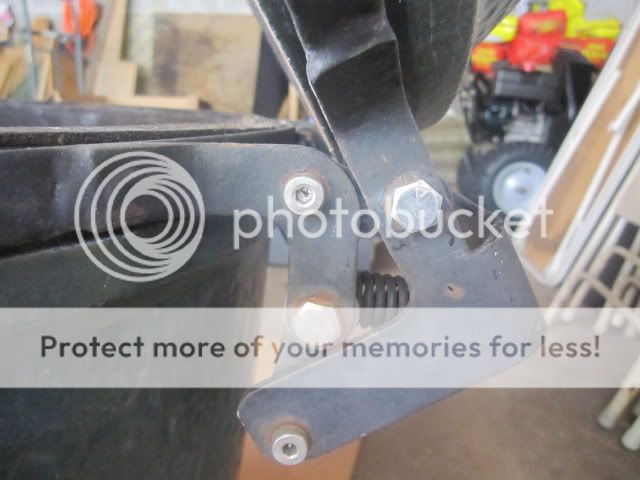
The plan is to JB Weld the broken inner parts back together & also use it to seal the crack in the base, paint over the chipped sections of the dome, & figure out how to make the hinge work properly. I'll then need a new grid & fire grate, & this guy will be ready for action. I plan on using it as a dedicated smoker, I think its inferno days are behind it, but that's ok

001.jpg
 
Very cool. Best of luck and definitely keep us posted. Will JB Weld hold up to the heat?

colonel, I'm not sure how it will perform (i've never used it). I've seen several folks use it in similar applications with success however. One concern I have is that the product description indicates a max temp of 500 degrees, certainly lump burns hotter than that, but I think that if I use it as a low temperature cooker & keep the primary fire more towards the center of the box I shouldn't have a problem. I could break down & buy a new firebox for it but it would kill my plan of constructing an entire egg out of discarded parts from old eggs (and they're about $100 & I'm a cheap arse :heh:). I have my original egg which is the main high heat unit :thumb:.

I will post pictures as I go along, & of course its inaugural smoke :becky:
 
Cool........:cool:


Keep us updated on the progress. I'm excited to see how this turns out for ya!:thumb:
 
colonel, I'm not sure how it will perform (i've never used it). I've seen several folks use it in similar applications with success however. One concern I have is that the product description indicates a max temp of 500 degrees, certainly lump burns hotter than that, but I think that if I use it as a low temperature cooker & keep the primary fire more towards the center of the box I shouldn't have a problem. I could break down & buy a new firebox for it but it would kill my plan of constructing an entire egg out of discarded parts from old eggs (and they're about $100 & I'm a cheap arse :heh:). I have my original egg which is the main high heat unit :thumb:.

I will post pictures as I go along, & of course its inaugural smoke :becky:

If it's a low and slow unit only have you thought about leaving out the BGE firebox and just making a UDS style fire basket out of expanded metal and just placing it inside the bottom of the bowl? There should still be enough ceramic mass to hold in heat.

It could work... maybe? :noidea:
 
If it's a low and slow unit only have you thought about leaving out the BGE firebox and just making a UDS style fire basket out of expanded metal and just placing it inside the bottom of the bowl? There should still be enough ceramic mass to hold in heat.

It could work... maybe? :noidea:

Kyle, funny you should mention that as it had crossed my mind just this afternoon as I accidentally JB welded my hand to my leg :laugh:; just kidding, but I did make a big old mess of it out in the garage & this stuff is all over me (& it doesn't want to come off). Anyway, I'm seriously considering what you said unless the JB holds. I really don't know what a UDS basket looks like or where I'd get one, do you have a picture & any suggestions. I think you're right about the heat, as I think the purpose of the BGE box itself is to suspend & aerate the lump, so anything that would accomplish that would seem to work - it also forms a base to hold the fire ring which gets the grid up higher, but that could also be accomplished other ways I suppose, with some thought...

Here's the firebox (there was actually another part that didn’t make the photo, I didn’t realize it till I had it ½ welded together, had to go back & find it in the box of crap I was storing it in):

002-1.jpg


003.jpg


004.jpg


005.jpg

after welding the four main sections together (upside down), I used duct tape to hold it together while the weld dries:

006.jpg


I then had just enough weld left to place one of the two main top sections (actually bottom when flipped upright) on:

007.jpg


to be sure it was aligned properly, I fit the final section in & taped it all together. Turned out just as well that I ran out because there was a piece of tape that couldn’t be removed yet from the first sections. Hopefully this weekend I will be able to pick up another batch of it & finish the box:

008.jpg


more tape on top to hold it all straight:

009.jpg


then some weight on top to keep it all mashed together during curing:

010.jpg

 
Last edited:
The JBWeld repair on my busted platesetter held up for a couple of years. But once I let a fire get too hot underneath it, it came apart. No worries though, I just re-repaired it.

Good luck with your project.

Cheers,
Braddog
 
Kyle, funny you should mention that as it had crossed my mind just this afternoon as I accidentally JB welded my hand to my leg :laugh:; just kidding, but I did make a big old mess of it out in the garage & this stuff is all over me (& it doesn't want to come off). Anyway, I'm seriously considering what you said unless the JB holds. I really don't know what a UDS basket looks like or where I'd get one, do you have a picture & any suggestions. I think you're right about the heat, as I think the purpose of the BGE box itself is to suspend & aerate the lump, so anything that would accomplish that would seem to work - it also forms a base to hold the fire ring which gets the grid up higher, but that could also be accomplished other ways I suppose, with some thought...


The firebox repair looks pretty good, I hope I holds for you!

Here's what I had in mind with an expanded metal firebox. This is a common design for a homebuilt UDS. I would do the same thing but leave out the solid ash pan underneath the firebasket.

14.jpg
 
Progress report. Picked up a second batch of JB Weld yesterday. Below is the final section of the firebox. It is the keystone piece which is connected at some point to almost every other broken section:

124.jpg


123.jpg


127.jpg


128.jpg


136.jpg


all done:

100.jpg


and the fire ring:

125.jpg


129.jpg


using its own weight to keep it together:

131.jpg


ready for action:

102.jpg
 
Looks good. I hope it works out. I would give it a good hot burn first before you cook anything. Not only am I worried about the JB Weld holding up but also putting off some nasty fumes when it gets hot.
 
Looks good. I hope it works out. I would give it a good hot burn first before you cook anything. Not only am I worried about the JB Weld holding up but also putting off some nasty fumes when it gets hot.

That makes two of us :laugh:; I do plan on letting it burn for a while, there is some duct tape & cardboard that fused itself to the JB weld where it was touching when still wet. I'm not too concerned about the JB giving off fumes, it's been used by many folks before me on similar repairs without incident. I'm more concerned about it simply failing. Depending on where it fails however, it may not cause an issue as the firebox can in many cases hold itself together with nothing more than gravity & placement. This box was in several pieces for years in my other egg, I just never removed it & let it be. It wasn't until a section actually caved in that I picked up a new one under warranty. I'm hoping that if I stay moderate (no higher than 350 degrees) in temperature that I can prolong its life


* Edit: by the way I mis-spoke earlier in the thread when mentioning the product description @ 500 degrees. The package actually says up to 600 degrees. I'm not sure that will make much of a difference because lump burns hotter than 600, but if I keep the fire box filled with lump & burn in the center during low & slows, the burning lump may not make it to direct contact with the box. I've gone 20 hours @250 & when I do an ash knock a day or so later, the lump towards the edges (adjacent to the box) isn't burned, while the center from the top down to the grate is primarily ash...
 
it was a very busy day, I didn’t plan on doing all this but once I started I just couldn’t stop. I thought the crack in the base was relatively small, however, upon cleaning it out well I realized it extended all the way to the middle of the bottom. I painted over it with the last of the JB Weld in hopes that it would stop air from travelling through & maybe stop or slow further cracking:

The original crack I found:

007.jpg


the actual length:

132.jpg


the outside view:

126.jpg


133.jpg

All the pieces inside:

155.jpg


here is the semi-defective hinge/band system (my buddy who sent this to me had drilled out the little connecting arm you see that's bolted to both the upper & lower hinge brackets. Once he did that, he couldn't open the egg more than 8 inches. I played around with it & now it opens all the way):

019.jpg


016.jpg


but it didn't want to stay open without help:

017.jpg

018.jpg

I was going to build a new cart or table of some sort, but I had this old table that I built years ago to put my mini egg on. Since then, I had the more permanent brick table built & the mini sits there now, so this table has just been sitting there. I’ve used it mainly as an extra prep area:

148.jpg


I sunk a large paver into the top for a heat barrier:

149.jpg

popped it out:

150.jpg

cut the hole out to 22 inches in diameter & lowered the shelf about 3 inches:

151.jpg

popped the egg into its new home (reused the paver as a heat barrier again):

152.jpg


rear view (had to notch out the rear fascia board to allow the hinge to operate):

153.jpg


for reasons unclear, the dome now stays open by itself without the board:

154.jpg


Overall, I'm pretty happy so far. All these parts are recycled including the table, so I'm into this whole operation for $5.87 x 2 (2 tubes of JB). If this works out, I'll have an entire egg for twelve bucks plus whatever the grate & paint costs :clap2:. Hopefully I can get these last items this week so she can get on with the maiden voyage, I’m thinking a batch of hot wings done direct & real slow (250-300 degrees for one hour, flip, one more hour, sauce). I think this egg even with all its cracks & issues should be able to withstand 300 degree cooks indefinitely - I guess we're gonna find out :pray:
 
that looks like a fun project and a super great value. very cool. tom

Thanks Tom, it was fun for sure. I've had this in the back of my mind for a long, long time. I've been holding some of the parts just waiting for others to become available. The dome was the hardest part to come by, I think that is the part that least often fails. Fortunately for me, my buddy's just started flaking chunks out of it :becky:; while it doesn't affect the operation of the egg, it didn't sit well with him appearance-wise, & BGE agreed it was defective so he got a new one & would've pitched this in the trash but for the fact that I'm a shameless trash picker :bow:
 
Back
Top