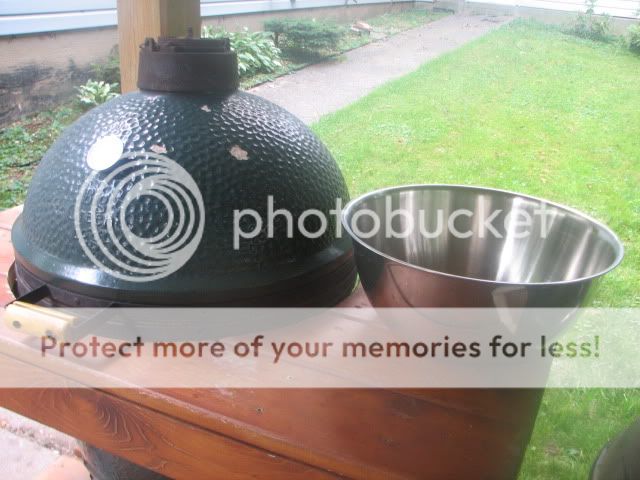
The final piece of the puzzle has arrived :clap2:. Having posted the rehab on the egghead forum, a good buddy suggested a fire-bucket liner for two reasons. First, a direct heat barrier between the burning lump & the compromised fire box, and second, for convenience; you can pull the bucket out following a cook (after it cools down) & shake the ashes out. It will keep the cleanup of the bottom of the egg to more of a minimum. The bucket itself is nothing more than a stainless steel salad bowl - flipped it upside down & drilled ½ inch holes in it for airflow. I only did the bottom, going to try & keep all air flowing through the large opening at the bottom of the firebox rather than the sides as well.
Today was the test-fire along with a fitting tribute to its name-sake (see below)
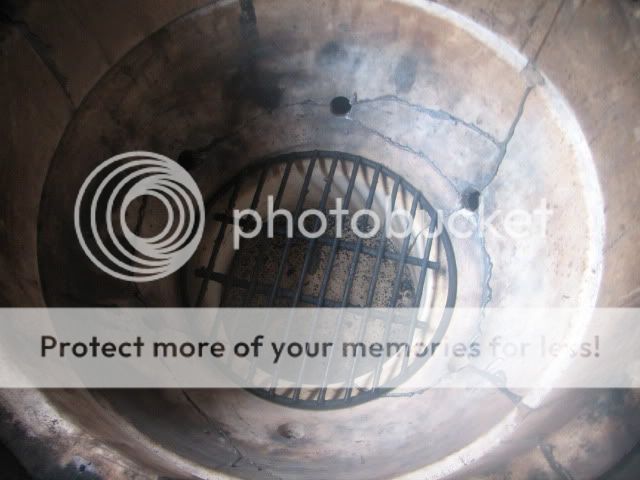
rather than get a new fire grate, I borrowed the grid from the mini egg, fits nice:
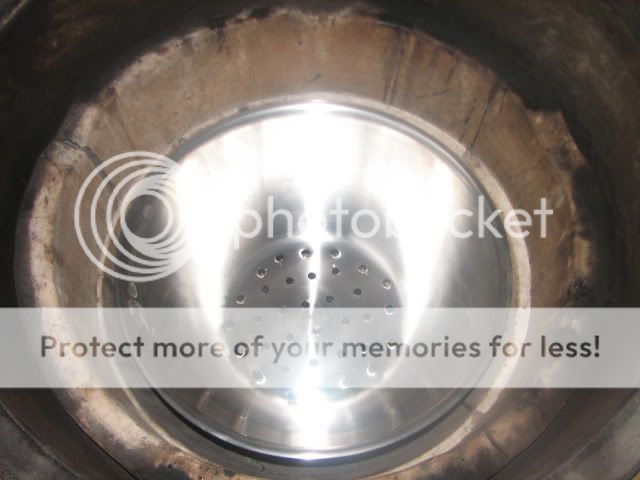
after drilling out the holes, pop it in:
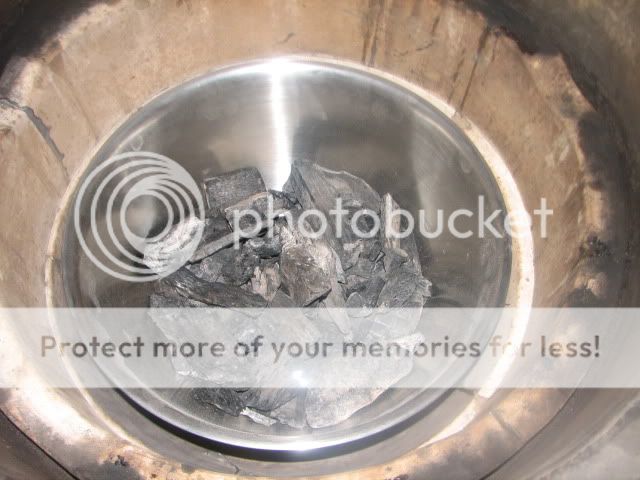
filler up with some lump:
toss on some lit lump. Ok, this is where it got weird. We haven’t had a drop of rain in weeks, it’s been hot & nasty though. When I went out to fire this thing up to do the test burn, I noticed some dark clouds rolling in but didn’t think much of it. As I lit the chimney, it got really dark & the wind started blowing strong. A few minutes later when the chimney was smoking away, so was the storm. As I was dumping the lit lump into the Franken Egg, it was a full-on storm complete with lightening, high wind, & rain :shock:
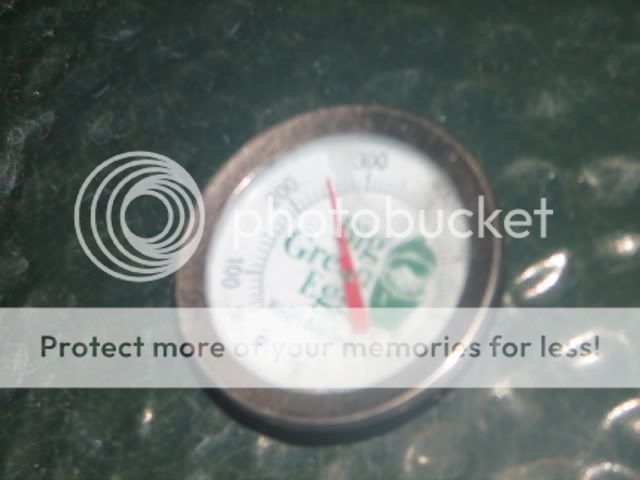
After I added the lit lump, the temp came up to 250 in about 5 minutes. I cut the air way down (about 1/4 inch on the lower damper) & held 250 on the dot for over an hour, opened the door to about a 1/2 inch bringing the temp up to 300 (this was already twice cooked on lump, kinda spent) for a while, then shut it down. Tomorrow I will assess the condition of all the welds, in addition to the salad bowl (my buddy assures me that it won't melt, seems like it would, but we'll see)
really just wanted to do a clean burn without food, burn off any residue on the JB Weld, the new bowl, & anything else that’s crawled in there over time. Saturday, I’ll stank it up with some wings :becky:
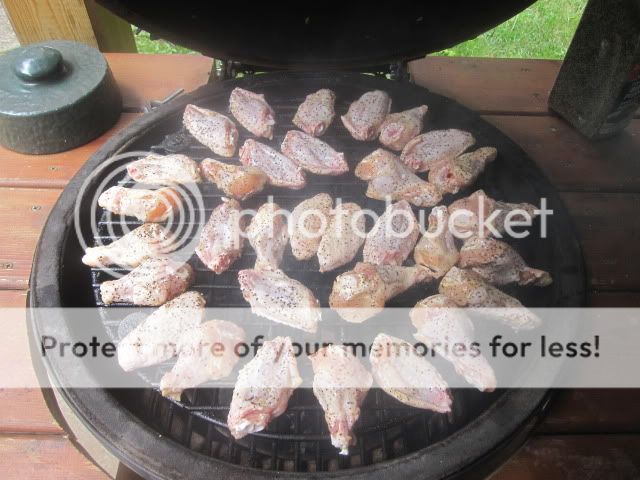
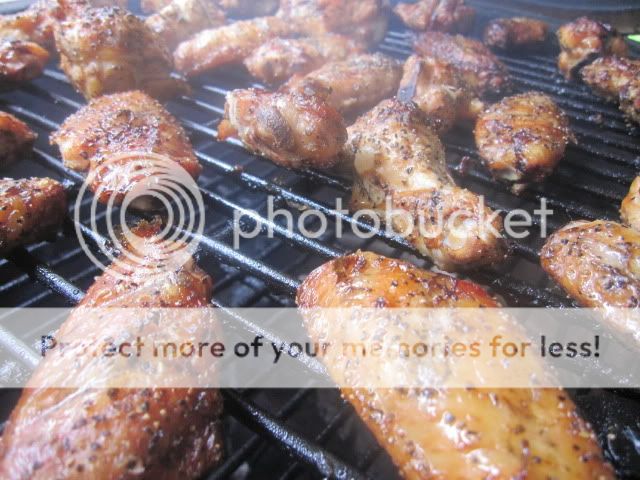
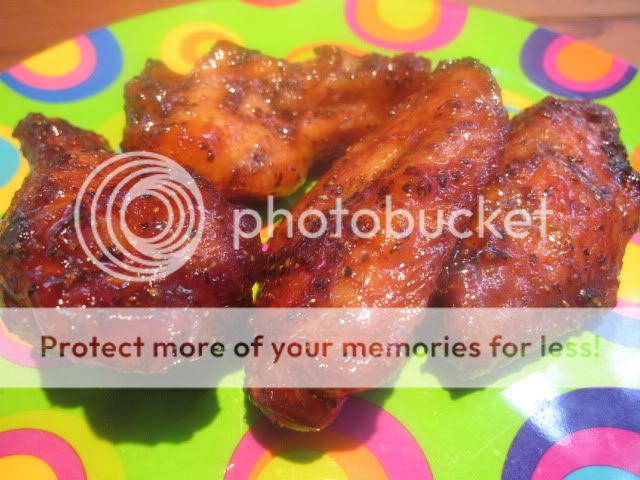
My much anticipated first cook on the franken egg, hot wings. Fresh wings rubbed with a little olive oil, salt & pepper, done direct on a raised grid at 300 degrees with a big hunk of cherry wood. After one hour, flip & let go another hour, then rolled around in a 50/50 mix of honey & Sriraccha chili sauce.
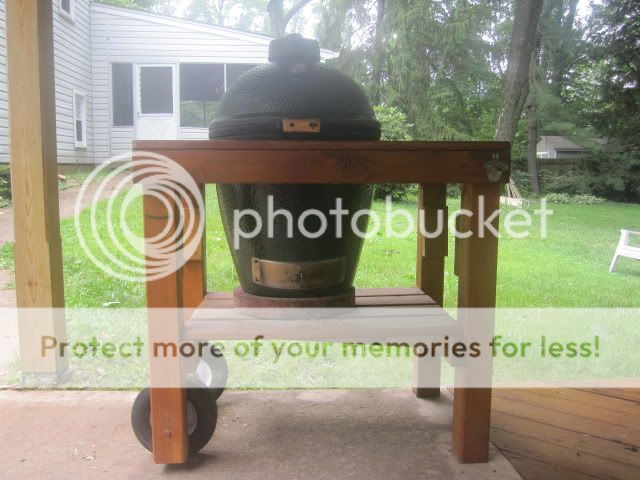
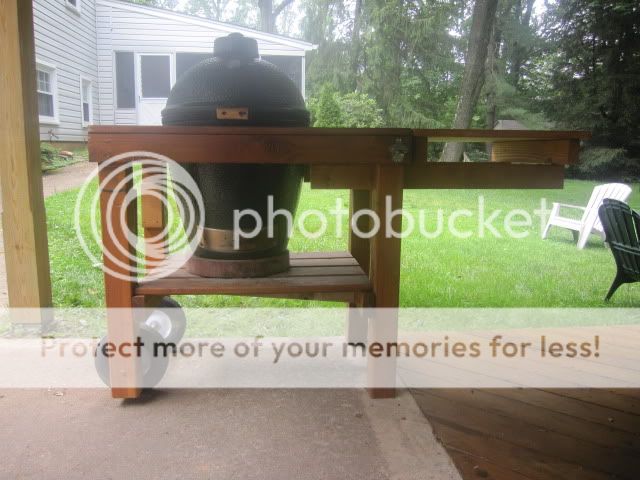
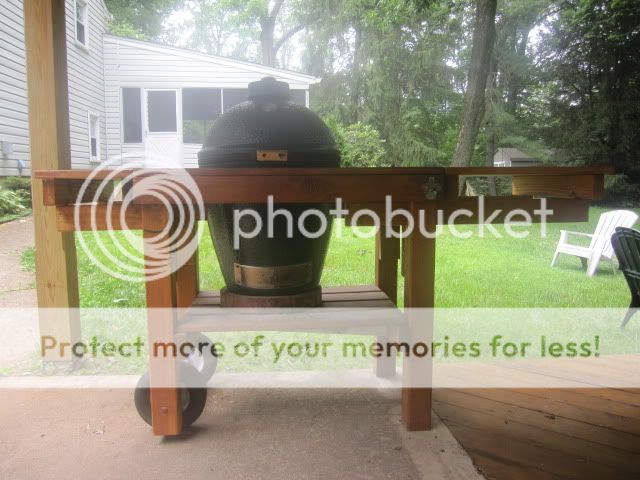
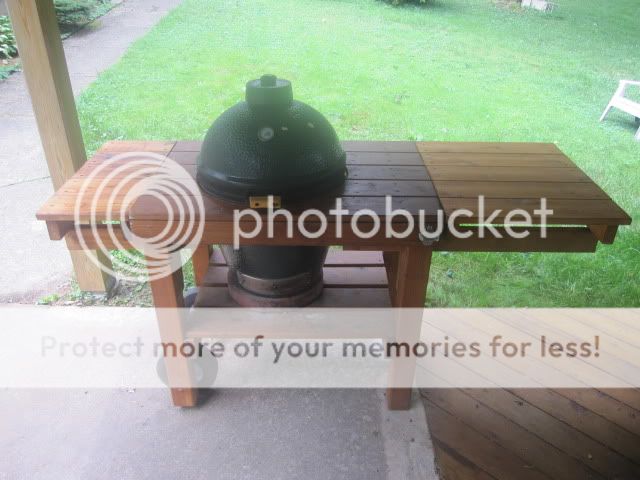
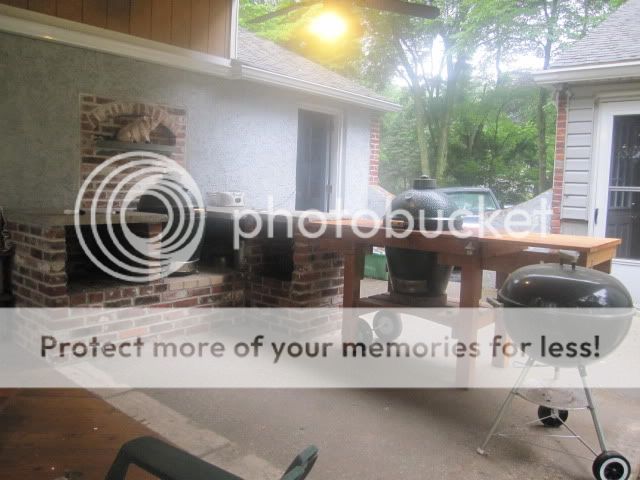
By the way, it wasn’t sitting well with me that I lost all the prep space when I reconfigured this table to fit the egg in, so I built a couple wings out of scrap wood; they slide into the sides on 2x4 ‘tracks’, & are easily removable for when I’m not using them & need more seating space in the hut.
First the build, then the wings:
The right ‘wing’ is 2 feet long (& doubles as a handle to more easily move the table around, leverage & all):
The left ‘wing’ is 1 foot long. The original table is 3 foot 4 inches long, & depending on what I need, I can extend it to 4 foot 4 inches, 5 foot 4 inches, or a full 6 foot 4 inches in total with both wings on:
It isn’t quite done, I still need to pick up some fascia material to cap it off, covering the 2x4’s, & it also needs another coat of stain to darken it up a bit more, but you get the idea:
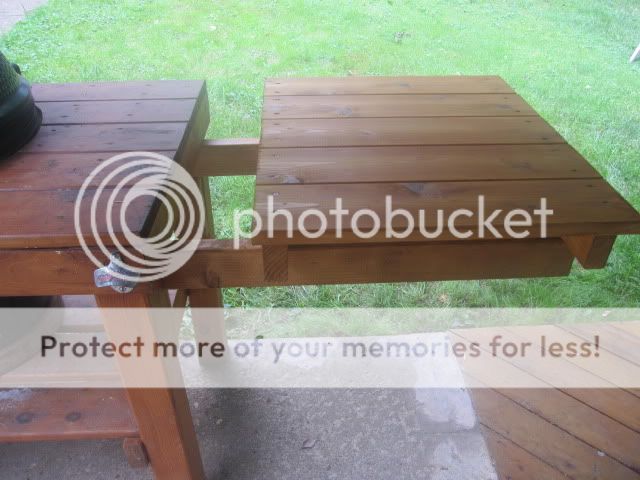
Here’s the sliding track:
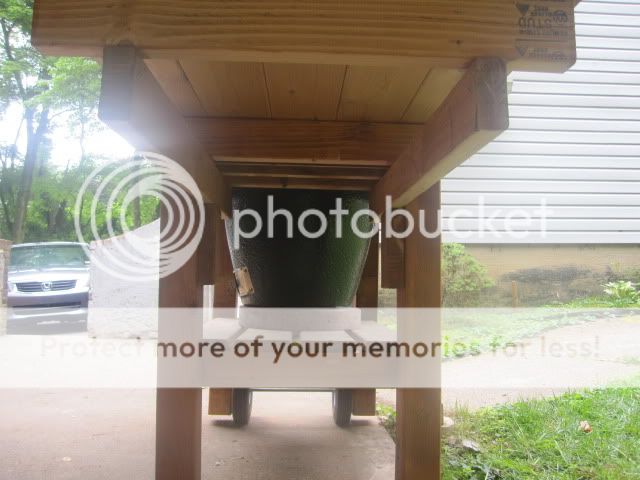
And the undercarriage:
Finally, dinner:
Smoking away:
An hour later after the flip:
All done:
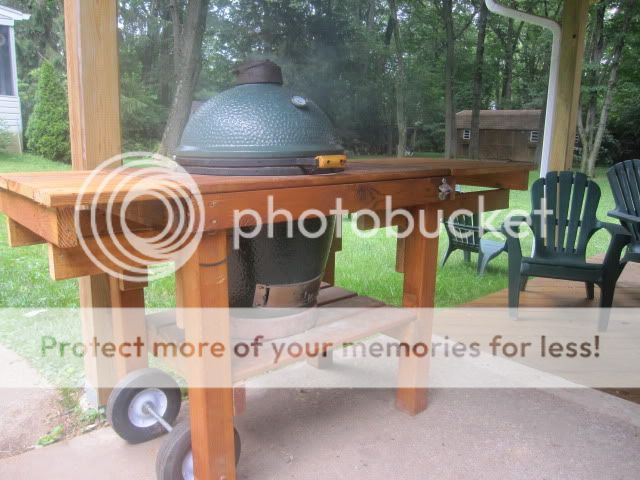
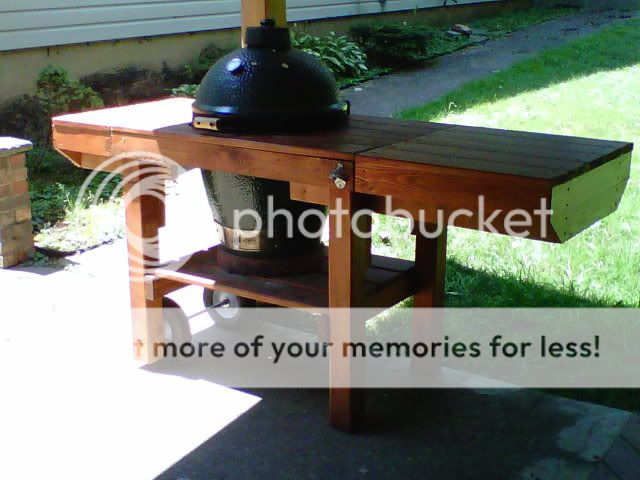
What I really like about this set up is the versatility, I can move this table around easily to accommodate whatever I’m doing; here’s high performance mode:
It performed flawlessly, rose to 300 degrees easily & held it for 2 hours without any adjustment. Looking forward to many slow cooks on this egg.
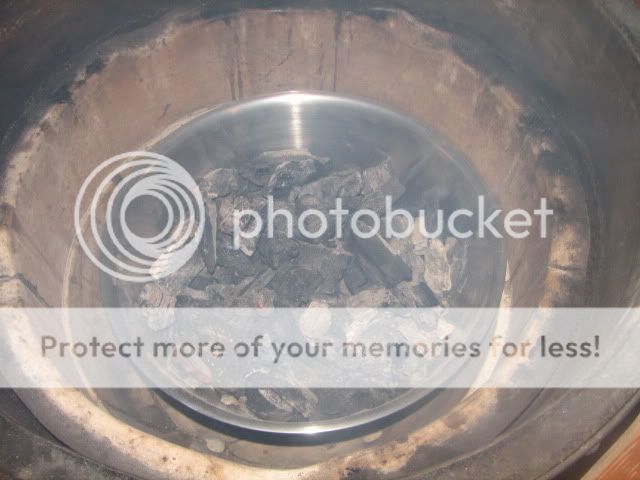
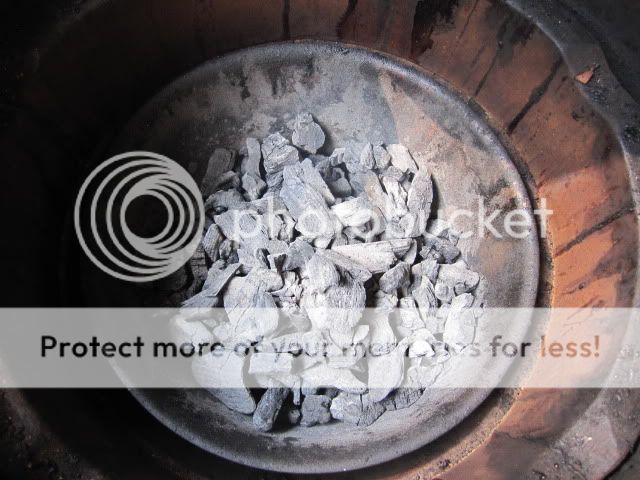
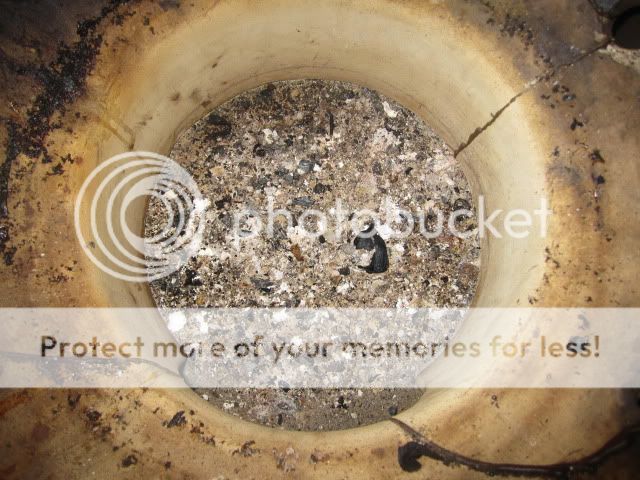
Wanted to update the final touches & comment on the fire bucket. The first two pictures are the final configuration of the table, I’ve added the trim to the ‘wings’ to hide the 2x4’s underneath as best I could. The next pictures are the fire bucket & resultant ash following all cooks I’ve done thus far. The Franken egg has been in service now for about 6 weeks. I’ve done about 10 cooks, all very similar, between 2-3 hours @ 300 degrees. Take a look at the last two pictures, that is the total amount of ash that has ended up in the egg itself after upwards of 30 hours of cooking. As you can see, almost none. At this rate, I am likely to hit 100 hours of cook time before I have enough ash down there to warrant a clean out. Of course, following each cook I take the bucket out & shake it for a few seconds, that knocks all the ash off the lump & it falls through the bottom. Overall, a great upgrade for convenience purposes (it was originally added to insulate the damaged firebox from direct heat, the ease of cleanout was a nice byproduct):
the fire bucket:
top view of the ash that got through:
bottom view of what got through, barely anything:
one really cool thing is there is absolutely nothing on the outer perimeter of the firebox because there are no corresponding holes in the side of the metal fire bucket, so all the ash that gets through is seen in the bottom. No buildup behind or on the sides. Final analysis is that the fire bucket is a huge upgrade to the egg. Big thanks to its originator, Clay Q, a good friend from the egghead forum.