mstewart39
Full Fledged Farker
But did you guess the handle's origin?:twisted:
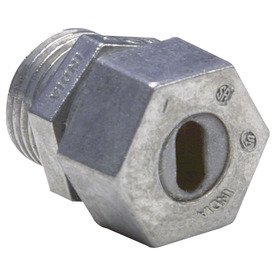
TP Holder.
I'm trying so hard to make a Beavis & Butthead reference to the barrel's bung hole, but it's early and I haven't had my full cup of coffee yet.
But did you guess the handle's origin?:twisted:
The interesting thing, to me, is that barrels had them first. Guess I'm old.TP Holder.
I'm trying so hard to make a Beavis & Butthead reference to the barrel's bung hole, but it's early and I haven't had my full cup of coffee yet.
TP Holder.
I'm trying so hard to make a Beavis & Butthead reference to the barrel's bung hole, but it's early and I haven't had my full cup of coffee yet.
I also noticed something - wanting to see if anyone has come to the same conclusion.
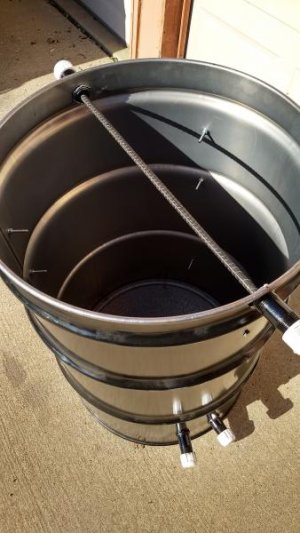
I moved the charcoal basket UP to where it was only 15" from the meat as opposed about 30" before.
I noticed the meat came out more moist. My thinking is that getting the coals closer to the meat while keeping the same temperature means the fire is not burning as hot, and not as many air exchanges in the smoker, which leads to a more humid cooking chamber?
on a quest to find the easiest simplest charcoal box for a UDS
CLAY BASKET FOR UDS
prep time :2-3 minutes
work involved: drill a few holes
level of effort: 1/10
cost $15
source: lowes
size :15" diameter x 6" height
burn time: unknown. guessing 10-12 hours if loaded, maybe more.
pros. good burn profile. heat stayed stable
cons: cracked on first use.but I have a feeling that was a one time thing and will be fine going forward.burn pic is after 4 hours at 275 degrees

Placebo.
Do these type of baskets several times and you’ll have enough for a Hunsaker basket.
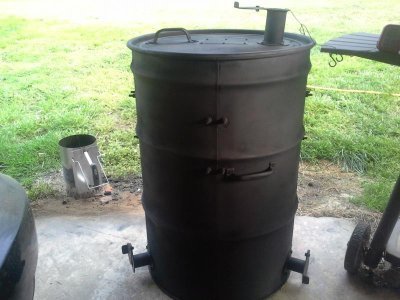
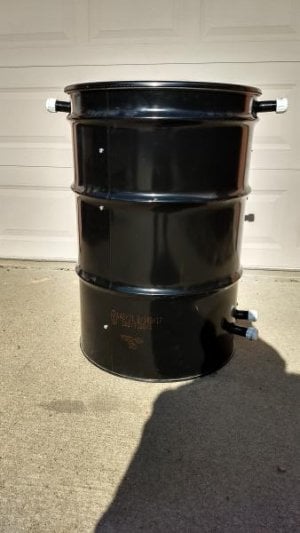
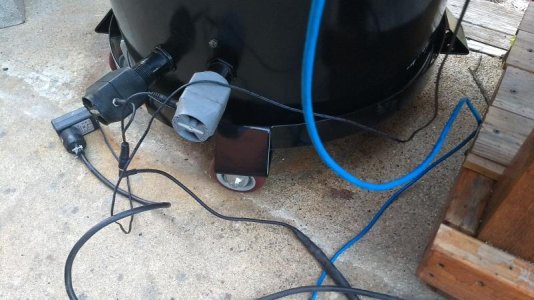
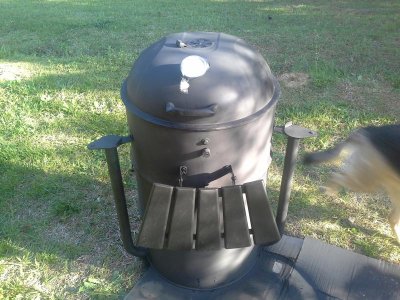
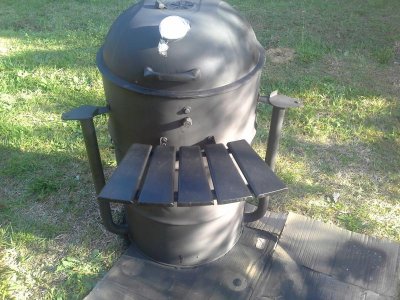
Finally finished up the wife's friend's drum. Simple flat top with intakes, exhaust, and fire basket from udsparts.com. Seems to run pretty steady around 275- 280. Lid has a small leak but will seal itself after a few uses. Will let the whole basket run and season it up good. The drum was what I was using for my Octoforks Rotisserie so need to get it re seasoned for a smoker. Tomorrow I hope to take my absolutely perfectly running domed uds and add intake pipes. I don't think it will hurt it's performance at all the way this one is running. Just tired of bending over and working the fridge magnets.
Boy that was an adventure. Got the pipes mounted, akorn side table mounted, and installed a probe port for the therm cables. The side table is kinda flimsy, but it will hold a dot and beer. Not going to set a huge pile of meat on it. Was exciting due to a squall line moving through. Will get some pictures later this week after a fresh spray of paint. Under a tornado watch right now but things are quiet so I'm going to grab a shower and run to the store.
Well here's old faithful gussied up with her pipe intakes, table, thermometer, and fresh coat of paint. Hopefully I can get it lit tomorrow and see how it runs with the pipes. Got alot to do tomorrow to get ready to leave out for the bash midweek and have to work ot Sunday. The table is nice and will be able to hold a dot and beer. It's not really in the way at all extended.