WeberWho
is one Smokin' Farker
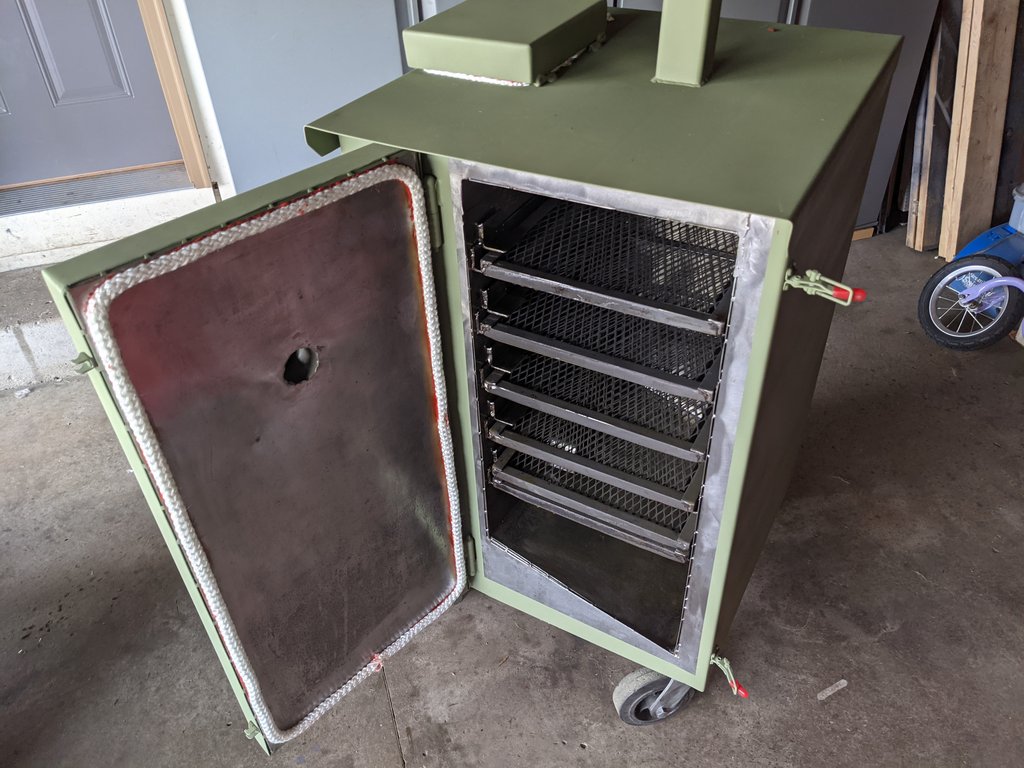
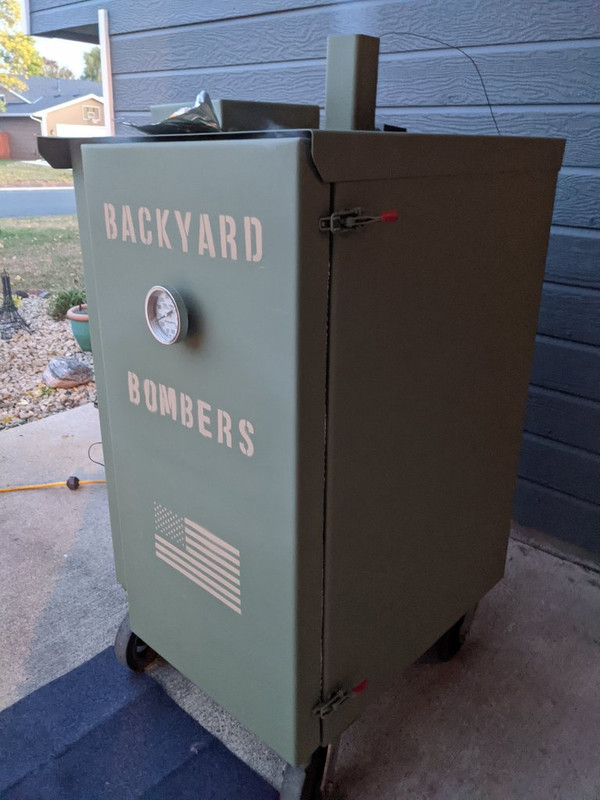
This smoker is called the Backyard Bomber BBQ. It's a vertical fed smoker that was made in Cannon Falls, MN. Unfortunately the business isn't around anymore. I'd imagine it's a tough business to be in given the area. A neat connection being from MN nonetheless.(I'm from MN) I believe the Bomber model was a limited run as the cost in material and time didn't offset much of the purchase price. I want to say they only sold the MJH model towards the end.
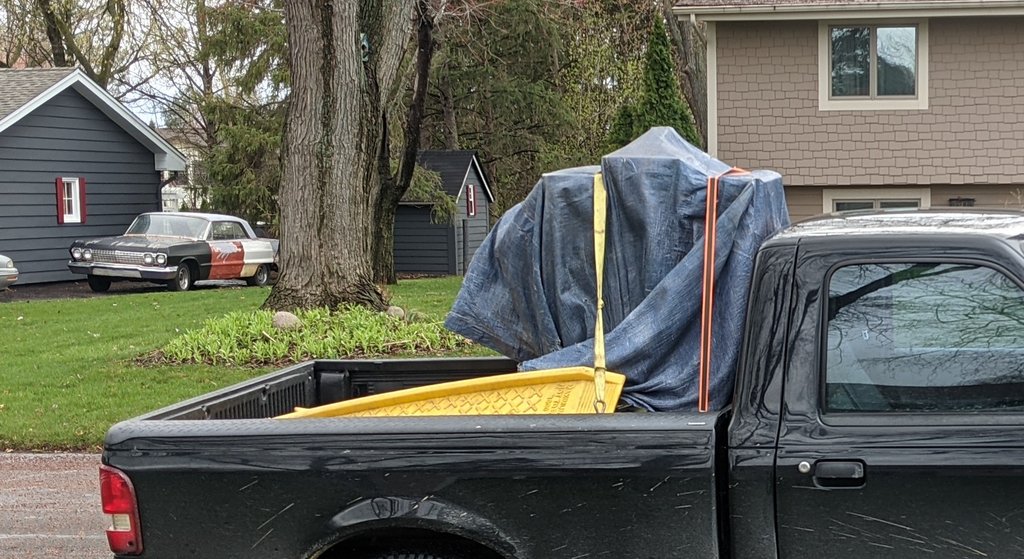
I found this particular smoker on Craigslist. The previous owner had his daughter list the ad for him so she became the middle man for questions. I didn't want to bother her much but I did ask how the overall condition of the smoker was. She mentioned it was good condition. Good enough for me...or so I thought. I didn't have much of a chance to look it over as the owner had it strapped up on his utility tractor ready to be dropped in the back of my truck. This was helpful as rain was on the way, so we made it quick and had a nice short chat.
When getting it home and unloading it, I noticed the condition of the smoker wasn't as nice as I might have imagined it. Not the end of the world with it only being cosmetic but I really wasn't hoping for another restoration. Here are a few pictures of the smoker:
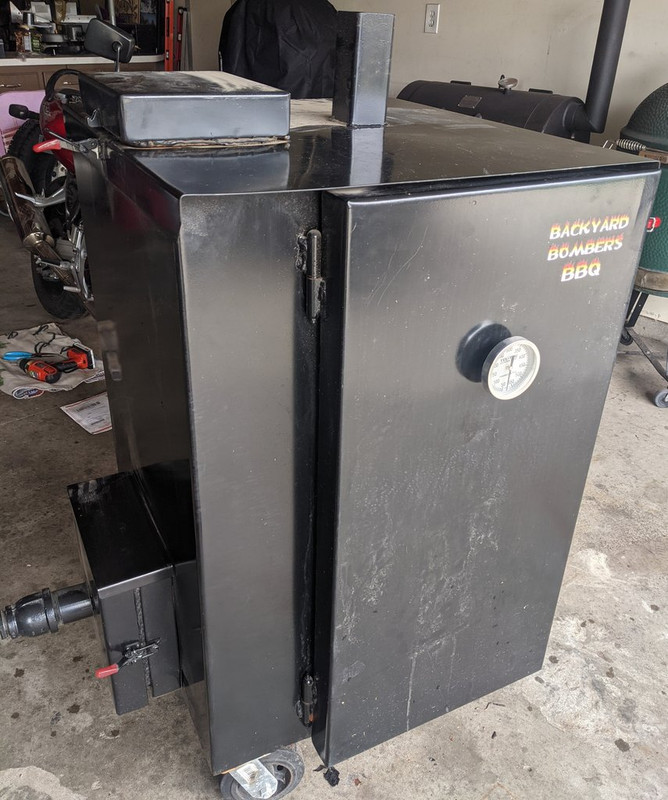
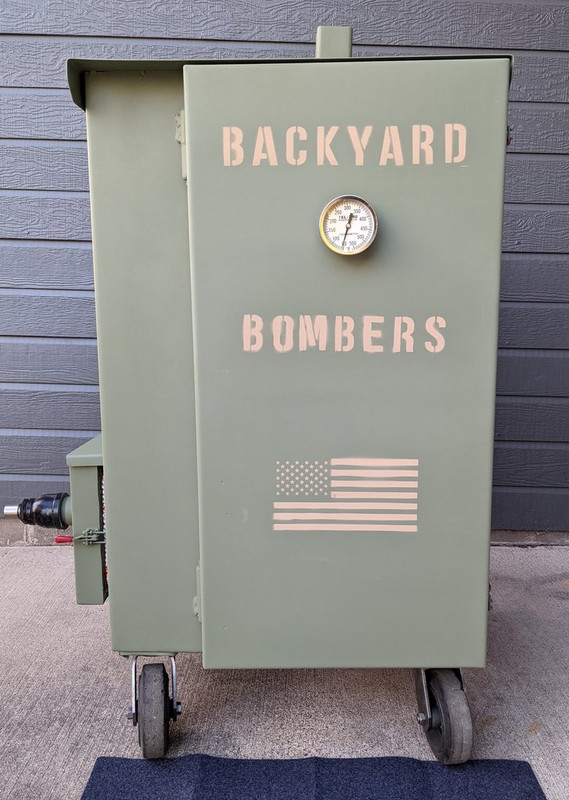
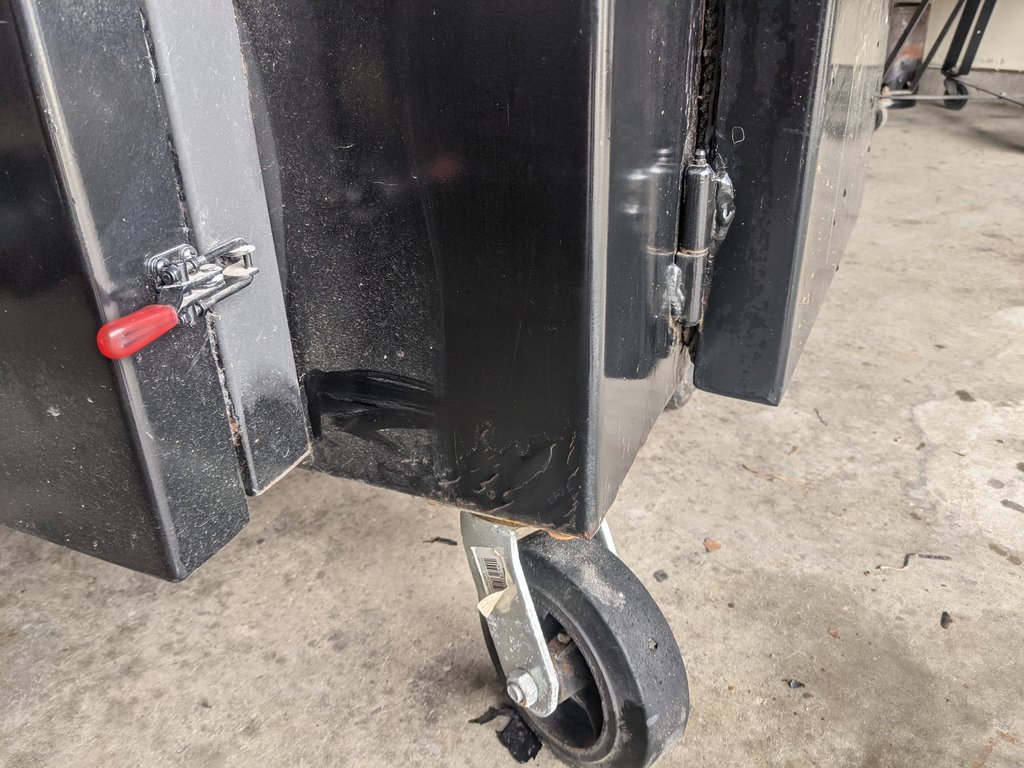
I noticed the powder coat started peeling towards the bottom lip on the lower left side which I knew that was going to be an issue.
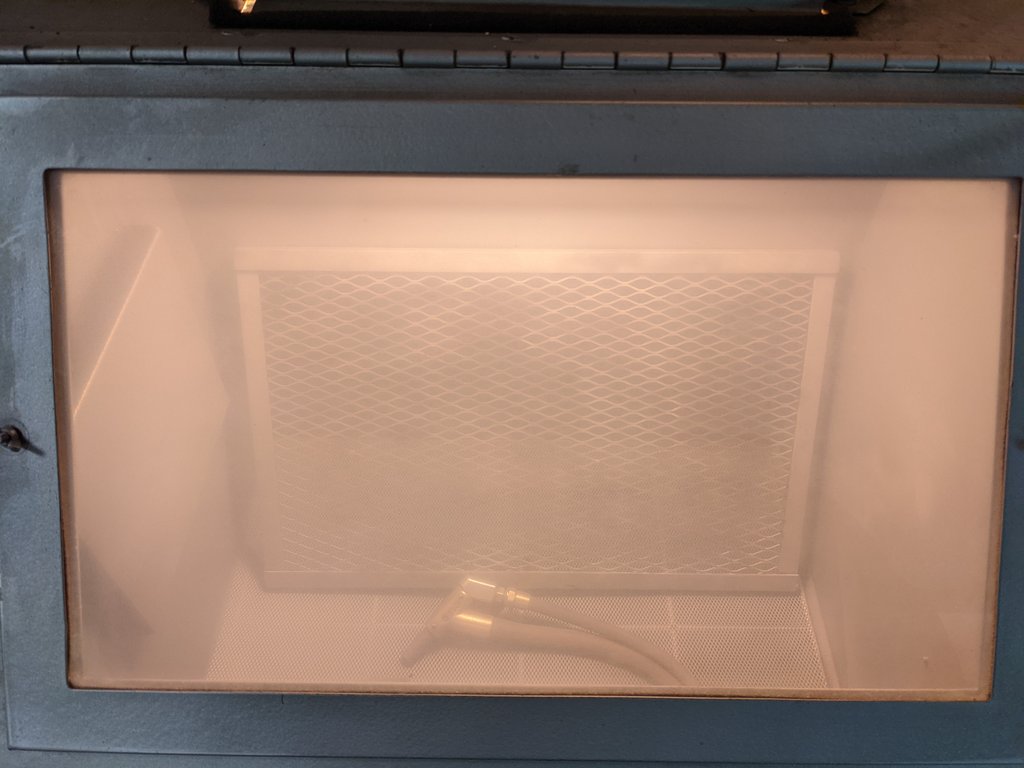
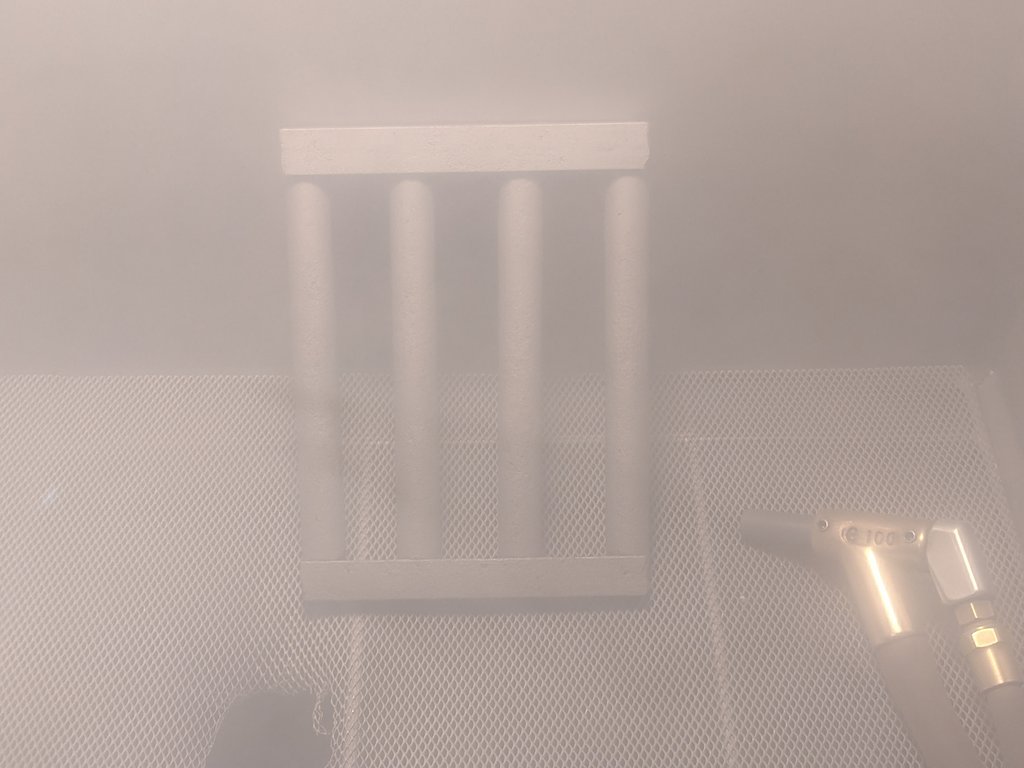
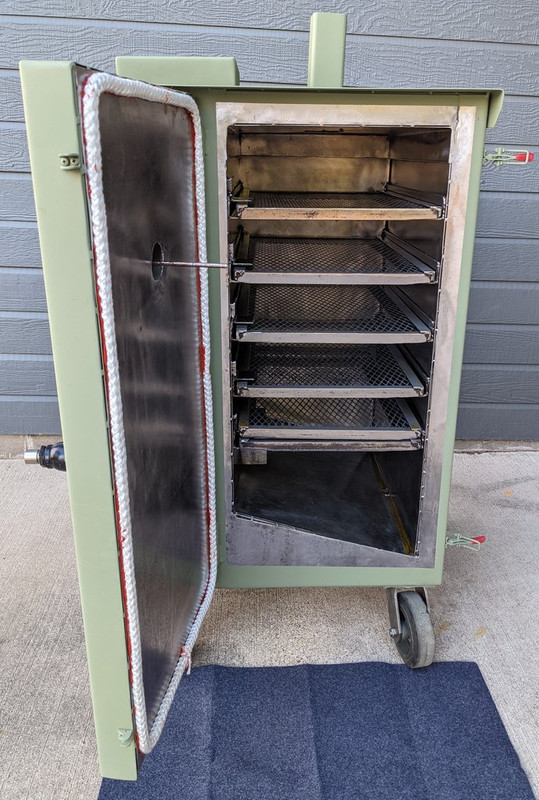
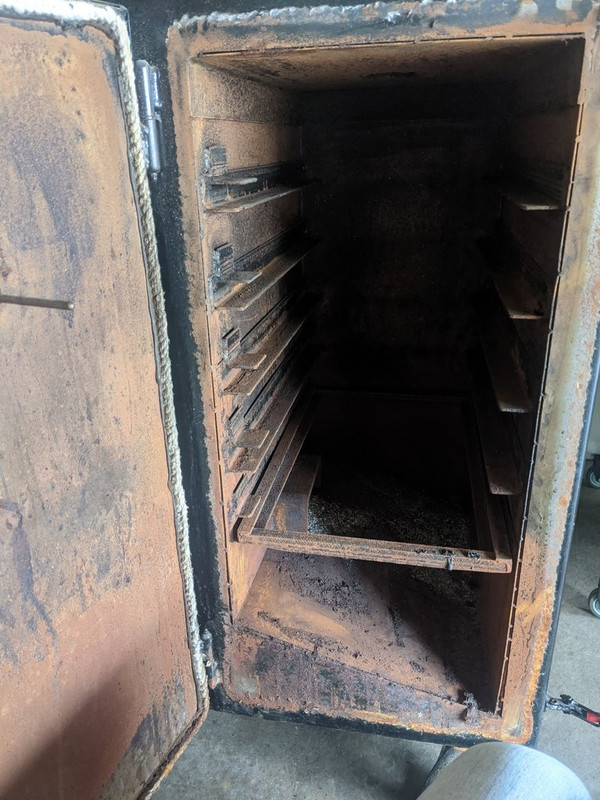
The other issue or time consuming thing was the inside of the smoker being rusty. I wasn't able to look over the inside of the smoker as he had it ready to be loaded, which was maybe a good thing, as it may have dampened my mood or purchase. It was priced very, very much in my favor even with these issues.
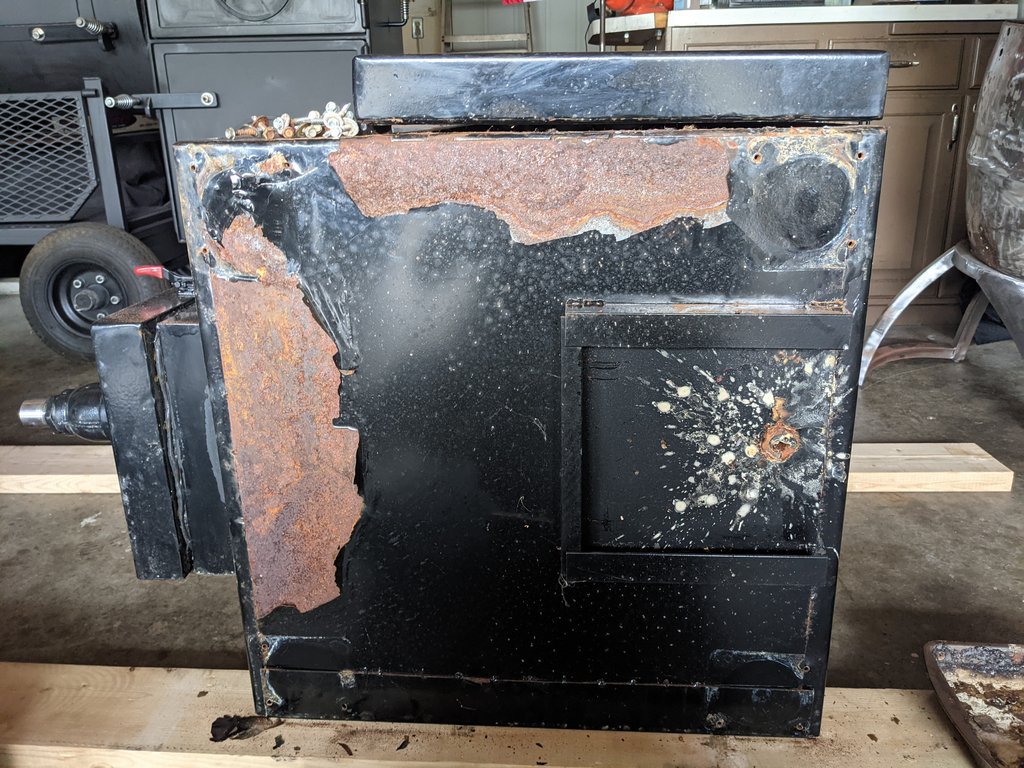
My friends stopped over here a few weeks back for fantasy football. Since I had them over here, I took the advantage and had them help me lay down the smoker to see what was going on under it. Kind of what I expected when I noticed paint flaking on the bottom lip.
So I went to work.

Unfortunately, I didn't get a picture of the bottom after priming and painting. I did take the opportunity to clean up the casters and soak them in WD-40 and run some grease through the zerk fittings. I also took the opportunity to sand whatever I could before getting it back upright. I had the guys back over last week for the Vikings game. It took all four of us to lift it back up. The smoker is a beast.
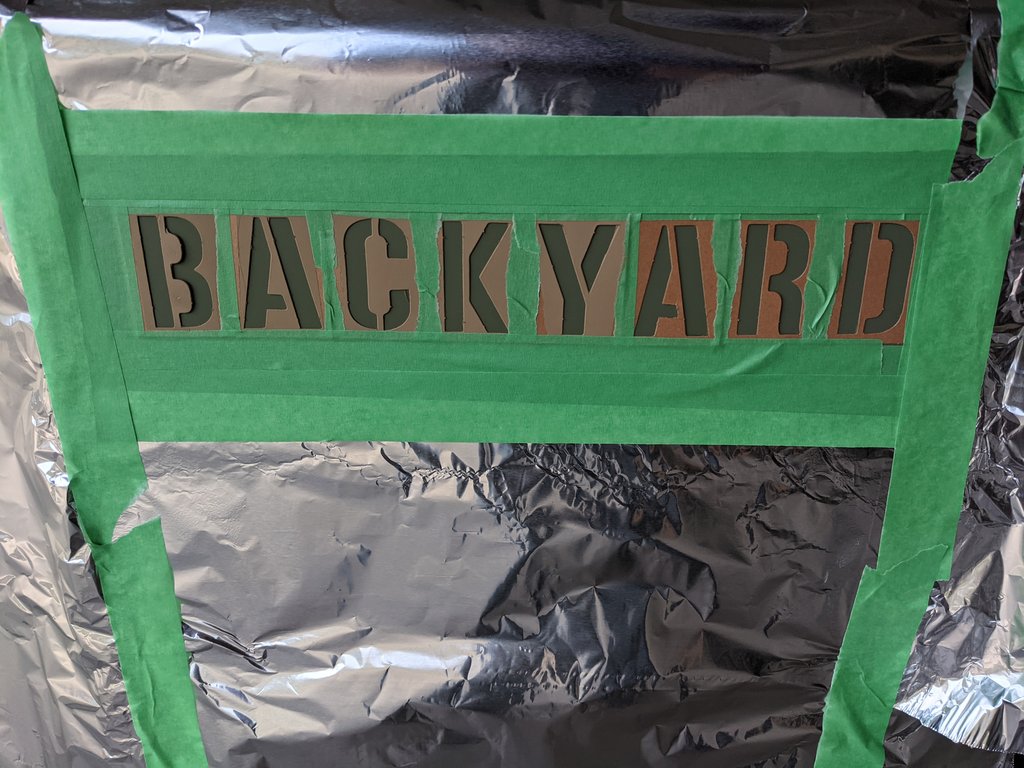
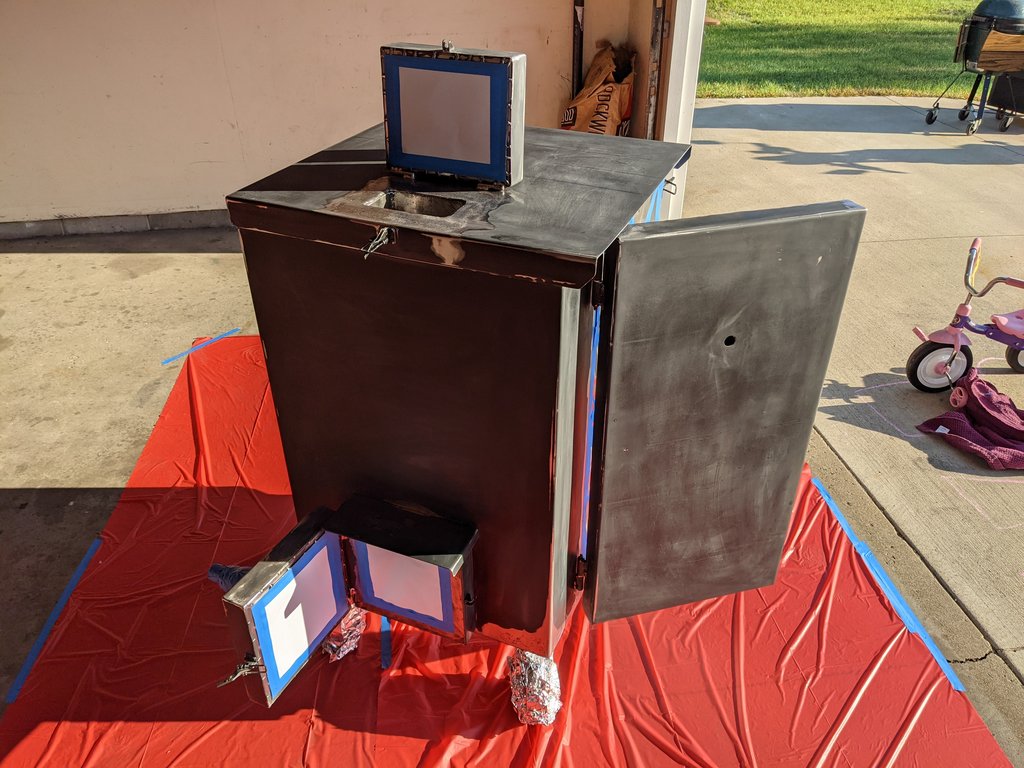
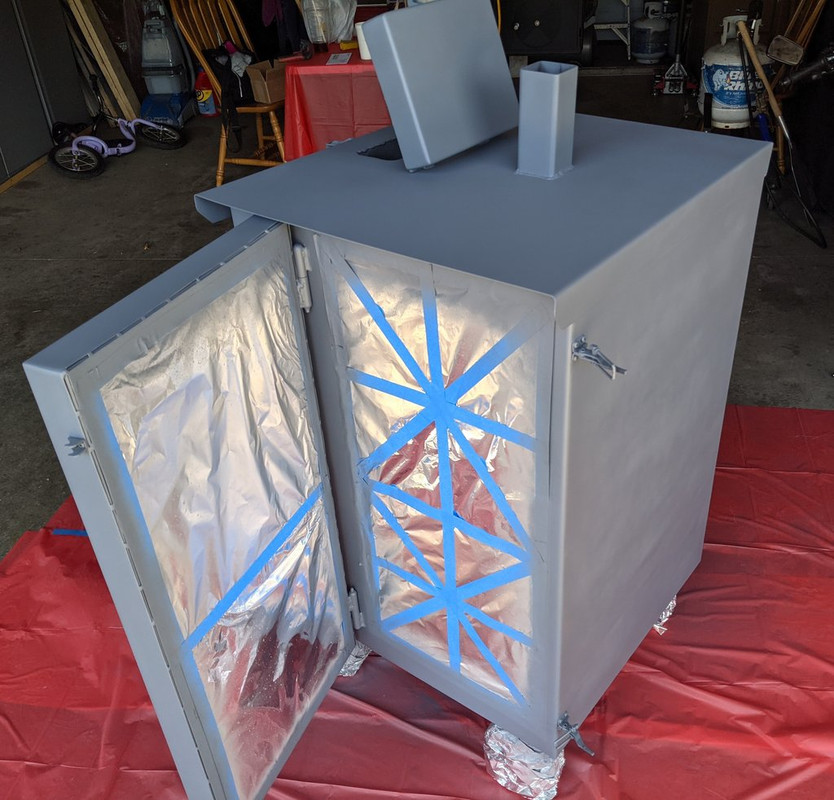
Here is the smoker all taped up, sanded, and waiting to be primed.

I had a chance to spray some primer on it yesterday.

Too hot and windy to paint today but figured I'd post some pics of the process of the restoration for anyone who might be interested....
I found this particular smoker on Craigslist. The previous owner had his daughter list the ad for him so she became the middle man for questions. I didn't want to bother her much but I did ask how the overall condition of the smoker was. She mentioned it was good condition. Good enough for me...or so I thought. I didn't have much of a chance to look it over as the owner had it strapped up on his utility tractor ready to be dropped in the back of my truck. This was helpful as rain was on the way, so we made it quick and had a nice short chat.
When getting it home and unloading it, I noticed the condition of the smoker wasn't as nice as I might have imagined it. Not the end of the world with it only being cosmetic but I really wasn't hoping for another restoration. Here are a few pictures of the smoker:
I noticed the powder coat started peeling towards the bottom lip on the lower left side which I knew that was going to be an issue.
The other issue or time consuming thing was the inside of the smoker being rusty. I wasn't able to look over the inside of the smoker as he had it ready to be loaded, which was maybe a good thing, as it may have dampened my mood or purchase. It was priced very, very much in my favor even with these issues.
My friends stopped over here a few weeks back for fantasy football. Since I had them over here, I took the advantage and had them help me lay down the smoker to see what was going on under it. Kind of what I expected when I noticed paint flaking on the bottom lip.
So I went to work.
Unfortunately, I didn't get a picture of the bottom after priming and painting. I did take the opportunity to clean up the casters and soak them in WD-40 and run some grease through the zerk fittings. I also took the opportunity to sand whatever I could before getting it back upright. I had the guys back over last week for the Vikings game. It took all four of us to lift it back up. The smoker is a beast.
Here is the smoker all taped up, sanded, and waiting to be primed.
I had a chance to spray some primer on it yesterday.
Too hot and windy to paint today but figured I'd post some pics of the process of the restoration for anyone who might be interested....


")