sudsandswine
Quintessential Chatty Farker
...they pull me back in.
"They" being briskets, of course. Been about 5 days since I finished doing a 10 brisket cook, and if you'd asked me 3 days ago if I felt like que'n, I'd have told you no way. Yet here we are.
Anyway, we are renting a lake house for my brother's bachelor party and while they do have a gas grill, I thought it'd be nice to have a meal ready to go, to leave me time for fishin' and drinkin' and that sort of thing.
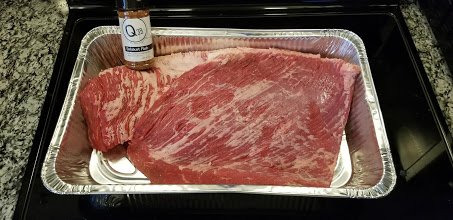
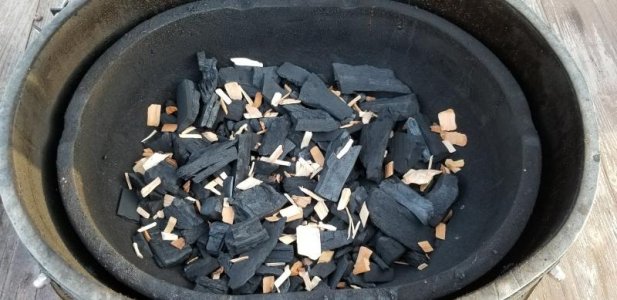
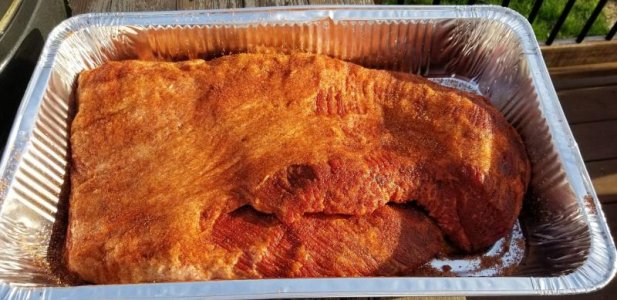
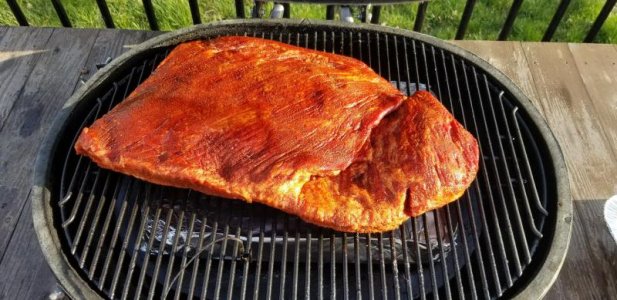
I plan to do this one on my Primo XL oval, won't have time to feed sticks between now and then and I can set it and forget it while I do other things, like paying the bills. I picked up a bottle of rub from my favorite barbecue joint in KC...Q39, and will use it this time instead of SPOG.
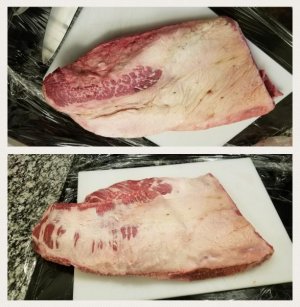
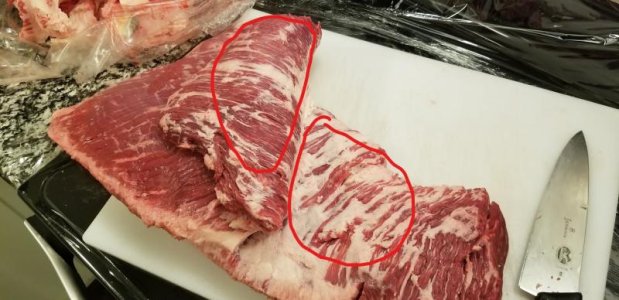
I figured I'd take some pics of what I do, maybe it'll help someone blankly staring at their first untrimmed packer wondering how they're going to attack it. While there are many ways to trim brisket, this is the way I like to do it when time permits. I feel it gives good rub and flavor penetration on all sides of the meat since I don't really have to trim anything unrendered off when it's done cooking. I've found little to no difference in the juiciness of the meat compared to a less aggressive trim, all else being equal. I'm certainly not an expert and I don't have the greatest knife skills, but I have trimmed a fair amount of brisket over the past few years and feel fairly proficient at it.
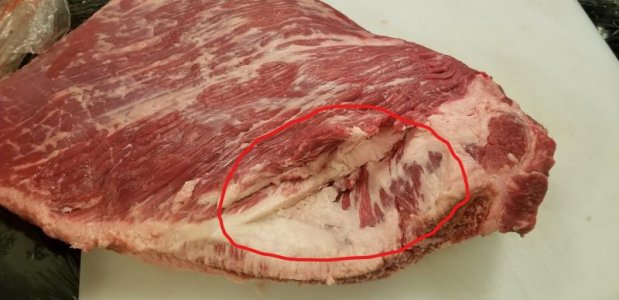
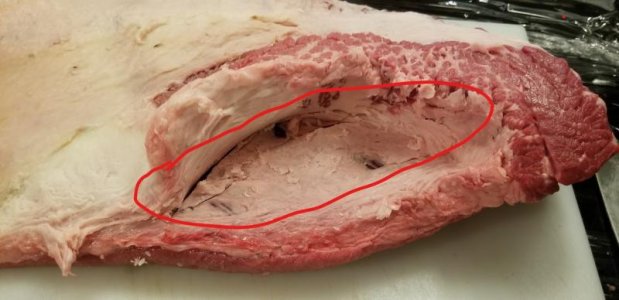
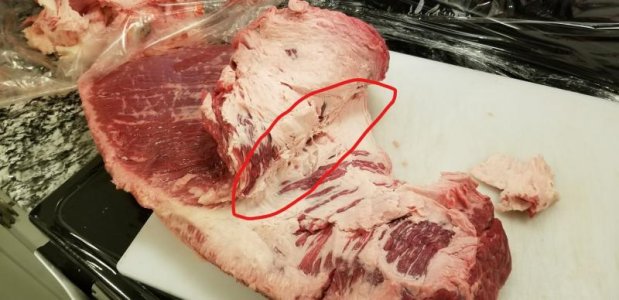
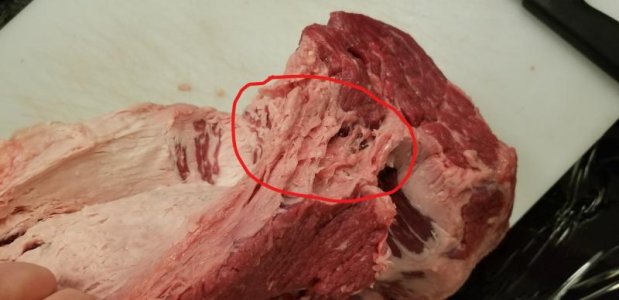
You could certainly leave more on the exterior of the point and remove less between the point and the flat. My main goal when trimming to be left with a uniformly flat piece of meat. I've found that it cooks more evenly, and in the stick burner with a lot of moving air, it seems like it'd be more aerodynamic based on my anecdotal and unscientific experience.
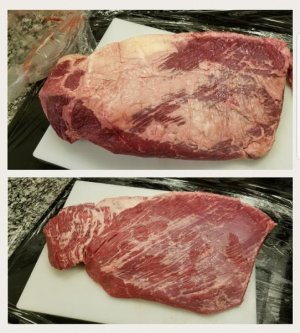
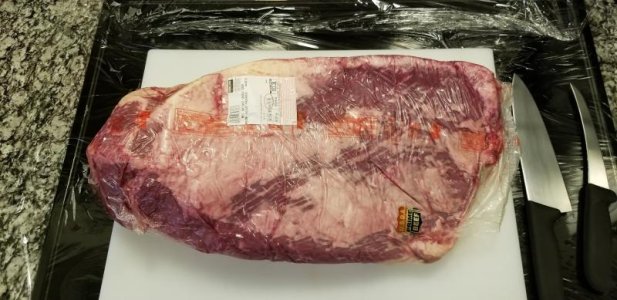
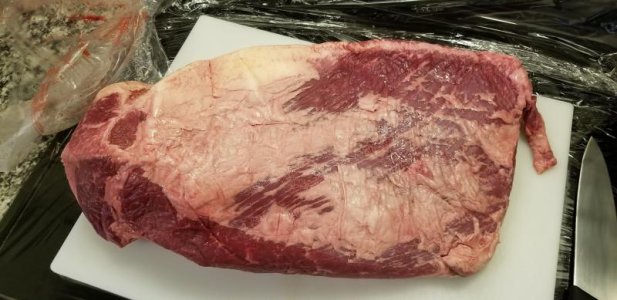
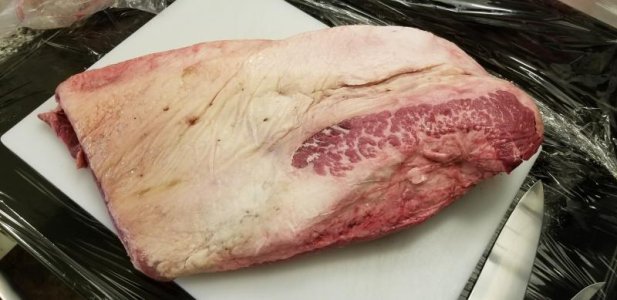
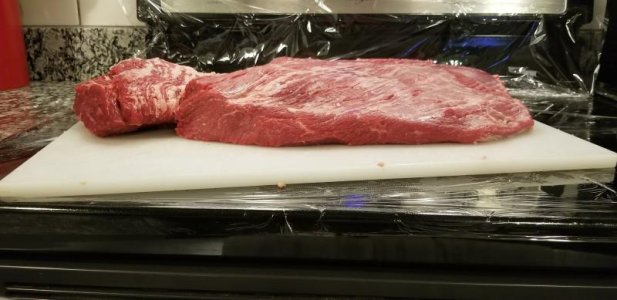
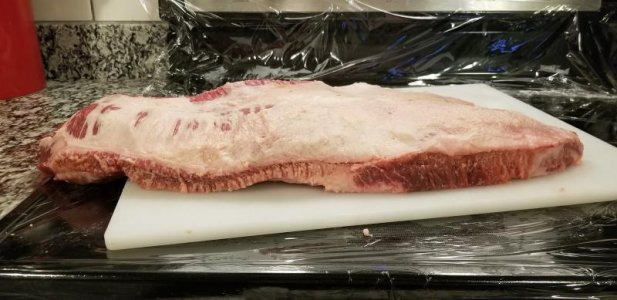
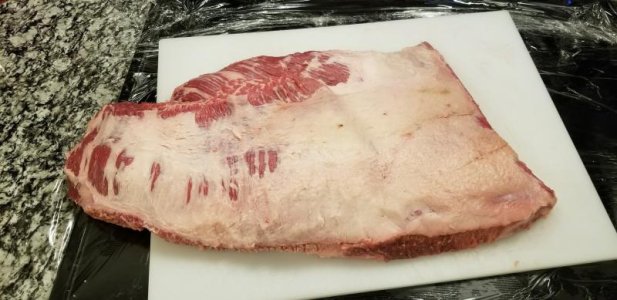
Here's the untrimmed brisket so we know what we're starting with. I found this nice looking 15.2 lb USDA prime packer at Costco, had a nice thick flat and not an absurd amount of fat.
"They" being briskets, of course. Been about 5 days since I finished doing a 10 brisket cook, and if you'd asked me 3 days ago if I felt like que'n, I'd have told you no way. Yet here we are.
Anyway, we are renting a lake house for my brother's bachelor party and while they do have a gas grill, I thought it'd be nice to have a meal ready to go, to leave me time for fishin' and drinkin' and that sort of thing.
I plan to do this one on my Primo XL oval, won't have time to feed sticks between now and then and I can set it and forget it while I do other things, like paying the bills. I picked up a bottle of rub from my favorite barbecue joint in KC...Q39, and will use it this time instead of SPOG.
I figured I'd take some pics of what I do, maybe it'll help someone blankly staring at their first untrimmed packer wondering how they're going to attack it. While there are many ways to trim brisket, this is the way I like to do it when time permits. I feel it gives good rub and flavor penetration on all sides of the meat since I don't really have to trim anything unrendered off when it's done cooking. I've found little to no difference in the juiciness of the meat compared to a less aggressive trim, all else being equal. I'm certainly not an expert and I don't have the greatest knife skills, but I have trimmed a fair amount of brisket over the past few years and feel fairly proficient at it.
You could certainly leave more on the exterior of the point and remove less between the point and the flat. My main goal when trimming to be left with a uniformly flat piece of meat. I've found that it cooks more evenly, and in the stick burner with a lot of moving air, it seems like it'd be more aerodynamic based on my anecdotal and unscientific experience.
Here's the untrimmed brisket so we know what we're starting with. I found this nice looking 15.2 lb USDA prime packer at Costco, had a nice thick flat and not an absurd amount of fat.


")