M
mwells32
Guest
I have strarted the build. As we have gone along the design has changed a little.
We started out making the ashbox out of 1/4 in plate and the lower part of the coal chute out of 8 inch square tube. But my buddy has a bunch os stuff lying around so we began peicing together what he had before we went and spent any money. He had a 4 ft section of 6 inch square tube, but I really wanted 8. But we talked about making the bottom portion out of plate, then transitioning it to the 6 inch tube. All we could find was 1/2 inch plate. That works. But the plate was 10 inches wide, so to save time and effort we just made the lower section 10 inches. He didnt have any 1/4 in plate for the ashbox, but found some 3/8. That will work too. He didnt have any 3x5 tube for the heat transfer, but had some 4 inch. Did the math, its pretty close. So after a days work we have this:
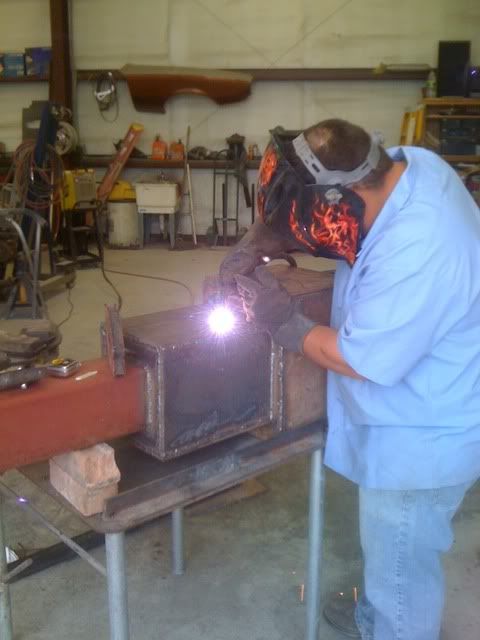
This my buddy cutting the hole for the transfer tube.
Looking the at the dimensions that I had origianally set, cooking space was 24 d x 28 w x 40 tall. After talking, I think I am going to increase the width to 48 inches. Any chance I could fit a small hog in that one?
A couple questions before we proceed though. Is the 4x4 transfer enough to handle that size cooker? Did we really screw up by making the bottom section of the coal chute 10x10? I know I will burn more fuel that way, but will I be able to get the temps down to smoking range without choking the fire? We are going to ditch the wheels in favor of solid legs. He has a skid steer to get it to the back porch so we are good there. The overall dimensions should come out at about 5 1/2 ft wide and 5 ft tall. I know some of this is trial and error, but since this is our first clone build, if someone had greater knowledge please chime in. Also, what size exhaust? And what length?
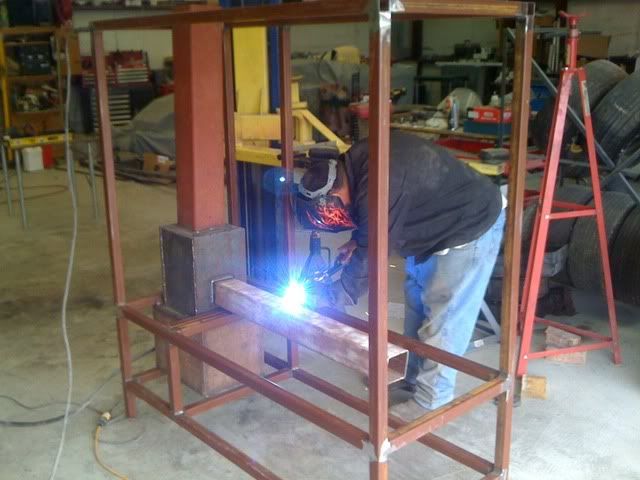
We have a good bit of weight already there, much more than I anticipated. But it is solid, and should never burn out in my lifetime.
BTW, this is my first time weilding the welder, and I had a blast. I am looking forward to getting started on the frame and getting a fire going.
We started out making the ashbox out of 1/4 in plate and the lower part of the coal chute out of 8 inch square tube. But my buddy has a bunch os stuff lying around so we began peicing together what he had before we went and spent any money. He had a 4 ft section of 6 inch square tube, but I really wanted 8. But we talked about making the bottom portion out of plate, then transitioning it to the 6 inch tube. All we could find was 1/2 inch plate. That works. But the plate was 10 inches wide, so to save time and effort we just made the lower section 10 inches. He didnt have any 1/4 in plate for the ashbox, but found some 3/8. That will work too. He didnt have any 3x5 tube for the heat transfer, but had some 4 inch. Did the math, its pretty close. So after a days work we have this:
This my buddy cutting the hole for the transfer tube.
Looking the at the dimensions that I had origianally set, cooking space was 24 d x 28 w x 40 tall. After talking, I think I am going to increase the width to 48 inches. Any chance I could fit a small hog in that one?
A couple questions before we proceed though. Is the 4x4 transfer enough to handle that size cooker? Did we really screw up by making the bottom section of the coal chute 10x10? I know I will burn more fuel that way, but will I be able to get the temps down to smoking range without choking the fire? We are going to ditch the wheels in favor of solid legs. He has a skid steer to get it to the back porch so we are good there. The overall dimensions should come out at about 5 1/2 ft wide and 5 ft tall. I know some of this is trial and error, but since this is our first clone build, if someone had greater knowledge please chime in. Also, what size exhaust? And what length?
We have a good bit of weight already there, much more than I anticipated. But it is solid, and should never burn out in my lifetime.
BTW, this is my first time weilding the welder, and I had a blast. I am looking forward to getting started on the frame and getting a fire going.


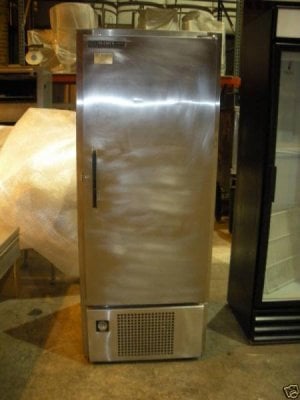
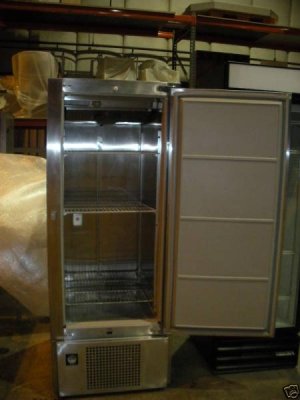
") . I may end up using a commercial fridge I found on ebay as my main smoking chamber. Its a little smaller then I wanted but it would be a great head start. Below are some pics. Sorry not trying to hi-jack. Always love the clone builds.
. I may end up using a commercial fridge I found on ebay as my main smoking chamber. Its a little smaller then I wanted but it would be a great head start. Below are some pics. Sorry not trying to hi-jack. Always love the clone builds.