THoey1963
somebody shut me the fark up.
After reading the directions a couple times and searching here and the rest of the web a lot, I finally got my gaskets installed on my WSM. It wasn't hard, per se, but it was a pain in the back...
I am not sure how to get my comments to go between pics, so I'll comment above:
1. First I did a good scrub where the gaskets were going to go. I used Fast 505 degreaser from Home Depot and a scrubby pad. Not too difficult, but I only had a couple cooks on her so far.
2. Nice and Shiny...
3. Starting on the bottom of the center piece, I gently measured the gasket around the rim. I did my first quarter of the way, but didn't put down enough of the sealant, so I had to do it again. You get a whole tube, so don't try to use it sparingly.
4. Now you can see a little bit leaking out. I stretched this gasket to make it a little thinner as I had heard of difficulties in getting it to open / close.
5. That's how much I started using and it held well. I used a toothpick to roll the cement back and forth until it was even.
6. The drum kept wanting to roll, so I put a box of salt down on each side to stabilize it.
7. After stretching it around, you can see how much extra I had.
8. Trimmed and this half done. Let it sit for a while before I started the other side.
9. Working the top of the center piece now. Instructions made it sound like I wanted the gasket on the vertical edge, but research and common sense said to put it on the horizontal edge so the lid could sit on top of it.
10. Tried not to stretch this piece at all.
11. Top completed.
Get my SS door tomorrow. Will test it for fit and decide if I need to seal it up.
Attachments
-
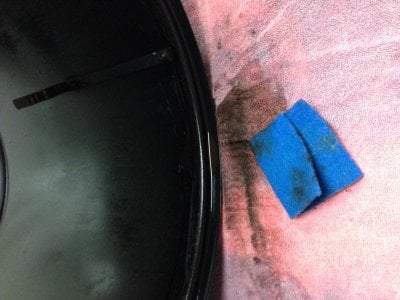 photo 1.jpg62.7 KB · Views: 414
 -
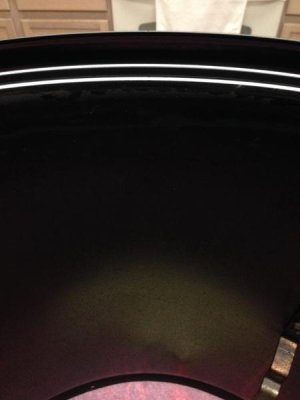 photo 2.jpg17.9 KB · Views: 410
 -
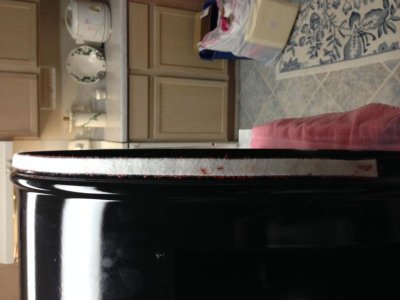 photo 3.jpg40.1 KB · Views: 413
 -
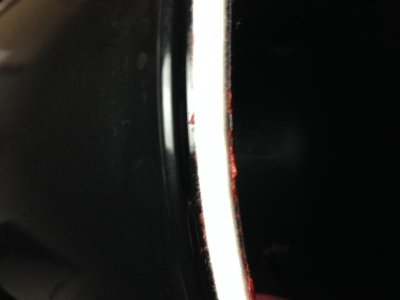 photo 4.jpg19 KB · Views: 409
 -
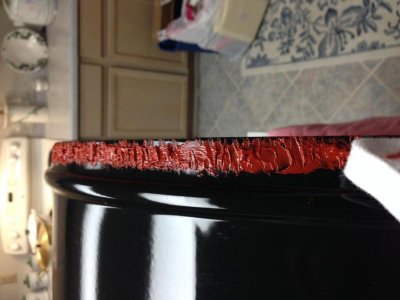 photo 5.jpg43.2 KB · Views: 412
 -
 photo 6.jpg44 KB · Views: 415
 -
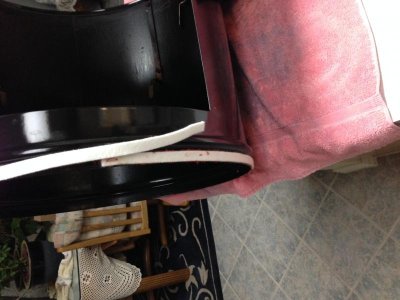 photo 7.jpg55.2 KB · Views: 413
 -
 photo 8.jpg47 KB · Views: 412
 -
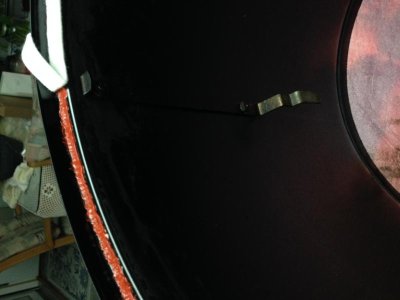 photo 9.jpg32.2 KB · Views: 415
 -
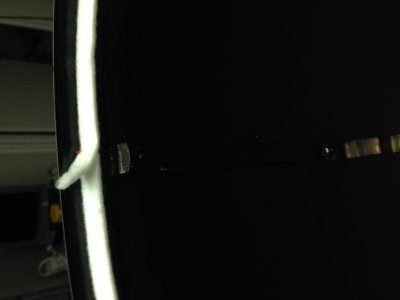 photo 10.jpg16.9 KB · Views: 412
 -
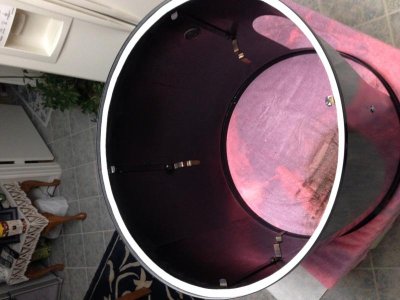 photo 11.jpg54.5 KB · Views: 415