sahc03
Found some matches.
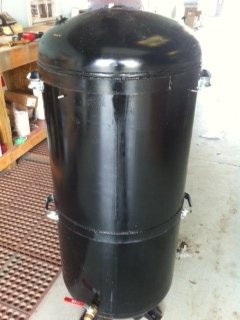
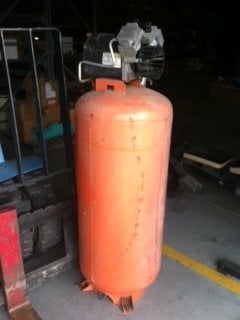
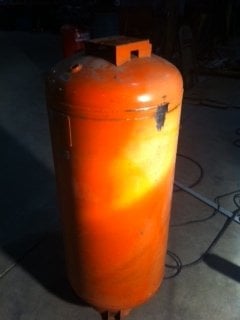
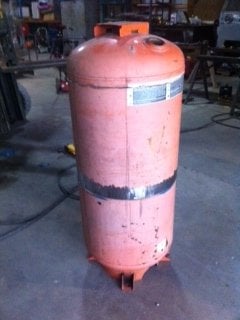
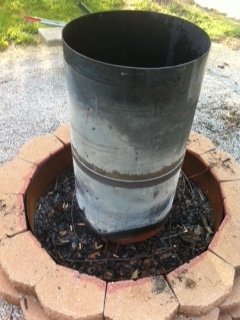
After spending some time learning some of the finer points of turning out some quality Q with a good friend and "Major Tom" (His UDS), I decided to take on a smoker build of my own. I like the way Maj. Tom held temp and turned out consistent deliciousness, so I wanted to stay in the vertical smoker realm.
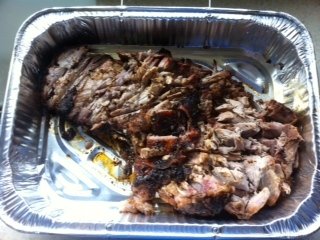
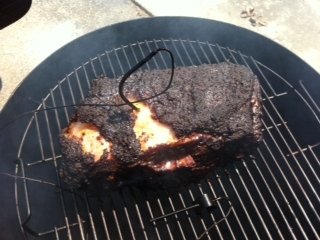
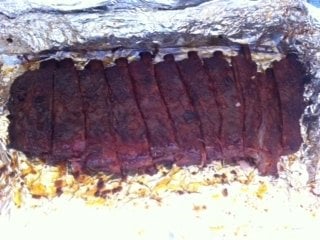
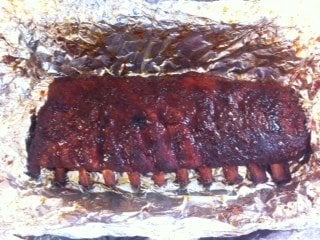
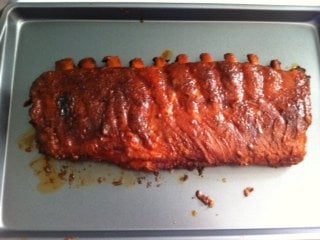
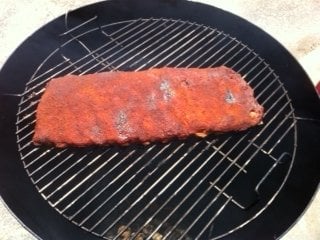
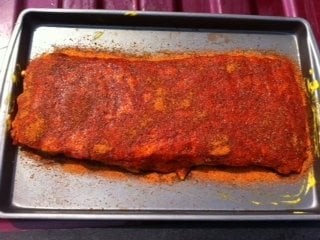
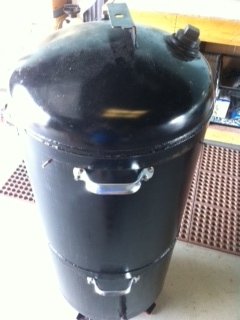
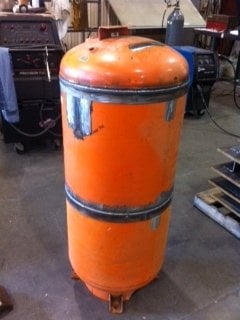
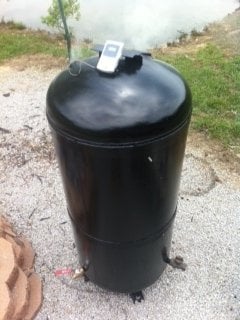
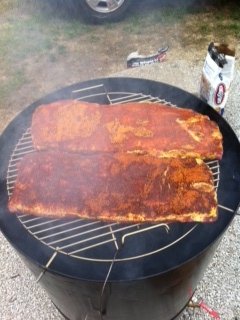
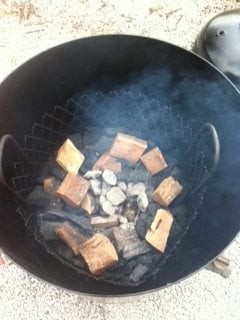
Once I had a solid sketch in mind it was off to the shop. Most of the features of my smoker parallel that of many UDS set ups out there. This past Sunday I got to the point where i was ready to fire it up and crank out my first solo rib cook. With some minor adjustments to the ball valves I was able to maintain a consistent temp of 240-255. Eventually I plan on buying a NanoQ of DigiQ so I can set it and forget it, but for now I will just stick with the ball valves and the Maverick.
Things still needing to be done:
1) Attach Handles to middle and bottom sections for easier mobility
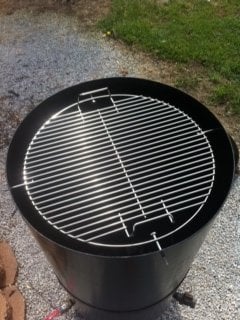
2) Have custom grates made to fit inside diameter (Soon to come)
3) Maybe install damper in 2" NPT Threaded opening in Lid
4) Install temp gauge in 1/2" NPT Threaded opening in Lid
5) Probe Holes drilled in middle section
Since I am fairly new to the BBQ game and Brethren site I thought I would post my project here and see what folks had to say. That being said I am open to any and all opinions.
Thank You
Once I had a solid sketch in mind it was off to the shop. Most of the features of my smoker parallel that of many UDS set ups out there. This past Sunday I got to the point where i was ready to fire it up and crank out my first solo rib cook. With some minor adjustments to the ball valves I was able to maintain a consistent temp of 240-255. Eventually I plan on buying a NanoQ of DigiQ so I can set it and forget it, but for now I will just stick with the ball valves and the Maverick.
Things still needing to be done:
1) Attach Handles to middle and bottom sections for easier mobility
2) Have custom grates made to fit inside diameter (Soon to come)
3) Maybe install damper in 2" NPT Threaded opening in Lid
4) Install temp gauge in 1/2" NPT Threaded opening in Lid
5) Probe Holes drilled in middle section
Since I am fairly new to the BBQ game and Brethren site I thought I would post my project here and see what folks had to say. That being said I am open to any and all opinions.
Thank You
Attachments
-
 smoker 1.JPG43.6 KB · Views: 501
 -
 smoker 2.JPG36.7 KB · Views: 482
 -
 smoker 3.JPG48.7 KB · Views: 480
 -
 smoker 4.JPG52.5 KB · Views: 479
 -
 smoker 9.JPG58.9 KB · Views: 487
 -
 smoker 8.JPG63.2 KB · Views: 484
 -
 smoker 7.JPG56.5 KB · Views: 480
 -
 smoker 6.JPG68.5 KB · Views: 481
 -
 smoker 5.JPG62.8 KB · Views: 487