GrillinFool
Full Fledged Farker
During a lengthy discussion of sauce vs. rub on our Facebook page, someone mentioned that he makes a special glaze and uses a blow torch to caramelize the ribs after smoking them. Well, he had me at blowtorch. I actually use a blowtorch to light my charcoal grill (doesn’t everybody?), and I actually thought, “Why haven’t I done this before?” I love ribs. I love fire. I love even more an intensified flame at the top of a propane tank with a trigger ignition. It’s really no different than peanut butter and jelly, salt and pepper, Justin and Kelly, blowtorch and ribs – blowtorched ribs. It seems so natural, I feel stupid for not doing it earlier.
So let’s get to the BBQ recipe which along with the ingredients below, will require a blowtorch.
Blowtorch Ribs Brine Ingredients:
1 quart apple juice
1/4 cup table salt
2 tbsp minced garlic
1 tsp fresh cracked black pepper
2 slabs baby back ribs
Combine everything but the ribs in a resealable plastic bag and slosh around until the salt is dissolved. Pull the membrane off the back of the ribs (skin the ribs), place them in the bag with the brine and refrigerate over night. The following day, remove from the brine and pat dry with a paper towel and place on a cutting board (only two half slabs pictured below), bone side up and prepare the rub:
 Ribs, out of the brine and on the cutting board
Blowtorch Ribs Rub Ingredients:
2 tbsp granulated garlic
2 tbsp turbinado sugar (raw sugar)
2 tbsp pumpkin pie spice
1 tbsp sweet paprika
Combine the rub ingredients in a bowl and then give the bone side of the ribs a dusting to a coating (your preference). You put the rub on the bone side, so the natural curve of the bones will keep the rub from sticking to the cutting board instead of the meat and saving you from having to reapply:
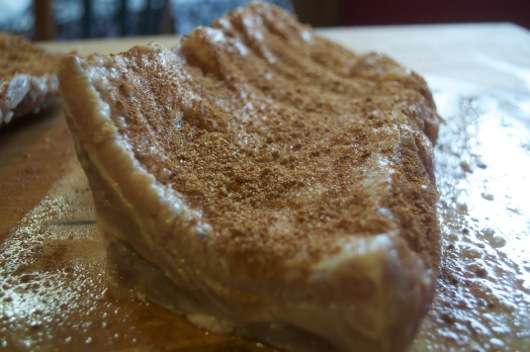 Bone Side Rubbed
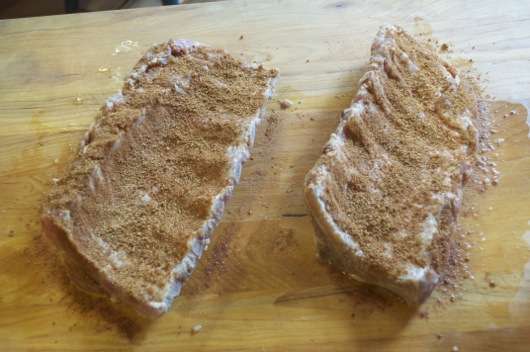 Both half slabs rubbed
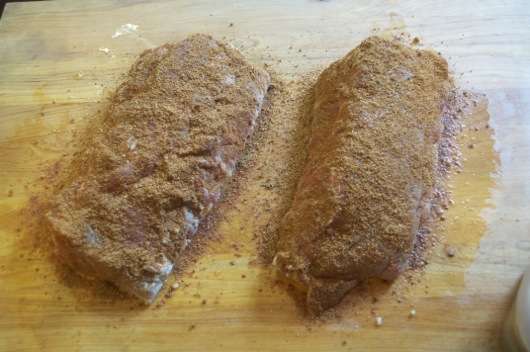 Flipped and meat side rubbed
Now outside to the grill, in this case a Char-Griller Akron Kamado style grill, that was set for indirect grilling by putting the place setter inside and the my 4 half slabs of ribs were put on the grill grate and upper rack along with another half slab I jerked and a chunk of oak wood put on the coals:
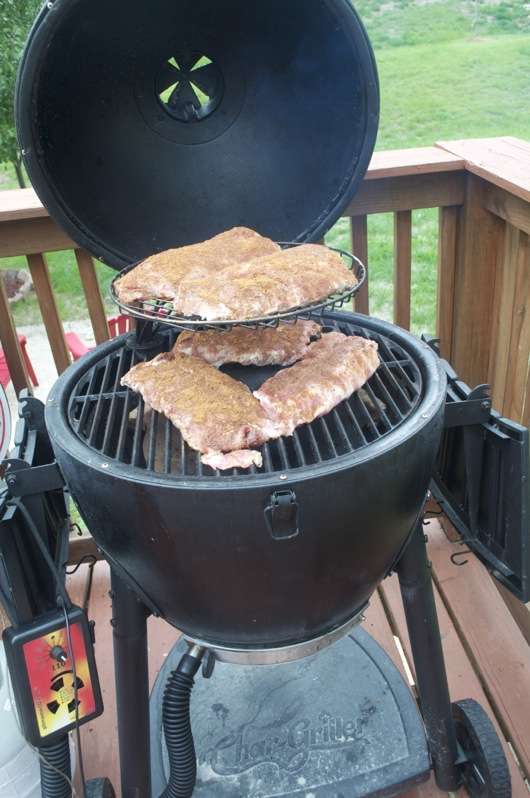 On the Akorn
If you’re wondering what that little orange and yellow box is at the bottom right, it’s my Pitmaster IQ:
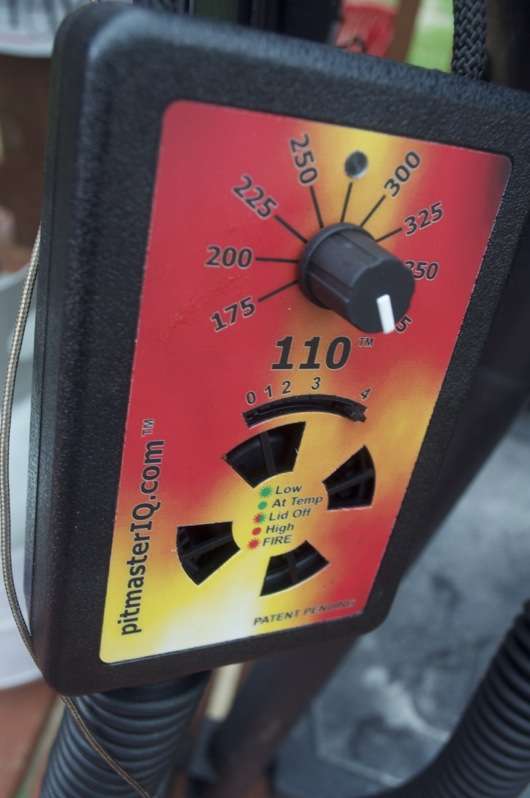 Pitmaster IQ
The Pitmaster IQ is a fantastic little device. It has a thermometer connected to it and hose that connects to the blower. Connect the blower to the bottom vent of any grill (specify which adapter you need for your grill when you order it), set the temperature you want, and the Pitmaster IQ does the rest, blowing air on the fire when the temperature drops and turning off when the temp gets too high. It truly is a set it and forget it device. The biggest problem with grilling is getting consistent temps. When you cook something in the oven, you turn the dial to the temp you want, put the dish in, set the timer and it’s done every time as long as there are no mechanical problems. Outside, there’s heat, cold, wind, humidity, rain, snow, and all manner of other things that do everything they can to keep the temps anything but constant. The Pitmaster IQ helps you take is a big step to making sure you are getting consistent results every time. I highly recommend you get one. You can buy a Pitmaster IQ here.
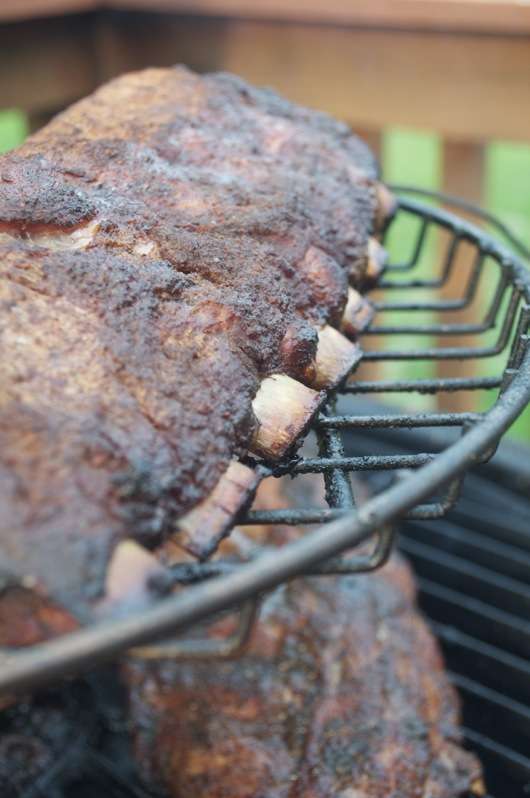
Close the lid for two hours, only opening it if you run out of smoke wood if you have the Pitmaster IQ. If you don’t, you might have to add more coals or rearrange the meat because the temps spike. The only other reason to open the lid with the Pitmaster IQ is because you happen to be doing a BBQ recipe for your BBQ blog with the silly name. At one hour, the ribs looked like this:
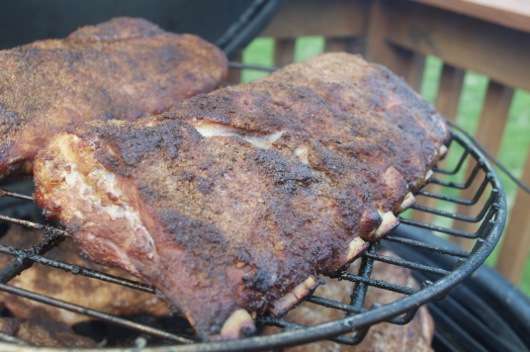 1 hour into the process
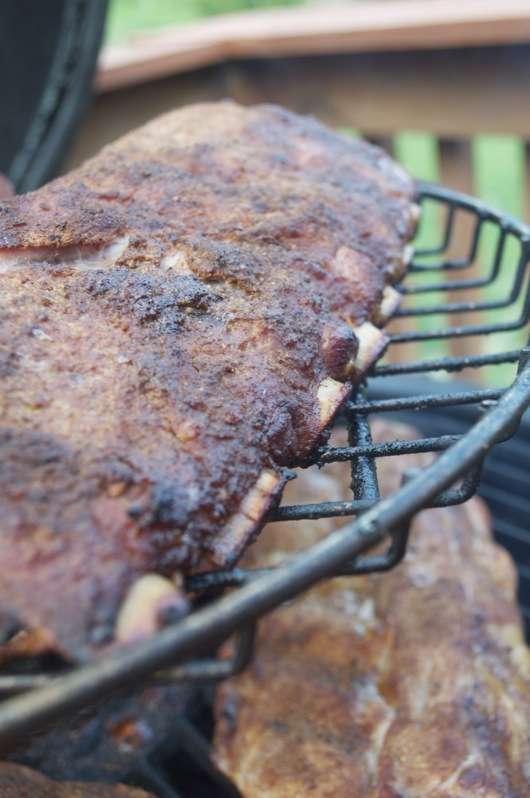 Check out the close up of the bones peeking out
About 10 minutes before the 2 hour mark, head inside and create the glaze.
Blowtorch Ribs Glaze Ingredients:
2 tbsp apple jelly
2 tbsp apricot preserves
2 tbsp hot pepper jelly
2 tsp Worcestershire sauce (that’s tsp not tbsp)
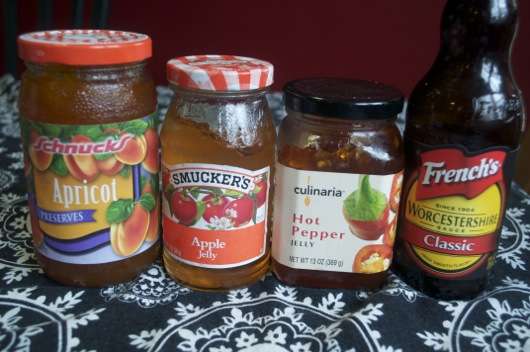 Glaze Ingredients
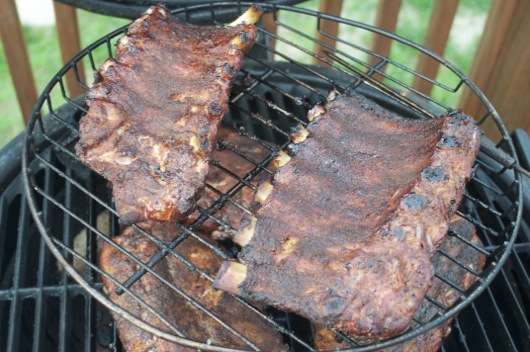
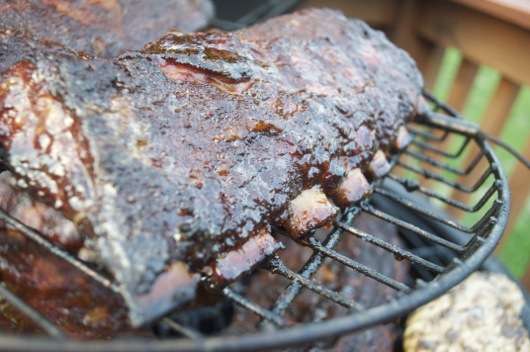
Put the glaze ingredients in a bowl and put it in a microwave for 90 seconds to liquify the gelatin and allow for the ingredients to combine. Then go check the ribs. Here they are at the 2 hour mark:
 Major Meat Pullage
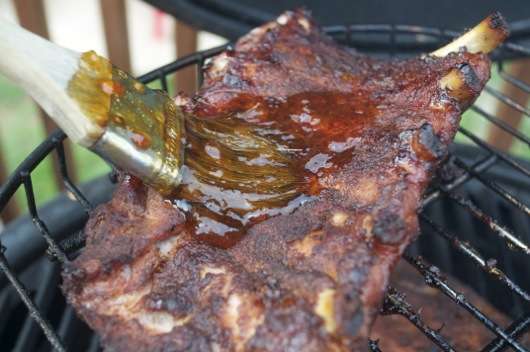
Flip the slabs over and slather the glaze on the bone side first:
 Flipped
 verb [ with obj. ] informal
spread or smear (a substance) thickly or liberally.
Flip over and slather (one of my favorite words that I use too much) on the meat side:
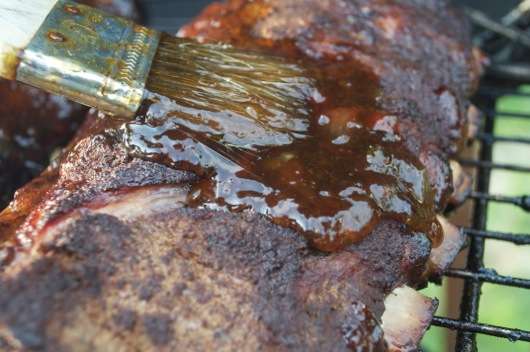 More smearing
 Smeared (trying not to overuse slather!)
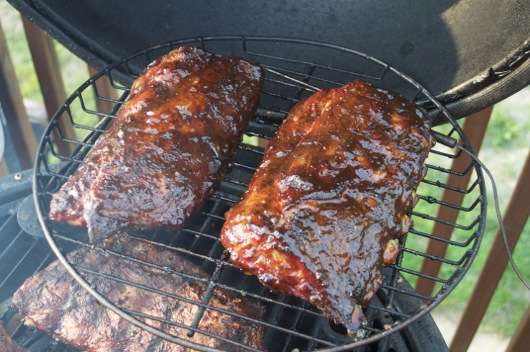
After 20 minutes, I added another coating of the glaze to the meat side of the soon to be blowtorched ribs and again at 40 minutes and here’s what they looked like at the 2 hour and 40 minute mark:
 2 hours and 40 minutes in
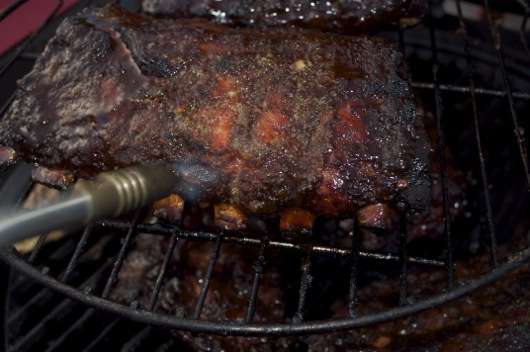
Time for the blowtorch part of these blowtorched ribs:
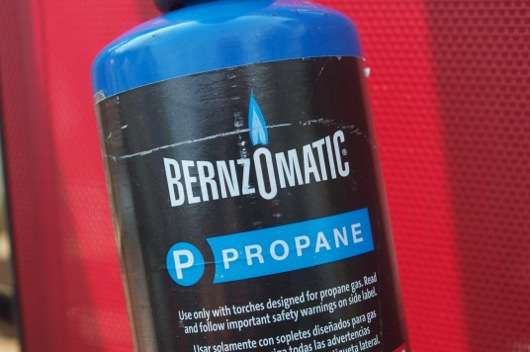 I use propane and propane accessories!
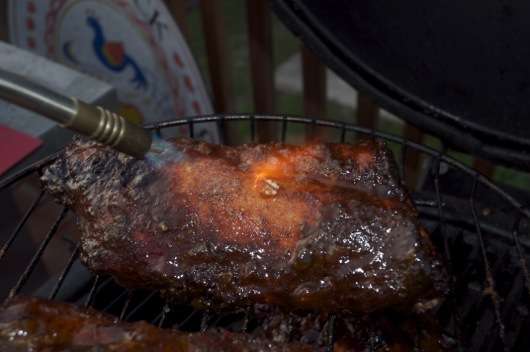
I’m going to show a few pictures of the torching to give you an idea of what to expect:
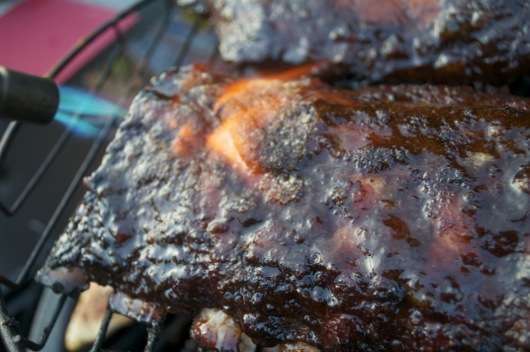 Torching
 Bubbling of the glaze
 Fire!
Fire!
 OK, this is just plain fun!
Here’s what happened when I hit the half slab of jerk ribs with the torch:
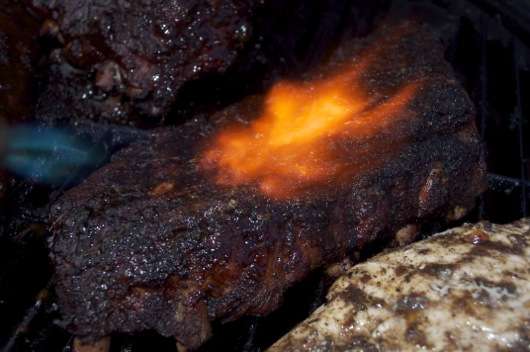 This is indicative of how hot my jerk ribs are!
I’m not exactly sure why the jerk ribs flamed up so much. I don’t care. It was cool.
Remove the blowtorched ribs from the grill, allow them to rest a few minutes so the juices redistribute throughout the meat, slice and serve:
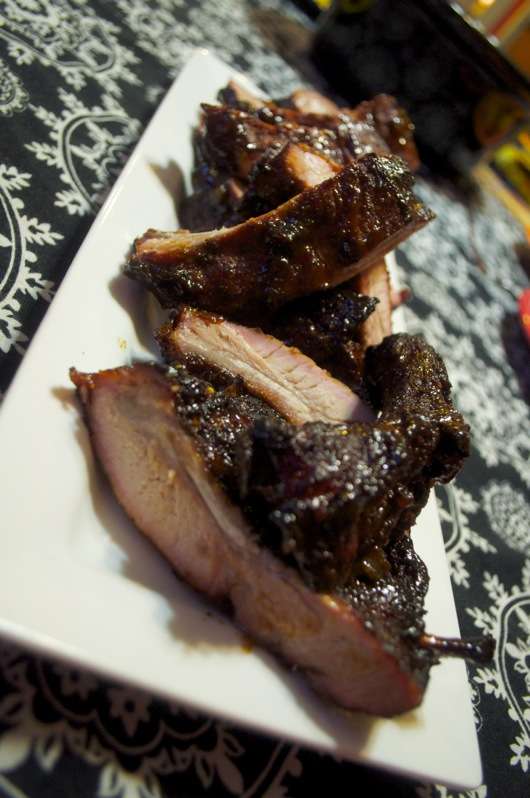 Plattered
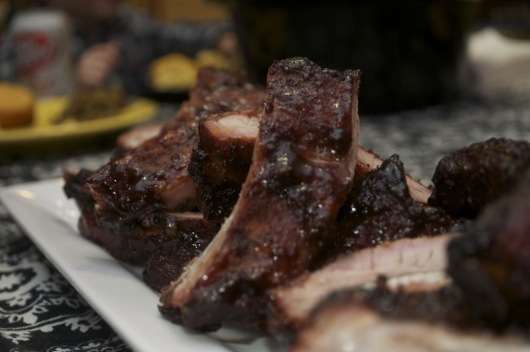 Gooey
Gooey
We’ve all left ribs on the grill while the sauce thickens but this takes that to another level entirely and requires a blow torch to do so! Please exercise all due precautions when using the blowtorch, as safety should always come first. Beyond that note of caution, all I can say, if you aren’t doing blowtorched ribs, well, you just aren’t trying.
Picture your next BBQ. People milling around the grill, taking a peak at your meat, smelling the smoke, commenting on how good the food looks/smells. And then picture the looks on their faces and comments when you break out the propane torch. It doesn’t cost much. A can of propane is about $2.5o and the nozzle was under $10. I use the torch to light my charcoal grills all year and one can lasts me about 10 months. Next time you pick up some ribs, swing by the hardware store on the way home. If some asks, “You got some plumbing to do?” Say, “Nope, I’m grillin’.” Then walk away with a grin as the clerk shakes his head and thinks, “That’s a grillin’ fool.”
If you liked the blowtorched ribs, then click here for similar barbecue recipes.
Also, you can follow the Grillin Fools on Facebook and post your own BBQ pictures, share BBQ recipes, or join the general BBQ conversation. You can also follow us on Twitter @GrillinFool.
So let’s get to the BBQ recipe which along with the ingredients below, will require a blowtorch.
Blowtorch Ribs Brine Ingredients:
1 quart apple juice
1/4 cup table salt
2 tbsp minced garlic
1 tsp fresh cracked black pepper
2 slabs baby back ribs
Combine everything but the ribs in a resealable plastic bag and slosh around until the salt is dissolved. Pull the membrane off the back of the ribs (skin the ribs), place them in the bag with the brine and refrigerate over night. The following day, remove from the brine and pat dry with a paper towel and place on a cutting board (only two half slabs pictured below), bone side up and prepare the rub:
Blowtorch Ribs Rub Ingredients:
2 tbsp granulated garlic
2 tbsp turbinado sugar (raw sugar)
2 tbsp pumpkin pie spice
1 tbsp sweet paprika
Combine the rub ingredients in a bowl and then give the bone side of the ribs a dusting to a coating (your preference). You put the rub on the bone side, so the natural curve of the bones will keep the rub from sticking to the cutting board instead of the meat and saving you from having to reapply:
Now outside to the grill, in this case a Char-Griller Akron Kamado style grill, that was set for indirect grilling by putting the place setter inside and the my 4 half slabs of ribs were put on the grill grate and upper rack along with another half slab I jerked and a chunk of oak wood put on the coals:
If you’re wondering what that little orange and yellow box is at the bottom right, it’s my Pitmaster IQ:
Pitmaster IQThe Pitmaster IQ is a fantastic little device. It has a thermometer connected to it and hose that connects to the blower. Connect the blower to the bottom vent of any grill (specify which adapter you need for your grill when you order it), set the temperature you want, and the Pitmaster IQ does the rest, blowing air on the fire when the temperature drops and turning off when the temp gets too high. It truly is a set it and forget it device. The biggest problem with grilling is getting consistent temps. When you cook something in the oven, you turn the dial to the temp you want, put the dish in, set the timer and it’s done every time as long as there are no mechanical problems. Outside, there’s heat, cold, wind, humidity, rain, snow, and all manner of other things that do everything they can to keep the temps anything but constant. The Pitmaster IQ helps you take is a big step to making sure you are getting consistent results every time. I highly recommend you get one. You can buy a Pitmaster IQ here.
Close the lid for two hours, only opening it if you run out of smoke wood if you have the Pitmaster IQ. If you don’t, you might have to add more coals or rearrange the meat because the temps spike. The only other reason to open the lid with the Pitmaster IQ is because you happen to be doing a BBQ recipe for your BBQ blog with the silly name. At one hour, the ribs looked like this:
About 10 minutes before the 2 hour mark, head inside and create the glaze.
Blowtorch Ribs Glaze Ingredients:
2 tbsp apple jelly
2 tbsp apricot preserves
2 tbsp hot pepper jelly
2 tsp Worcestershire sauce (that’s tsp not tbsp)
Put the glaze ingredients in a bowl and put it in a microwave for 90 seconds to liquify the gelatin and allow for the ingredients to combine. Then go check the ribs. Here they are at the 2 hour mark:
Flip the slabs over and slather the glaze on the bone side first:
spread or smear (a substance) thickly or liberally.
Flip over and slather (one of my favorite words that I use too much) on the meat side:
After 20 minutes, I added another coating of the glaze to the meat side of the soon to be blowtorched ribs and again at 40 minutes and here’s what they looked like at the 2 hour and 40 minute mark:
Time for the blowtorch part of these blowtorched ribs:
I’m going to show a few pictures of the torching to give you an idea of what to expect:
Here’s what happened when I hit the half slab of jerk ribs with the torch:
I’m not exactly sure why the jerk ribs flamed up so much. I don’t care. It was cool.
Remove the blowtorched ribs from the grill, allow them to rest a few minutes so the juices redistribute throughout the meat, slice and serve:
We’ve all left ribs on the grill while the sauce thickens but this takes that to another level entirely and requires a blow torch to do so! Please exercise all due precautions when using the blowtorch, as safety should always come first. Beyond that note of caution, all I can say, if you aren’t doing blowtorched ribs, well, you just aren’t trying.
Picture your next BBQ. People milling around the grill, taking a peak at your meat, smelling the smoke, commenting on how good the food looks/smells. And then picture the looks on their faces and comments when you break out the propane torch. It doesn’t cost much. A can of propane is about $2.5o and the nozzle was under $10. I use the torch to light my charcoal grills all year and one can lasts me about 10 months. Next time you pick up some ribs, swing by the hardware store on the way home. If some asks, “You got some plumbing to do?” Say, “Nope, I’m grillin’.” Then walk away with a grin as the clerk shakes his head and thinks, “That’s a grillin’ fool.”
If you liked the blowtorched ribs, then click here for similar barbecue recipes.
Also, you can follow the Grillin Fools on Facebook and post your own BBQ pictures, share BBQ recipes, or join the general BBQ conversation. You can also follow us on Twitter @GrillinFool.

