|
|
|||||||
| Q-talk *ON TOPIC ONLY* QUALITY ON TOPIC discussion of Backyard BBQ, grilling, equipment and outdoor cookin' . ** Other cooking techniques are welcomed for when your cookin' in the kitchen. Post your hints, tips, tricks & techniques, success, failures, but stay on topic and watch for that hijacking. |
 |
|
|
Thread Tools |
 02-07-2013, 01:32 PM
|
#1 |
|
Found some matches.
Join Date: 03-23-12
Location: Canton, GA
|
I am planning on building this table sometime this weekend. I did the drawing using Google Sketchup, and after working through some learning pains, I think it came out pretty good. I am not sure if it will show up on here, but I am hoping it will.
Front View  Side View  Top View  I plan to suspend the grill about an inch from each side of the circle to hopefully not set it on fire. There will be four casters on the bottom of each 4x4 posts. I have already had thoughts of adding a modification that would hold a large umbrella should it rain. Anyway, I am interested to hear everyone's thoughts. |

|

2 members found this post helpful. |
| Thanks from: ---> |
|
02-07-2013, 01:39 PM
|
#2 |
|
Knows what a fatty is.
Join Date: 11-28-12
Location: Austin Texas
|
Hey that looks pretty good, someone on this forum has a table that looks just like that. I'm also going to start a table for my weber OTG just not sure if I'm actually going to put mine in the table.
Good luck with your project and keep us posted. Jrow |
|
|
1 members found this post helpful. |
|
02-07-2013, 01:45 PM
|
#3 |
|
is One Chatty Farker
Join Date: 08-24-08
Location: Los Angeles
|
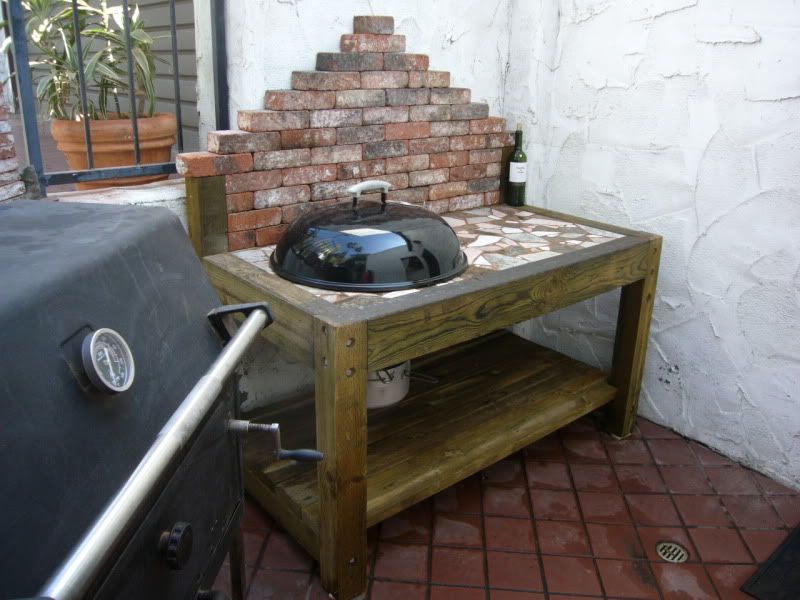
I built something similar to that about 5 years ago. One mistake I made was I did not leave a gap around the kettle. This eventually weakened the cement based table top just on the charcoal side of the kettle, after a couple summers worth of constant use.
__________________
....UDS....Mini-WSM....Midi-WSM....Mod-ECB....22.5-OTG....34"wood fired pizza oven.... |
|
|
1 members found this post helpful. |
| Thanks from: ---> |
|
02-07-2013, 01:56 PM
|
#4 |
|
On the road to being a farker
Join Date: 08-18-12
Location: marietta Ga
|
Why the tall back on it?
The overhead drawing shows the top 2x4 somewhat over the grill. That might lead to problems. |
|
|
|
|
02-07-2013, 01:57 PM
|
#5 |
|
somebody shut me the fark up.
  Join Date: 02-08-10
Location: Howell, MI
|
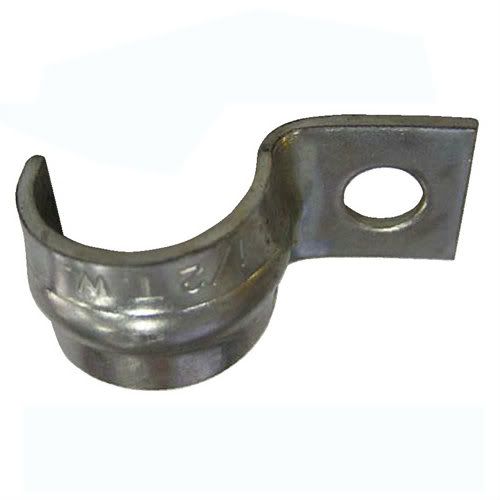
I have built tables in the past with wooden tops. I used conduit clamps like this mounted under the table to support the kettle rim.
__________________
Two Weber daisy wheel kettles A: 1979 P: 1993, and an unused ECB |
|
|
1 members found this post helpful. |
| Thanks from: ---> |
|
02-07-2013, 01:59 PM
|
#6 |
|
Found some matches.
Join Date: 03-23-12
Location: Canton, GA
|
Big Dawg, this will be my first attempt at it. I actually saw a picture of a table just like it somewhere on the internet, but don't think it was here. They said it worked out pretty good, so I am willing to try anything once.
Carbon, man that table is nice. I wish I had the time or skill to do something like that. Three kids under 6 will take up most of my spare time. I'll post some pictures as I get going on it. It shouldn't take me more than a couple hours or so to build it. |
|
|
|
|
02-07-2013, 02:02 PM
|
#7 | |
|
Found some matches.
Join Date: 03-23-12
Location: Canton, GA
|
Quote:
1. I am 6'2", and I wanted whatever I am going to put on the ledge to be close to eye level. 2. I wanted some clearance when removing the lid, which you mentioned may lead to problems. |
|
|
|
|
|
02-07-2013, 02:05 PM
|
#8 | |
|
Found some matches.
Join Date: 03-23-12
Location: Canton, GA
|
Quote:
|
|
|
|
|
| Thanks from:---> |
|
02-07-2013, 02:11 PM
|
#9 |
|
somebody shut me the fark up.
Join Date: 02-08-10
Location: Howell, MI
|
Forgot to add. Using the clamps allows you to easily lift the kettle out of the table for cleaning. Since I have an old kettle, this is a great advantage, I could dump out ashes easily. Also a lid holder is handy.
__________________
Two Weber daisy wheel kettles A: 1979 P: 1993, and an unused ECB |
|
|
|
|
02-07-2013, 02:13 PM
|
#10 |
|
is One Chatty Farker
Join Date: 08-24-08
Location: Los Angeles
|
That conduit clamp is a good idea and very simple to mount.
I banded a 1/4" steel rod to slightly elevate the kettle off the table so the lid would close completely. 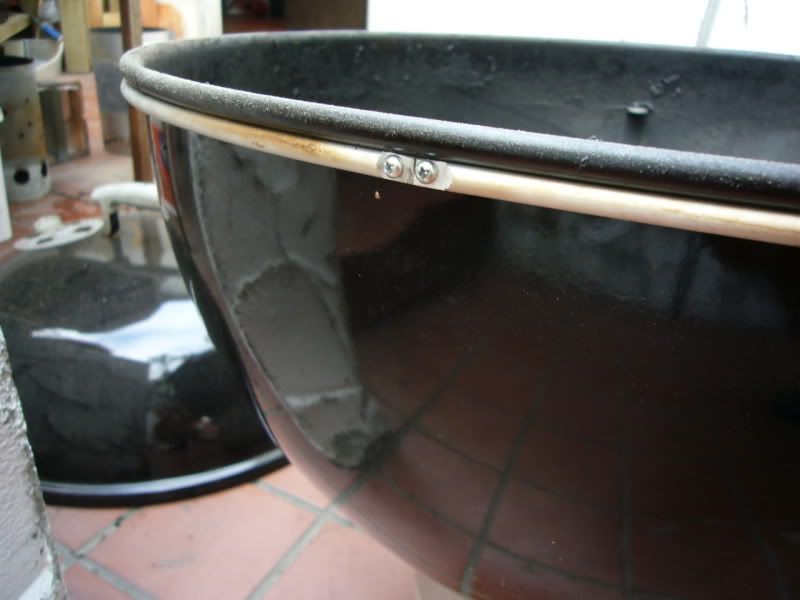
__________________
....UDS....Mini-WSM....Midi-WSM....Mod-ECB....22.5-OTG....34"wood fired pizza oven.... |
|
|
1 members found this post helpful. |
| Thanks from:---> |
|
02-07-2013, 02:23 PM
|
#12 |
|
Found some matches.
Join Date: 03-23-12
Location: Canton, GA
|
Dadsr, Love it, and I think I am going to try your clamp idea. Seems like an easy way to mount it. I may mount them on the top of the table to lift the grill up as much as possible.
|
|
|
|
|
02-07-2013, 02:45 PM
|
#13 |
|
is One Chatty Farker
Join Date: 05-23-11
Location: South, Texas
|
Stanley corner braces work best for mounting the kettle to a table. The corner brace fits rite under the rim of the kettle. The corner braces come in different sizes.
Nice job on yours dadsr4. |
|
|
|
|
02-07-2013, 03:55 PM
|
#14 | |
|
somebody shut me the fark up.
Join Date: 02-08-10
Location: Howell, MI
|
Quote:
__________________
Two Weber daisy wheel kettles A: 1979 P: 1993, and an unused ECB |
|
|
|
|
|
02-07-2013, 08:16 PM
|
#15 |
|
Knows what a fatty is.
Join Date: 11-28-12
Location: Austin Texas
|
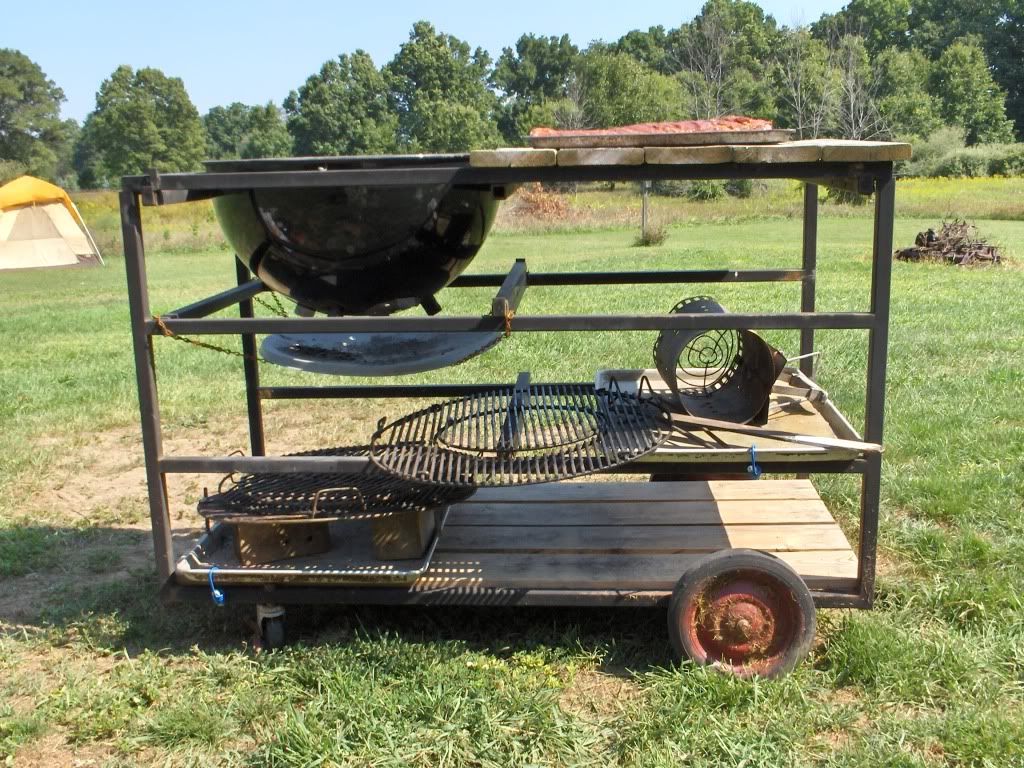
Here are a some pics I found on the netImageUploadedByTapatalk1360289657.497817.jpg
ImageUploadedByTapatalk1360289687.941910.jpg ImageUploadedByTapatalk1360289721.382056.jpg ImageUploadedByTapatalk1360289743.275600.jpg ImageUploadedByTapatalk1360289770.968216.jpg Jrow |
|
|
2 members found this post helpful. |
| Thanks from: ---> |
|
| Thread Tools | |
|
|