SmokinCoyote
Knows what a fatty is.
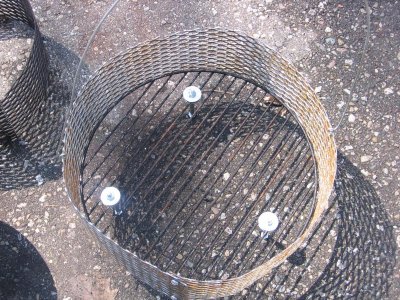
BTW....install a handle so you can lift that bad boy outta there!!
(basket on ground)

Oh yea. That definitely is in the plans. I got a steel rod for that but dinner was ready so I stopped working on it for today.
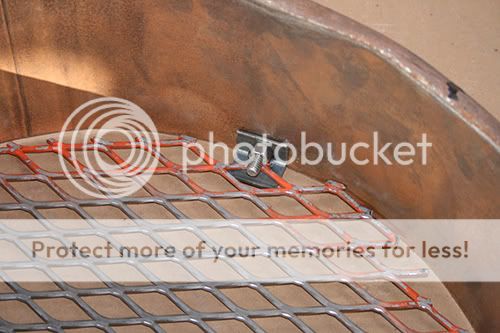
I was wandering about the holes also. I was going to see how it did first (I'm tired of drilling) and then add some more if needed but I think I will take your advice and go ahead and drill more. The biggest drill bit I have is 1/2" but I am going to get a 1" hole saw for the intake nipple's so I will use that.