To get the weber lid to for properly I spent about a hour with a grinder taking off a bit at a time, testing the fit then grinding some more. It was a real pain but the fit is snug.
 
It looks great Brunski. There is still a lot to be said for the "blah, no bells and whistles" build. I already had a box full of assorted pipe nipples and valves before I ever heard of a UDS, but I decided to go with holes and magnets to keep it simple.

15 months later, I still use the magnets. They are disc magnets about 1 1/4" diameter that I found at Harbor Freight for a couple of $$. I can slide them open and closed with the toe of my shoe and they work great. Now go to the hardware store and buy yourself 8 corks to plug the exhaust holes. They're cheap and work great.

Enjoy the food.

Chris
 
Now go to the hardware store and buy yourself 8 corks to plug the exhaust holes. They're cheap and work great.

Enjoy the food.

Chris

thanks!!
you don't use the corks during cooking time, do you? Are wine bottle corks ok?
Also, thanks for the tip on the magnets, i'll make sure i get myself some
 
No corks during cooks, all airflow is regulated through the intakes.

Re-using wine corks will work fine, as long as they are natural cork. You may have to whittle then down a bit to fit in the holes. I thought about using them, but the wine my wife drinks uses some sort of plastic/pseudo cork for a stopper.

To me, that is the true spirit of the UDS; using cast-offs and leftovers to build an inexpensive, efficient cooker.

Chris
 
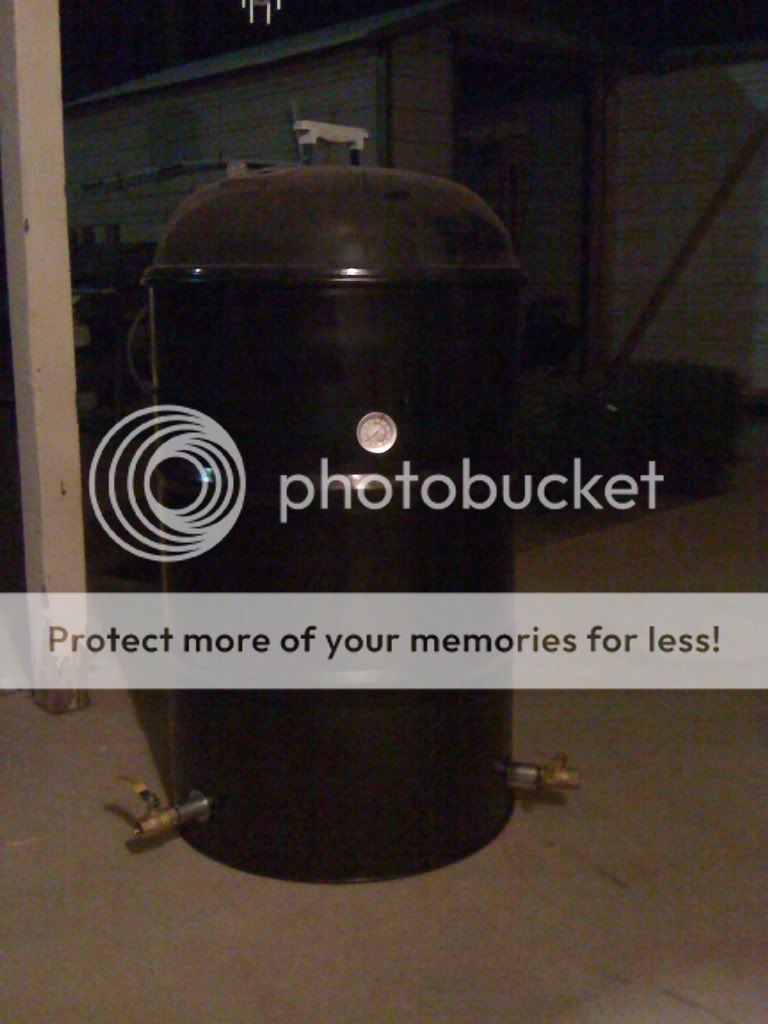
Thanks for the reply. I used KF brickettes & 3 chunks of hickory. I figured that I may have started with too many hot coals (1/2 chimney), but I would have thought after 2-3 hours the temp would have wanted to drop more. I know by reading this forum that the correct way to control the temp is by air intake, but if you've got them all closed after 4 hrs and the temp still wants to climb past 250, then shutting off some of the exhaust was my only option. I actually think the bright, hot sun was contributing to some of the problem. I'm going to do a brisket in the next few days and I'm going to be sure and put the UDS in the shade. I think the shorter stack will help also, guess we'll see. I appreciate the help and your comments on my smoker. :-D

Why not just adjust the amount you light in the beginning and use the sun to help you conserve fuel?
That's exactly how I do it with my WSM in the 100 degree Texas summer heat :thumb: AND how I plan on doing it when I build my UDS.
 
I just wanted to cross-link these threads here as the other threads will soon be buried and lost. Hopefully these two threads will be helpful to those in the future.

UDS Cart: http://www.bbq-brethren.com/forum/showthread.php?t=93365

DSCN0816.jpg


Mini Grill at Lowe's can be used for parts: http://www.bbq-brethren.com/forum/showthread.php?t=93253

UDShinge.jpg


DSCN0809.jpg
 
Just wanted to say thanks to Norco and the rest of the brethren for sharing their wealth of knowledge on the construction of an Ugly Drum Smoker.
I am now an official member of the UDS family. Here is my first UDS....
 
Last edited:
Sweet! Now fire that bad boy up and get smokin'!

What are you planning on for the first cook?
 
Well thought I would share a few work in progress pics
1.JPG


This is a picture of my blower assembly. It is the bottom of 2 #12 cans (peaches I think...). The inside one was scalloped by bending it every 1/2 with a plyers - that made it just slightly smaller than the one on the outside.

2.JPG


The guts - expanded metal basket, rebar chicken foot for feet and a lifting handle, commerical aluminum pizza pan bottom - oh and an air diffuser (since I am using a blower)

3.JPG


Basket ready to load (ok, this is what was left from the last burn - but it was a nice even burn)

4.JPG


Inside of drum - note the single 3/4" air intake (it is connected to the blower). The other item to note is the valve stem for the temp probe.

6.JPG


Ready to light with diffuser and basket assembly in place

7.JPG


Still work to be done...but fully operational. Only posting this picture to show the outside view of the valve stem (for temp probe).
 
just a bit more on the last pic. The pit has a backup thermometer - to double check the digital pit temp probe connected to the Guru.

I will be putting in a second valve stem (shortened and probably drilled out a bit more) for the meat temp probe wire (did not get to it today). I have not actually mounted the Guru to it (have it laying stuff next to pit), but that will get fixed next weekend as well.
 
Well I built my first UDS this weekend. The only thing I have left to do is Paint on my Texas Longhorn decal and put on my bottle opener. I must say that I am in love with this smoker. I put in 10 lbs of lump and three fist size pieces of mesquite and got 13 hours at 225-275. I did my first fattie and it was AMAZING! Im gonna do a couple butts this coming up weekend. I will have better pics of the UDS in the next couple of days.
fattie2.jpg
[/IMG]
fattie.jpg
[/IMG]
photo.jpg
 
in houston you can find new unlined drums, thus saving you the headache of burning / sanding your interior:

Burbank Barrel & Drum Inc
  • (713) 675-0941
1402 Clinton Dr
Galena Park, TX 77547

When you get your drum, make sure that the paint (ouside) on the lid is black, this means the interior is unlined. The guy that picked up the drum at first gave me a white top and when i got home it was painted inside, they exchanged it without any problem.
 
I am in the process of building my first UDS.

I already own a Digi Q II that I use with my Lg. BGE.

What are the best ways to create a Digi Q hook up on a UDS.

It would be way too easy if the fan fit a standard size pipe fitting!!

3/4" fittings too small... 1" too large...

Would love to see how others have done it.

Go to the bbq guru website and there will be info on the setup there.
 
Where is everybody gettin' their bottle openers from? Online or local, I'm in Canada.
 
Another wire shelving fire basket!! Woo Hoo!!:clap2:

Yep, it worked better than I thought it would. I used that load as a seasoning burn for a new drum. I was kind of afraid that it would fall out the sides or clog up and die but it burned to completion. Pan was plenty full of ash though so if it has been a long cook it might have had issues. I have a bigger, "traditional" charcoal basket for long cooks so this one will work great for ribs, chicken, etc.
 
Yep, it worked better than I thought it would. I used that load as a seasoning burn for a new drum. I was kind of afraid that it would fall out the sides or clog up and die but it burned to completion. Pan was plenty full of ash though so if it has been a long cook it might have had issues. I have a bigger, "traditional" charcoal basket for long cooks so this one will work great for ribs, chicken, etc.

I ran this one for about 16 hours w/o any ash build-up problems:
firebasket-1.jpg
 
Back
Top