amducious
Got Wood.
Nice dalek I keep flipping between R2-D2 or a dalek. I know this is the wrong thred but 1 more day woot cant wait for season 6


Thought I'd share something I learned when I started in on my closed head drum.
I used a jigsaw to cut the top off. Easy, and quick. I cut right against the edge.
Then I got my angle grinder out to smooth the inside edge. My weber top was slightly too small to fit the drum, so I started in shaving down the lip. Around and around a few times, checking the fit as I went, and suddenly the part of the lip cut from the lid came loose and I lifted it right off the drum, leaving only the drum wall lip there. A little more grinding and the webber fit like a glove.
I didn't think much of this until I went to help my friend Adam open up his closed head drum a couple days ago. We were discussing how this lip came off and decided to skip cutting the top off and try to do it by just grinding the very top edge of the drum until we were just through the lids rolled edge. Sure enough, with very little effort, doing this easily separated the lid from the drum and made sizing it to his webber lid easy as well.
Here's a quick drawing I made of the way the drum wall is rolled and then the lid is rolled over that drum wall lip.

And here's a quick youtube video I made of Adam grinding the top edge, and how easy the lid separates.
http://youtu.be/OeaER0yLiK4
I did another drum like this yesterday for another friend, and his was made from thicker metal, but it still separated mighty easy.
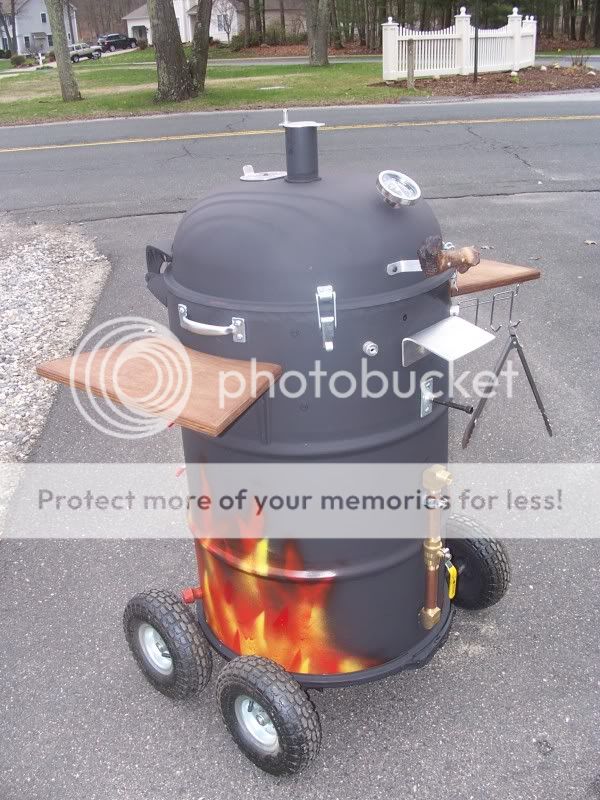
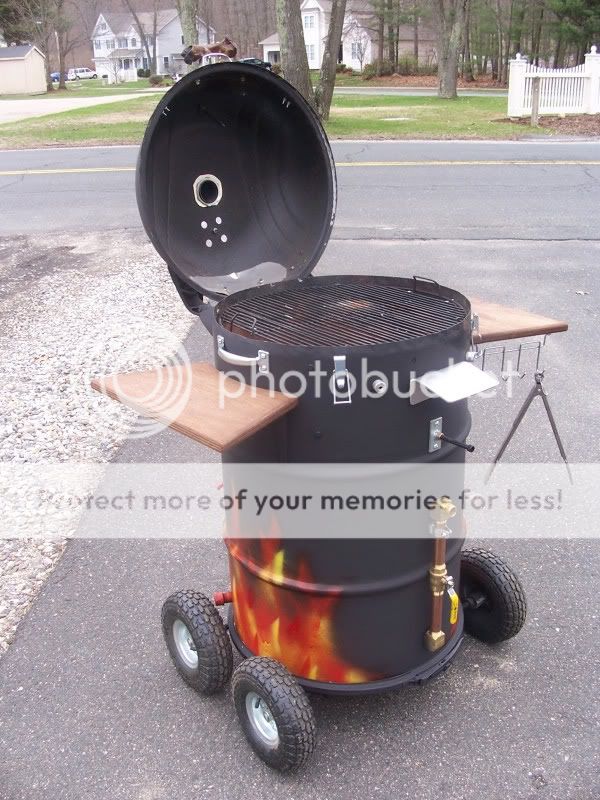
Awah man I'm crackin up over here. Just wait toll the British guys see thin rig.Well, here is my UDS experience. I picked Dalek for my handle and if there are any Dr. Who fans out there, they will know what that is.
I started with a unlined used Olive oil drum I picked up for $16 and went to town on it. I used an angle to cut the lid off (it's in the video that PhilipW had shown). I used a weed torch to loosen the paint on the outside. Used a paint stripper / scotch brite type wheel from the orange hardware store and it made quick work of the paint on the outside of the drum.
Built the fire basket per recommended procedures on the forum with a minor tweak on the bottom of the ash pan, to make sure it didn't sag over time.
I went to a local fence/iron working store and found the stuff to make the arms. The bubbles around the drum are actually fence pipe weld on caps.
I still have some things I want to do to the weber dome but my family has been hounding me to get the UDS to a point that can start smoking!!!
I would like to thank all the people who have posted their experiences here and a special thanks to PhilipW for prodding me on this project!!!
Tomorrow is the day this Dalek comes to life :-D
Based on that picture, I'm wondering if you could grind the outer edge of the top of the barrel and use the top as a lid. Thoughts?
Yes, this is my first post. I've only made it 90 pages into this thread while monitoring the end of the thread as well.
Brothers...quick story about the power of the UDS.
My buddy borrowed my drum to cater a party he was attending. It seems his XL BGE couldn't handle all of the food so he needed my hillbilly smoker to cook 40lbs of chix...which it did flawlessly!
He picks up my barrel in the morning and stuffs everything into his truck. I get a frantic call about half hour later...he was doing 90 on the highway because he was late and the barrel lifted 100 feet into the air and crashed in traffic. He said cars dove out of the way like the BIG ONE at Talladega!! Charcoal, grates, lid, firebox, clamps...all over the road and not a single wreck! He tried to recover as much as he could frogger style but the grates were toast.
As he's on the phone telling me this story I hear a smash and a litany of four letter words. Yep...he smashed a deer while he was telling me about the destruction of my drum! Classic. Keep in mind he still had to get to this party and cook all this food (9 racks, pizzas, chix) and do it on a truck with the front basically ripped off!
I ran to the depot and bought 2 grates and headed to help him out. Got busy with a hammer and pounded the UDS back into round. Slammed the lid down and used a foil gasket to seal it up. Aside from some serious scrapes of the custom paint and a fat dent near the valve...it worked perfect!!!
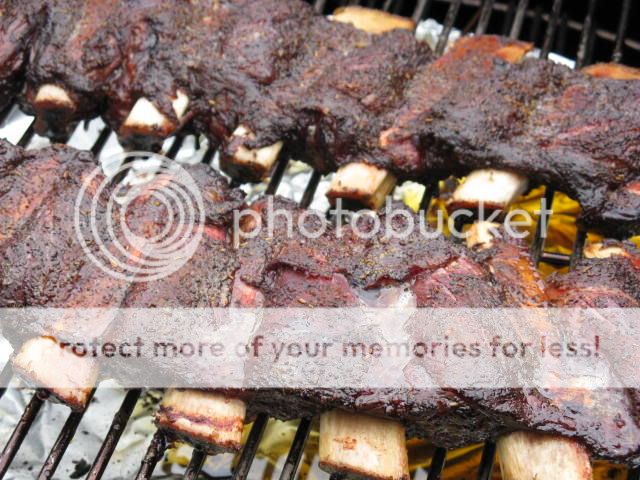
This ordeal motivated me to finally break out my harbor freight flux welder and teach myself how to weld. Took a flat lid from another barrel and welded the weber dome to it and then cut out the inside. Tighter seal than when I used the lock ring and clamp!! Got a shoulder and a chuck roast in as we speak for a BBQ tonight! Pics included...remember, not one lesson on the god awful welds! NEVER UNDERESTIMATE THE POWER OF THE UDS!
View attachment 52004
View attachment 52005
View attachment 52006
Claude, you may be on to something here. Instead of de-heading a closed drum and searching for a lid, your idea may work with some very careful grinding.
What you have on a closed drum,are 4 layers of metal tightly squeezed together,unlike the picture.
Claude,if you can,do most of your grinding on the bottom side of the rolled edge. This will give you some material that can be pried open for a potentially good fitting lid. Good luck. Remember only grind through 1 layer of metal.:thumb:
We found when grinding through it's pretty easy to see the separation as you get through so this may really work. On "Daleks" drum it had been full of olive oil and it actually seeped out as he ground through.
Even on the thin one you still have to be deliberate to get through it. Just keep the flat of the wheel on the surface, staying away from the edge of the wheel, which can dig in pretty quickly.


skidder - nice looking rig. hey i see your here in massachusetts too. spend many a weekend partying out at Westfield State back in the early 80's. i'm over in marlboro. you wouldn't happen to have our uds build plans in a tidy document for sharing would you? i just got home after picking up 4 55 gallon steel drums to give this UDS build a shot. Stilll muddling through this huge string to get my plans together. Again, nice job with the redncek bone burner.