zacman
Knows what a fatty is.
Hello All
Here is my Web Flamed UDS build thread. First I want to thank everyone on this site I could not have done or even know about a UDS without the Mother of all UDS threads. I spent a week reading the entire thread and planning the build before I started anything. I truly believe a good build of anything is done in the planning stages. I spent one month building this as it evolved, adapted, and changed many times along the way. This was hands down one of the most enjoyable and fun projects I have ever done. My friend Travis did all the welding and was invaluable on helping on the design and final product. We really tried to make as many of the pieces we could by ourselves and drill as few holes as possible. Well without any more babbling here are the pictures and be warned there are a ton.
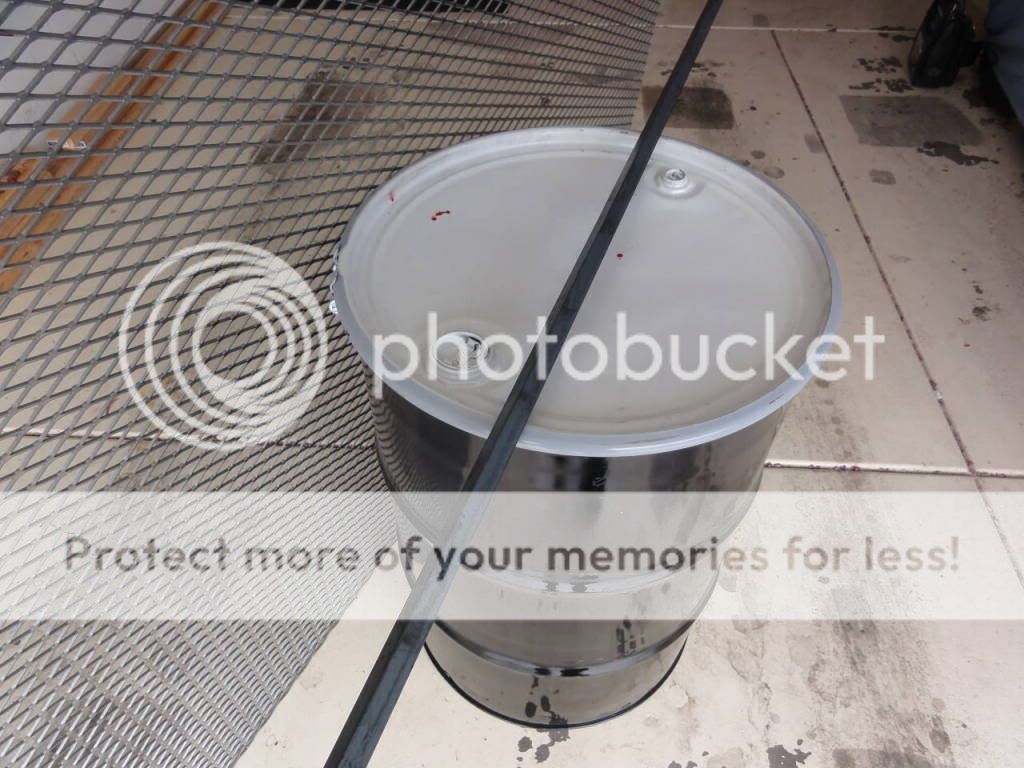
The refurbished barrel, sheet of expanded metal, and angle Iron
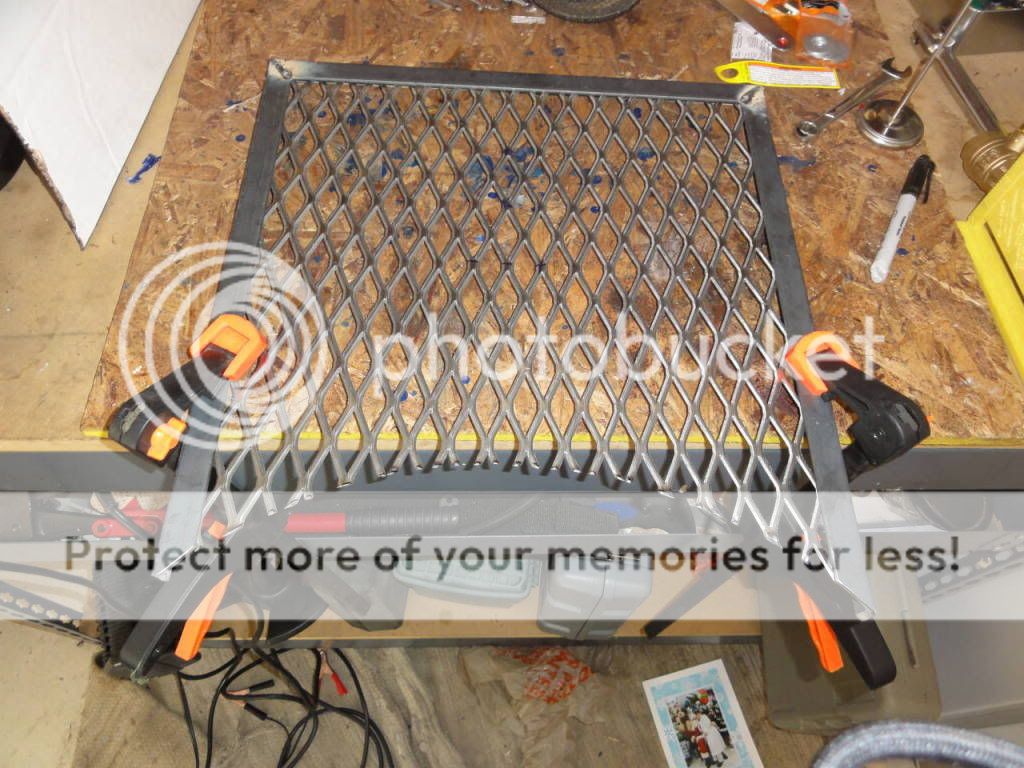
Starting the basket
Used 2 2x4 and standing on crowbar to bend, then ending up just beating it into shape with huge pipe wrench.

Starting the Shelves


Welded one cleaned up

Starting the shelf supports

All 4 done, they match up pretty good, love playing with that round bar

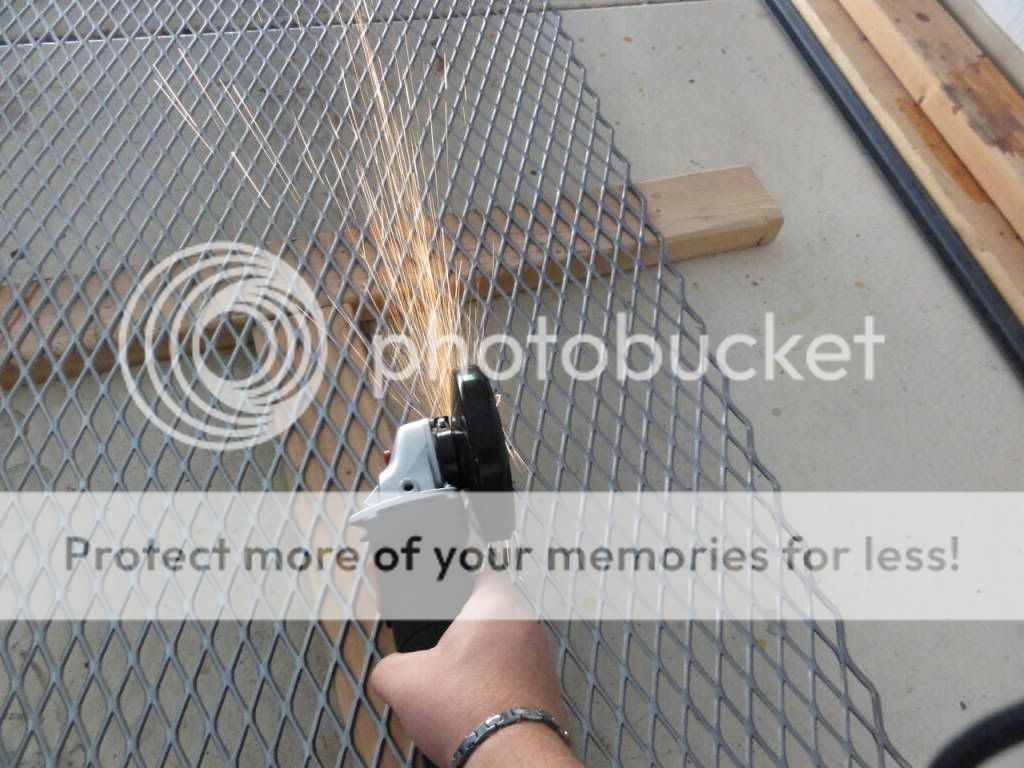
Grinding and sanding time.. This part seemed to take forever
All Clean

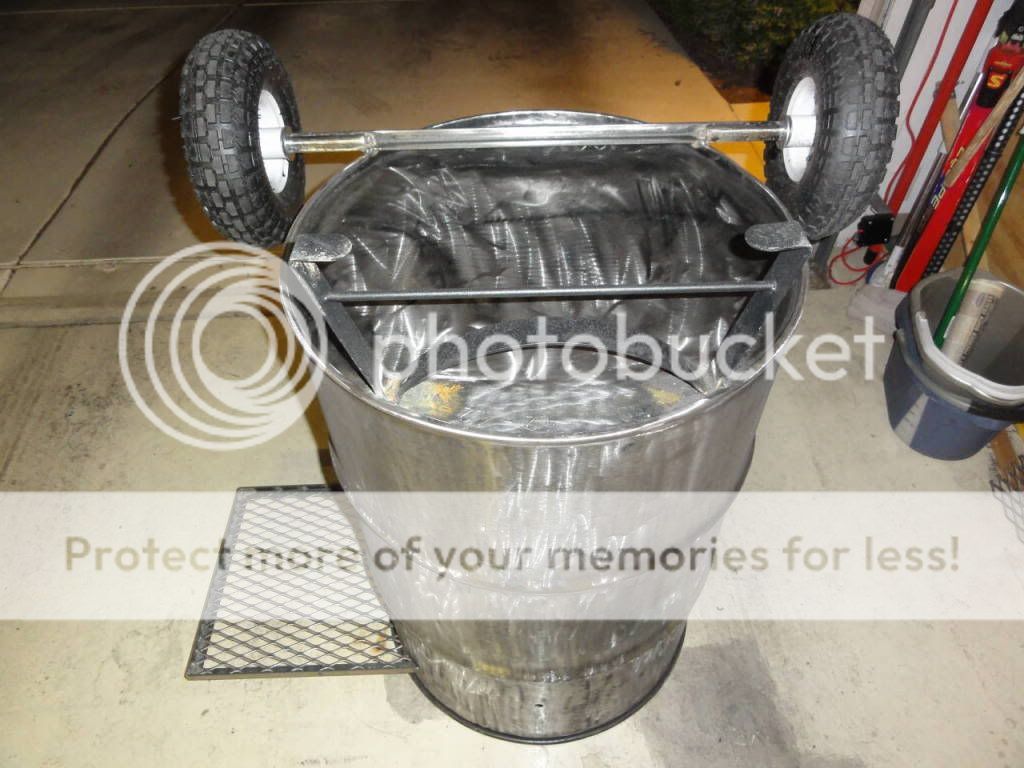
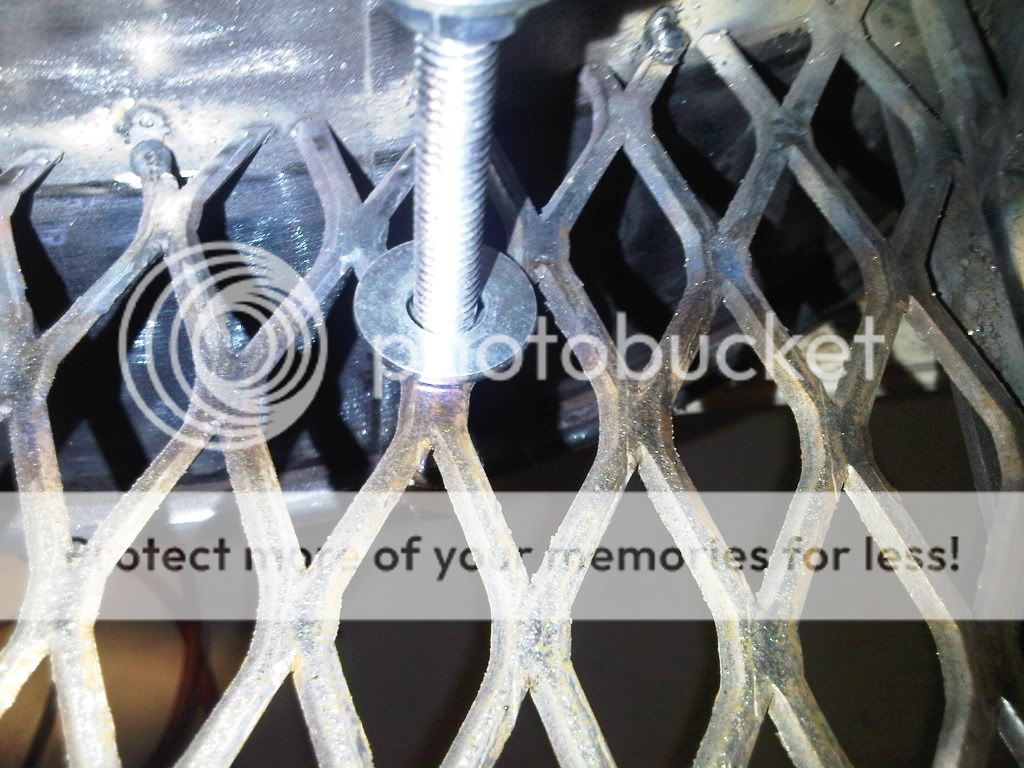
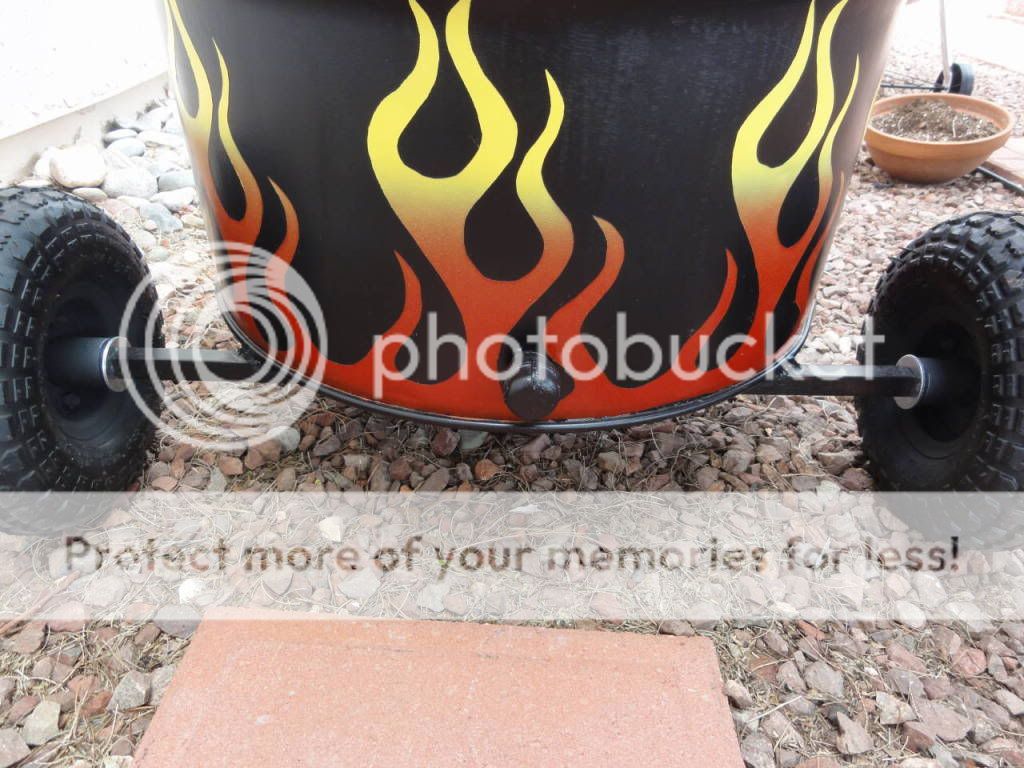
Making the tire mounts. 5/8 bolt with heads cut off welded to ¾ angle iron.

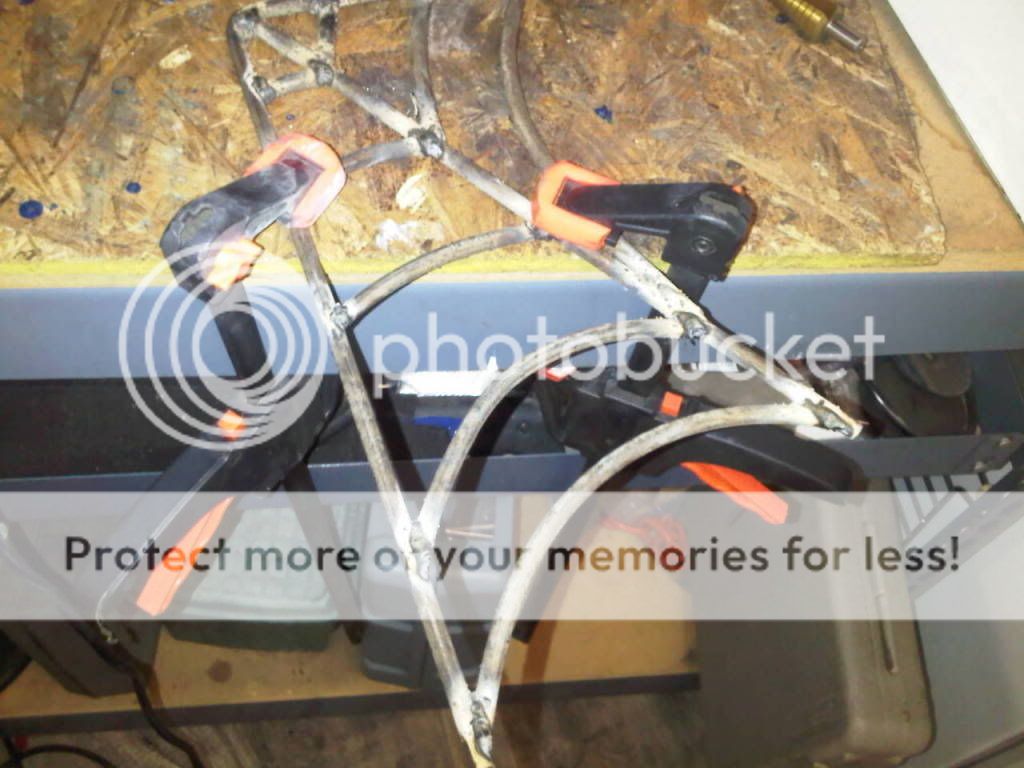
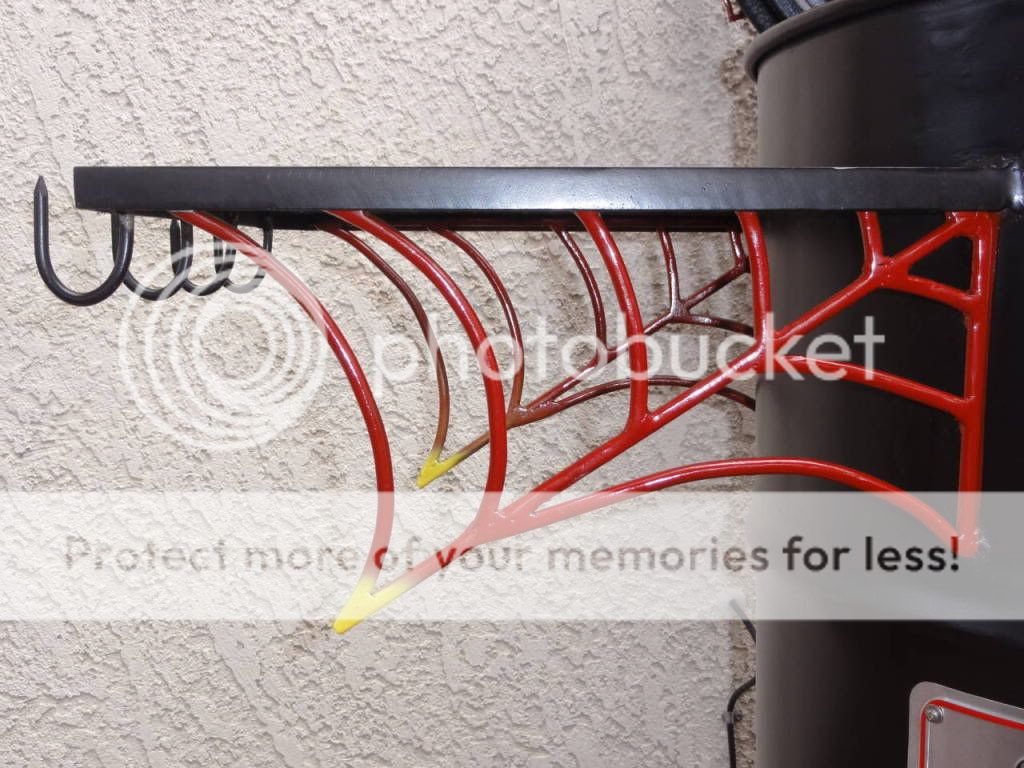
Handle 1, started with 2 webs just didn’t look right
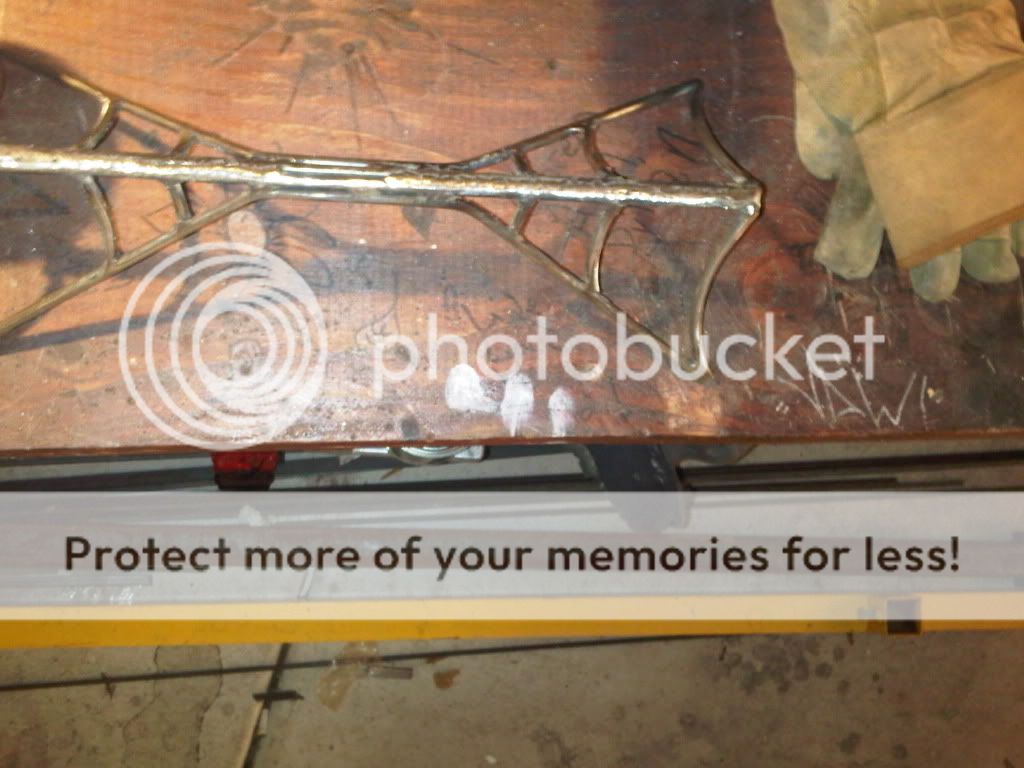
Went from 2 webs to 3, still didn’t look right, went to 4 then did cross webs. Was just too much cut out all but one cross web

Filled in the center with more round bar, then grind like crazy

Was time to clean the barrel so sprayed the inside with oven cleaner and the outside with paint stripper. Then I took the grinder to the whole thing and then burnt the hell out of it with the weed burner just to be safe.


Start welding the shelves and supports on

Tack weld all the nipples inside for a clean look

Weld 3 shelf supports the middle one being exactly 24” from bottom of basket. 2 others just in case I want baked beans underneath or ABT’s up top. I made each bracket curved so that when you put the grates in the automatically center themselves.

Welding the back handle on which was 2” square bar cut and welded and angled to the barrel, was very easy to do and worked great.

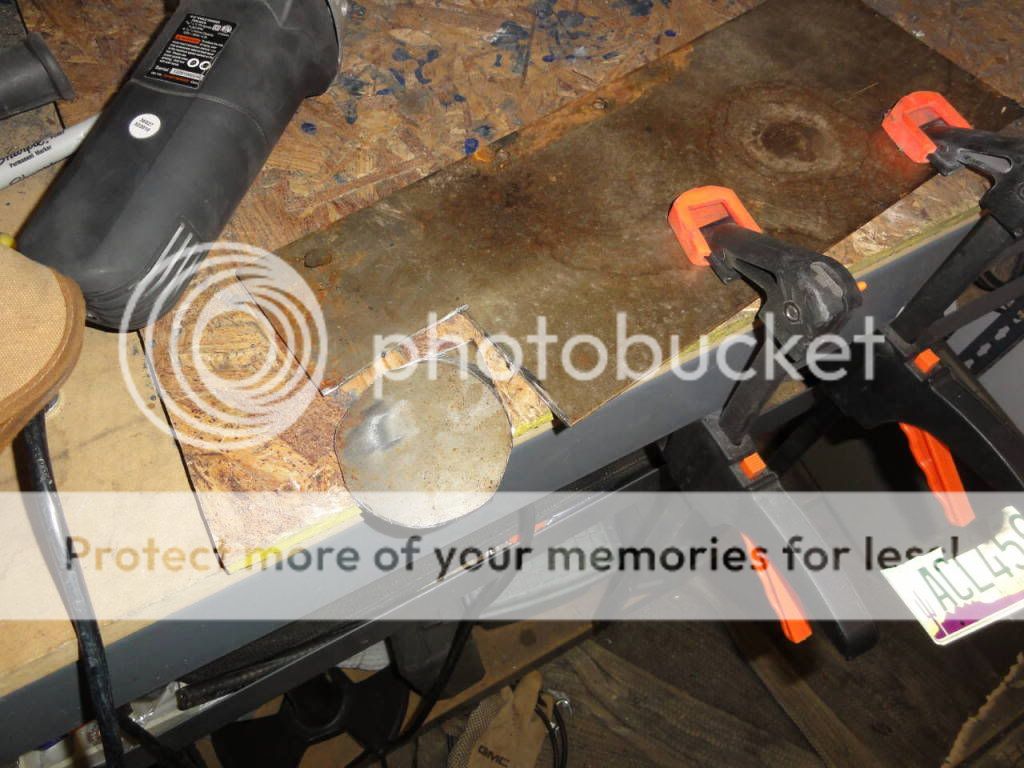
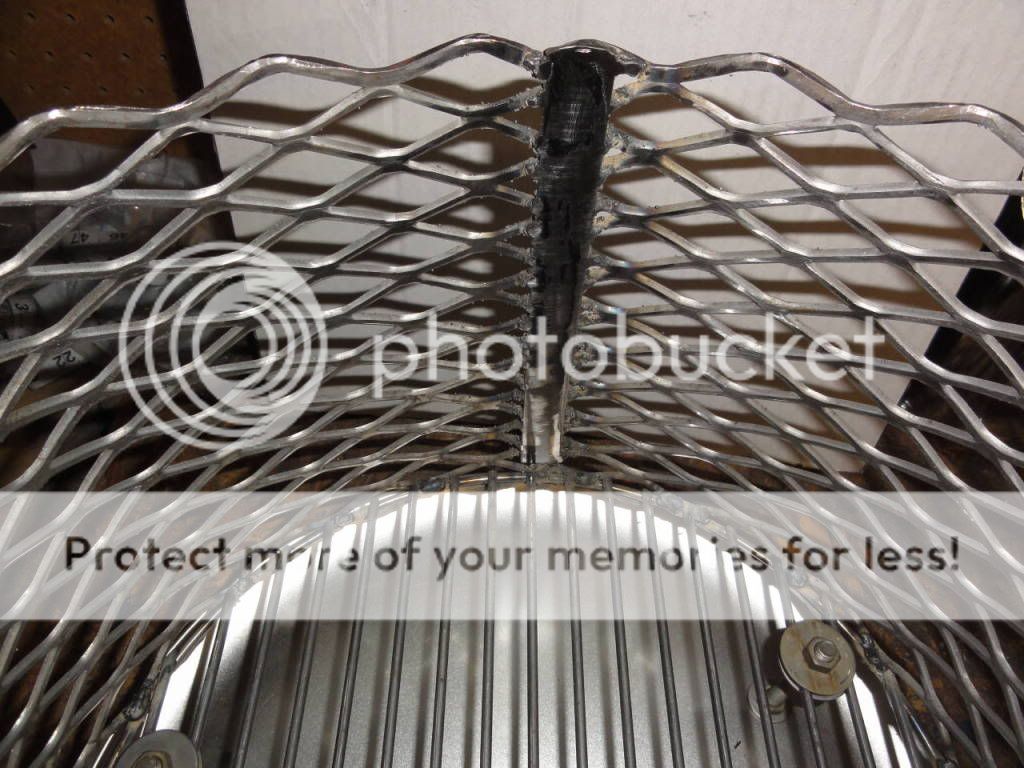
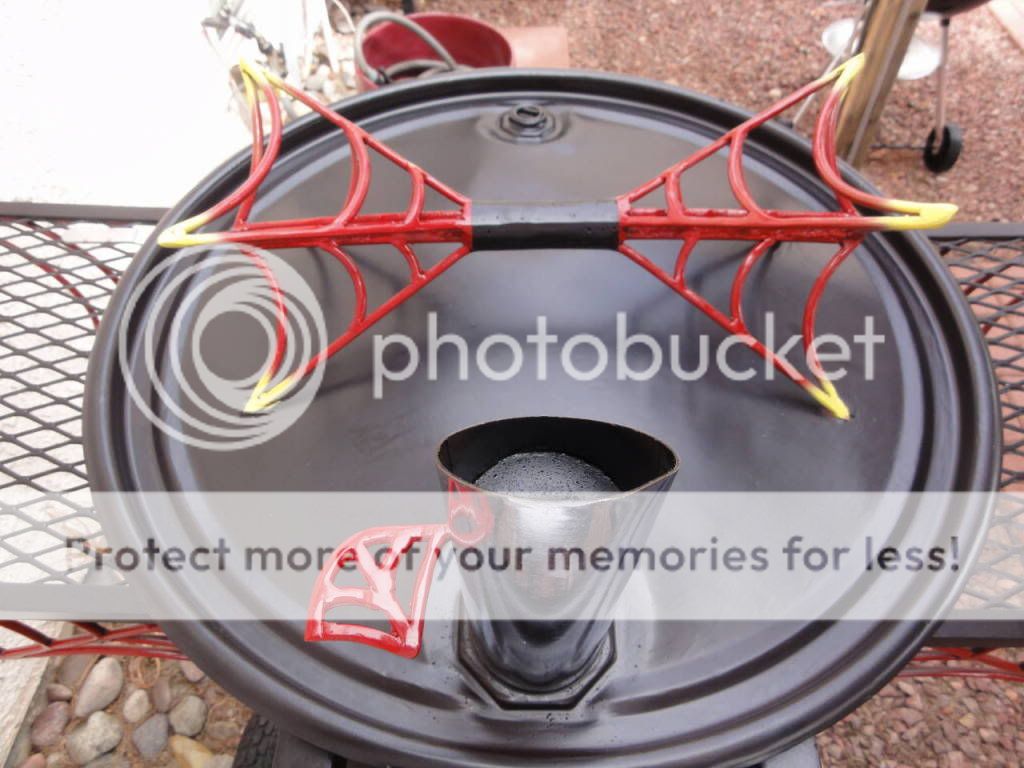
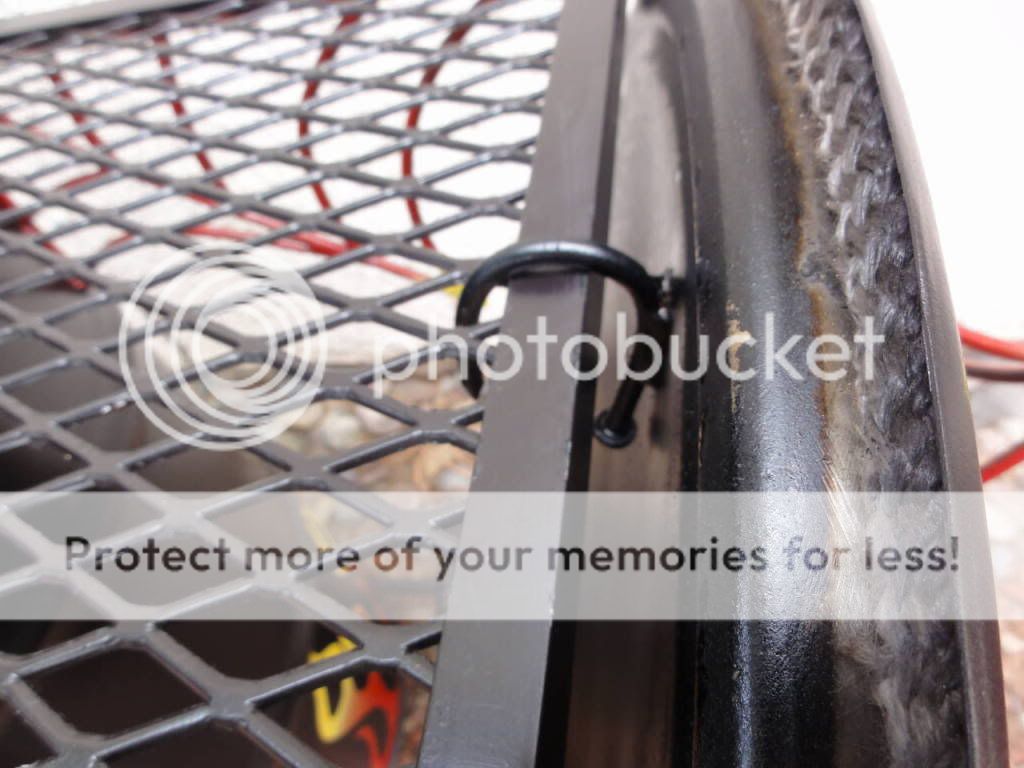
Next I wanted an internal baffle for my chimney. I cut a circle out of flat metal then grinded it is so it was a very tight fit. Made a small web handle and tried to center it just perfect. Welded it all together so no bolts needed. It came out better than I could have hoped and has a very satisfying “click” when it closes. We were off just a bit so it only opens and closes one way but it is great for shutting it down!


Was time to put on the valves extension which I drilled the coupling and then put a small screw through. I put a nut on top of that with locktight and held it together. Then I welded a washer under my shelf to support it. Grinded the top of bar flat used ball valve hand with rubber cut off so it was shiny.

Top and back handles welded on

All cleaned up and ready for paint!

Paint it black with a pint of 1200 degree semi-gloss


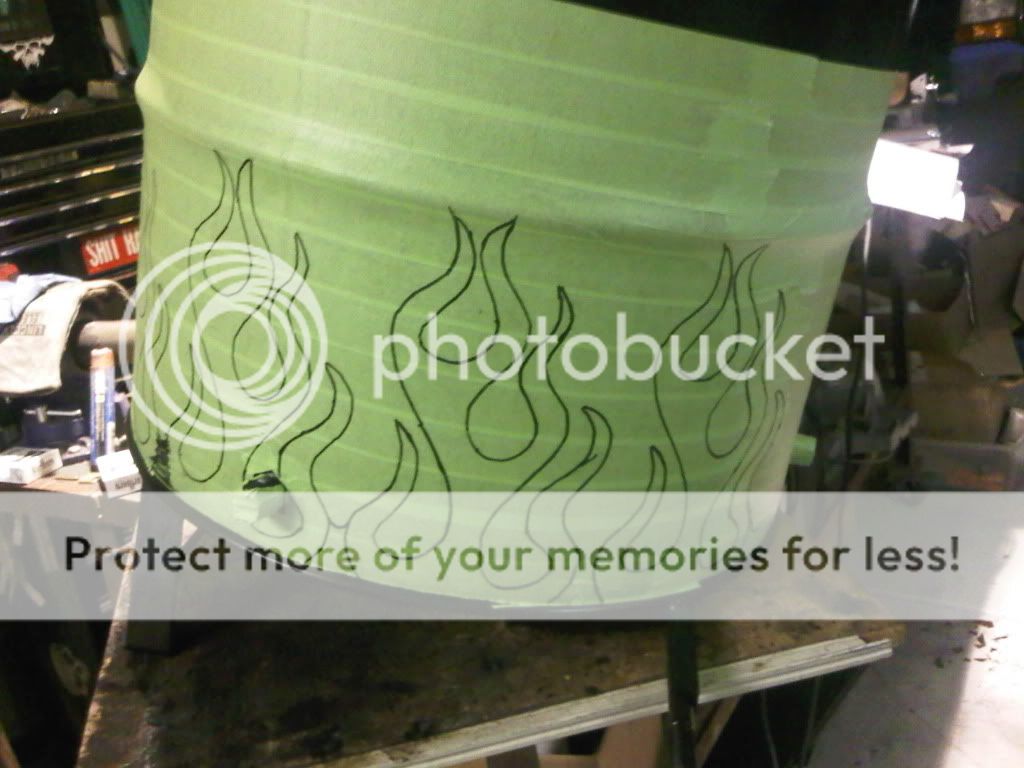
Let the paint cure for 5 days then wrap with automotive tape and draw out the flames.


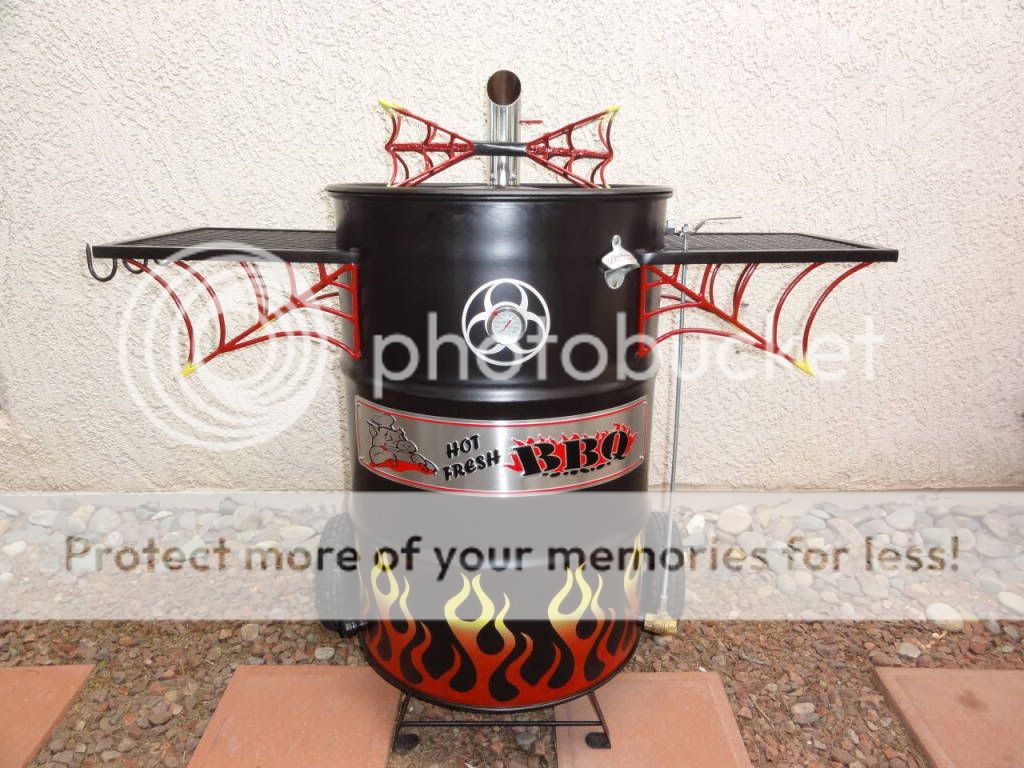
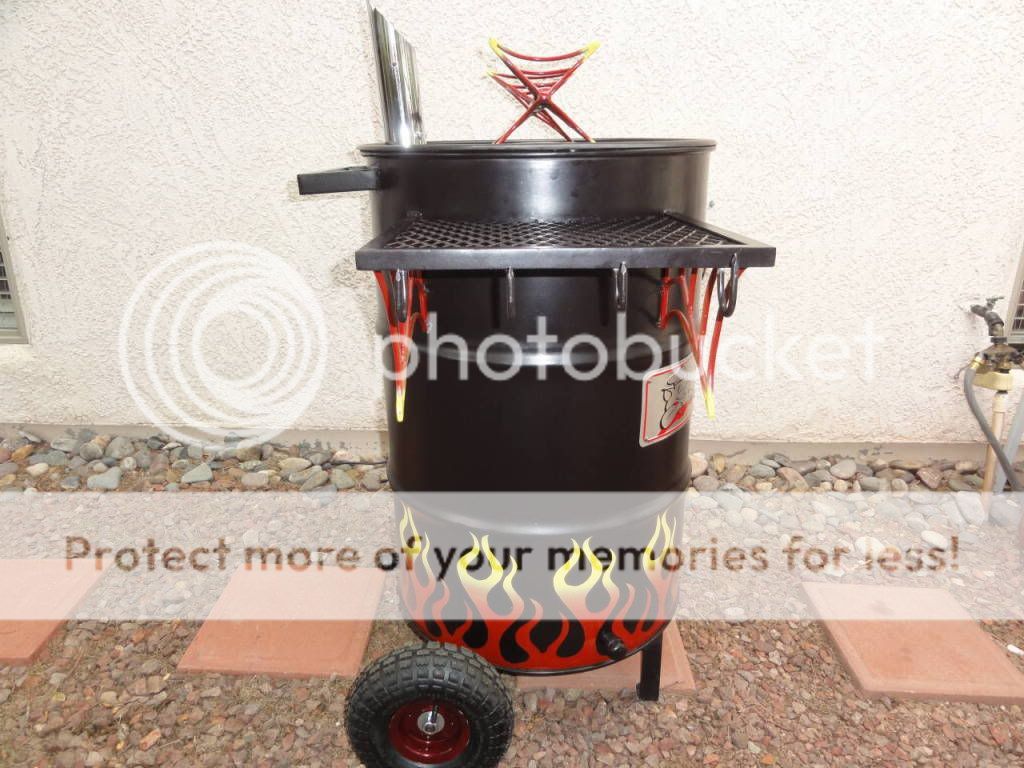
Up next the finished project!
Here is my Web Flamed UDS build thread. First I want to thank everyone on this site I could not have done or even know about a UDS without the Mother of all UDS threads. I spent a week reading the entire thread and planning the build before I started anything. I truly believe a good build of anything is done in the planning stages. I spent one month building this as it evolved, adapted, and changed many times along the way. This was hands down one of the most enjoyable and fun projects I have ever done. My friend Travis did all the welding and was invaluable on helping on the design and final product. We really tried to make as many of the pieces we could by ourselves and drill as few holes as possible. Well without any more babbling here are the pictures and be warned there are a ton.
The refurbished barrel, sheet of expanded metal, and angle Iron
Starting the basket
Used 2 2x4 and standing on crowbar to bend, then ending up just beating it into shape with huge pipe wrench.
Starting the Shelves
Welded one cleaned up
Starting the shelf supports
All 4 done, they match up pretty good, love playing with that round bar
Grinding and sanding time.. This part seemed to take forever
All Clean
Making the tire mounts. 5/8 bolt with heads cut off welded to ¾ angle iron.
Handle 1, started with 2 webs just didn’t look right
Went from 2 webs to 3, still didn’t look right, went to 4 then did cross webs. Was just too much cut out all but one cross web
Filled in the center with more round bar, then grind like crazy
Was time to clean the barrel so sprayed the inside with oven cleaner and the outside with paint stripper. Then I took the grinder to the whole thing and then burnt the hell out of it with the weed burner just to be safe.
Start welding the shelves and supports on
Tack weld all the nipples inside for a clean look
Weld 3 shelf supports the middle one being exactly 24” from bottom of basket. 2 others just in case I want baked beans underneath or ABT’s up top. I made each bracket curved so that when you put the grates in the automatically center themselves.
Welding the back handle on which was 2” square bar cut and welded and angled to the barrel, was very easy to do and worked great.
Next I wanted an internal baffle for my chimney. I cut a circle out of flat metal then grinded it is so it was a very tight fit. Made a small web handle and tried to center it just perfect. Welded it all together so no bolts needed. It came out better than I could have hoped and has a very satisfying “click” when it closes. We were off just a bit so it only opens and closes one way but it is great for shutting it down!
Was time to put on the valves extension which I drilled the coupling and then put a small screw through. I put a nut on top of that with locktight and held it together. Then I welded a washer under my shelf to support it. Grinded the top of bar flat used ball valve hand with rubber cut off so it was shiny.
Top and back handles welded on
All cleaned up and ready for paint!
Paint it black with a pint of 1200 degree semi-gloss
Let the paint cure for 5 days then wrap with automotive tape and draw out the flames.
Up next the finished project!


") Fantastic job!
Fantastic job!