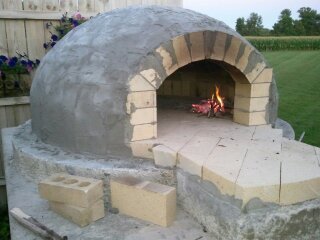
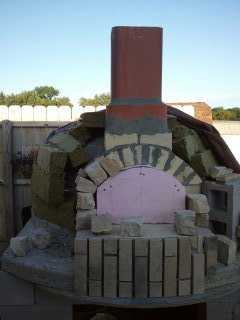
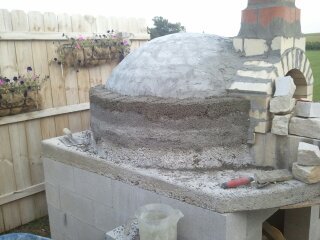
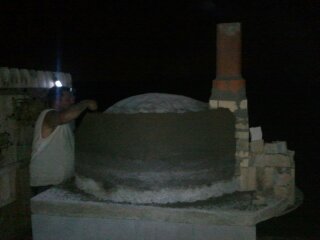
• working on DNS.. links may break temporarily.

Pizza Oven and BBQ Build Thread

Thermal Mass

is one Smokin' Farker
Joined
Feb 5, 2013
Messages
842
Reaction score
845
Points
0
Location
Jackson, WI
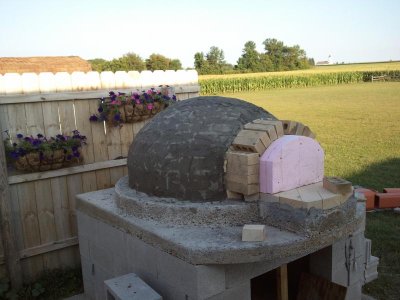
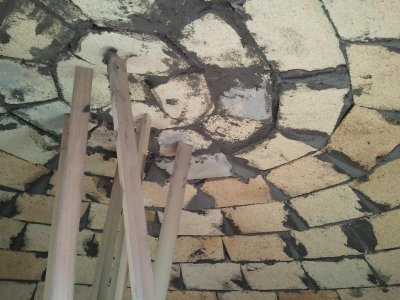
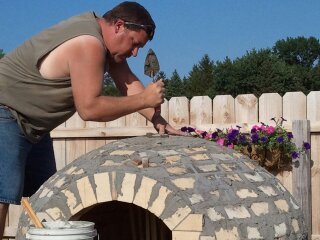
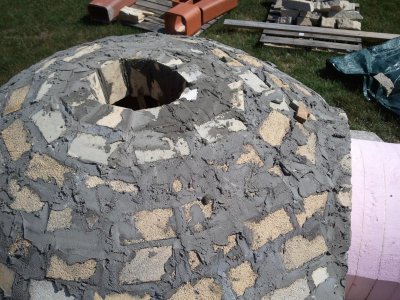
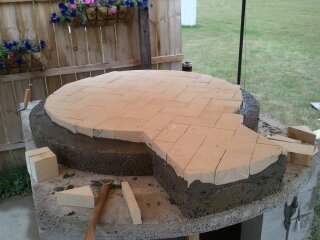
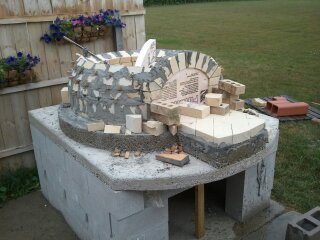
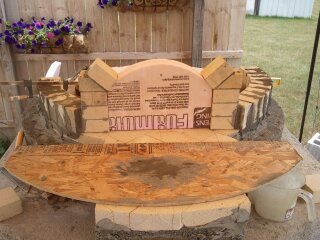
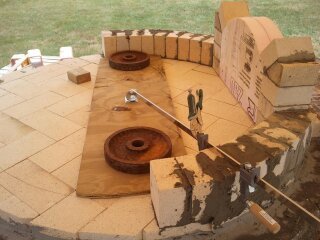
After a few requests, here is the build so far...
There are many details really to list, so ask away!
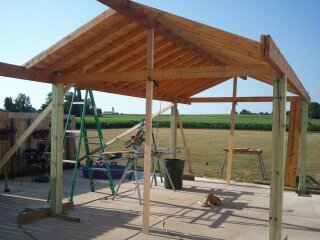
First we started with some working & drinking shade.
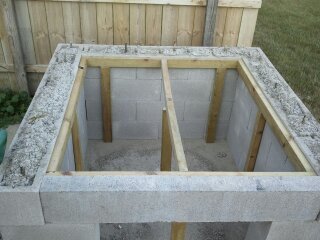
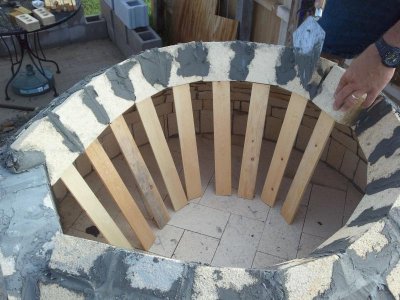
Block stand, dry stacked and filled with rebar and concrete.
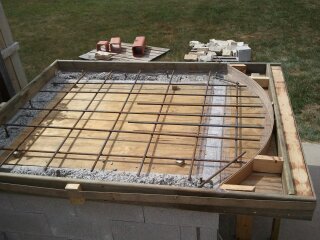
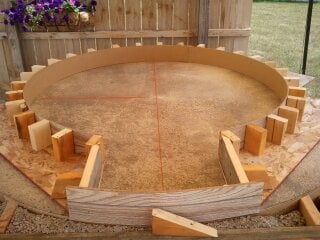
Reinforced concrete base form.
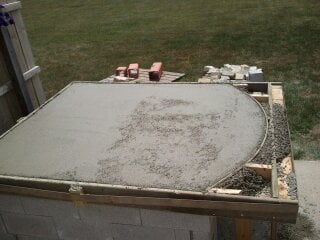
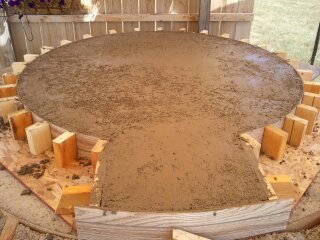
Base curing.
 

Attachments

  • patio project 005.jpg
    patio project 005.jpg
    20.8 KB · Views: 1,389
  • patio project 009.jpg
    patio project 009.jpg
    18.9 KB · Views: 1,388
  • patio project 014.jpg
    patio project 014.jpg
    22.1 KB · Views: 1,385
  • patio project 015.jpg
    patio project 015.jpg
    17.7 KB · Views: 1,389
Insulating concrete and fire brick floor

Form for the insulating concrete (pearlite and mortar 8:1)
Insulating base poured.
Fire brick set in a herringbone pattern with 1" of fire mortar (for true leveling and rigidity) between the brick and insulating concrete.
As you will see later, the dome is built on top of the floor.
 

Attachments

  • patio project 019.jpg
    patio project 019.jpg
    20.5 KB · Views: 1,374
  • patio project 020.jpg
    patio project 020.jpg
    21.6 KB · Views: 1,369
  • patio project 023.jpg
    patio project 023.jpg
    19.2 KB · Views: 1,372
Beginnning dome and opening

Starting the dome and opening with form
More dome courses.
Supporting as we go...
 

Attachments

  • pizza oven 002.jpg
    pizza oven 002.jpg
    78.7 KB · Views: 1,378
  • patio project 026.jpg
    patio project 026.jpg
    20.2 KB · Views: 1,369
  • patio project 024.jpg
    patio project 024.jpg
    22.2 KB · Views: 1,363
  • patio project 025.jpg
    patio project 025.jpg
    19.9 KB · Views: 1,370
Nice......Ahh, I see the "Indispensable Tool" in use. :) I used one on my build too.
 
Very nice, nice to see another member build an oven. You sure did get alot of work done in one day :). You should have used the indispensable tool or built a form. That is a pretty long landing?
 
Very nice, nice to see another member build an oven. You should have used the indispensable tool or built a form.

I believe he did use the I-Tool up to a point where the upper courses started to form a tear drop shape. You can see the I-Tool in one photo. The use of this tool kinda gets iffy as you get up higher as the dome starts closing in...
 
Closing the dome

Continuing courses as we go.
We used a foam form and pre-cut wedges of wood to follow the correct profile.
Completing the dome with the "keystone". I should comment that each row also has a "keystone". The keystone is the last stone cut to fit and lock all other supporting brick.
A shot of supporting the dome from the inside.
Should have heard my choice words attempting to my fat a** in and out of there...
Lastly the arch before we started the flue.
2" foam insulation is an insensible tool for this project. We found the "I-tool" really was not that useful and quit using it after the third course.
 

Attachments

  • pizza oven 013.jpg
    pizza oven 013.jpg
    62.5 KB · Views: 818
  • pizza oven 011.jpg
    pizza oven 011.jpg
    82.9 KB · Views: 817
  • pizza oven 025.jpg
    pizza oven 025.jpg
    22.1 KB · Views: 813
  • pizza oven 004.jpg
    pizza oven 004.jpg
    113.5 KB · Views: 813
Post #3, top left photo. The swivel arm with adjustable stop/clamp.
It is intended to swivel to maintain the radius while the courses go up.
With two guys building, it was too slow and if not removed very carefully would disturb the brick just set while trying to get to the next one...
We mixed the mortar more stiff and worked quickly between batches taking full advantage of the wood wedges to maintain profile until they set.
Just my experience, mos builders love them.
 
Beautiful work!! Takes a lot of planning for a project like that. You Gots Skills!
 
Don't borrow from friends, it will fail on YOU!
If you are going to build one of these ovens from scratch, buy a good saw and sell it when you are DONE!
Part of a series of small curing fires.
Flue installed.
Beginning the pearlite concrete insulation, 5-6"
Finishing a phase in the dark, get used to it!
 

Attachments

  • pizza oven 029.jpg
    pizza oven 029.jpg
    23 KB · Views: 774
  • pizza oven 031.jpg
    pizza oven 031.jpg
    17.8 KB · Views: 775
  • pizza oven 039.jpg
    pizza oven 039.jpg
    14.6 KB · Views: 766
  • pizza oven 044.jpg
    pizza oven 044.jpg
    19.1 KB · Views: 770
  • pizza oven 047.jpg
    pizza oven 047.jpg
    9.2 KB · Views: 769
Back
Top