S
SUMO PIG
Guest
Below are some photos of my seasoning burn, and some pron from my first UDS run this past weekend:
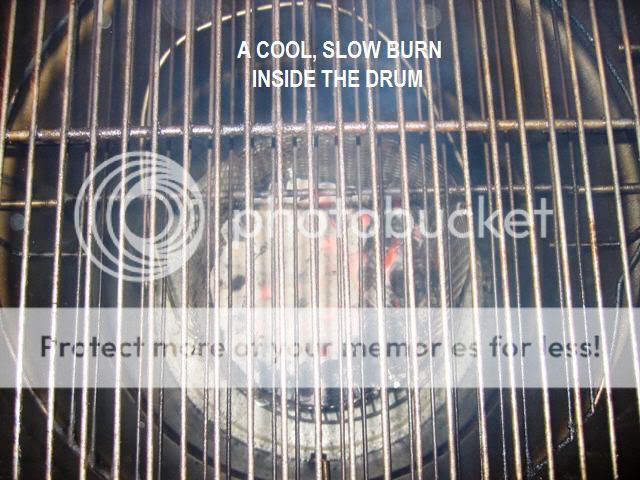
A peek inside a cool-burning UDS
A look inside a blazing hot UDS

Monitoring the temps

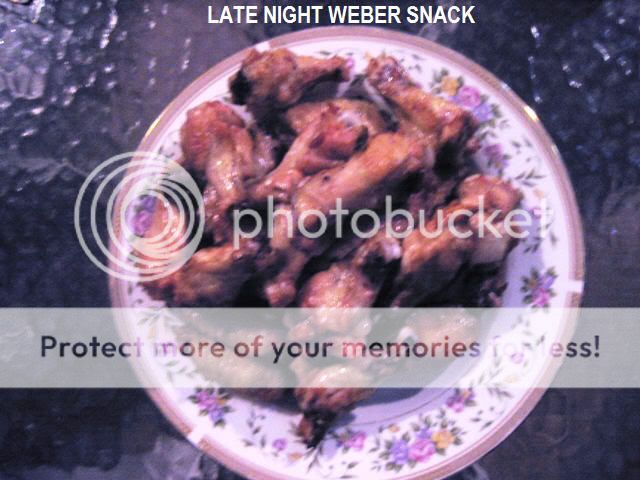
Cooking some dinner on the Weber during my UDS burn-in

Would you considered a perv for calling this kiddie-pron???

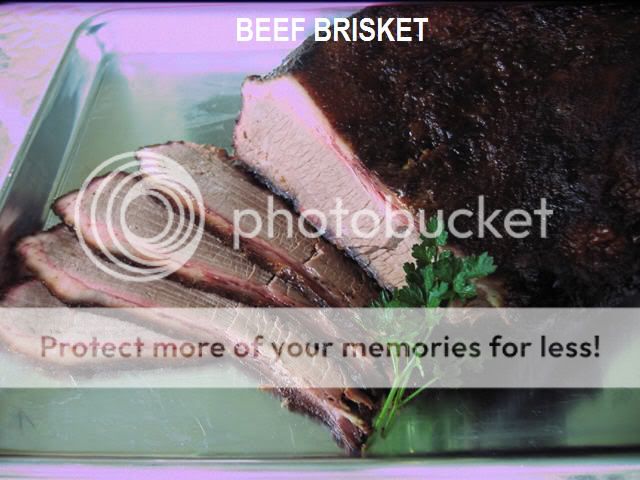
Dinner's ready, while the Sumo Pig Smoker burns on, and on, and on ...
Pipe dreams about version 2.0

Weekend results from my first UDS cook!

Brethren - hope all of your cooks are as joyful as mine has been this past weekend.
Keep on buildin' em and keep the home fires burnin' ...
Weber Silver - outfitted with the amazing Smokinator
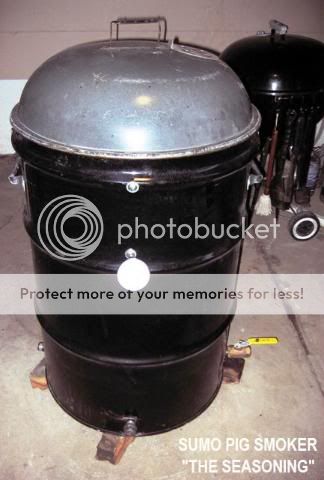
Sumo Pig UDS, Version 1.0
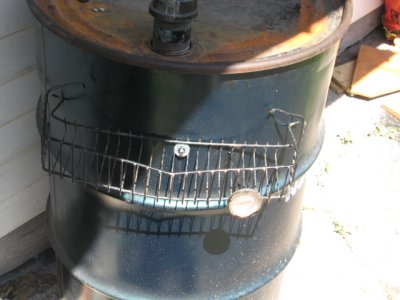
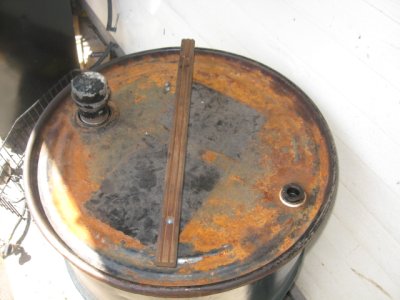
Introducing the finally assembled Sumo Pig Smoker, Ver. 1.0
during its innaugural seasoning run
during its innaugural seasoning run
A peek inside a cool-burning UDS
A look inside a blazing hot UDS
Monitoring the temps
Cooking some dinner on the Weber during my UDS burn-in
Would you considered a perv for calling this kiddie-pron???
Dinner's ready, while the Sumo Pig Smoker burns on, and on, and on ...
Pipe dreams about version 2.0
Weekend results from my first UDS cook!
Brethren - hope all of your cooks are as joyful as mine has been this past weekend.
Keep on buildin' em and keep the home fires burnin' ...
Weber Silver - outfitted with the amazing Smokinator
Sumo Pig UDS, Version 1.0
Last edited by a moderator: