Thermal Mass
is one Smokin' Farker
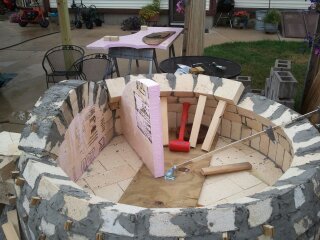
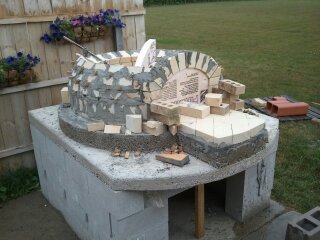
Forming the dome
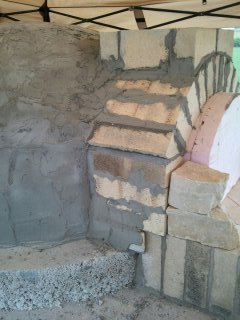
You can see pretty clearly from these two pics the "I tool" (which we quit using) and the foam form.
Once you get the correct mortar consistency, you can move pretty quickly.
We found a few sticks were very helpful for the short time it took for the mortar to set enough the brick would not move (unless disturbed).
**Your mortar consistency and set up time will vary greatly based on current weather conditions and if you are working in direct sunlight!! Adjust as necessary. Start with small batches of mortar, refractory mortar seemed to be fairly unforgiving once it really started to set up.**
Practice makes perfect...
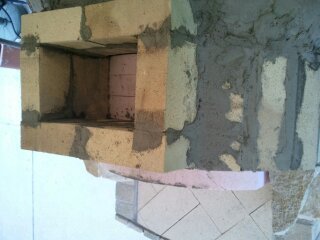