THoey1963's WSM Mods... (Fixed)

THoey1963

somebody shut me the fark up.
Joined
Jan 8, 2014
Messages
10,497
Reaction score
9,228
Points
0
Location
San Antonio, TX
NOTE: Rebuilding this thread as Facebook is not a good image host. Several images are starting to drop out. I was going to try and have the mods edit each of the posts with the Photoshop URL's, but that just seems like too much work for all involved.


Mod Note:

The original thread is here. It has been closed for comments but there may still be good information in that thread. Please continue any discussion or make new comments in this thread.


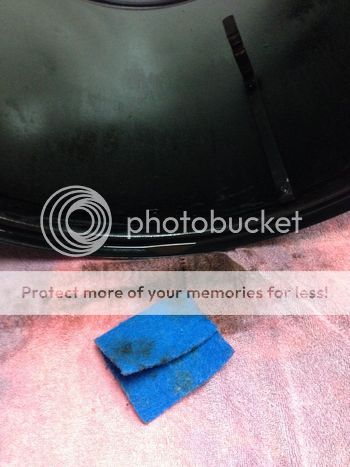
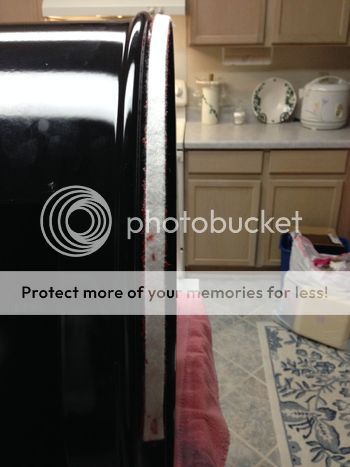
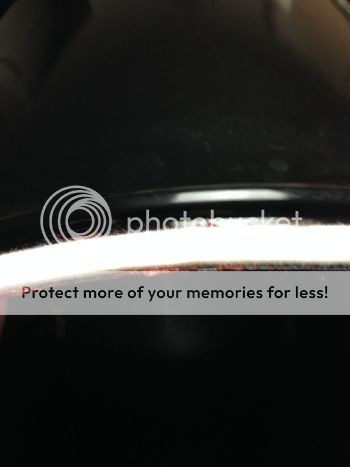
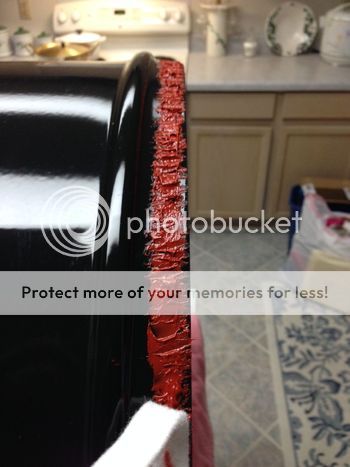
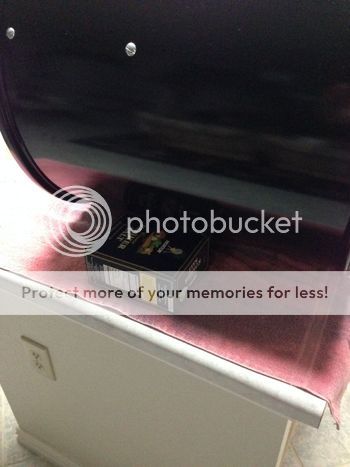
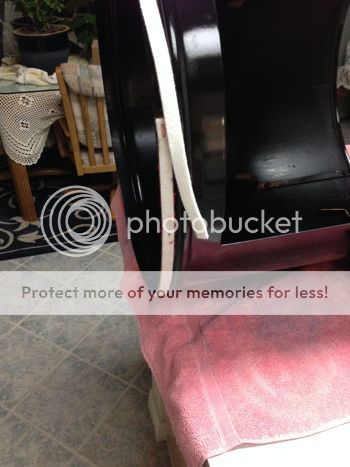
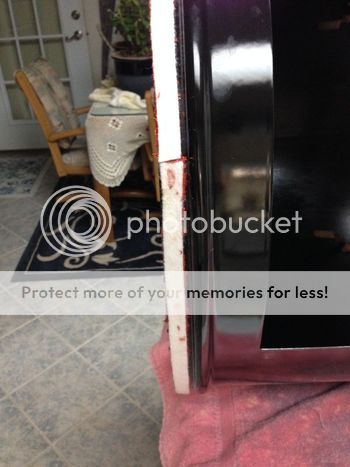
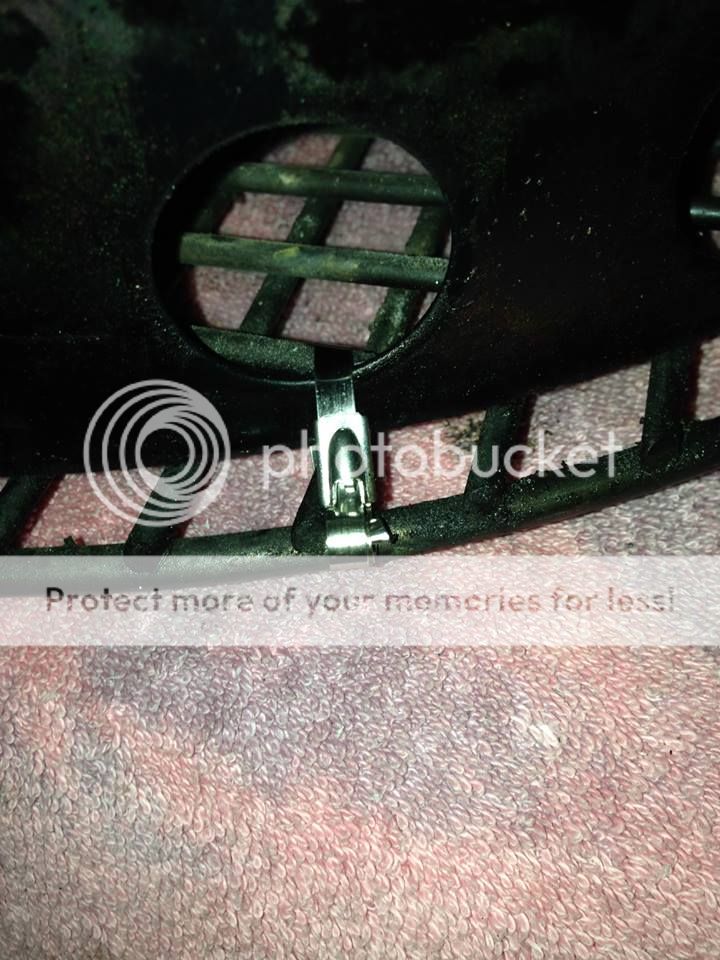
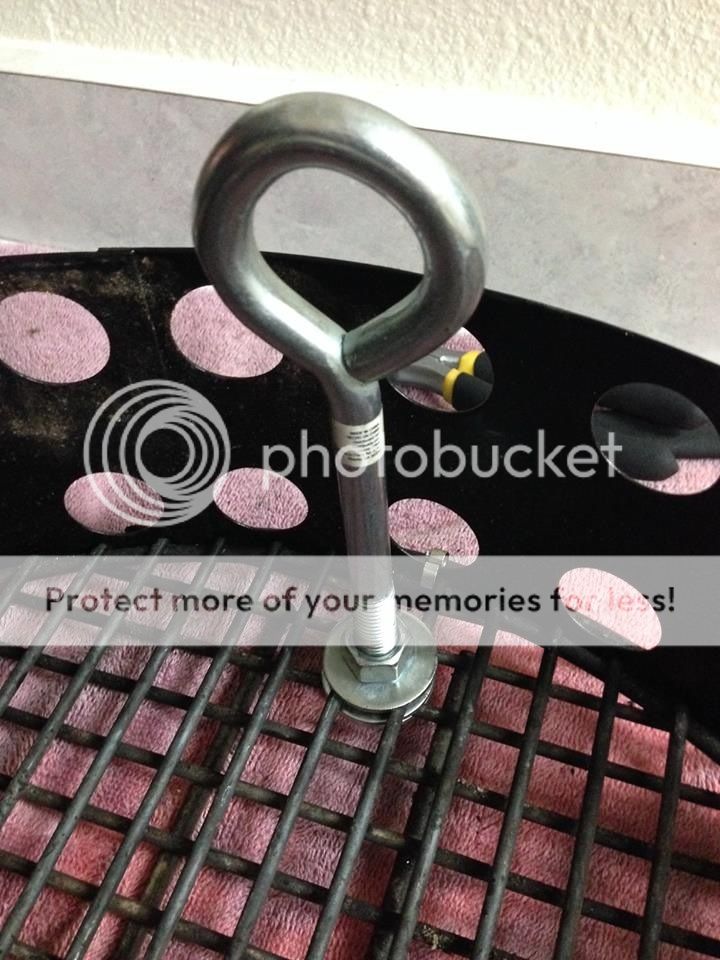
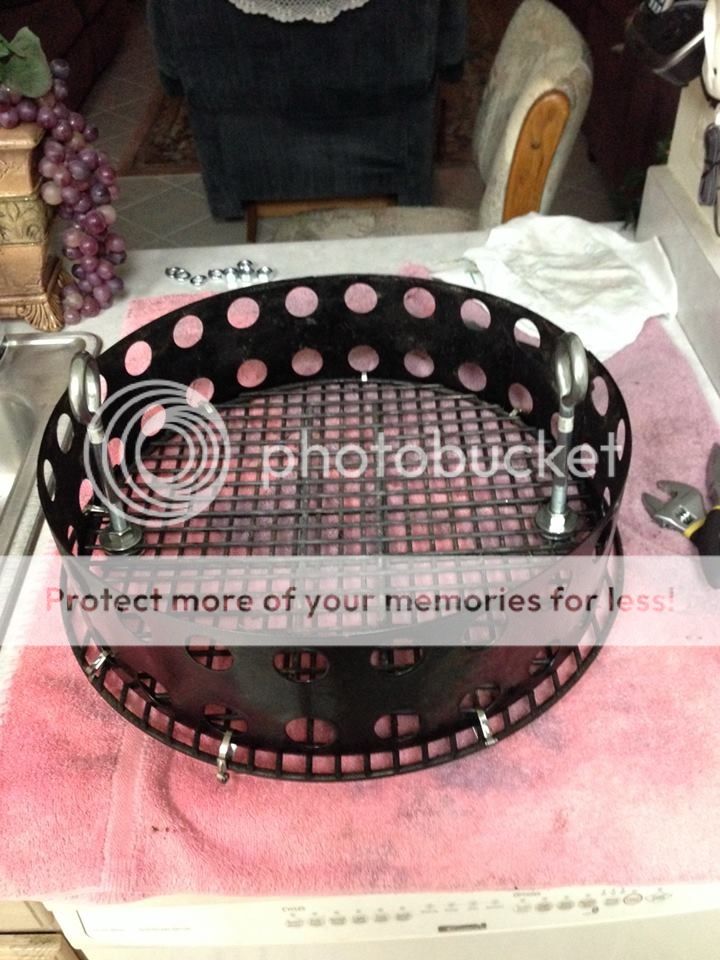
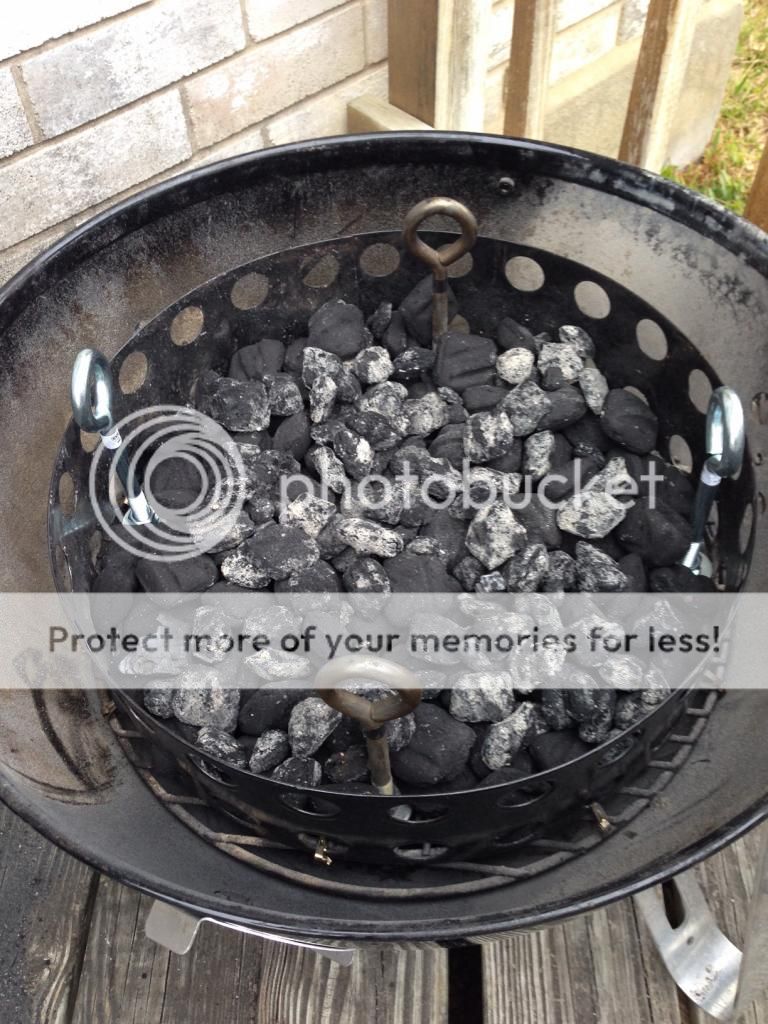
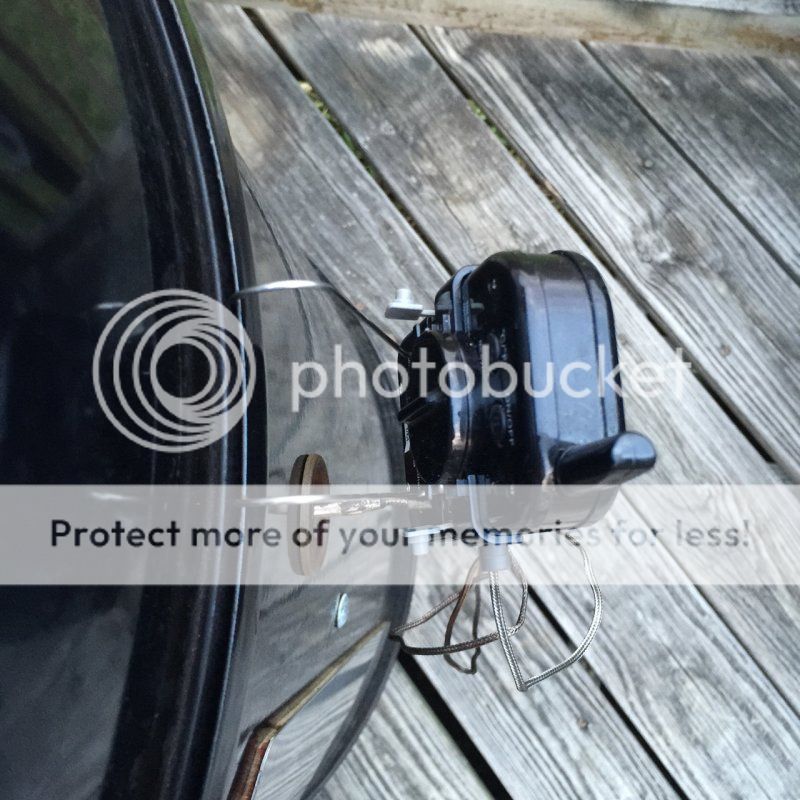
Often times, when posting about a cook, I will get questions about a mod I did to my WSM, either in post or via PM. I decided I would create one thread of my own that consolidates all of the mods I have done and link it to my signature, so that I could easily point to it and provide the information.

Before I get started, I know there are those purists that have not made any mods to their WSM's and feel they are not required. I graciously accept your opinion and feel you are right to do with your WSM as you wish. In that same token, I feel that what I have done to "upgrade" my WSM has enhanced my smoking experience. Negative comments are not needed.

Please, if you feel that WSM mods are not required or are an abomination, please just step back from the thread and read something else.

Thank you.
 
Last edited by a moderator:
WSM Gaskets from BBQGaskets.com

When I first got my WSM, I had a lot of leaks from where the main pieces fit together and around the door. While these may have sealed up over time, I was impatient and ordered the WSM gasket kit from BBQGaskets.com.

1. First I did a good scrub where the gaskets were going to go. I used Fast 505 degreaser from Home Depot and a scrubby pad. Not too difficult, but I only had a couple cooks on her so far.

Gasket01_zps7d0b5231.jpg


2. Nice and Shiny...

Gasket02_zps305b828e.jpg


3. Starting on the bottom of the center piece, I gently measured the gasket around the rim. I did my first quarter of the way, but didn't put down enough of the sealant, so I had to do it again. You get a whole tube, so don't try to use it sparingly.

Gasket03_zpse873167f.jpg


4. Now you can see a little bit leaking out. I stretched this gasket to make it a little thinner as I had heard of difficulties in getting the pieces to fit together.

Gasket04_zps091d3792.jpg


5. That's how much I started using and it held well. I used a toothpick to roll the cement back and forth until it was even.

Gasket05_zps2cb0dbec.jpg


6. The drum kept wanting to roll, so I put a box of salt down on each side to stabilize it.

Gasket06_zps4845cd74.jpg


7. After stretching it around, you can see how much extra I had.

Gasket07_zpsbbe94898.jpg


8. Trimmed and this half done. Let it sit for a while before I started the other side.

Gasket08_zpse233d5d7.jpg


9. Working the top of the center piece now. Instructions made it sound like I wanted the gasket on the vertical edge, but research and my common sense told me to put it on the horizontal edge so the lid could sit on top of it.

Gasket09_zps9d916ef4.jpg


10. Tried not to stretch this piece at all.

Gasket09_zps9d916ef4.jpg


11. Top completed.

Gasket11_zps80de9cbd.jpg
 
Stainless Steel Door for CajunBandit.com

While the gaskets around the barrel sealed that section up, the door still leaked pretty bad and no amount of shaping by my clumsy hands was able to get it to seal. Enter the Stainless Steel replacement door from CajunBandit.com.

SSDoor01_zpsf163bb79.jpg


Since I had extra gasket leftover, I decided to seal the door as well. Some mount the gasket to the WSM barrel, but that usually ends up showing. I read where some put it on the inside of the door and decided that this looked better.

SSDoor02_zpsa879742b.jpg
 
Replacement Compression Latch for the door

When you get the CajunBandit door, you use the original door latch handle that came with the WSM. Unfortunately, with this HEAVY door, and the added thickness from the gasket, that latch wasn't going to last long. Added the Southco Compression Latch that I got from Amazon.

[ame="http://www.amazon.com/dp/B002DHHDEY/ref=pe_385040_30332200_pe_309540_26725410_item"]Southco Inc SC-62315 Lift-and-Turn Compression Latch Grip Range .00 to .20 Pawl Forward - 1.77 to 2.16 Pawl Reversed, Southco Lift and Turn Latches: Amazon.com: Industrial & Scientific@@AMEPARAM@@http://ecx.images-amazon.com/images/I/41gVSe3GDzL.@@AMEPARAM@@41gVSe3GDzL[/ame]

This requires the hole from the original latch to be drill out a little larger using a Step Bit that I was able to get at Home Depot.

The latch also doesn't come with any directions. Someone found them. Page 6 is the latch linked above.
 

Attachments

  • BBQ Compression Latch 62-30-15.pdf
    2.6 MB · Views: 40
Fire Basket

The coal grate and ring that comes with the WSM are great, but it would be nice to have a way to pick the whole thing up and shake the ashes off the partially used charcoal. A mod I saw showed how to create a "fire basket" with two handles just for that purpose. I later thought about it and decided if I put four such "handles" I could set my upper cooking grate on them and be able to direct grill over the charcoal.

I bought the following from Home Depot:

18.5 replacement coal grate
Stainless Steel Eye Bolts, nuts, flat and locking washers. (set of 4)
Stainless Steel Zip Ties

For health reasons, make sure to get Stainless Steel.

First, I laid the 18.5 coal grate on top of my existing grate, but rotated it 90* to create a cross hatch design. This will help keep small pieces of coal from falling through. I set the coal ring on top (fits perfectly with the 18.5 grate) and then using the stainless steel zip ties, attached all three together.

Basket01_zps3073cb57.jpg


Note: Stainless Steel Zip Ties are tightened with a specialty tool. The following video shows how to tighten them with needle nose pliers:

[ame="https://www.youtube.com/watch?feature=player_embedded&v=Kf8oIF_3s4E"]HOW TO TIGHTEN STAINLESS STEEL CABLE TIES WITHOUT SPECIALTY TOOL - YouTube[/ame]

Next, I installed my "handles" at the 12 o'clock, 3 o'clock, 6 o'clock, and 9 o'clock positions through the grates.

Basket02_zpsd851a248.jpg


basket03_zps9519a7a1.jpg


When all done, it looks like this:

Basket04_zps1d4191ee.jpg


Throw the top cooking grate on it:

Basket05_zps8b21122f.jpg


And I can grill directly over the coals on it like this:

Basket06_zps24fd84d0.jpg
 
Pitmaster IQ 120 and Rainbox

The next item is not so much a mod, but more of something to be able to do an overnight cook and still get some sleep. I bought the Pitmaster IQ120. It works great for what I need. I don't use it all the time, just those long cooks when I may need to sleep or work while she's chugging along.

The IQ120 is not water proof, so I guess I did a mod by building a water proof box for it. Their tutorial video is here:

[ame="https://www.youtube.com/watch?feature=player_embedded&v=lS5L7l9VZLU"]Build This BBQ Electronics Rain Box For Your Thermometer, iQue, Guru, Stoker! - YouTube[/ame]

Mine turned out like this:

RainBox_zpscdd11d03.jpg


I will say, it was a pain cutting that hard plastic with just a razor blade knife. But, it works. Keeps my IQ120 dry and has enough room to put a couple little things like probe clamps in for storage.
 
Lid Hinge from Unknown BBQ

The most recent mod I did was to install the lid hinge from Unknown BBQ. I was leery of the strain that this would incur on the barrel, so I checked with others that had installed it and after months of use they could not detect any strain.

The hinge is heavy duty and will probably last as long as the WSM (forever!). It has a removable pin that allows the top to be taken off if needed. It requires six holes drilled into the WSM and it works great. No more looking for a place to set the lid.

Hinge01_zps736e03dc.jpg


Hinge02_zps7e06961a.jpg
 
Flame Thrower

Another non-mod, but something that makes my smoking easier is my Flame Thrower or Weed Burner from Harbor Freight that I use to light my coals. I started out using a chimney, but I saw all the sparks from that when I was doing a late night cook, and it scared the heck out of me. Texas is really dry and my old deck is even worse. Don't get me wrong, I know this has sparks too, but I can control the flame force and reduce it some...

Here's a shot of me using it to start my coals:

FlameThrower01_zps9a3d6b41.jpg
 
Tables

The following is not a mod that I have done yet, but something I am seriously thinking about if I can find a friend or a place to do the manufacturing.

A fellow member here, Smokesignalsfromtx, created a set of tables that attach to the WSM via four replacement garage door handles mounted to the barrel of the WSM. You can see the initial build thread here.

His finished product:

Tables01_zpscf7d67fc.jpg


FYI, Smoke said I should mention that the tables affected the stability of the WSM, so he made another mod to the bottom of it. You can find that here:

http://www.bbq-brethren.com/forum/sh...d.php?t=194967
 
Water pan - To fill or not to fill?

Not a mod, but another frequently asked question is about the water pan. I use mine empty but wrapped in foil for ease of clean up. I have a Terra Cotta planter base (also wrapped) inside the pan to help with temp stability when opening the lid. Inside this, I also throw one of those cheap aluminum turkey roaster pans to catch most of the drippings. I clean this out after every cook and toss it when it gets too dirty.

When cooking things at high temps, like chicken, I remove the pan completely.
 
Great Mods!

My 18.5 leaks some even with the CB door. Would like to know what benefits you noticed by making your WSM so tight?

I've heard it lowers fuel consumption. Even though my rig leaks it can hold temps rock steady.

Thanks for posting!
 
Hanging my Maverick ET-733

Someone asked me how I hang my Maverick from my WSM. I have seen some magnetic mounts that people have created and they look pretty cool. I just haven't done it yet. So I just hang mine on the side of the WSM. The Maverick hanger is between the lip of the barrel and the lid. This forces it to stand away from the barrel.

Maverick01_zps91c637ff.jpg


A shot from above:

Maverick02_zps52d145e1.jpg


That also shows how I do my pit probe. No need to pull it through and attach it to a rack. Pushed in like that, it is about 5" inside the wall of the WSM and protected from the heat up the sides by the water pan. It's right in between the two racks which is fine with me as it is merely an approximation of the temp I am looking for. This is BBQ, not Rocket Surgery. 270*, 275*, 280*. All good enough for me...
 
Great Mods!

My 18.5 leaks some even with the CB door. Would like to know what benefits you noticed by making your WSM so tight?

I've heard it lowers fuel consumption. Even though my rig leaks it can hold temps rock steady.

Thanks for posting!

Toast,

When I first got my WSM, it leaked a lot and this gave me temp fluctuations. I tried the manual stuff (hugs and bending) with some improvement, but it still leaked. I know it might have sealed up over time, but I was impatient and ordered the gaskets and the door.

Since doing those mods, and making it so tight, it runs great, but besides loss of temp fluctuations, I can't really tell if it saves fuel, as I didn't have it long enough to know what it was using before.

I know that when I shut the vents, the fire goes out and I can touch the lower bowl with my bare hand after about an hour. There always seems to be a lot of charcoal left in the basket when I go to cook the next time.

I also have not seen any signs of moisture inside the pit, but that could just be this desert I live in...
 
Post #12 lost an image under the section "A shot from above:"

Here is the missing picture:

Maverick02_zps52d145e1.jpg
 
Back
Top