billyc1030
Is lookin for wood to cook with.
Hi ya'll. My last build was a 100 gallon RF smoker back in December (http://www.bbq-brethren.com/forum/showthread.php?t=178267). It was the perfect size to compliment my 250 gallon trailer-mounted unit.
A friend I work with at the Pentagon liked my new one so much that we just drove 1000 miles to my Dad's in Arkansas a few weeks ago to build him one. This time we used a 120 gallon tank, and we built it as a straight-flow with tuning plates. My 100 gallon reverse-flow is OK, but I actually get more even temp distro with my 250 gallon straight-flow smoker (also with tuning plates).
This is my friend's first pit, so I'm teaching him how to use it. We did a small cook on July 4th (3 shoulders, a brisket flat and 6 racks of baby backs). We're cooking again starting tonight for 65 people at work tomorrow. This time we're doing 4 shoulders, 5 briskets and 20 racks of ribs - we'll probably do the ribs on his new smoker and everything else on my big one.
Anyway, below are some pictures.
Oh, BTW, my friend just joined the Brethren too...he's SmokeNShine.
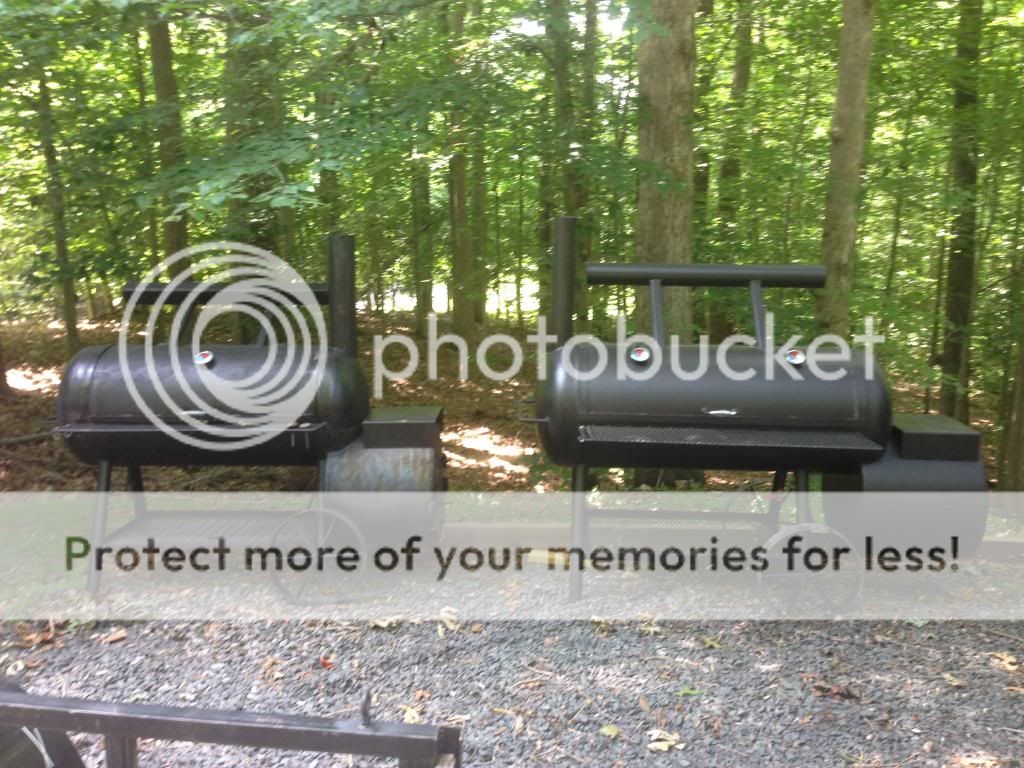
Here's his new smoker, between my two:

Here's just the two 'small' ones:
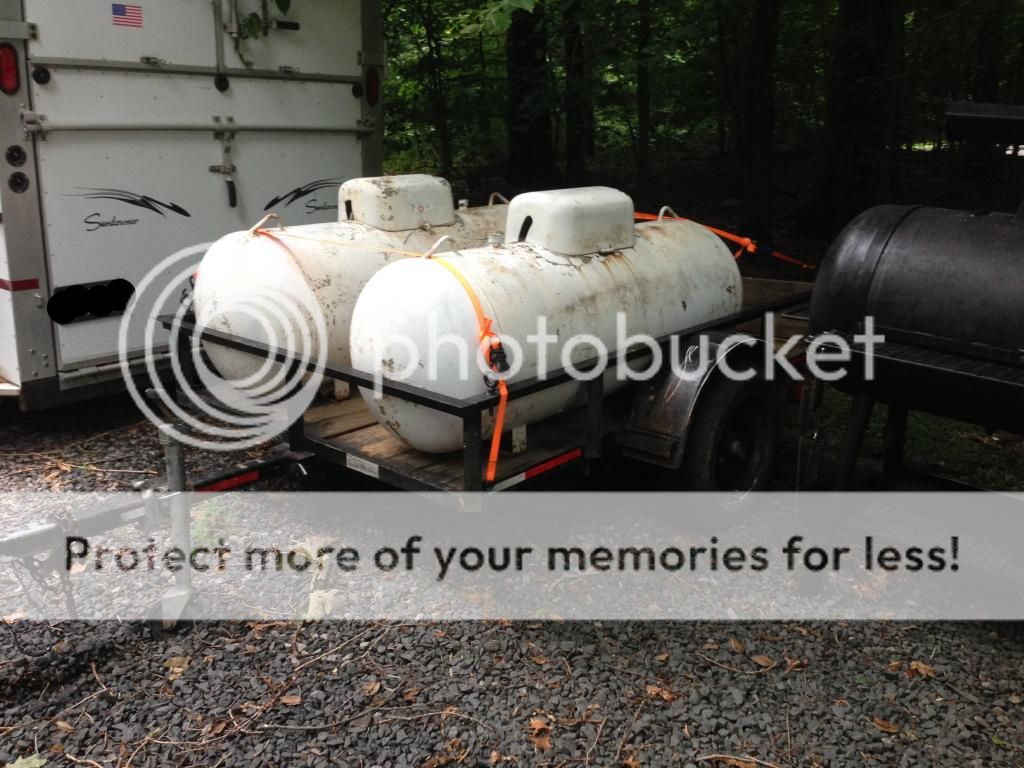
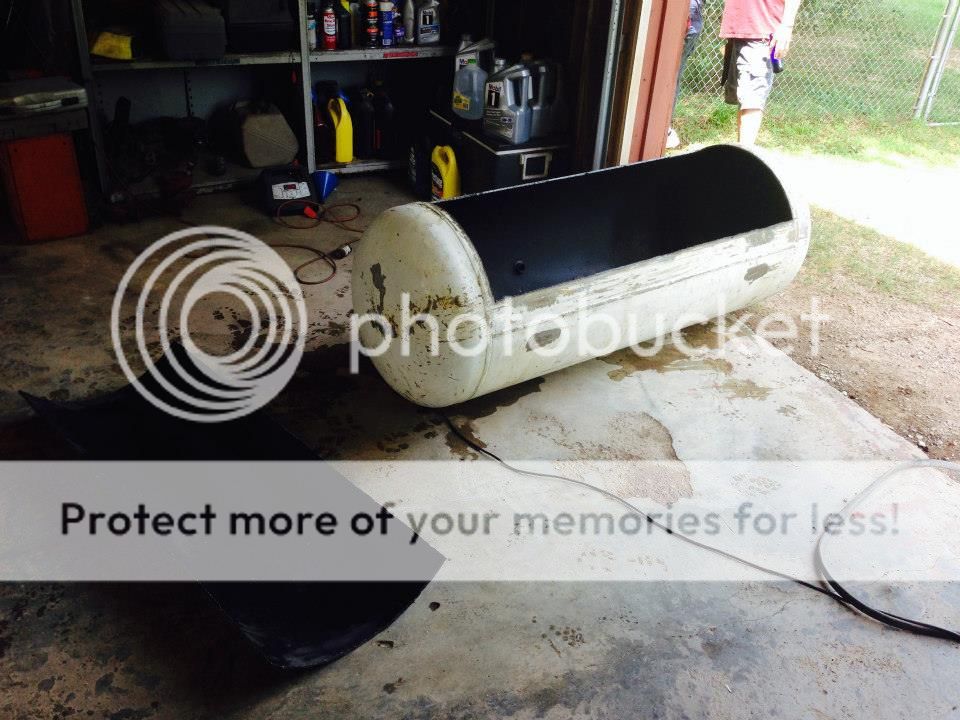
Here's what we started with. We only used one of the two tanks, the firebox was made with 2' diameter pipe, 5/16th" thick:
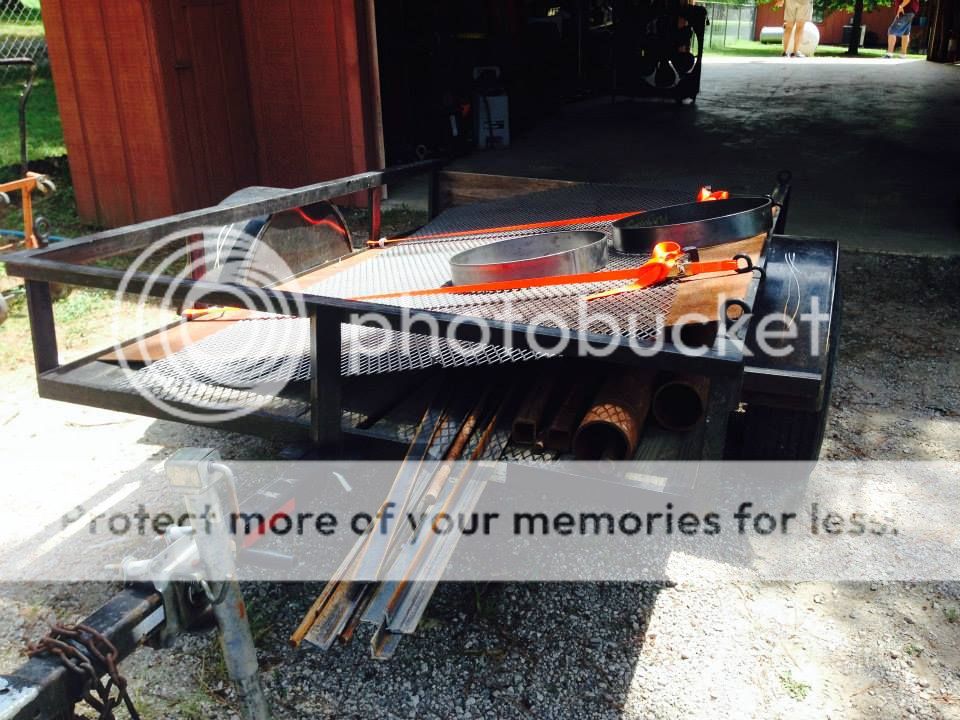
After our trip to the scrap metal yard:
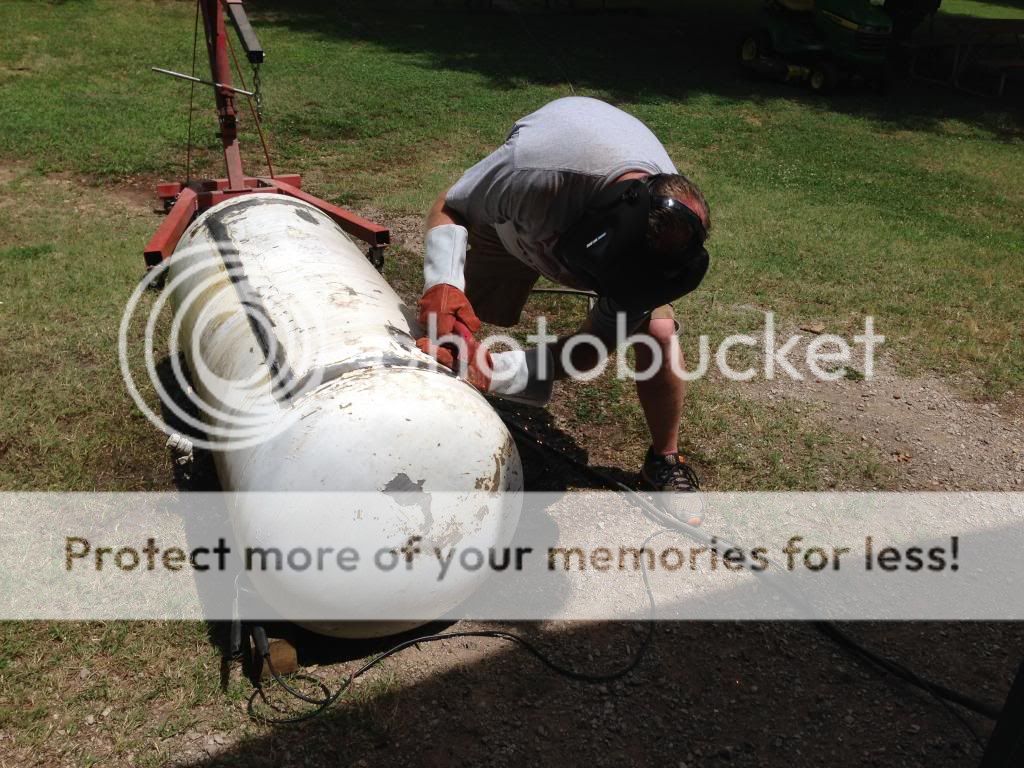
Here's SmokeNShine, plasma-cutting the door:
Door removed:
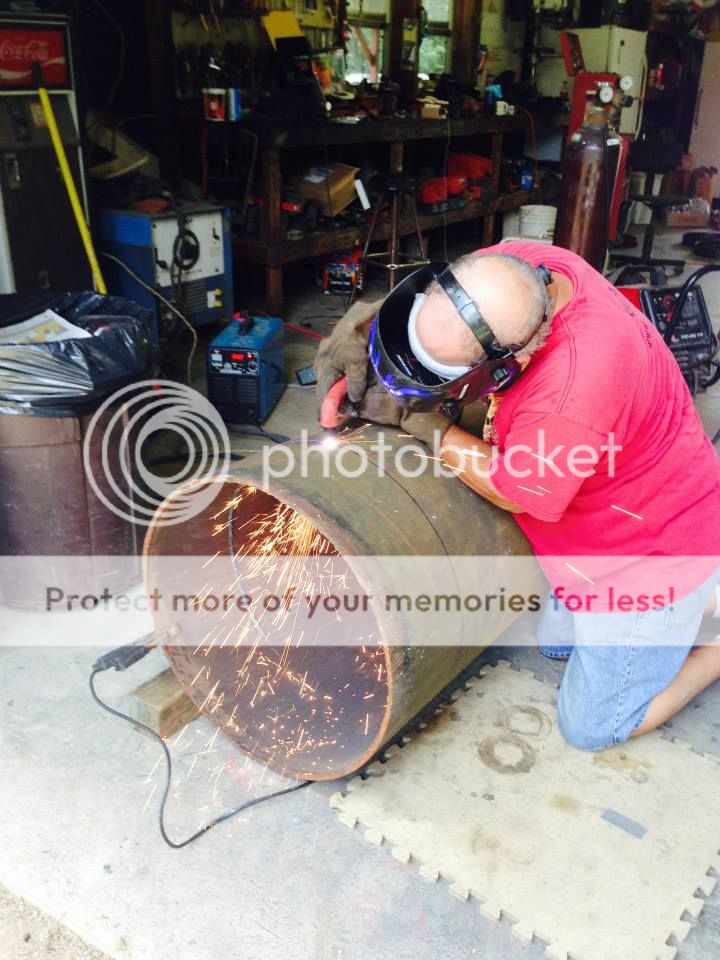
My Dad, plasma-cutting pipe for the firebox:
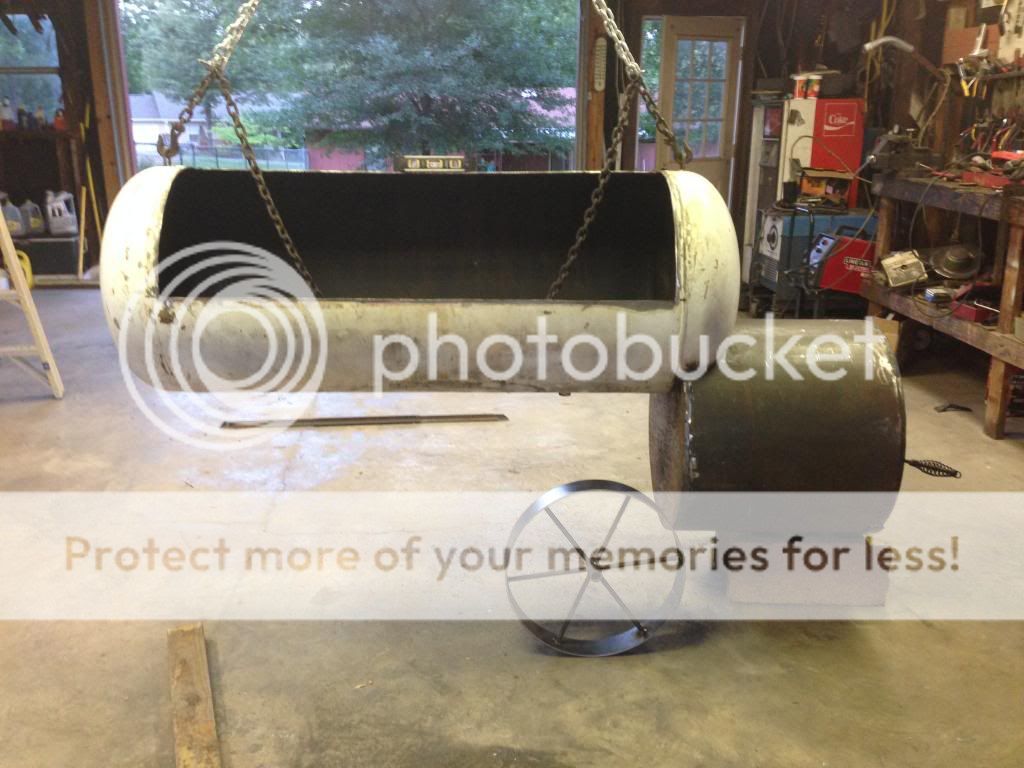
Fitting tank and firebox together (and showing off my homemade wagon wheels):
Starting to come together:
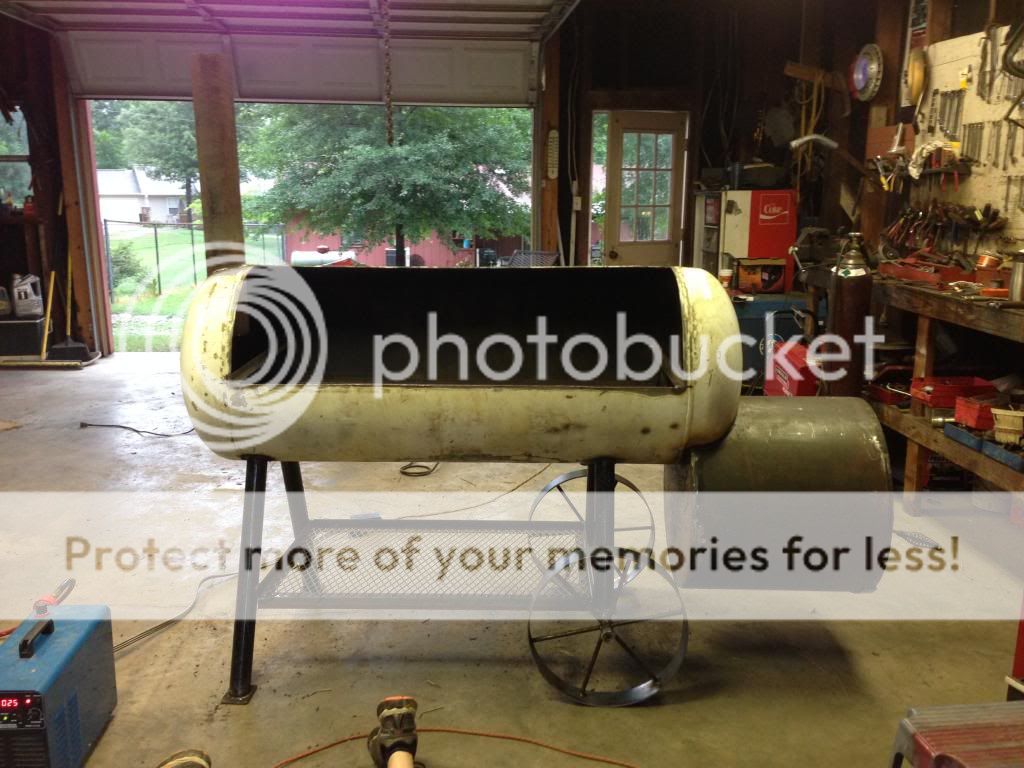
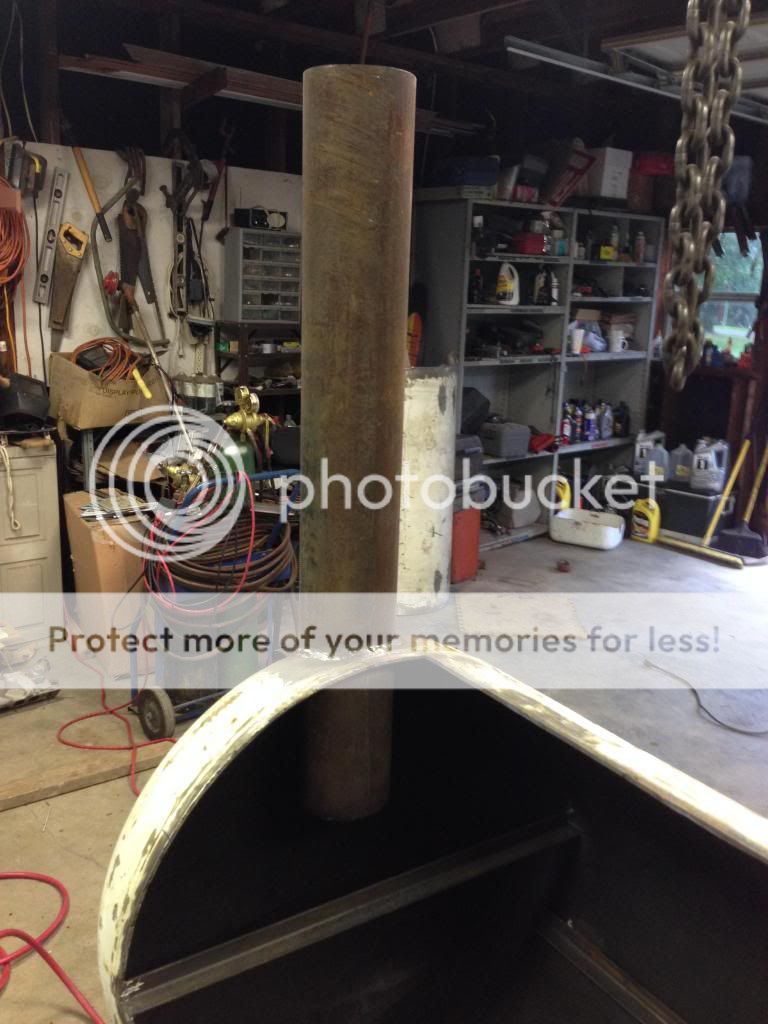
Smokestack in:
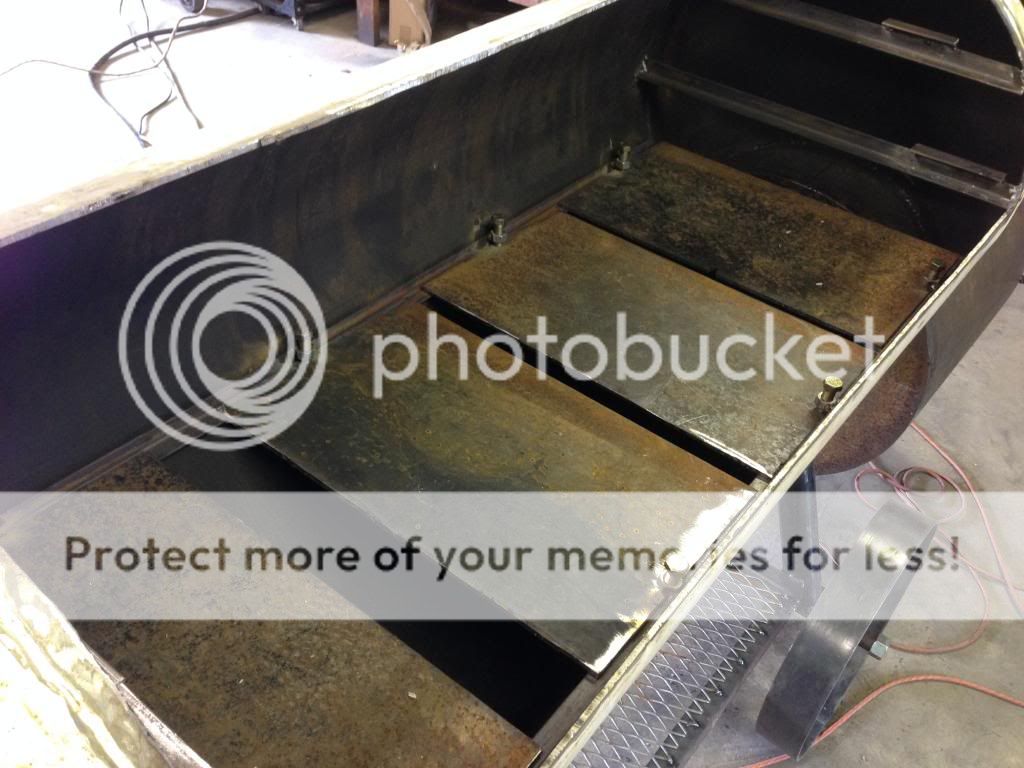
Tuning plates in and initially positioned based on gut feel:
Cooking racks in:

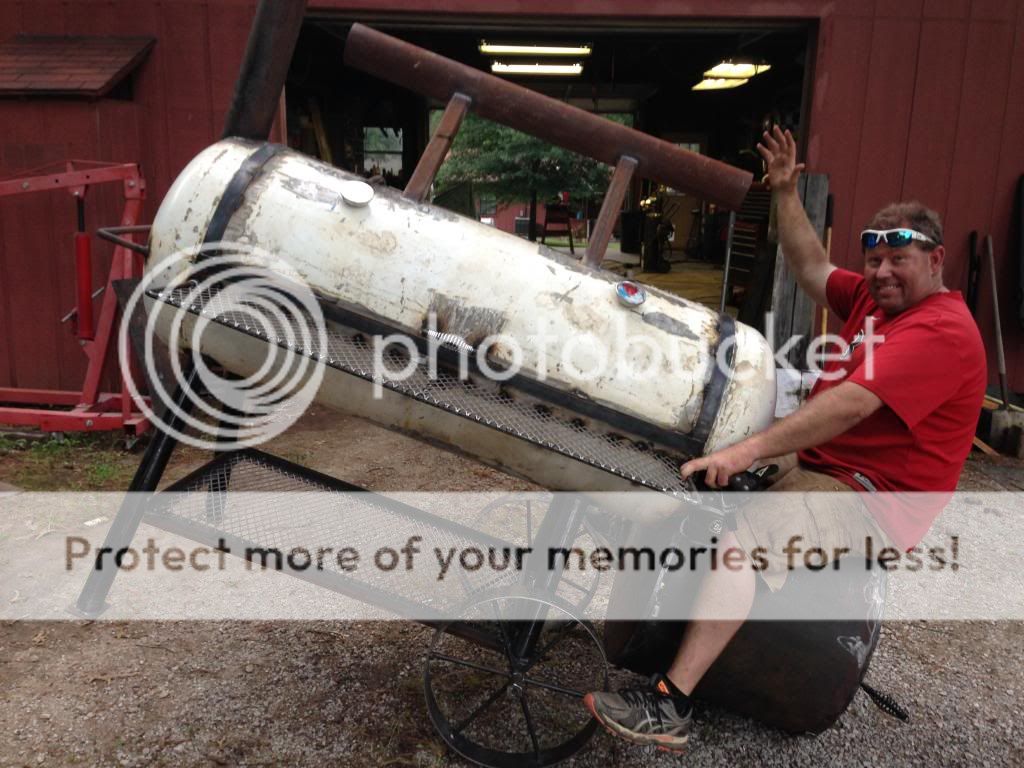
SmokeNShine, 'riding' his new toy:
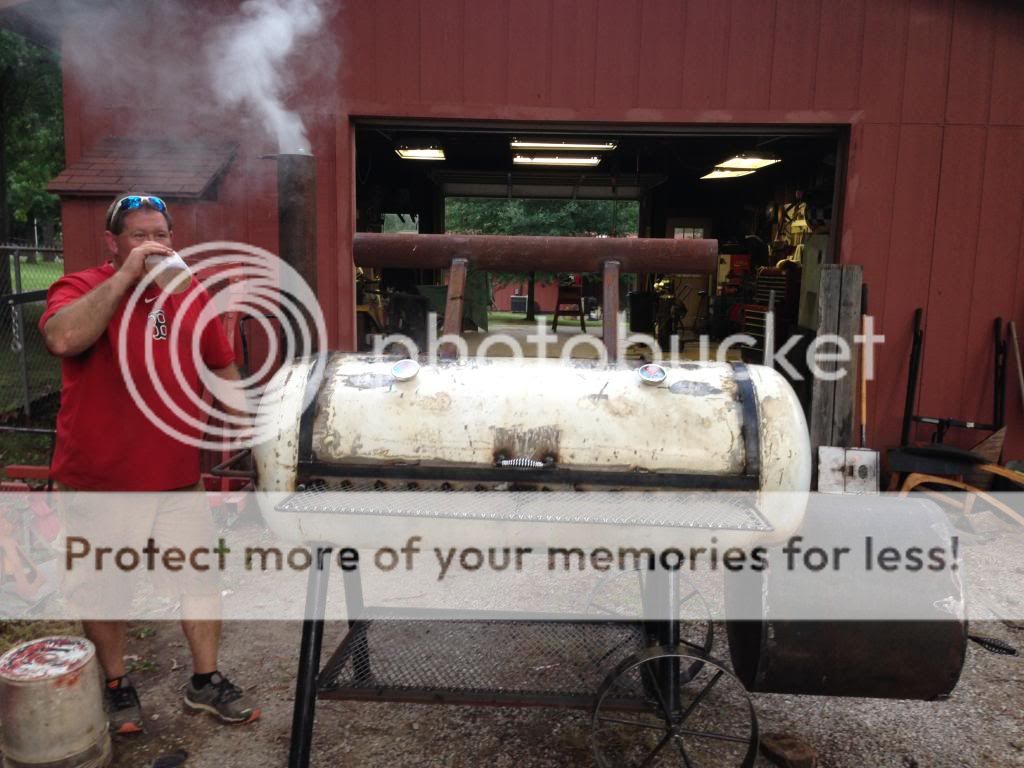
SmokeNShine, sipping some 'shine, while we burn the gunk out of it. We got it up to about 500F during this burn:
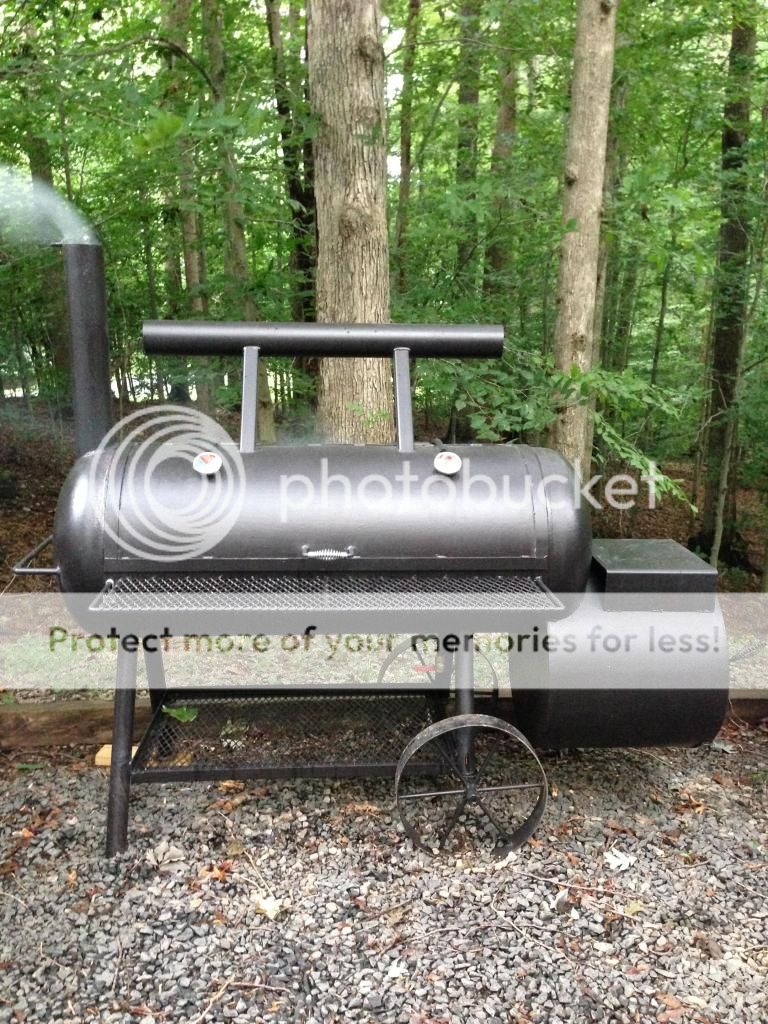
After paint the next day:
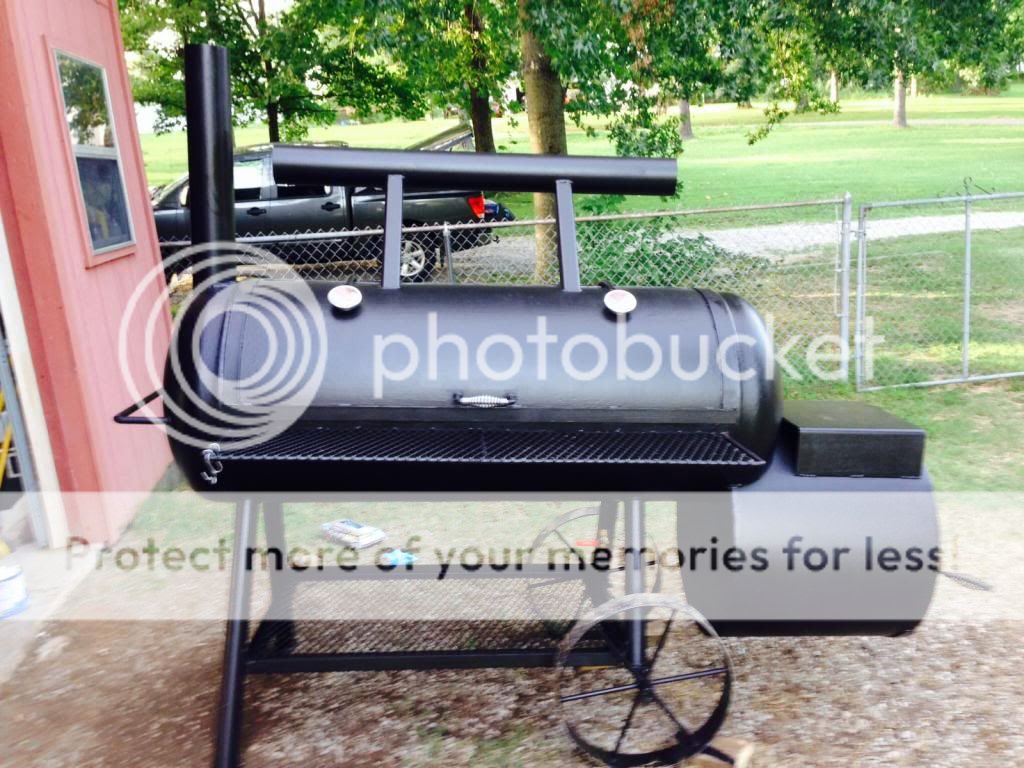
Firebox:

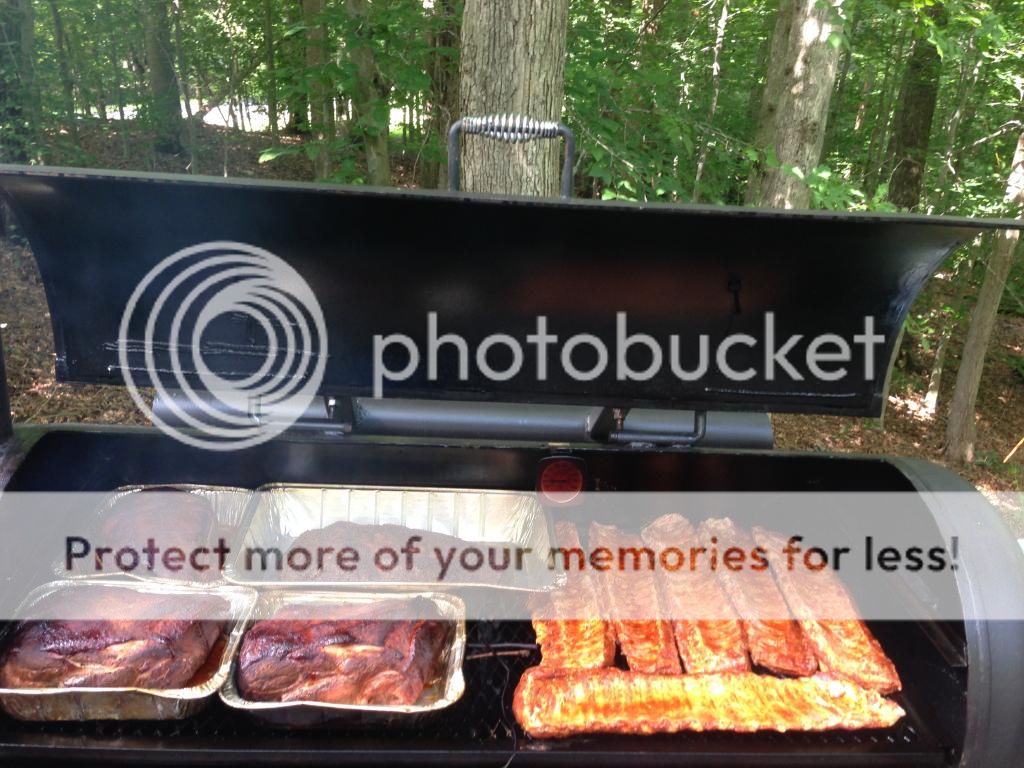
Back in northern VA for our first cook on July 4th:
Ribs had just gone on, shoulders and brisket flat had been there a while (I don't put 'em in pans until a couple hours in):
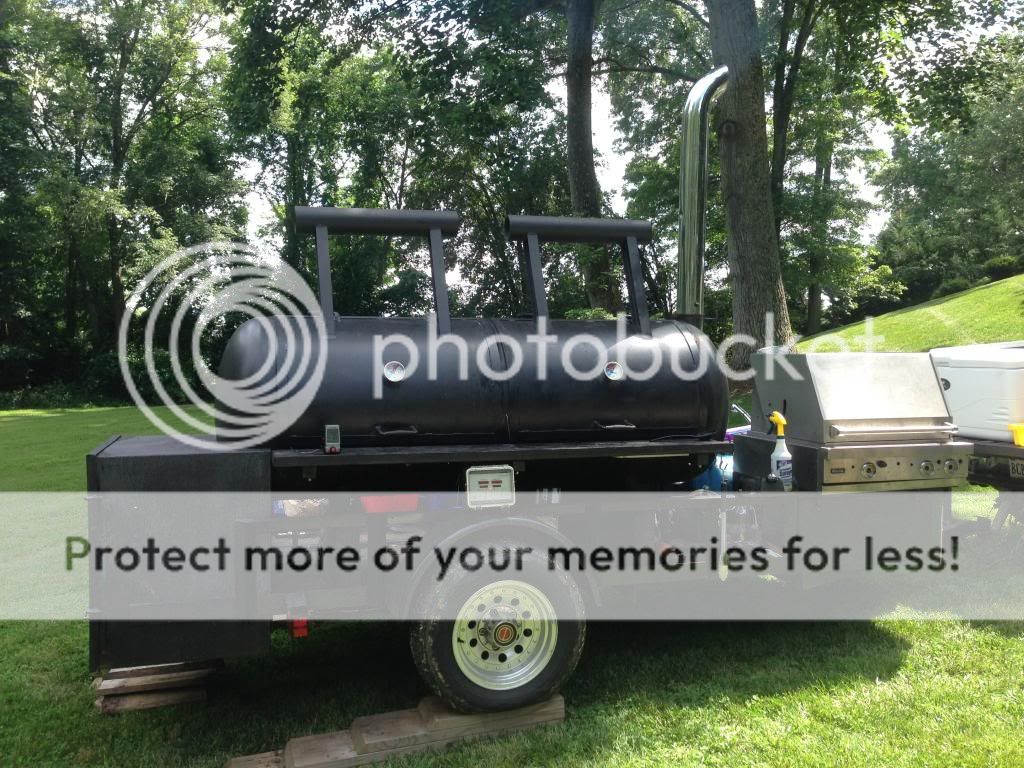
I think we built SmokeNShine a pretty sweet smoker, but it's still not as bad ass as my big boy - here it was at a party for my daughter's soccer team about a month ago:
A friend I work with at the Pentagon liked my new one so much that we just drove 1000 miles to my Dad's in Arkansas a few weeks ago to build him one. This time we used a 120 gallon tank, and we built it as a straight-flow with tuning plates. My 100 gallon reverse-flow is OK, but I actually get more even temp distro with my 250 gallon straight-flow smoker (also with tuning plates).
This is my friend's first pit, so I'm teaching him how to use it. We did a small cook on July 4th (3 shoulders, a brisket flat and 6 racks of baby backs). We're cooking again starting tonight for 65 people at work tomorrow. This time we're doing 4 shoulders, 5 briskets and 20 racks of ribs - we'll probably do the ribs on his new smoker and everything else on my big one.
Anyway, below are some pictures.
Oh, BTW, my friend just joined the Brethren too...he's SmokeNShine.
Here's his new smoker, between my two:
Here's just the two 'small' ones:
Here's what we started with. We only used one of the two tanks, the firebox was made with 2' diameter pipe, 5/16th" thick:
After our trip to the scrap metal yard:
Here's SmokeNShine, plasma-cutting the door:
Door removed:
My Dad, plasma-cutting pipe for the firebox:
Fitting tank and firebox together (and showing off my homemade wagon wheels):
Starting to come together:
Smokestack in:
Tuning plates in and initially positioned based on gut feel:
Cooking racks in:
SmokeNShine, 'riding' his new toy:
SmokeNShine, sipping some 'shine, while we burn the gunk out of it. We got it up to about 500F during this burn:
After paint the next day:
Firebox:
Back in northern VA for our first cook on July 4th:
Ribs had just gone on, shoulders and brisket flat had been there a while (I don't put 'em in pans until a couple hours in):
I think we built SmokeNShine a pretty sweet smoker, but it's still not as bad ass as my big boy - here it was at a party for my daughter's soccer team about a month ago:
