Building My New Cooker

speers90

is Blowin Smoke!
Joined
Aug 28, 2011
Messages
1,057
Reaction score
790
Points
0
Location
Waconia, MN
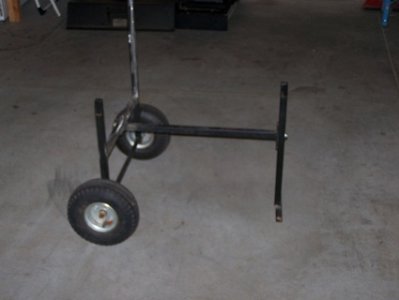
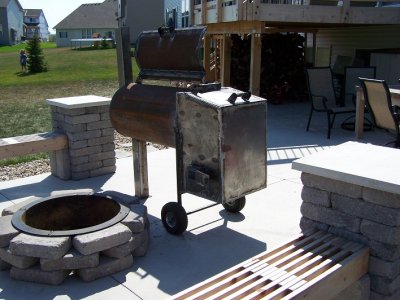
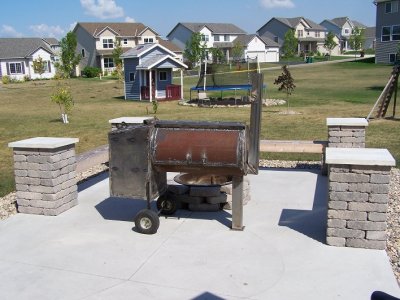
Got started on my new cooker build today. Went and picked up most of the steel and got my old cooker torn apart. I plan to use the wheels from the old cooker on my new own; as well as, a few other parts like handles.

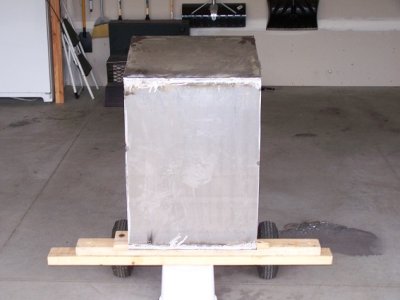
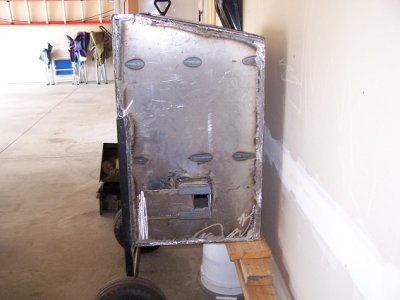
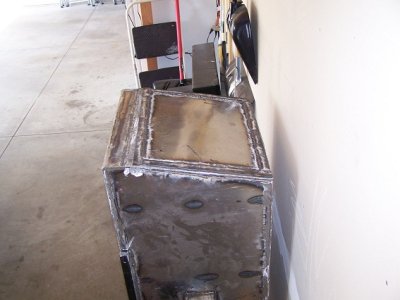
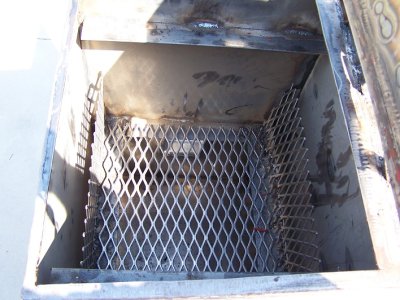
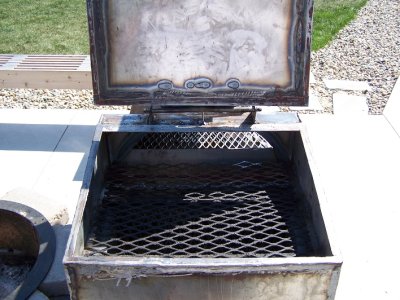
I was able to get the firebox/grill part tacked together and got a couple of the seems welded.

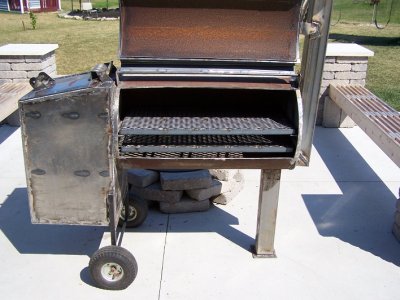
My firebox is 18" W X 20" D X 30" H. If this was solely for smoking I would not have made it that large, but at home I like to have one cooker that can do just about anything that I want. So this firebox will also serve as my grill.

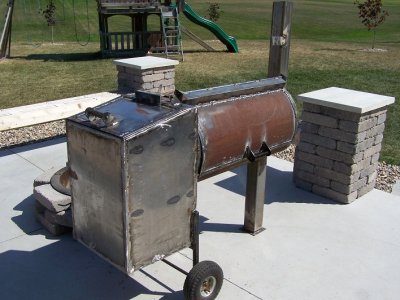
The cooking chamber will be 20" in diameter by 36" long. Which equates to roughly a 50 gallon tank if you were comparing it in size to an air or propane tank. I plan to have two racks in the cooking chamber with the exhaust pipe below the bottom rack.

Not sure if I will get to work on it anymore until Monday.
 

Attachments

  • Frame.jpg
    Frame.jpg
    82.5 KB · Views: 336
  • Firebox.jpg
    Firebox.jpg
    133.2 KB · Views: 335
  • Firebox1.jpg
    Firebox1.jpg
    144.7 KB · Views: 335
I am using 11 gauge steel, which is about 1/8 of an inch. I believe that the pipe I am using for the cooking chamber may be slightly thicker than that.
 
I was able to make some progress on my cooker build today. Finished welding the firebox and got the air intake installed along with a sliding plate to control air flow. I was also able to get the firebox door started, had to quit just short of putting the hinge on. Which I am hoping to get done tomorrow. I still need to put handles on the door and the sliding plate.

The firebox door warped pretty bad on me at some point, so it took a little work with my persuasion hammer to get it back where I wanted it. That being said, I am pleased with how the dry fit is at this point and am pretty confident that I will be able to get a good seal with some high temp. gasket sealer.

Food for thought: not being the best welder will dramatically increase your grinding skills :doh:

Any grinding advice for getting into small areas, like corners?
 

Attachments

  • Air Intake.jpg
    Air Intake.jpg
    157.5 KB · Views: 215
  • Firebox Door.jpg
    Firebox Door.jpg
    153.9 KB · Views: 215
I've been able to get quite a bit done on the cooker the past couple of days, to the point that I can actually use it to grill on. It's been a long 7 days without a grill! Never realized how often I use the grill until I didn't have one.

Here are some pics of the grill in it's cooking environment. It is on our patio, next to our fire pit, which is where I pre-burn my wood for the coals. In one of the pics, you may notice about 3/4 a cord of wood underneath the deck! On occasion I will cook with lump charcoal but I really love the end product when I pre-burn my own wood for coals.

The grill will also be stored under the deck when not in use, along with my Cajun Deep Fryer. Man I love my cooking toys!

The next step is to get a good seal around both doors and do a test burn to make sure all of my welds are air tight. But, I am going to go out on a limb here and pretty much guarantee that they are not! After that I'll figure out what I am going to do about finishing it.
 

Attachments

  • FireboxCoalBasket.jpg
    FireboxCoalBasket.jpg
    285.8 KB · Views: 157
  • CookerBack.jpg
    CookerBack.jpg
    273.3 KB · Views: 157
  • WholeCooker3.jpg
    WholeCooker3.jpg
    282.6 KB · Views: 158
  • WholeCooker2.jpg
    WholeCooker2.jpg
    272.4 KB · Views: 161
  • WholeCooker1.jpg
    WholeCooker1.jpg
    291.7 KB · Views: 162
  • CookerGrill.jpg
    CookerGrill.jpg
    298.6 KB · Views: 156
Looks good in regards to gettin a grinder in to the corners, get your self a mini right angle grinder that runs on air and grab a box of 3m roloc disc. They come in 5 grits and do a good job with surface prep. They also make abrasive disc to fit that mandrel
 
looking real good
waiting to see the pron of all the good q coming from it
 
Looks awesome!! Is that your man cave by the trampoline in the first pic? :laugh:
 
Looks awesome!! Is that your man cave by the trampoline in the first pic? :laugh:
That is actually in the neighbors yard, but I could use to take cover in if I was in a lot of trouble at home!

I got the cooker fired up for the first time tonight. Used the grill/firebox to broil some pork burgers and hot dogs. Intended to take some pictures but the kiddo's were losing their mind hungry, so I guess it will have to wait until next time.

With a small fire just to grill over, I hit temps of 260 in the smoking chamber, I was pretty happy with that for a couple of reasons. The fire was small and I haven't sealed up the doors yet. There appeared to be more heat coming out of the doors than then exhaust. I was able to hold temps in the 220 - 250 range for about 3 hours with a small fire, which is already a significant improvement over my previous cooker. Ultimately I will be very pleased if I can hold temps in my cooking range for 6 - 8 hours without to much fuss, at this point I am somewhat optimistic that the configuration of this grill will allow it!
 
what kind of baffels u got going?

Not using any baffles to speak of. I have the air entering the cooking chamber at the top, and then it exits the other end at the bottom of the pipe. My thinking is that this has to be more efficient because I am making the hot air stay in the cooker until it works its way down to exhaust. Since I am getting the hot air to work for me than my fire doesn't have to be burning as hot; theoretically, I should be able to get a longer burn on a load of coals. Is this considered to be reverse flow?

I should note that I learned to cook with wood that had been burnt down to coals. It would be extremely easy to over smoke your meat with this configuration if you did not pre-burn your wood. Although, this setup does work well with lump.
 
Back
Top