My First UDS...

gmatt

Knows what a fatty is.
Joined
Mar 9, 2011
Messages
51
Reaction score
19
Points
0
Location
Boca Raton, FL
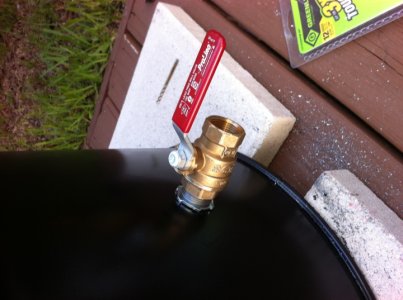
Ok so I'm a nube. This is my first UDS. Looking to share and learn. Thanks for looking.

here's some pics....

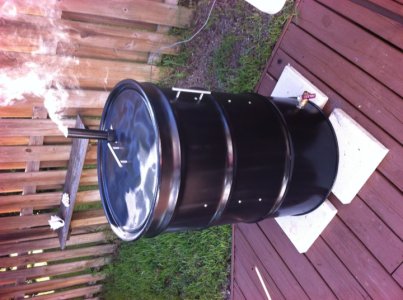
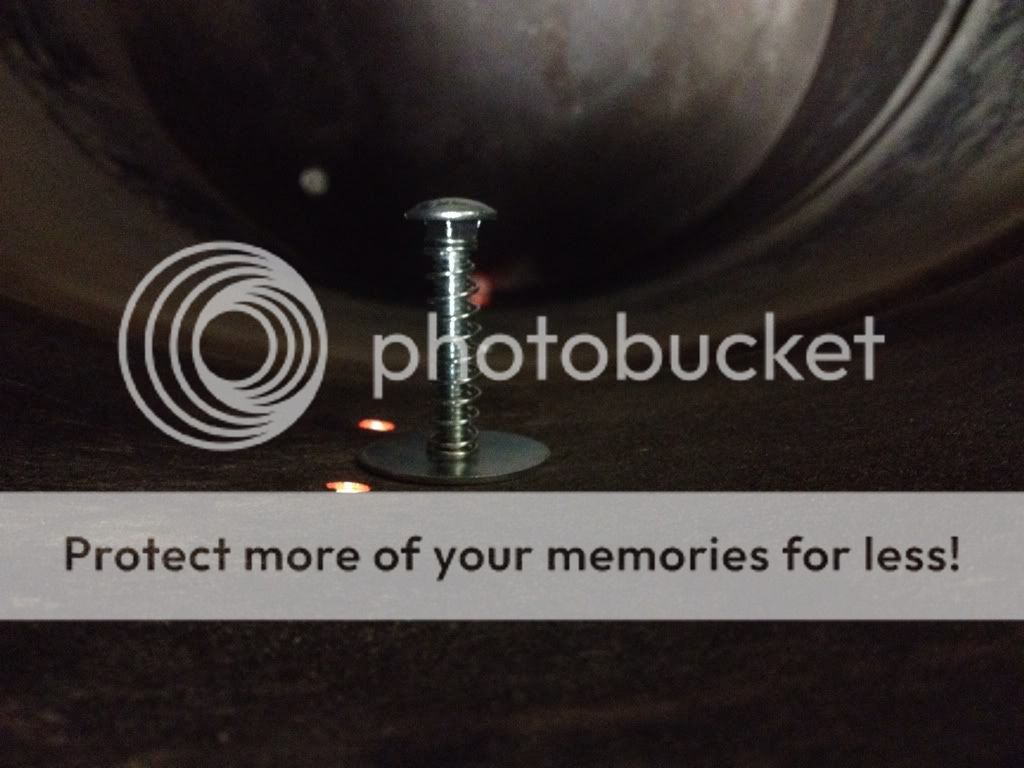
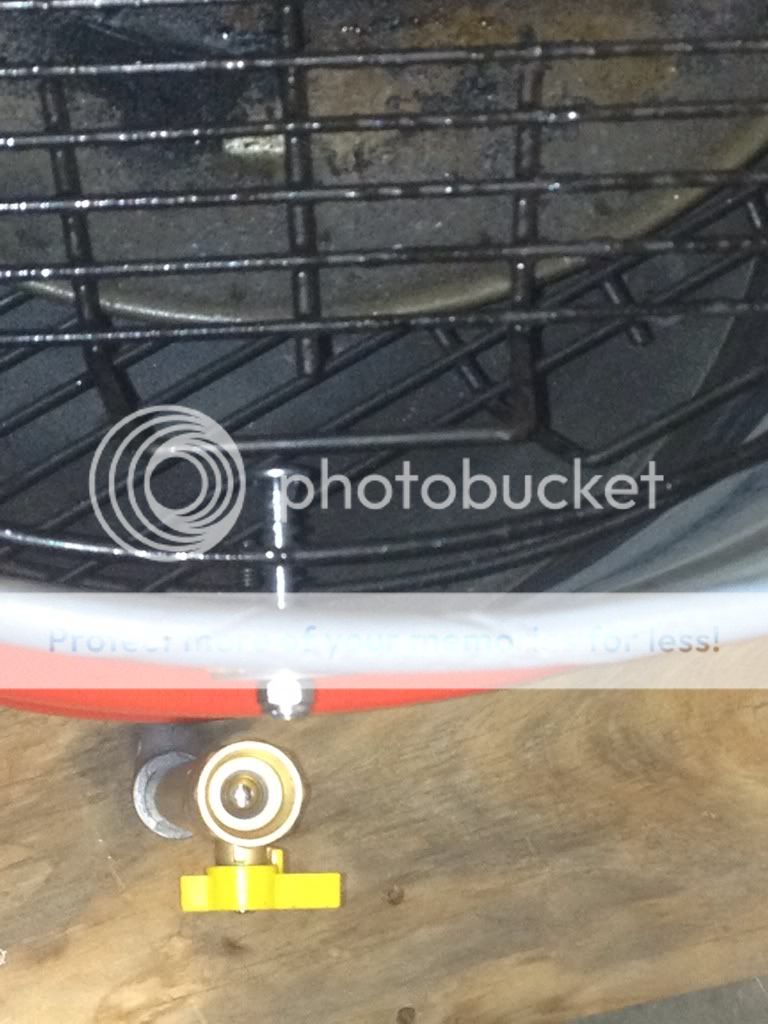
My Brand new never seen anything in it drum...

attachment.php


Then after I cleaned paint off and burned inside (just in case of rust inhibitors).

attachment.php
 

Attachments

  • sm_IMG_2649.JPG
    sm_IMG_2649.JPG
    113 KB · Views: 1,059
  • sm_IMG_2651.JPG
    sm_IMG_2651.JPG
    109.6 KB · Views: 1,446
I kinda liked the old paint. The salvage drum part made me chuckle. What are your plans for the drum. I need details and be thorough.
 
I kinda liked the old paint. The salvage drum part made me chuckle. What are your plans for the drum. I need details and be thorough.

Yeah i did think about leaving it. Kinda liked the label as well. But i didnt' know what would happen to the paint after first heat. Decided to use engine paint instead.

I have more pics and think i have a drawing somewhere. will upload more. Stay tuned...
 
Installed 3/4" shutoff valve for air.
 

Attachments

  • sm_IMG_2666.JPG
    sm_IMG_2666.JPG
    104 KB · Views: 379
built charcoal basket out of Webber charcoal grate and expanded metal. Originally i put a cookie sheet over it to prevent direct heat reaching the meat but I think now im just going to rely on the drip pan. I have do a few cooks on it to figure it out.
 

Attachments

  • sm_IMG_2669.JPG
    sm_IMG_2669.JPG
    121.1 KB · Views: 1,023
I just tore my UDS down and gave it a new paint job, fire box and vents.
My advise to you is to put your handles just below the the first ring or 14" from the top. Makes it a lot easier to carry. Make sure you use a good sealing clear coat. I neglected this and got a rusty drum after the first rain.
Anyway this is mine as it sits in the garage. Just finished the re-assembly a few hours ago.
8F61706D-6B2E-40FF-9CC5-2FB6B4CDC1BE-7187-000009498A89CF94.jpg
 
I used 1 1/2in. long 1/4in bolts to suspend the Weber 22.5 in. Gill Grates. I set 4 bolts up on each of three levels, bottom for a grate and the drip pan. Second level grate for ribs, chicken, brisket, and the 3rd top level grate for pork shoulder. Mostly right now not using the 2nd grate (need to buy another one). Also realized too late there needs to be more than 5 inches separating each level. At 5 inches i had to cut 3/8in off of two of the bolts on the second level, in order to get the bottom grate in and out.
 

Attachments

  • sm_IMG_2664.JPG
    sm_IMG_2664.JPG
    135.6 KB · Views: 1,025
Nice job. Looks like my drum. Heat shield, some cooks will call for a heat shield, some will not. I bought a universal cover from WalMart to cover my drum. Cheep and thin. But it works.
 
First Smoke!!! Yeah baby! Ok not the best pork shoulder but the price was right. Almost 8 lbs. purchased at Walmart. Burned smoke about 1 1/2 hours before adding meat. I was pleasantly surprised to see how little lump charcoal was needed to finish cook.
 

Attachments

  • sm_IMG_2683.JPG
    sm_IMG_2683.JPG
    130.5 KB · Views: 870
Looks good! Out of curiosity why did you make your handles vertical?
I used 3 screws on mine but made sure they were all long enough that the grate could never fall in. Now on the rebuild I turned around one and spring loaded it.
Works pretty well so far.
463EEF84-0A57-45B4-9016-6C898C952392-7187-000009504F6EEF05.jpg


11826FAE-631C-4320-95A1-B7BBD7A29CFF-7187-000009507DD502A1.jpg


I used a thread lock nut on the outside so I don't have to worry about it falling off.
7CA40F8A-9F34-4D72-A4C9-8DB78C1A4D9F-7187-0000095072A0FFC1.jpg
 
I just tore my UDS down and gave it a new paint job, fire box and vents.
My advise to you is to put your handles just below the the first ring or 14" from the top. Makes it a lot easier to carry. Make sure you use a good sealing clear coat. I neglected this and got a rusty drum after the first rain.
Anyway this is mine as it sits in the garage. Just finished the re-assembly a few hours ago.
8F61706D-6B2E-40FF-9CC5-2FB6B4CDC1BE-7187-000009498A89CF94.jpg

Sealing Clear coat? which i had thought of that. does it need to be heat resistant?

Yours looks Great! I really like the exhaust pipe. ;-)
 
Looks good! Out of curiosity why did you make your handles vertical?
I used 3 screws on mine but made sure they were all long enough that the grate could never fall in. Now on the rebuild I turned around one and spring loaded it.
Works pretty well so far.


I used a thread lock nut on the outside so I don't have to worry about it falling off.

thanks! I like you spring loaded bolts. Great idea.

I made the handles vertical for two reasons. 1. the attachment points were very narrow and screws small , installed horizontally i didn't want them to bend or break the narrow bolts. 2. install vertically with my elbows at 90 degrees at my sides i can easily grab the vertical handles without bending my wrists. can carry with all grates and charcoal basket with charcoal. But really need to get wheels in this puppy.
 
Back
Top