Mini UDS/WSM Throw together

J_Smoke

Found some matches.
Joined
Jul 5, 2013
Messages
6
Reaction score
1
Points
0
Location
Lebanon, OR
I have a WSM at home I have put some hours on, and had the urge to have something smoked here at the family's place while on vacation.

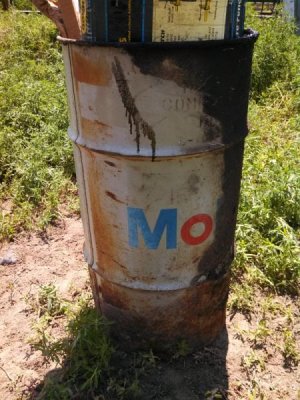
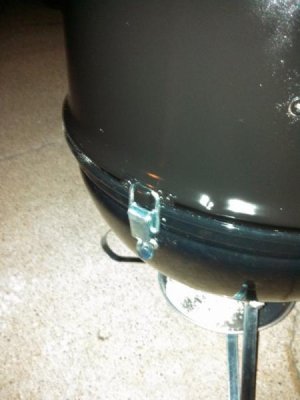
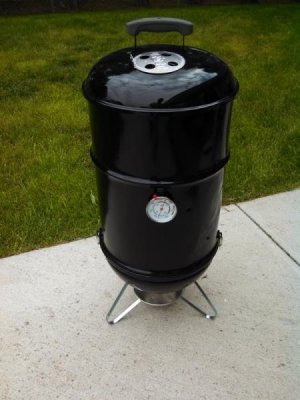
I found a new in box Smokey Joe on CL for .50 on the dollar, and then found an old oil barrel out on the farm filled with used oil and buried up to the first rib for who knows how long!

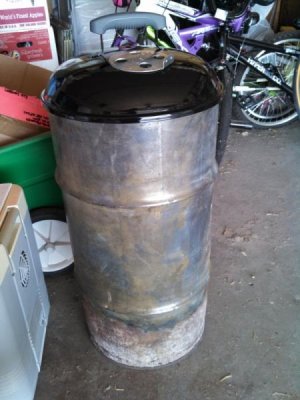
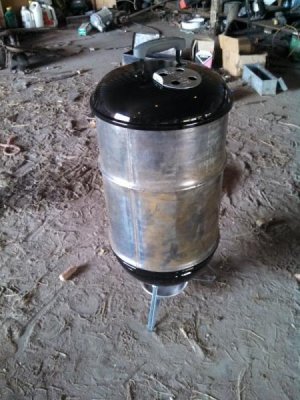
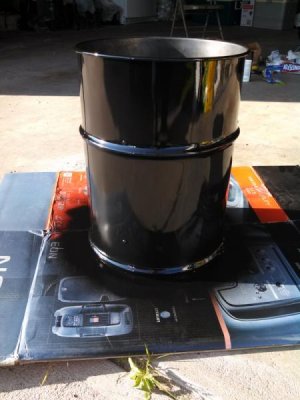
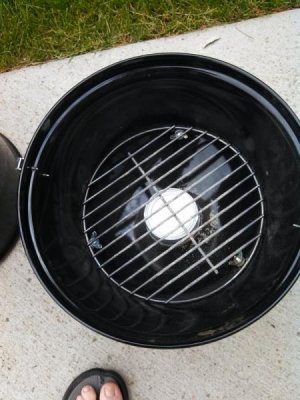
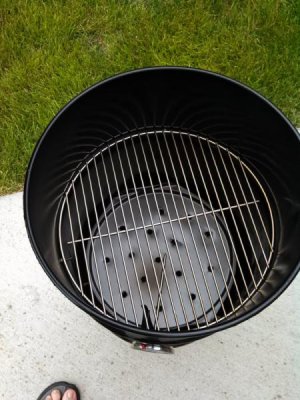
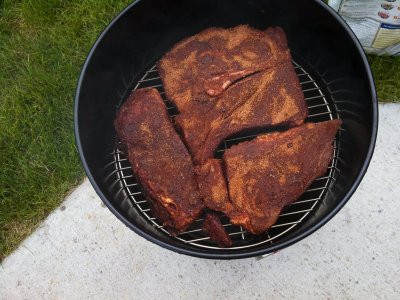
Here are some pics of the on the road project...I did what I could with what I had. :wink:

Looking forward to the pork shoulder in the brine!


I will leave it here so when I come back to visit we can enjoy some good eats!
 

Attachments

  • pic1.jpg
    pic1.jpg
    64.4 KB · Views: 256
  • pic2.jpg
    pic2.jpg
    41.4 KB · Views: 256
  • pic3.jpg
    pic3.jpg
    54.1 KB · Views: 255
  • pic4.jpg
    pic4.jpg
    37 KB · Views: 255
  • pic5.jpg
    pic5.jpg
    28.7 KB · Views: 256
  • pic6.jpg
    pic6.jpg
    38.5 KB · Views: 255
  • pic7.jpg
    pic7.jpg
    49 KB · Views: 250
  • pic8.jpg
    pic8.jpg
    56.2 KB · Views: 250
  • pic9.jpg
    pic9.jpg
    258.3 KB · Views: 251
Last edited:
Nice build I have the same thermo on my Mini it is very accurate and super responsive.
 
Did you paint the inside? Looks really clean! I had the same latch idea for mine! Good looking mini wsm
 
It's a Taylor candy thermo. I got this one at my Hardware store, I have seen them at Sears too. You won't find a better thermo for 7.00.

What kind of thermo is it? I can use another one
 
Nice build!
I have the same 16-gallon drum midi-wsm. I started out with a drilled out drum bottom but after a couple of cooks I decided to cut the bottom out completely.
I also replaced the original legs with wider aluminum legs for stability.
 
Bludawg had the thermo right. Its what the hardware store had handy and I like the large face.

I didnt paint the inside. After I burned it out, I oiled it up for the first smoke. :grin:
 
Ain't that cute as all get out!! I have enjoyed my mini... you will too.. Nice job..:thumb:
 
I have 2 of these in my garage. I used 2 racks and a water pan. Works great for anything less than 5 hours. Lump is a must as the ashes clog the bottom vent easily. I built my last one for under $25. They work great. Love them for ribs and if you do a longer cook the mid section comes off pretty nicely.
 
I just did my pork shoulder tonight with lump coal. I wrapped the shoulder at 4 hours, 155 degrees and pulled it off at the 7.5 hour mark at 200 degrees. I let it rest for an hour and a half and was fantastic. The temp held steady at 250 for 7.5 hours without stoking/adding more fuel. That was impressive to me. I did place a deep tuna can over the lower vent to keep the ash from suffocating the air flow. The top sides of the can was vented.

I did want to add at least one more rack to the build, but I didn't want to drive 45 minutes to the nearest town to get another rack. The local hardware store in this little po-dunk of 700 population didn't have a replacement grate I could buy. There is ample room though, even enough for three racks.

If I do this again, I will change a few things:
Yes, add at least one more rack, possibly two.
Access holes at each grate level to insert a thermometer into the meat at the corresponding level.
Handles. (couldn't find anything at the hardware store)
Extended vent adjustment handles. They are too hot to adjust after it comes to temp. (DUH)
Possibly finding a different solution for the legs to add stability.

This however, again, did a great job for an impromptu smoker without a big box store to shop at. :)

Thanks for all the comments. Any tips or criticisms welcome! :-D
 
mine are both 15 gallon drums. The most I ever got was 6 hours of run time without adding hot coals. How were your coals set up? Brand of coals? I'll try the can idea over the vent.
 
Back
Top