LoneStarMojo
is one Smokin' Farker
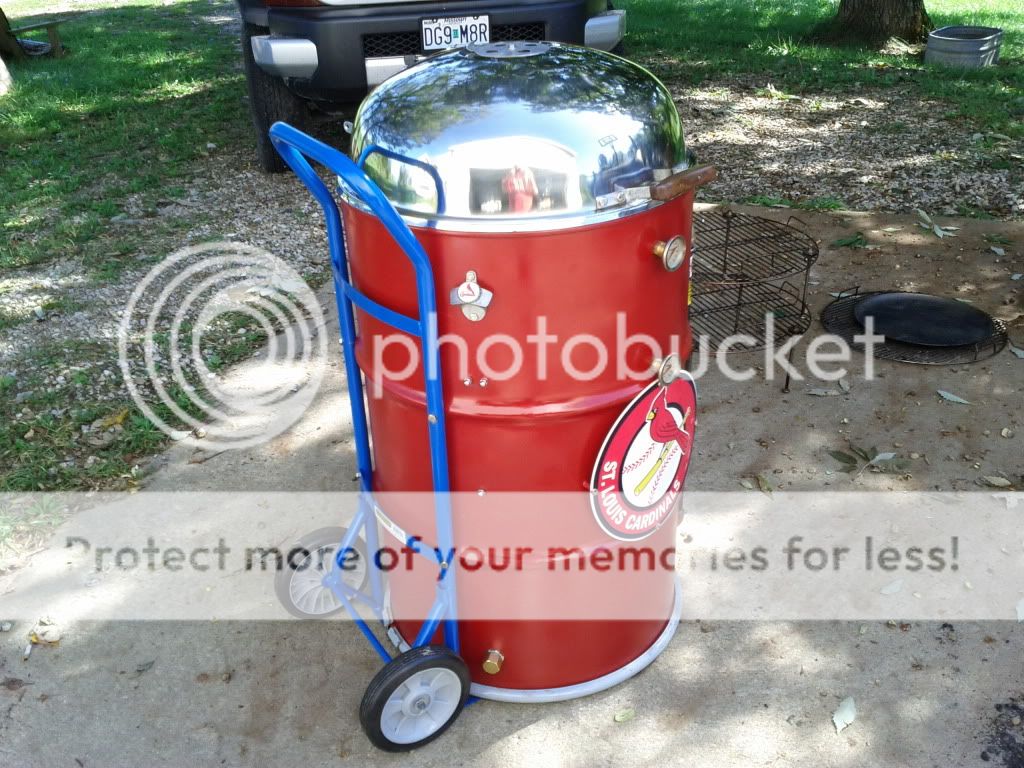
Well it's been fun and the no-weld St. Louis Cardinals drum for my youngest step-son is done! Broke it in last nite with hot-n-fast (275-300 degrees) pork chops and delivered it today. He had an electric smoker as a gift from his in-laws but when he and the wife split he just didn't enjoy using it anymore so he gave it away. I noticed he'd mentioned several times this last year he wished he still had a smoker. It's his birthday so I couldn't help myself. Here it is finished and I'll break down the build for ya....
It starts off as your basic drum. Most fittings and hardware are brass and SS. High temp paint of course. It's upside down...better fit for my lid. Did the propane weed burner and grinder routine and took it down to metal inside and out. Primered, 3 coats of red and 2 coats of clear. Got the basic hardware installed and added the ports for temp gauges and probes. Nothing new here. I've read the UDS Bible.
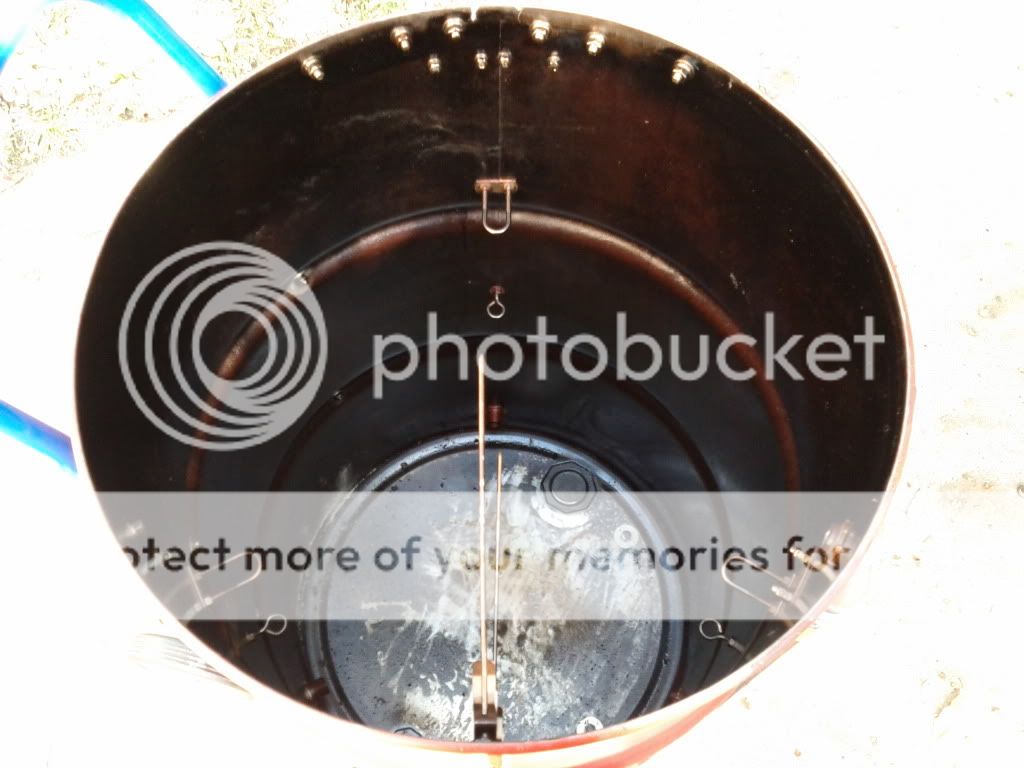
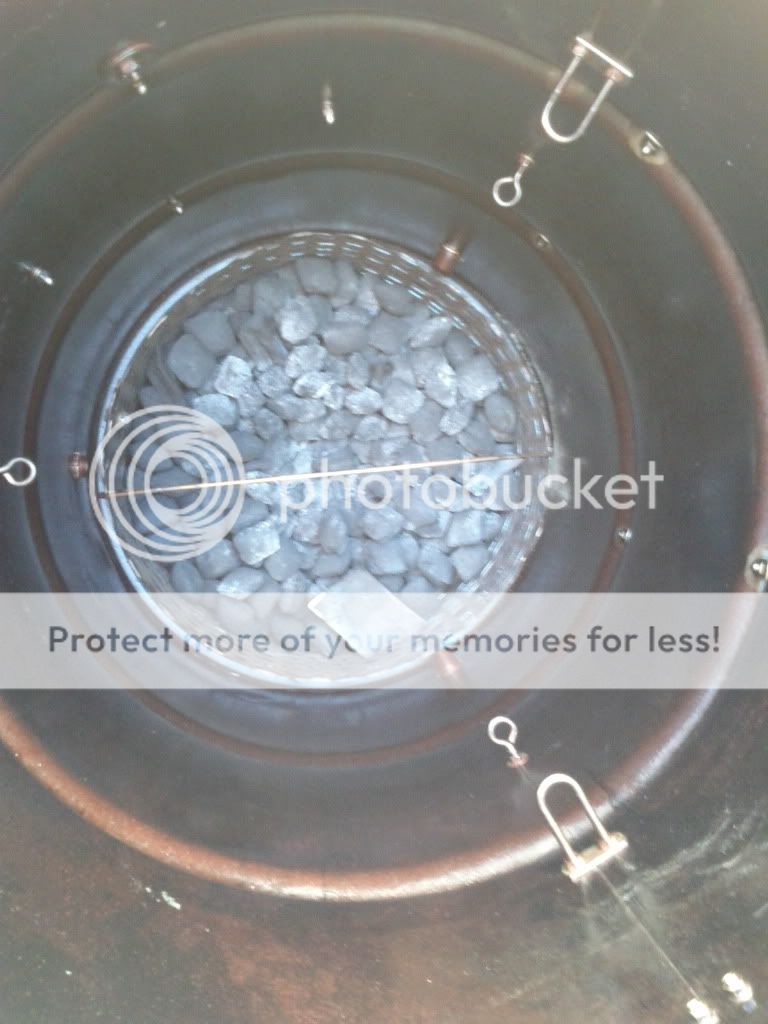
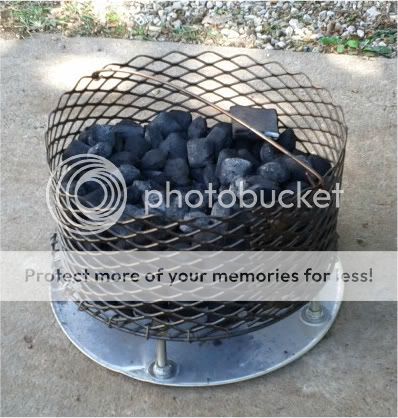
With charcoal basket (17" grate and heavy duty expanded metal 8" deep with an 18" pizza pan and 1/2" legs)
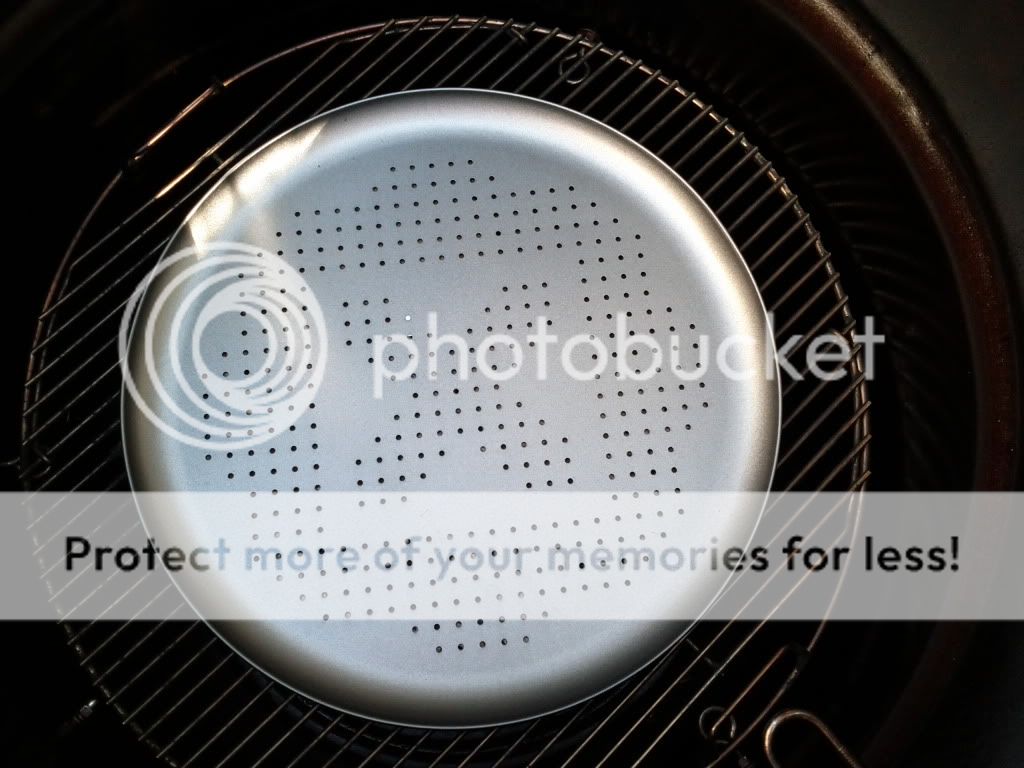
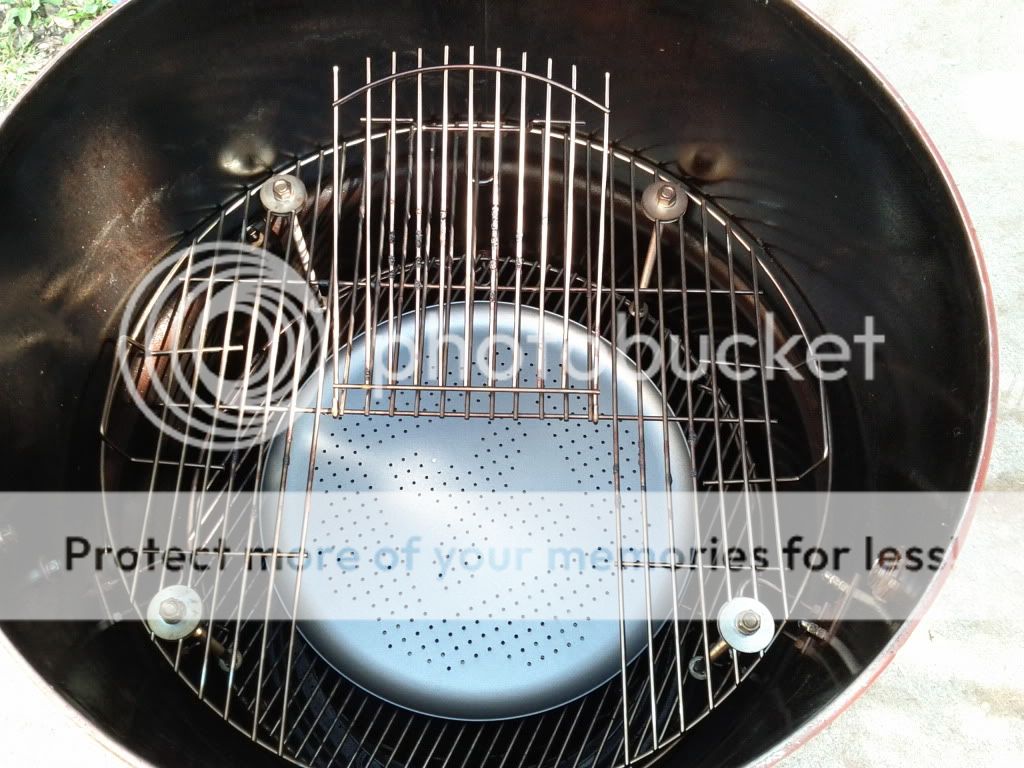
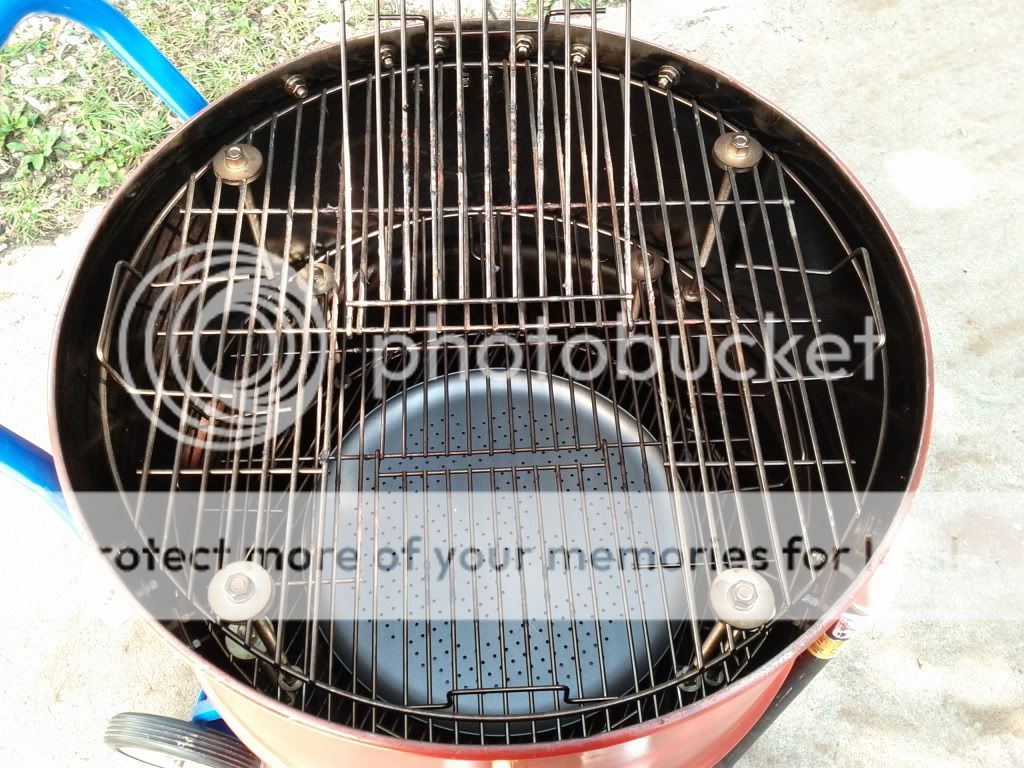
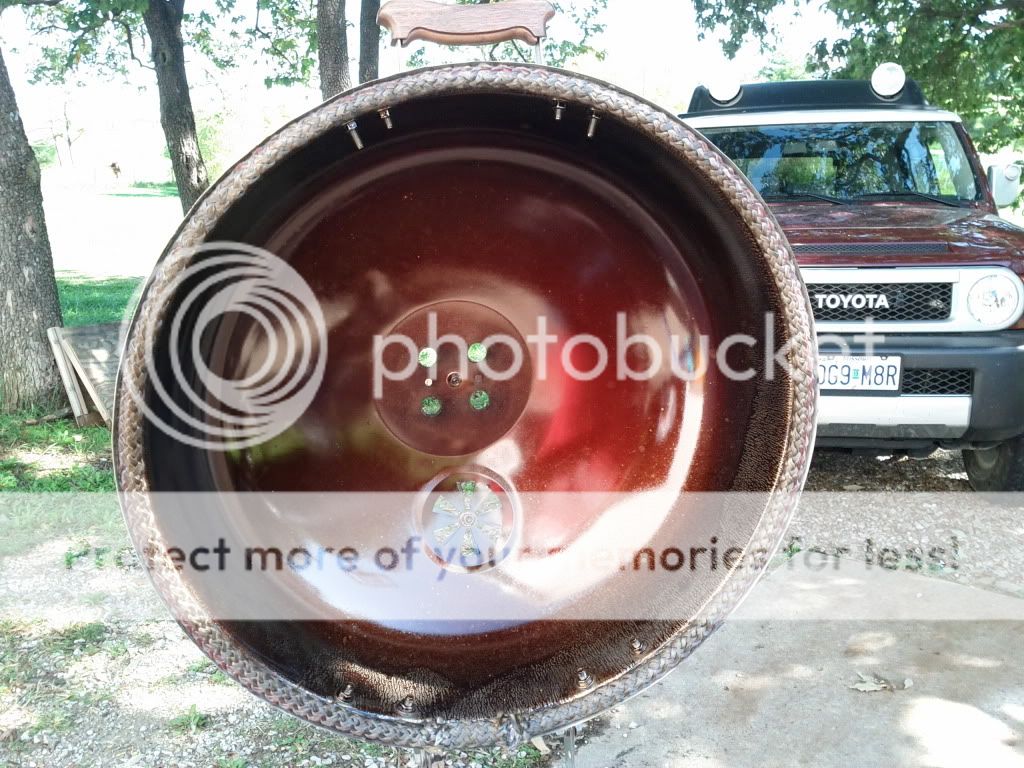
Installed diffuser grate at mid-drum and uses a 16" perf pizza pan I got on clearance from Wally World. Works great!
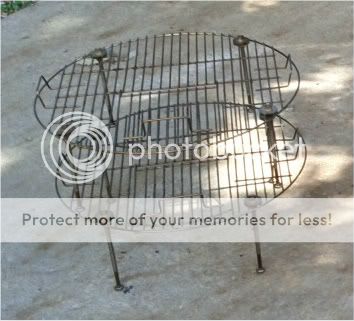
Has double "hot swapable" food grates with a neat little hatch from 2 NIB Arctic kettles I sourced on CL.
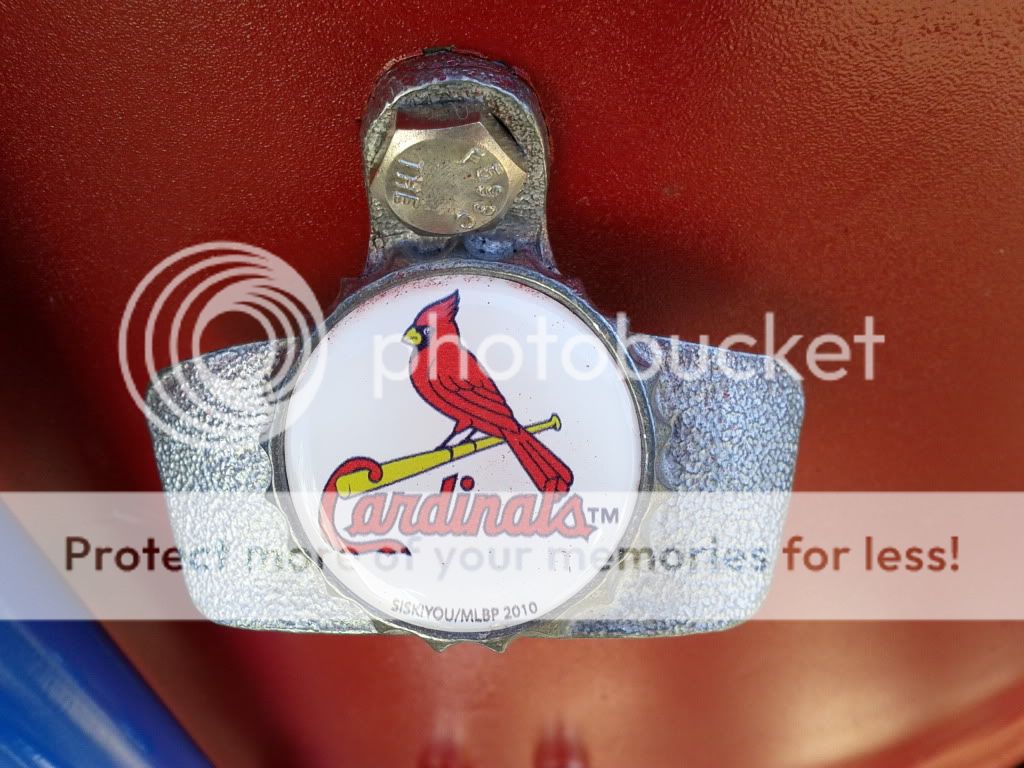
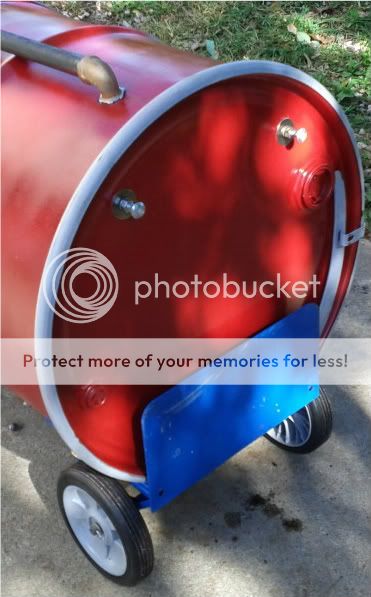
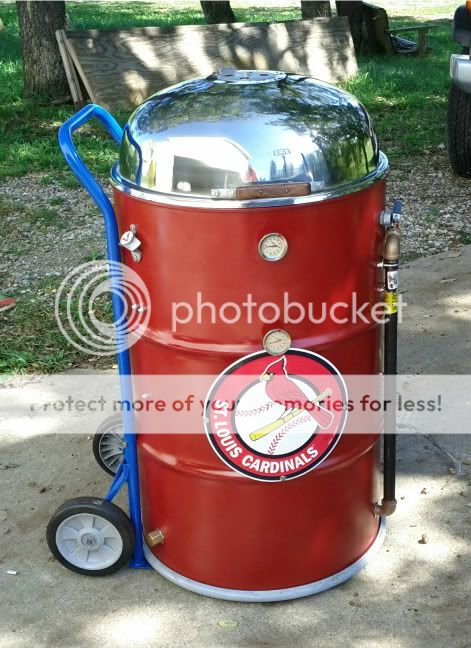
Now for the things that make this drum more custom. It's got the RedBird bottle opener (because smokin works up a thirst!) and the hand truck for better portability (with some added feet to level it out) and the steel RedBird signage (he's a HUGE fan).
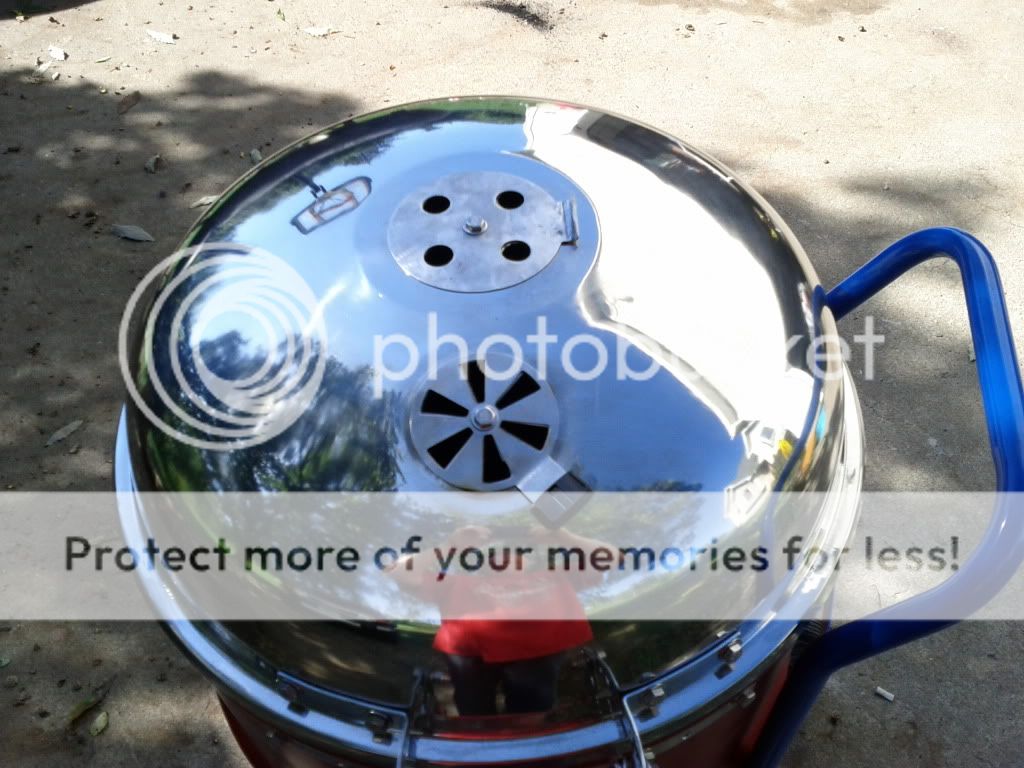
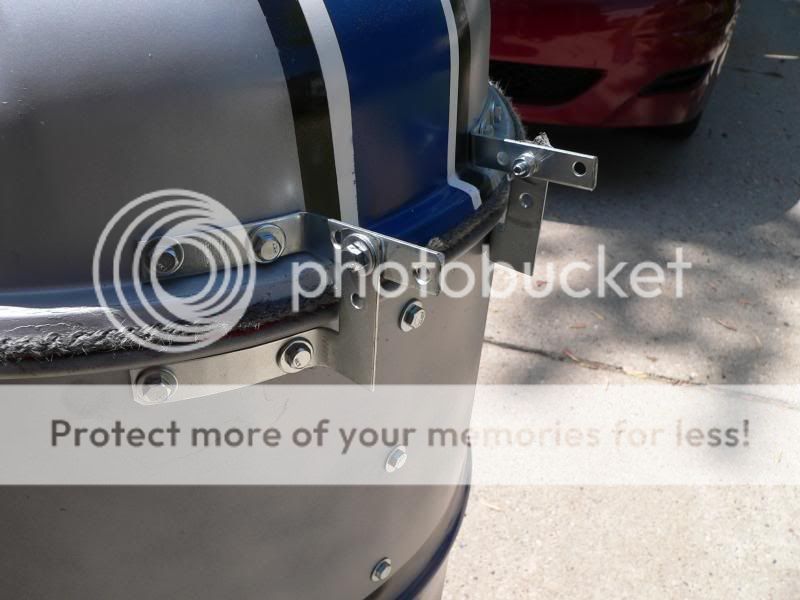
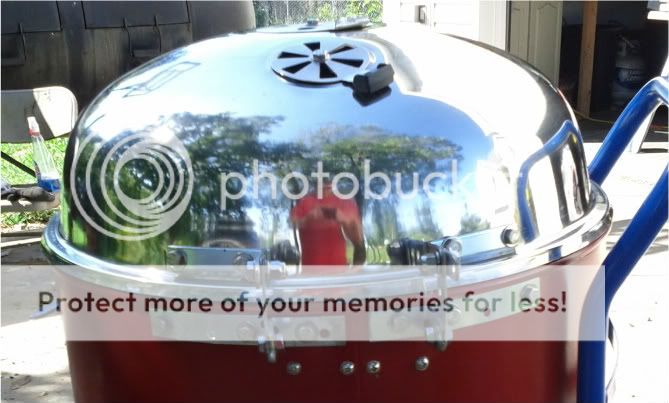
And now for my favorite part.....the lid! This is a stainless steel Arctic kettle lid. The lip is tweaked outwards a bit and fitted with a stove gasket and seals perfectly. I used the flat plateau on top to install another daisy wheel so it could breath better. Then I fashioned the hinge brackets ala a fellow Brethren (mnmgri4's Detroit Lions UDS hinge). My first try at the hinge looked great but proved to be a bit too flexy. So I fashioned heavier duty supports that fit between the drum-mounted halves of the hinges. Very stable now. Added washers in between where the top and bottoms hinge pieces meet for better fluidity and nylon lock nuts because opening and closing without them made the lid lucy goosey. Thanks mnmgri4 for posting such great hinge model!
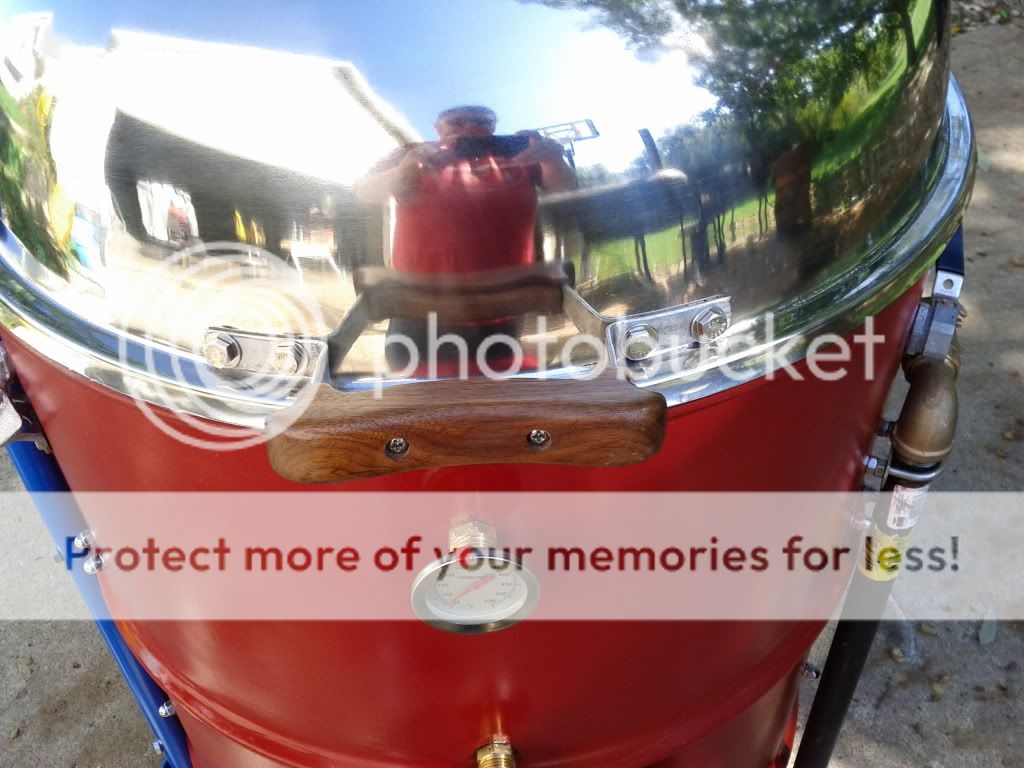
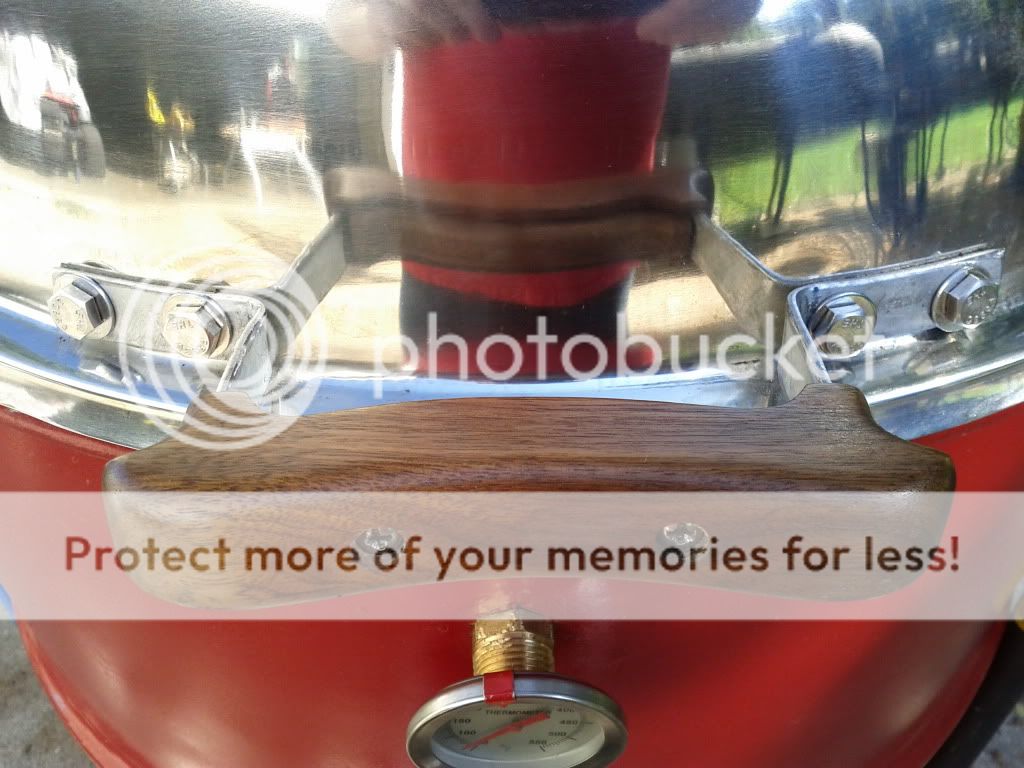
Now... Heeeerrrrreeessss Marty! Thanks to Marty Leach for a really nice piece of handle art. I fabricated the handle frame from 3/4" bar stock shaved down to 5/8" and perfectly finished off with Marty's custom wood handy work! If you don't have a Marty handle your UDS could end up with HIC (handle inferiority complex).
And here's the final product!
Oh and here's the pork chops! Smoked at 275-300 to IT of 150...moist but 145 would be perfect.


That's my UDS. Until I build the next one, thanks for lookin!
It starts off as your basic drum. Most fittings and hardware are brass and SS. High temp paint of course. It's upside down...better fit for my lid. Did the propane weed burner and grinder routine and took it down to metal inside and out. Primered, 3 coats of red and 2 coats of clear. Got the basic hardware installed and added the ports for temp gauges and probes. Nothing new here. I've read the UDS Bible.
With charcoal basket (17" grate and heavy duty expanded metal 8" deep with an 18" pizza pan and 1/2" legs)
Installed diffuser grate at mid-drum and uses a 16" perf pizza pan I got on clearance from Wally World. Works great!
Has double "hot swapable" food grates with a neat little hatch from 2 NIB Arctic kettles I sourced on CL.
Now for the things that make this drum more custom. It's got the RedBird bottle opener (because smokin works up a thirst!) and the hand truck for better portability (with some added feet to level it out) and the steel RedBird signage (he's a HUGE fan).
And now for my favorite part.....the lid! This is a stainless steel Arctic kettle lid. The lip is tweaked outwards a bit and fitted with a stove gasket and seals perfectly. I used the flat plateau on top to install another daisy wheel so it could breath better. Then I fashioned the hinge brackets ala a fellow Brethren (mnmgri4's Detroit Lions UDS hinge). My first try at the hinge looked great but proved to be a bit too flexy. So I fashioned heavier duty supports that fit between the drum-mounted halves of the hinges. Very stable now. Added washers in between where the top and bottoms hinge pieces meet for better fluidity and nylon lock nuts because opening and closing without them made the lid lucy goosey. Thanks mnmgri4 for posting such great hinge model!
Now... Heeeerrrrreeessss Marty! Thanks to Marty Leach for a really nice piece of handle art. I fabricated the handle frame from 3/4" bar stock shaved down to 5/8" and perfectly finished off with Marty's custom wood handy work! If you don't have a Marty handle your UDS could end up with HIC (handle inferiority complex).
And here's the final product!
Oh and here's the pork chops! Smoked at 275-300 to IT of 150...moist but 145 would be perfect.
That's my UDS. Until I build the next one, thanks for lookin!
Last edited:
") I built my charcoal basket to approximately the same specs you did and it will hold enough charcoal to run for way longer than I'd ever want to cook...
I built my charcoal basket to approximately the same specs you did and it will hold enough charcoal to run for way longer than I'd ever want to cook...