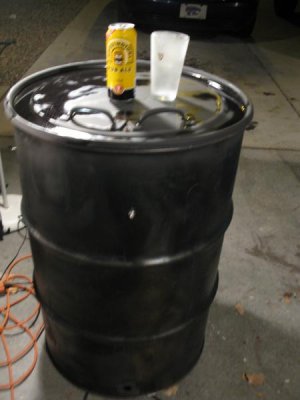
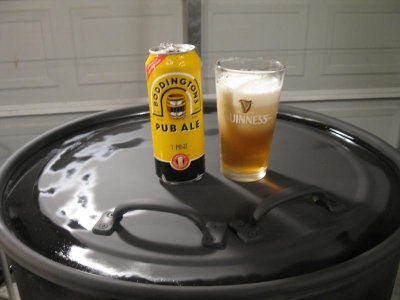
Finished up my first UDS this weekend, and test fired it. (Ok finished is a bit of an overstatement - there are still needs a custom paint job, handles, smoke stack, and of course a bottle opener). The test fire left me with a lot of unanswered issues.
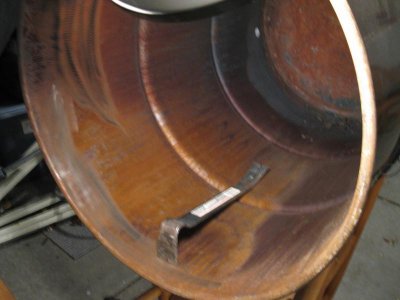
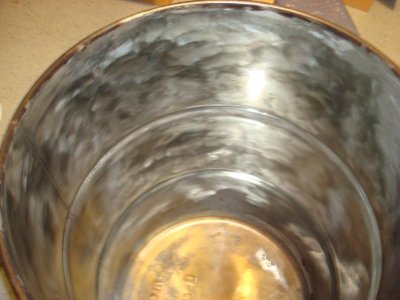
The pit currently has 3-3/4x1/2 bushings (set at 3" on outside), the 3"x18" cheep grill ash pan, and a fire basket made of #9 3/4 expanded mesh - 14" diameter, 12" tall - with the fire grill set at 3", and a 2" conduit fitting smokestack.
With a load of approximately 5lbs of terrible wood, and 5lbs of the bottom of a bag of lump, I got 175 with the valve open, 225 with the valve and one nipple open, and 300 with the valve and both nipples open.
Those temps seemed low to me. But hard to say if I work it with 10lbs of dryer lump (and a smoke stack) what the temps will end up. I am worried about the 3" height of the ask tray - I could cut it down, or ventilate it. Seems overkill to change to 1" nipples, but wonder if the bushings 3/4x1/2 bushings are restricting draft.
Anyway, suggestions are welcome - will fire it up again next week with better lump and a smoke stack (before I start drilling and cutting more).
Oh, what temps does the UDS crowd like to use for chicken? My wife read some on 350-375, which I can not reach at the moment.