chasmosis
Knows what a fatty is.
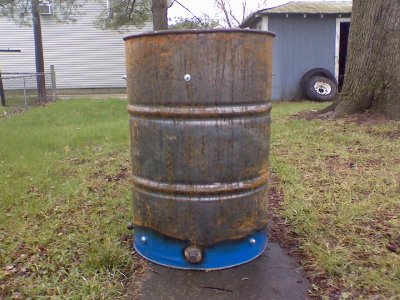
OK. I get sum parts today to build my UDS. I have been reading the threads and i've seen a few people who have the air intake 1" thur 3" off the bottom of the drum. My charcoal basket is 12" high and I do not want the cooking grate right on top of the coals. So may drum has a flat top. How far down should the cooking grate be form the top?
P.S. I take sum pics. go to http://s606.photobucket.com/albums/tt149/akarpf/
I believe that the current wisdom is set your basket in your barrel, measure up 24 inches from the bottom of your charcoal basket. Thats where your lowest grate goes.