C
CAustin919
Guest
For a long time now grilling and smoking has dominated my cooking. Well, at least for 3 seasons out of the year, winter sucks here in Michigan. The last few seasons we have been smoking pork A$$, brisket, sausage and a few other things on a Weber kettle. We have tweaked a setup in the kettle that turns out some pretty good que’. But it is most definitely a pain in the A$$. Constant temperature fluctuations… always reloading wood chunks and coal… Severe size limitations… I kept thinking I needed something bigger and better.
So for about the last 2 years me, my dad, and a couple of my buddies have been talking about how fun it would be to “build” our own smoker. Nothing fancy, but just something we could call our own and get the job done a little better. I started to do some research on the net. I had no idea where to start. Then my dad said he had (3) 55 gallon drums at his machine shop that he wasn’t using anymore. And that’s how it all started.
I kind of started with The Big Baby in mind. But I wanted to make it a little more portable and make a few other mods. So with that in mind here we go…
These pictures are a result of our first brainstorm. The focus was just on the “cart” as a solid base.


Then I bought some heavy duty casters from Great Lakes Caster for more mobility. They have a 300 lb per caster capacity.
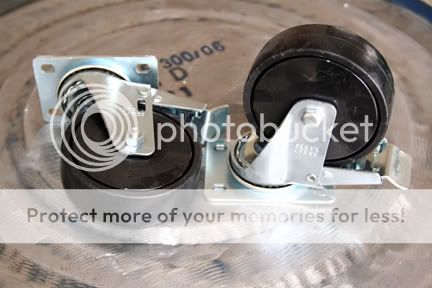


We decided the casters would bolt on for easy removal later on, so we added some more support.

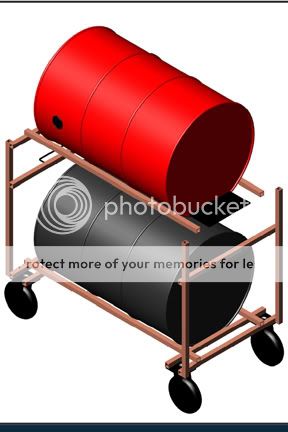
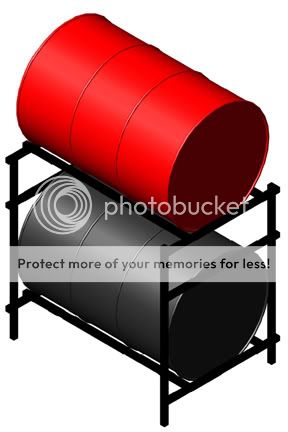
A few 3D models, just for fun.


The proposed dimensions.


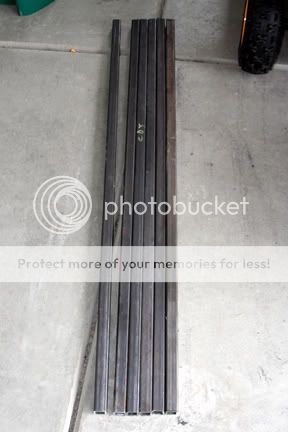
So I bought 5 pieces of 1” square steel tube 12 feet in length with 1/8” wall thickness. I know its overkill; we got it at a pretty good price. Just this past week I cleaned it up and cut it to length with my angle grinder.


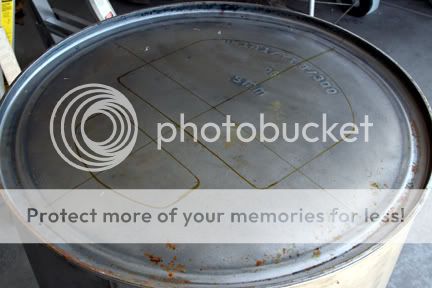
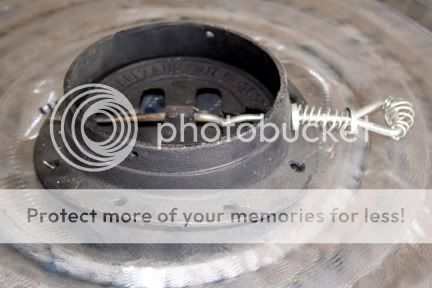
As far as the drums… When I got them they had a pretty serious coat of blue paint. So we started by rough sanding as much of the old paint off as we could. Then I went at them with the angle grinder to remove the rest and to prep the surface for the high temp paint. The first picture shows some of the original paint. The second picture is a drum after sanding, and the third is a drum after grinding. The last picture shows all three stages.


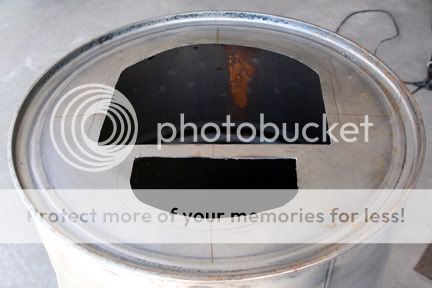
I have also ordered a fire door and a couple of dampers from Vogelzang.

So this is where we stand today. The steel for the cart is prepped and ready to be welded, which I will probably do on Saturday. I plan on dropping the top 2 supports so that the top is flush. Also I am going to wrap the whole cart in sheet metal, possibly stainless. We do have quite a few more ideas going forward, but any input is always appreciated.
If nothing else but to entertain myself I will post updates through the end of the project which I hope will be within a week or two.
So for about the last 2 years me, my dad, and a couple of my buddies have been talking about how fun it would be to “build” our own smoker. Nothing fancy, but just something we could call our own and get the job done a little better. I started to do some research on the net. I had no idea where to start. Then my dad said he had (3) 55 gallon drums at his machine shop that he wasn’t using anymore. And that’s how it all started.
I kind of started with The Big Baby in mind. But I wanted to make it a little more portable and make a few other mods. So with that in mind here we go…
These pictures are a result of our first brainstorm. The focus was just on the “cart” as a solid base.
Then I bought some heavy duty casters from Great Lakes Caster for more mobility. They have a 300 lb per caster capacity.
We decided the casters would bolt on for easy removal later on, so we added some more support.
A few 3D models, just for fun.
The proposed dimensions.
So I bought 5 pieces of 1” square steel tube 12 feet in length with 1/8” wall thickness. I know its overkill; we got it at a pretty good price. Just this past week I cleaned it up and cut it to length with my angle grinder.
As far as the drums… When I got them they had a pretty serious coat of blue paint. So we started by rough sanding as much of the old paint off as we could. Then I went at them with the angle grinder to remove the rest and to prep the surface for the high temp paint. The first picture shows some of the original paint. The second picture is a drum after sanding, and the third is a drum after grinding. The last picture shows all three stages.
I have also ordered a fire door and a couple of dampers from Vogelzang.
So this is where we stand today. The steel for the cart is prepped and ready to be welded, which I will probably do on Saturday. I plan on dropping the top 2 supports so that the top is flush. Also I am going to wrap the whole cart in sheet metal, possibly stainless. We do have quite a few more ideas going forward, but any input is always appreciated.
If nothing else but to entertain myself I will post updates through the end of the project which I hope will be within a week or two.
Last edited: