You are using an out of date browser. It may not display this or other websites correctly.
You should upgrade or use an alternative browser.
You should upgrade or use an alternative browser.
My Smoker Build along
- Thread starter oifmarine2003
- Start date
-
- Tags
- homemade smoker smoker
oifmarine2003
Babbling Farker
oifmarine2003
Babbling Farker
oifmarine2003
Babbling Farker
oifmarine2003
Babbling Farker
oifmarine2003
Babbling Farker
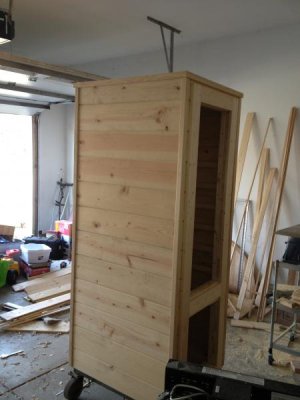
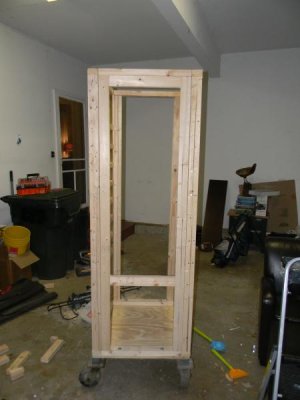
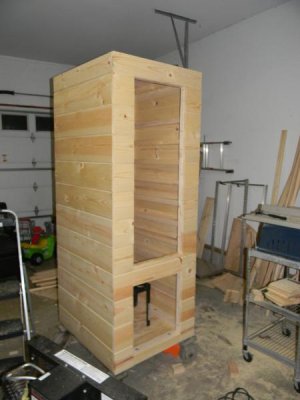
Next, I put in a horizontal stud across the front so I could divide the front into 2 doors instead of just 1 big one so there is not as much heat loss if I need to add chips/ water etc. Also, you need to add a roof. I just used the same 1/2" plywood as I used on the floor.
Attachments
Last edited:
DownHomeQue
is Blowin Smoke!
Nice Work! Great Build! :clap:
oifmarine2003
Babbling Farker
Big slick
is one Smokin' Farker
I'm loving this build already. Can't wait to see the rest of the pics!
O
Oldbob
Guest
Very Interesting Build...Looks Great !!
oifmarine2003
Babbling Farker
I will post the rest of the build later this evening. This computer at work is not making this easy for me.
trance309
Well-known member
Nice Build !! Great work !!
Makeshift Chef
Found some matches.
Looks great so far! Looking forward to seeing the rest of it.
oifmarine2003
Babbling Farker
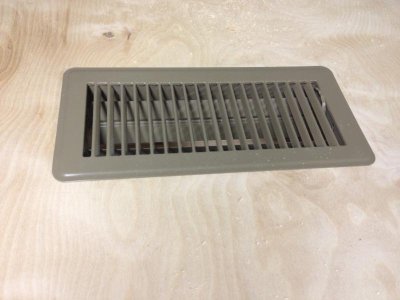
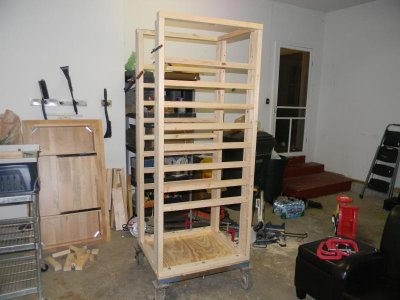
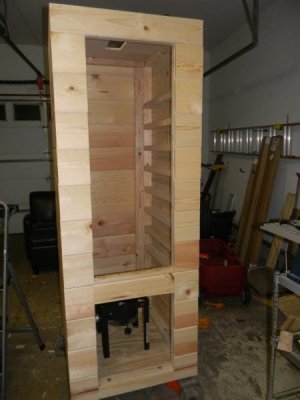
Now we need to add the vents. I used two cheapo heating vents from Home Depot. I think they were $4 a piece. I used my skill saw and cut a whole in the roof and also one in the center of the floor under where the burner will be. The two of these will make it much easier to regulate the temperature.
Note: In this picture, the one in the floor is not cut but you can get the idea by seeing the one in the top.
Note: In this picture, the one in the floor is not cut but you can get the idea by seeing the one in the top.
Attachments
EX~DY
Knows what a fatty is.
Looking pretty good.
Subscribed!
Subscribed!
davidB382
Found some matches.
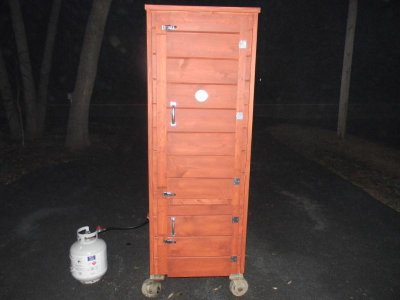
The finished product is classy!
Terry The Toad
is one Smokin' Farker
Man, I know I'm gonna sound dumb with this question, but...
a smoker made from wood? Isn't that a fire hazard? Do you pipe the smoke in from another source? Inquiring minds (or at least, ignorant minds) want to know!
(It is mighty purty though.)
a smoker made from wood? Isn't that a fire hazard? Do you pipe the smoke in from another source? Inquiring minds (or at least, ignorant minds) want to know!
(It is mighty purty though.)
oifmarine2003
Babbling Farker
As long as you have a drip pan over your flame (I have a chip box as well as a water pan covering the flame) there should be no problems. Most of these fires start b/c grease drips down onto the flame. The only thing you have to watch is that the chips do not catch fire. As long as you soak the chips and keep on eye on it, you should be fine. I have used it many times with no problems. That being said, this is not the kind of smoker you can throw something in and come back in 10 hours. You need to keep an eye on it. A portable temperature probe is all you need. A sudden, drastic spike in temp means your chips are on fire. Really not much of a problem though.
oifmarine2003
Babbling Farker
The next step is to install trim. This not only makes the smoker look really good but also helps to stop some of the smoke leakage. I used outside corner that was 1 1/8". The only place I could find this was Home Depot. This was the most expensive part for me since I already had most of the materials. I think the trim cost me around $50. I also used some 1x to trim around the door openings.