Bogus Chezz Hawg
is Blowin Smoke!
I had 8 firebricks collecting dust. They were leftovers from my old BSKD mod. They are 1-1/4 split firebricks. I asked Ben Lang what he thought of my idea, and he said it sounded like a great idea, so I decided to proceed. I needed to buy 10 more firebricks to complete this mod. I purchased them for $2.05 each at "Robinson Brick". The total cost for all 18 firebricks was $36.90 plus tax.

These firebricks are 1-1/4" thick.
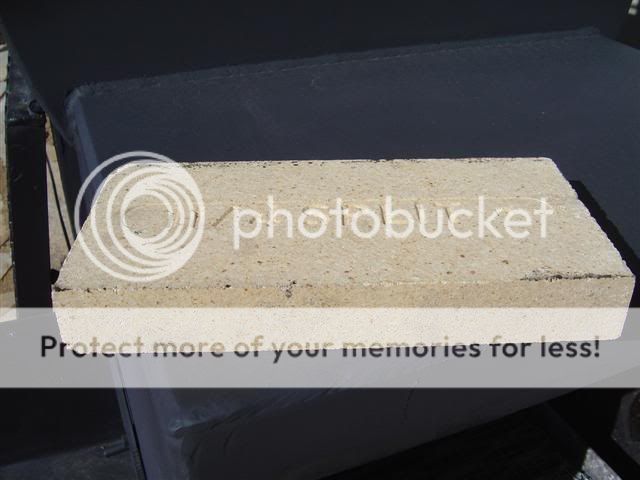
I used these thinner sized firebricks so the impact to the airflow would be minimal.
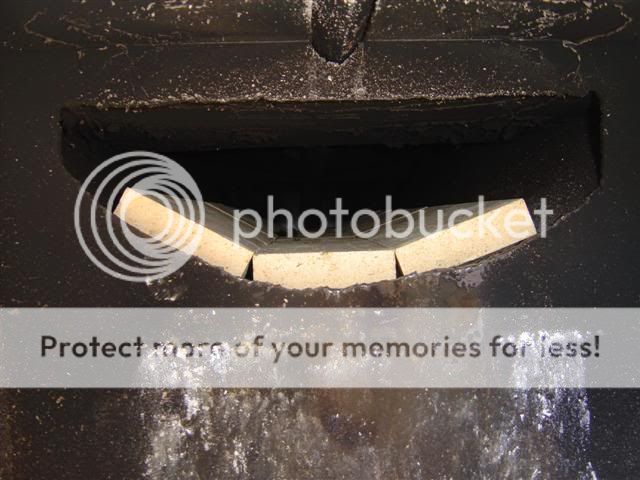
This view is from inside the firebox. This is the flue which runs the length of the cooking chamber (5 feet), under the cooking grates. I used a long 2x4 to push the firebricks to the far end of the cooker.

There are 6 rows of 3 firebricks. I was able to push 2 at a time to start each row, and then the last one to complete each row. I pushed the first center firebrick all the way down until it came in contact with the grease drain.
My thought is the firebricks will retain heat longer than the 1/4" steel belly of the cooking chamber would on it's own, thus making the cooker more efficient. My Lang 60 already cooks evenly from end to end, so I don't expect to gain an improvement with that.
I just did this mod so I haven't tried it out yet. I can't wait to test it out!
These firebricks are 1-1/4" thick.
I used these thinner sized firebricks so the impact to the airflow would be minimal.
This view is from inside the firebox. This is the flue which runs the length of the cooking chamber (5 feet), under the cooking grates. I used a long 2x4 to push the firebricks to the far end of the cooker.
There are 6 rows of 3 firebricks. I was able to push 2 at a time to start each row, and then the last one to complete each row. I pushed the first center firebrick all the way down until it came in contact with the grease drain.
My thought is the firebricks will retain heat longer than the 1/4" steel belly of the cooking chamber would on it's own, thus making the cooker more efficient. My Lang 60 already cooks evenly from end to end, so I don't expect to gain an improvement with that.
I just did this mod so I haven't tried it out yet. I can't wait to test it out!
